


 Reply With Quote
Where did you source the factory switch kit? and do you have a part number?
Regards,
Tote

 Master
Evening all,
Finished wiring in my spot lights today and thought I would post some info that may be useful for anyone else planning to do the same. This only relates if not using the factory wiring loom.
If using a loom supplied with the lights (eg includes relay, fuse and switch) or building your own, then your pick up for the high beam wire to run to the switch is the blue/black (right headlight) or the blue/grey (left headlight). These are also known as pin 10 (thanks to Disco3.uk).
I used the factory switch kit, which includes the facia and switch. Pins 1 and 4 are the pins to connect the wires that activate the relay to. These are fairly thin pins so I soldered my wires rather than using a connector.
The negative connection on the battery does not allow for the connection of the wires from the lights due to the way the lead is secured, so ended up finding a good earth which seems to do the trick.
End result was all working fine only when on high beam as required by the law makers. The instructions for installing the factory loom came with the switch kit, and looks a lot more complicated than an aftermarket loom.
Cheers.
Cameron
If in doubt, throttle out
MY16 RRS SE SDv6
MY16 Ranger XLT
2008 911 GT2 - dream came true
1976 Escort mk2 - race car
ForumSage
SubscriberWhere did you source the factory switch kit? and do you have a part number?
Regards,
Tote
Master
Tote,
Ordered through local dealer. Had the switch in stock but had to wait a couple of days for the assembly kit. Cost was $100.88 including GST. Part numbers are:
switch kit - RO-VUB502860
assembly kit - RO-XKB500080
instructions - VUB502850
The switch kit is just the switch. The assembly kit includes the templates for cutting the dash, facia, mounting bracket, cable ties, screws, and relay. Only used the templates, mounting bracket, screws and facia.
Cheers.
Cameron
If in doubt, throttle out
MY16 RRS SE SDv6
MY16 Ranger XLT
2008 911 GT2 - dream came true
1976 Escort mk2 - race car
Hi, Thanks for the info, as I just bought a set of driving lights myself. I have just a few questions, How do you run the wires to the dash switch? and, Do you have a photo of the dash switch? It must be quite special for a $100, when I can buy a generic switch from Jaycar for about $5. I would just like to see it because I do have a thing for genuine fittings. Thanks.
Master
WA Darryl,
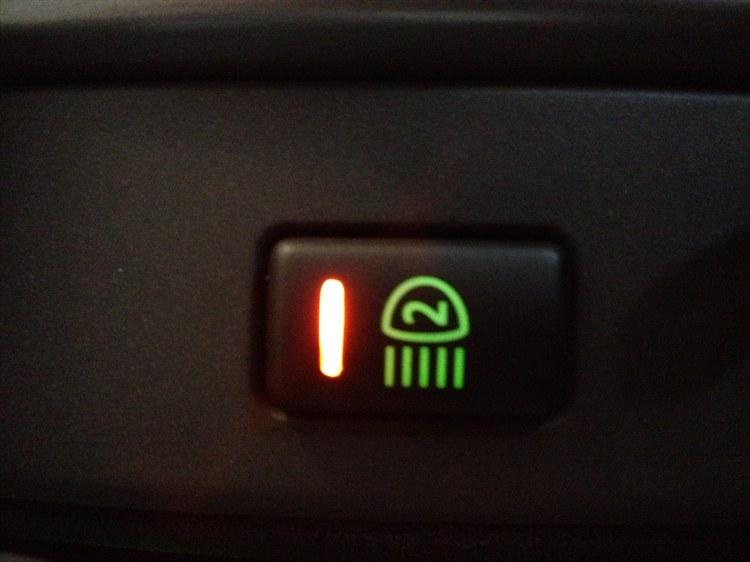
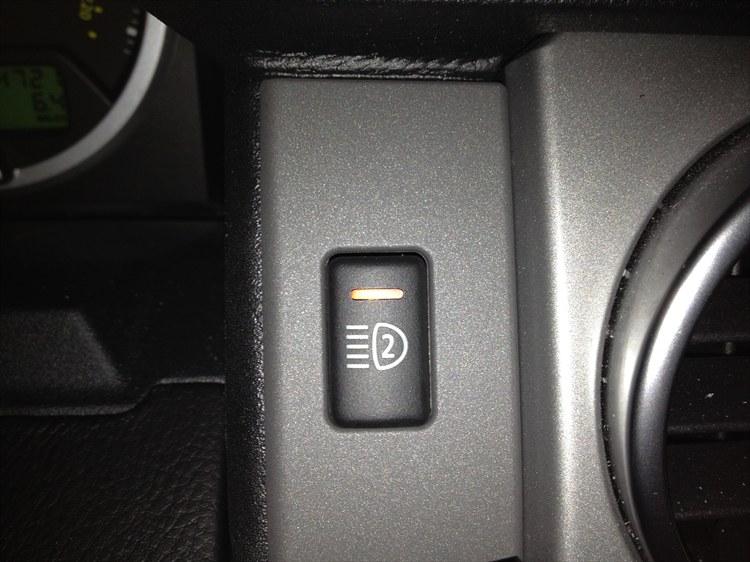
As with most things any OEM part seems expensive. Decided to use the LR part instead of the switch supplied with the loom as it looks a lot nicer then the mouse style one (see photo).
If you remove the cover over the brake master cylinder, you will see a hole in the firewall where the clutch rod goes for the manual gearbox. I just placed a small slit in the rubber grommet and fed the wires through. Not sure how you will go if you have a manual.
Cameron
If in doubt, throttle out
MY16 RRS SE SDv6
MY16 Ranger XLT
2008 911 GT2 - dream came true
1976 Escort mk2 - race car
ForumSage
SubscriberJust thought I'd add how I did mine, I made an angle bracket that bolts on the two screws that secure the coolant bottle support and fitted the relays to that. I haven't wired in a switch, just took the feed from the passengers side headlight loom for the relays and ran a supply to the relays from the + battery terminal.
Thanks for the wiring colour codes in the posts above.
Regards,
Tote
Hi
I used a spare IPF loom and switch set I had used in my old D2. Triggered by the Black and Blue high beam wire.
Works well but was a pain to fit though. The only available entry to the cabin was via the single grommet which also had the UHF and phone antennae, power lead to power the phone charger, Parrot Bluetooth stuff, UHF and then to find room for the loom switch was a little testing.
Master
We have dealer fitted LR spotties on our 07 TDV6 D3. Must say I am very unimpressed with them. Light output is very poor and quite "yellow" in colour which looks to me like low voltage at the globes.
Have not hooked a DMM to measure the voltage though.
I would think that the dealer would have used a relay to rive off the battery etc but not sure.
anyone else have these fitted adn what are your thoughts?
Was thinking of rewiting them with heavier guage loom and use the wire to them to trigger a relay that goes direct to the battery. Either that or replace the insert or the whole bloody things.
cheers
Peter
Fossicker
I was searching the site to find out about fitting a pair of spotties to my D3 and found this thread. Pleased to find the OEM switch info/picture in Brick's posts, I went to order the switch kit per the part numbers above and had a heck of a shock when I got the quote (from Ducksworth in the UK) for 258.75 pounds for the "instructions" (last part no. above). Turns out that part no. is for the whole LR OEM spot light kit! So if anyone else just wants the very neat OEM switch, just order the first two items - total cost 36.66 pounds.Originally Posted by Brick

Cheers, Gaviatrix
Fossicker
Over the weekend I fitted the Factory Lr3 2nd driving light switch to my IPF 960 driving lights based on seeing this thread. I figured I'd post a quick How-To since it took me quite a while to figure out the 5 pins coming out for the switch in order to get everything to work (i.e. driving lights on/off, lighting of the switch with dimming, and the orange light illumination when the switch is on) since I wasn't able to find the factory wire diagram for the new switch itself.
Below is the wire diagram to make it super simple to wire everything up. (DISCLAIMER: this wire diagram worked on my North American 2008 LR3 HSE, I assume it should work on all LR3s per the Factory wiring diagram I referenced, but you assume all risk if you choose to give it a go):
Pics of the install:
 Posting Permissions
| Search AULRO.com ONLY! |
Search All the Web! |
|---|
|
|
|

Bookmarks