


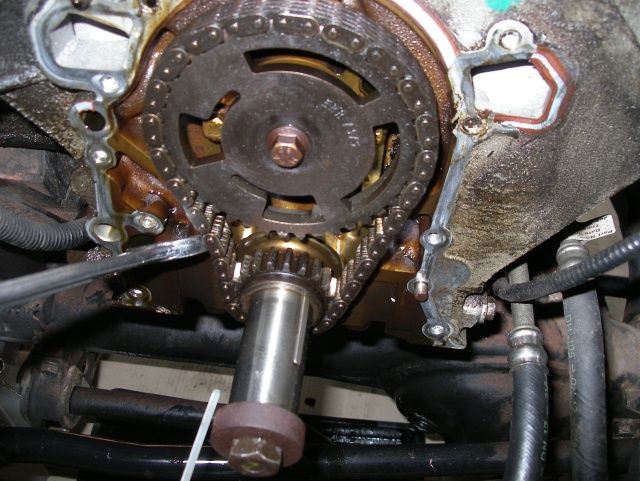
 i.e. the 4.6 due to clearance issues with the oil pump. this also coincides with the advice in the Google 'free read' section of Des Hammill's book which states that due to clearance issues duplex timing chains are not suitable
  ---of which the Rollmaster is an example.
 )
)
 Reply With Quote
Bugger about the timing gear. I still had to modify my 4 belt 3.9 cover, especially considering my block didn't have the cam retaining plate.
As for the studs, as far as I know (JustinC might be able to confirm) all Rover blocks use the same pattern. There was some discussion in UK forum sites about ARP studs pulling threads out of blocks because they don't engage the same number of threads as the original TTY bolts but I decided to go with them all the same. However, I ran 3 stages of 25/50/75 ft/lbs rather than going to 80 ft/lbs as specified by ARP. 3,000km in to the new engine and it's all OK so far.
As for the valves, I can't advise anything other than if you replace them, be certain that they have been cut to match your seats. My recent experience with replacement parts suggests that everything needs to be checked carefully.


")
 Should really try and get into it before SWMBO gets back from Cairns!!
 ")


 [/IMG]
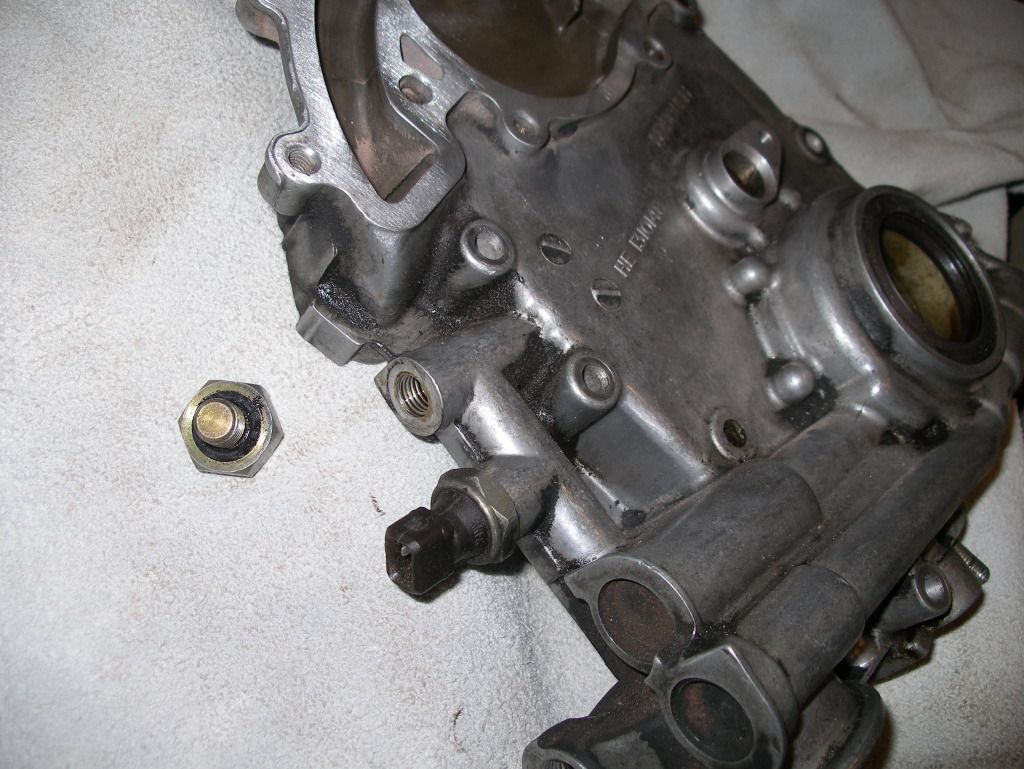 [/IMG]
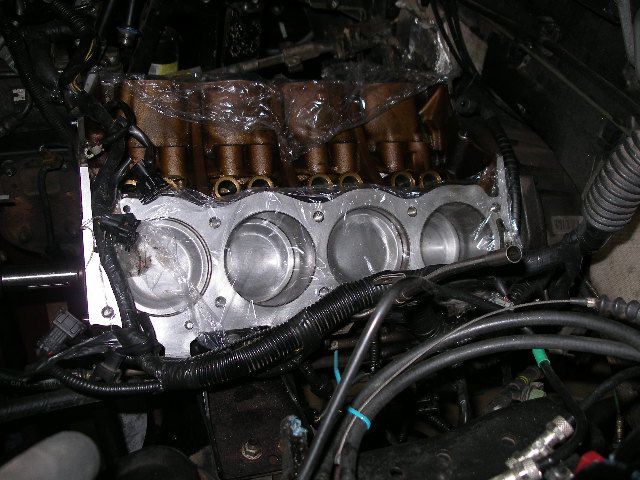 [/IMG]
 [/IMG]
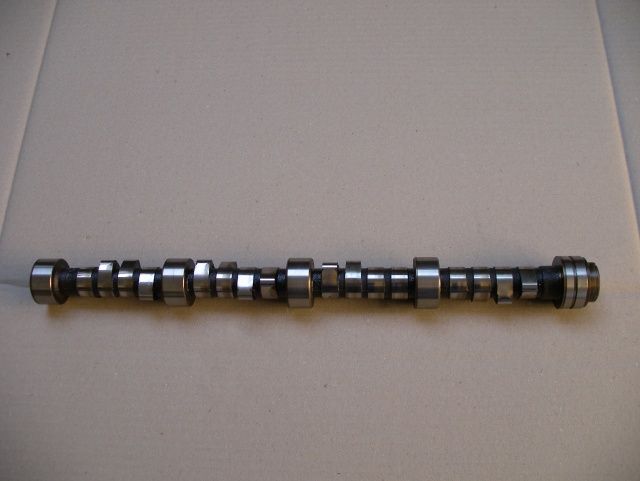 [/IMG]
 [/IMG]
 ) Was a precision fit
 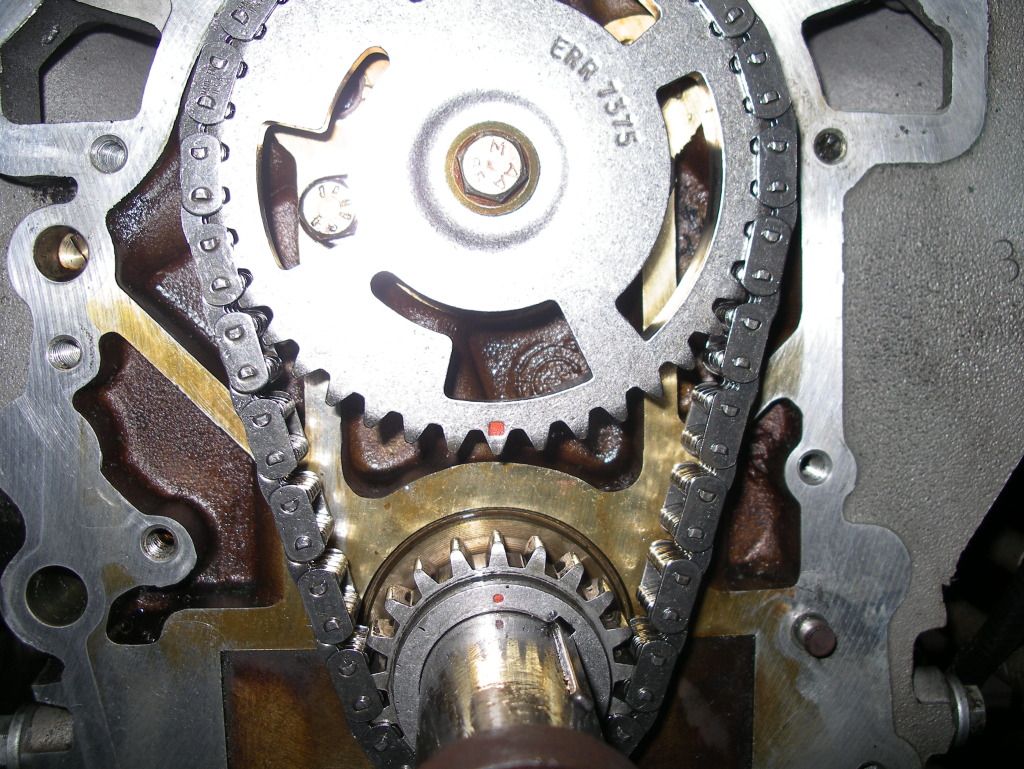 [/IMG]
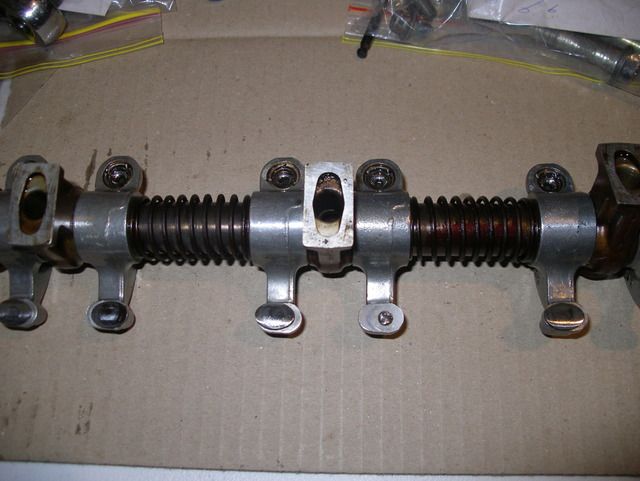 [/IMG]
 [/IMG]

Bookmarks