

 Reply With Quote
Well the top pad was easy just unwrap the plastic and admire. The bottom was quite hard because I had to find a bottom pad that the steelwork wasn't rusty once that was done it was just a case of recovering.

Hello - also from Brisbane.Originally Posted by lro11

You dash looks pretty good.
Can you tell me how you went about getting it that way?
Cheers,
 Master
Well the top pad was easy just unwrap the plastic and admire. The bottom was quite hard because I had to find a bottom pad that the steelwork wasn't rusty once that was done it was just a case of recovering.
LordRover
SubscriberWe ended up doing 'zara's' ourselves, the top that is, can find pics if interestedor look up the build thread
Oh and there might be a good dash out in my paddock
Mrs hh
Series Landy Rescue
Parts, welding, finger folding, Storage, Painting, Fabrication, Restorations,
Our FB Page..
https://www.facebook.com/SeriesLR?ref=bookmarks
'51 80", Discovery 2, Defender 130, 101 FC + 20 other Land Rover vehicles
Thanks.
The top of my dash is reasonably good - no cracks and not too warped. Just needs cleaning up.
The bottom facia had a hole cut out for a radio at some time which makes it look a bit untidy. I am keen to replace it with an intact one.
Cheers,
TopicToaster
Has someone got a picture of an unwrapped top? Not having seen one I can't get a scope on how much foam is under there. I've only "seen through the cracks". It looks like a lot of hard foam under a hard moulded plastic cover. It's easy to layer different foams a shave/sand/sculpt to shape and vaccum form the vinyl coveering. Just need pics, and a donor dash.
Fossicker
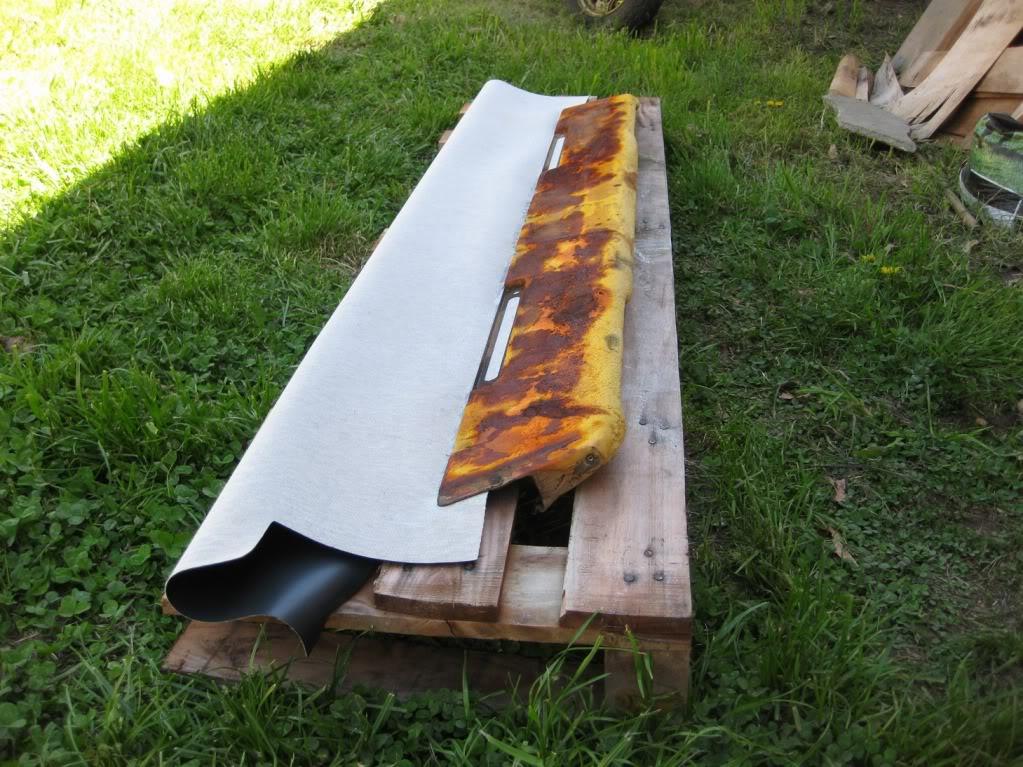
Here's a couple of pics of my dash top during recovering.
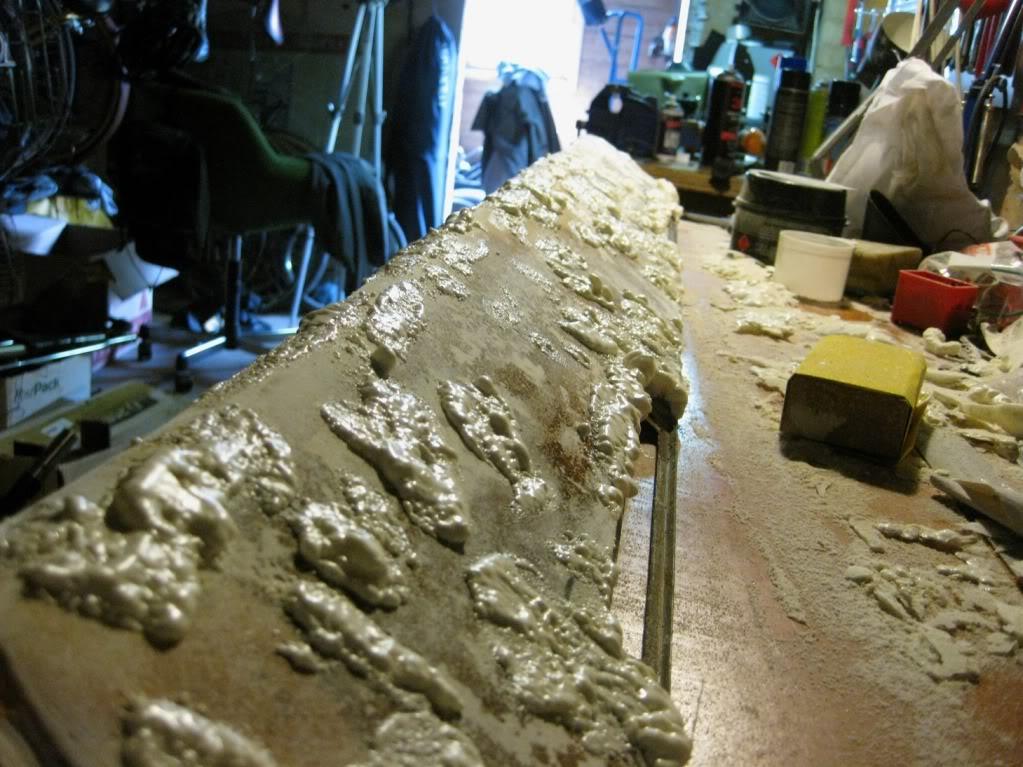
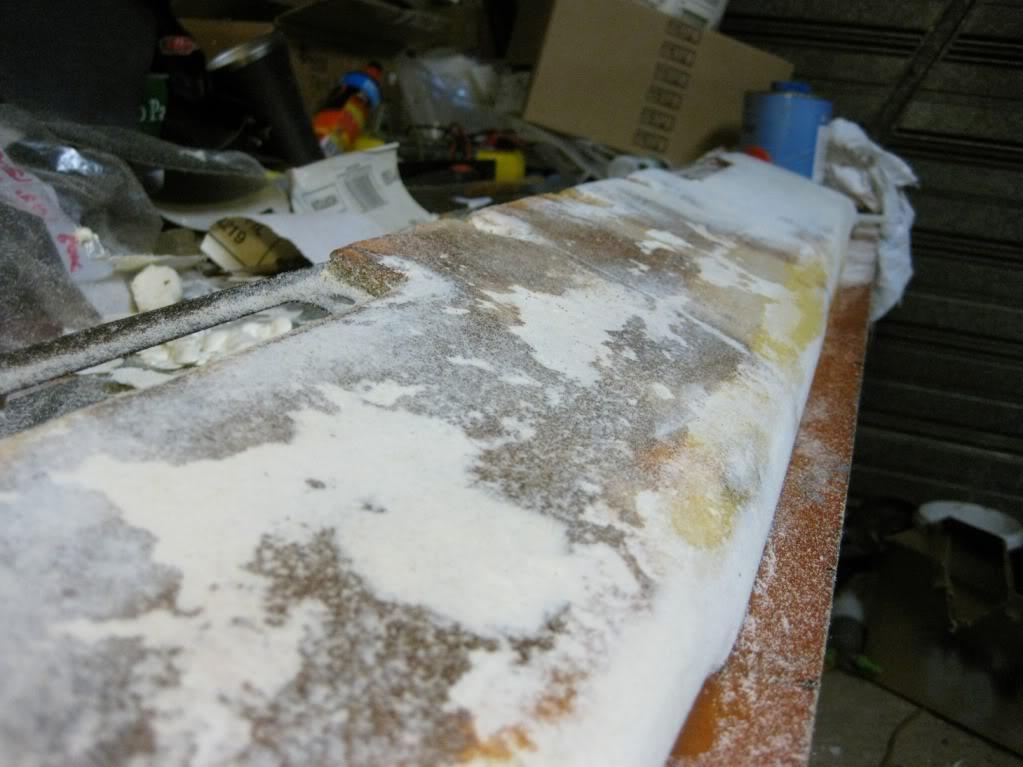
The top dash part ended up being surprisingly more difficult to cover than the bottom part. While you can just strip all the old foam off the lower dash and replace it with closed cell foam stretched to fit, the upper dash needed MUCH more work to get smooth. As i was using 2 way stretch marine grade vinyl from a local foam/ rubber supplier, the mounting surface has to be completely smooth if you are to use spray adhesive. The vinyl shows up every little imperfection really well. The problem is: when you remove the old vinyl, the original smooth surface of foam underneath is completely destroyed. The only way I could restore this surface was to painstakingly apply expanding foam in small quantities and sand back, reapply and sand back. Did this a few times. It was hell... The stuff gets EVERYWHERE! It doesn't give a smooth surface either, kinda bubbly and rough, so i applied a skimming filler coat over the top (off the shelf at Bunnings or paint suppliers) and sanded that back glossy smooth.
You only get one chance to cover it right though. If you don't get the vinyl laid down and stretched right the first time, removing it to try again lifts up the fill layer in places and ruins the perfect finish. It's a job you need a lot of patience for (in my opinion).
Vacuum forming or covering might be more effective, never done it, don't know. The only thing i would think to consider are the concave curves on the underside of the dash that need to be adhered to stay in place.
Results were pretty good, for more info have a look at my thread:
Series 111 GS cargo
Hope this info is of some help to anyone about to attempt this job")
TopicToaster
The secret to replacing that foam is to remove completely and replace with floral foam. That stuff is the ****, can be cut, sanded, glued, filled and bogged over. Secret to getting a smooth finish on slightly imperfect stuff is to use the thin foam they use as underlay on "floating" floorboards. Can be purchased at bunnings but Ikea has it cheaper and in bigger (wider) rolls. It's white and about 2mm thick. Fairly dense so it covers holes but gives enough over bumps. Doesn't dissolve in glues either.
YarnMaster
So is floral foam purchased from a florist?
What is a good vinyl to use?
Cheers Charlie
TopicToaster
Search for florist suppliers, comes in a variety of lengths/sizes. As long as the vinyl is 2 way stretch it's ok. Buy from an upholsterer.
ForumSage
Floral foam is called "oasis" as it holds water very well. But it is really soft and would dent really easily.
Maybe it could be impregnated with PVA glue after it has been shaped..?
 Posting Permissions
| Search AULRO.com ONLY! |
Search All the Web! |
|---|
|
|
|


Bookmarks