


 Reply With Quote
After a little gap due to weather and other duties, the matter has progressed rapidly. I won't go into replacing bearings and the re-assembly of the box because it was simple and without hassle. However, the next bit can cause some headache.
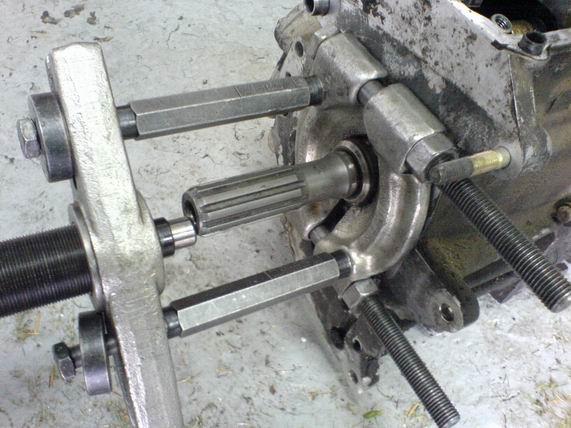
As you can see, this is the output shaft and the oil seal collar. The end of the shaft is threaded M12 coarse, and extends for 4cm. With a gear engaged, old clutch plate on the input shaft, the collar wound on OK - you know when to stop as the thread stops just before the end of the bore. Then unwind and put some more washers or large nuts on and continue. Generally, you get 2cm each time, and since you only have to go 3.5cm, it's a fairly quick job.
As others have stated, put the OIL SEAL on first - otherwise (like me) you'll have to take it apart and start again.
NOTE: Wrapping electrical tape around the collar and over the gap between the two sections of the collar so you can slip the seal over it and into the recess does not work. One has to try I suppose.
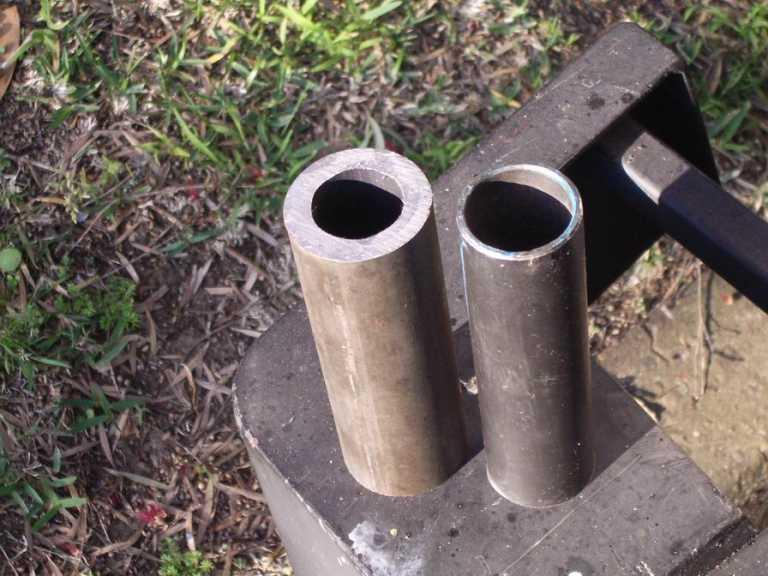
The piece of tube isn't regular 3mm wall tube. I found out that regular tube is either too big or too small for the combination of shaft and collar. Yet another huzzah for Edcon steel - they had a piece of thick wall tube that only needed to be cut
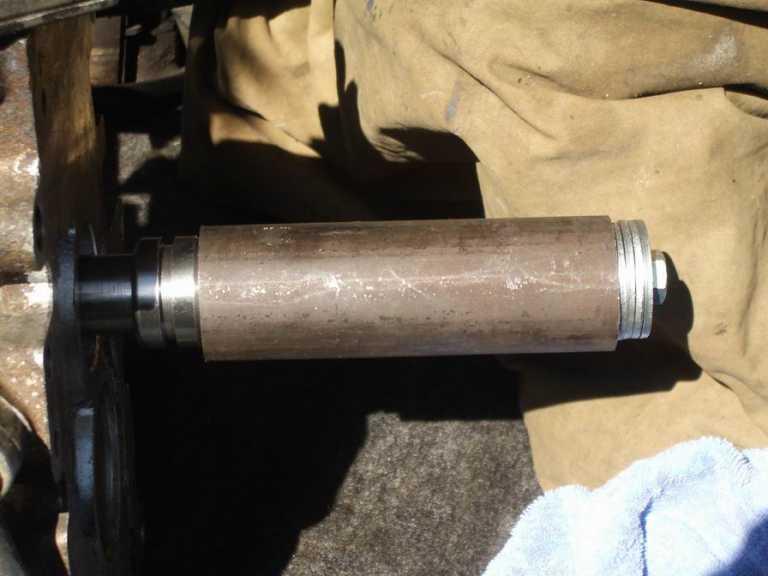
The (very) thick wall pipe is 50mm, and has an ID of 32 mm, which is great as it slips over the output shaft neatly and drives the collar without damage. It was 150mm long, ($10) and I used a M12 set screw 100mm with some washers to suit. You could use a shorter piece of pipe and screw, this worked for me.
Then the tunnel bolts on, and leaving the gearbox mount off the gearbox, all is ready to refit into the truck.
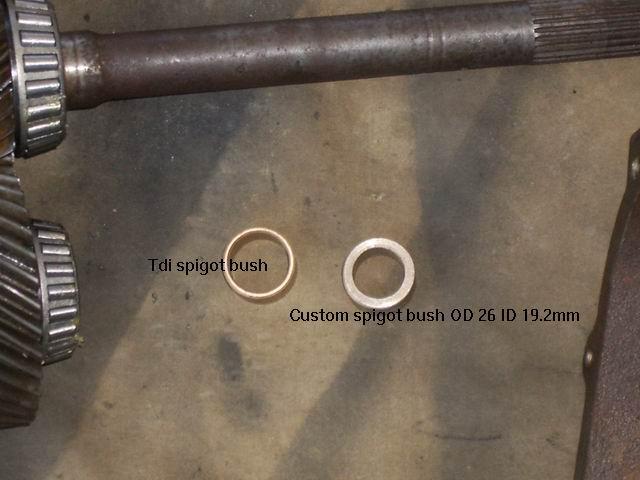
As for the clutch, you can align the plate without a alignment tool, just centre the plate whilst doing up the clutch bolts.A smear of grease on the splines is a very good idea and don't forget the new spigot bush.
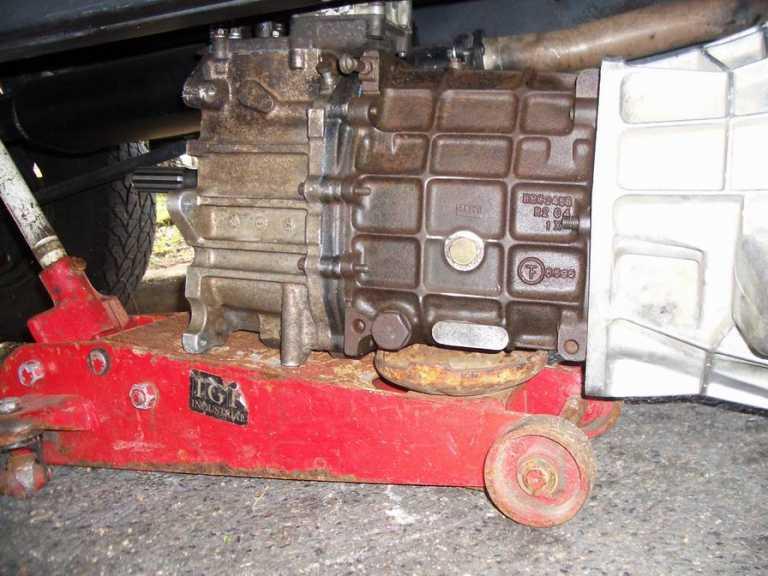
With the mount off the gearbox, it isn't too heavy to lift - but be carefull not to damage the reverse switch which poke out the side. It even slides under the car sitting on the roadway.


 )
)
Bookmarks