Page 2 of 8 FirstFirst 1234 ... LastLast
Results 11 to 20 of 74

Thread: D2 Dual Battery Setup

  1. #11
    damo_s Guest
    Thanks for clearing that up, drivesafe.


    So I had a quick peek under the car and on the passengers side at the rear, i found this.


    Is this the grommet that people have used to direct the cables up behind the trim where the rear bins are?


    And this (the large steel rail in right in front of the camera), i assume, is the chassis rail that people have used to guide their wires along (like i said, not too familiar with car terminology ). Are those the brake lines running along the top of the rail? Or something else? Cable tie around the whole thing? Or along the brake lines (or whatever they are).
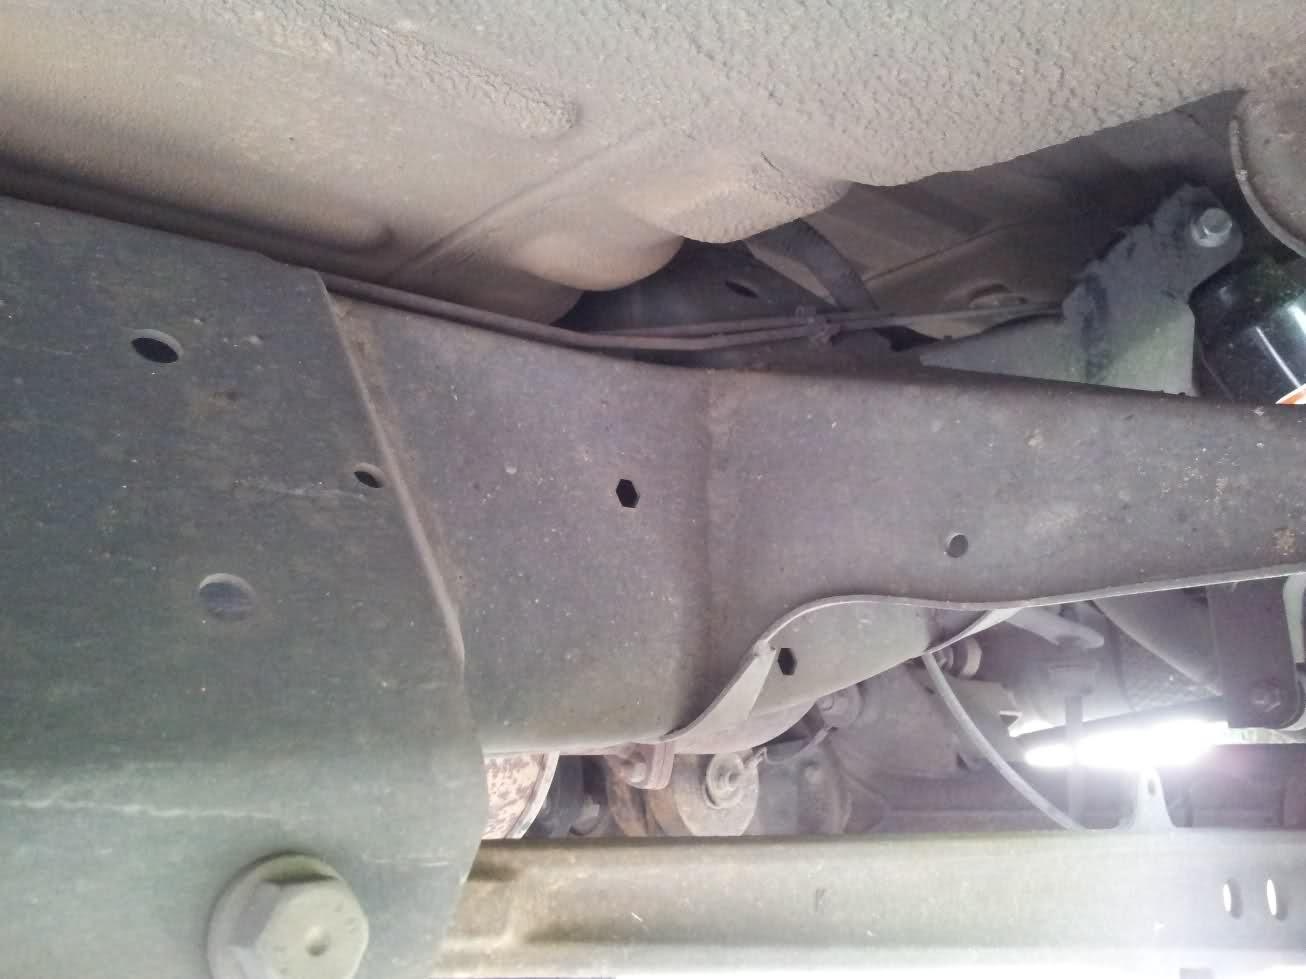

  2. #12
    Join Date
    Apr 2010
    Location
    South Melbourne
    Posts
    894
    Total Downloaded
    0
    Hi Damo,

    If you remove one of the rear tail lights you see when you can feed the cable in with the tail light wires into the space behind the louvre vents just behind the rear bins, then from there drill a small hole into the rear of the rear bin area.

    So you feed the cable along the top of the chassis rail clipped to the main harness, then from there up behind either rear tail light then into the cabin spaces. That way you dont need to go through a grommet in the floor area.

    Cheers

    Simon
    Cheers

    Simon
    2003 D2a TD5, ACE, SLS, Vienna Green.

  3. #13
    damo_s Guest
    Gday Simon

    Thanks for the info. Now that makes more sense to me .

    When you say to run the cable along the chassis rail 'clipped to the main harness'.. what exactly do you mean by that?

  4. #14
    Join Date
    Aug 2011
    Location
    Bridgetown
    Posts
    44
    Total Downloaded
    0
    Damo, That is the grommet I am talking about. I found it easier to remove the box in the back to gain access to the grommet area. It made it easy to screw everything in place.
    Cable tie/clip the wire along the top of the chassis (which is the big steel bar you mentioned). Try not to use the brake lines if possible.
    Sounds like the kit has everything you already need. Positive and Earth wire's as well as the 12v plugs.
    It will all become self explanatory once you start putting things in place.

  5. #15
    damo_s Guest
    Chook, the grommet I showed is readily accessible under the car, whereas one mentioned previously is used for the tail light wires. Which of these would come up in are convenient area? The tail light grommet comes up being the vent and i thought the one I photographed came up under the flooring. Does it actually come up behind the bins? I guess I will just have to test both out and see.

  6. #16
    Join Date
    Aug 2011
    Location
    Bridgetown
    Posts
    44
    Total Downloaded
    0
    The one photographed comes up underneath/behind the boxes. It is easy to remove the panels though. Personally I'd use this option as it'd save cable and come up in a coonvenient position for the 12v plug's.
    You don't need to drill a hole in the bin to get the cable through as you want to mount your 12v plug's/switches there, so all wiring can stay behind the box.

  7. #17
    damo_s Guest
    Hey chook, thanks for all your help mate. The less i need to do to the car, the less chance i have of screwing up


    One question with the installation of the ARB tray... With regards to this picture, what are the looms circled by A and B? As far as i know only 'B' is removed because the tray requires that hole to be drilled out to 9mm for a bolt. A is only unclipped (I think? The instructions aren't well written). In the instructions provided by ARB B is moved to a new location around where C is. Is this just a matter of drilling out a new hole and plugging it back in?


  8. #18
    Join Date
    May 2007
    Location
    Australia
    Posts
    2,827
    Total Downloaded
    0
    Quote Originally Posted by damo_s View Post
    Hey chook, thanks for all your help mate. The less i need to do to the car, the less chance i have of screwing up


    One question with the installation of the ARB tray... With regards to this picture, what are the looms circled by A and B? As far as i know only 'B' is removed because the tray requires that hole to be drilled out to 9mm for a bolt. A is only unclipped (I think? The instructions aren't well written). In the instructions provided by ARB B is moved to a new location around where C is. Is this just a matter of drilling out a new hole and plugging it back in?

    A is the connector for power to the ABS modulator pump. This was a pain to unclip.
    B is the L/H front ABS sensor plug.
    C seems about right but I chose to cable tie the connector to the tray rather than drill again. My clip was already broken anyway.

    I found the hole at B which is to be enlarged was not the correct location for the ARB tray in mine and Sons D2 and ended up with a new hole almost 25mm forward of this.
    Put a bit of paint around the hole whichever one works out.

    cheers
    Last edited by strangy; 19th October 2011 at 10:34 AM. Reason: extra info

  9. #19
    damo_s Guest
    Thanks strangy, exactly the info i needed. I reckon i will just cable tie it like you did instead of drilling a new hole. Hopefully the hole lines up. Perhaps the hole location is different in different model D2's. I have an '03 Td5

  10. #20
    Join Date
    May 2007
    Location
    Australia
    Posts
    2,827
    Total Downloaded
    0
    Possibly, mine is 00 and sons 99. Both TD5

    cheers

Page 2 of 8 FirstFirst 1234 ... LastLast

Bookmarks

Bookmarks

Posting Permissions

  • You may not post new threads
  • You may not post replies
  • You may not post attachments
  • You may not edit your posts
  •  
Search AULRO.com ONLY!
Search All the Web!