

 Reply With Quote
Pm’d

 Master
Supporter
Master
SupporterOriginally Posted by hpal

Great, are you about today?
Discovery D2a 2004 TD5 auto (current)
Discovery 1 V8 1996 manual (gone)
Various series Land Rovers before moving to OZ
Master
SupporterPm’d
Current - Silver 2007 SE D3
2005 Defender 110 Wagon TD5 - Gone :(
Master
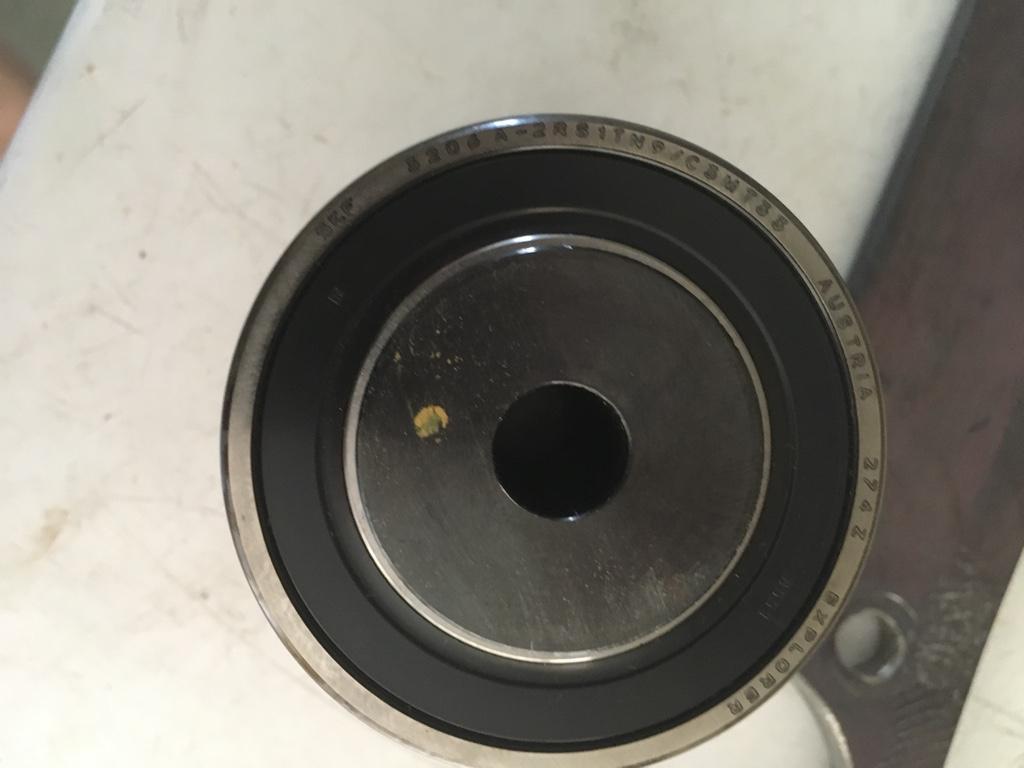
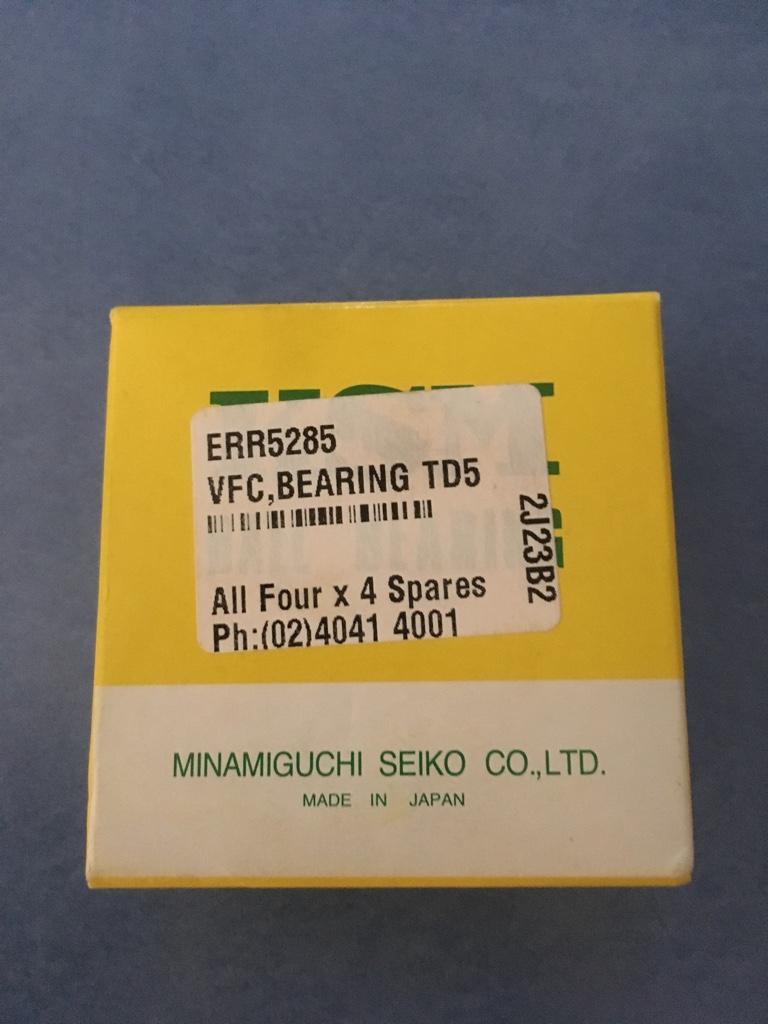
SupporterThanks for all the help ended up making one today bit rough and ready but does the job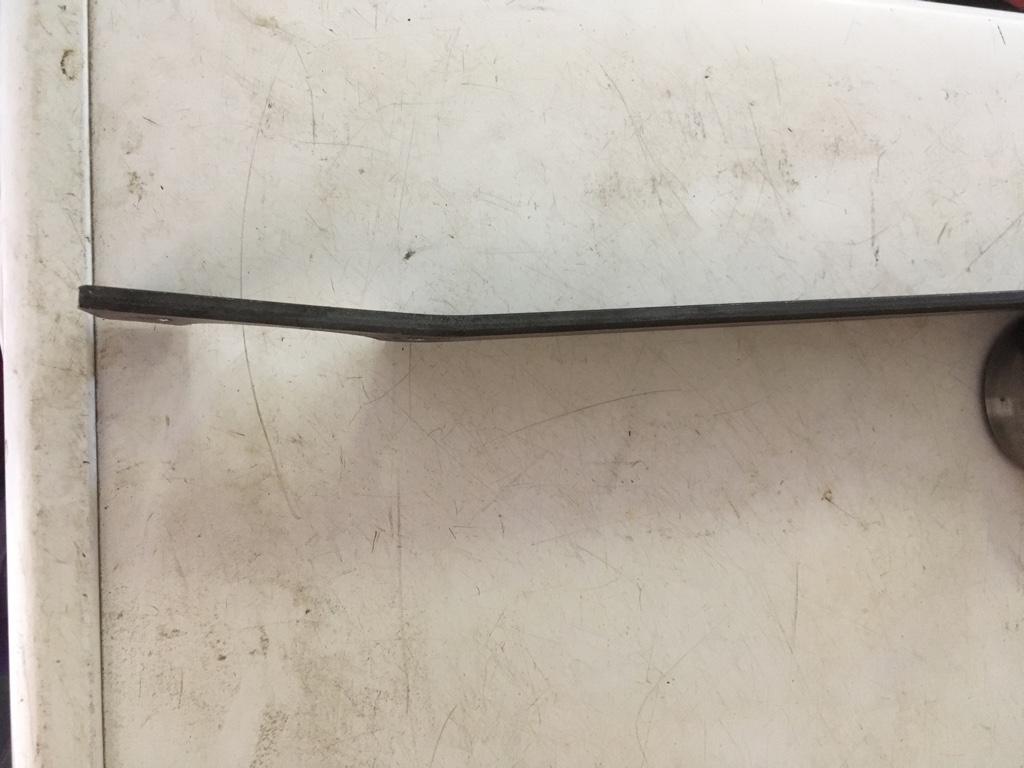
The bearing is a skf type so maybe not original the replacement is from japan
Should get it all back together in the next few hours
Thanks for all the help and advice
Mark
Discovery D2a 2004 TD5 auto (current)
Discovery 1 V8 1996 manual (gone)
Various series Land Rovers before moving to OZ
Fossicker
I'm not seeing anything too rough & ready with that, Tidier than a similar one I made up.
Steve.
Fossicker
I agree, it looks great. Just out of interest I have made a simple multi-use tool to do the same and similar jobs on a variety of hubs. It consists of a long piece of flat bar about, 1 metre long x 1 1/2 cms wide, a shorter piece of the same stock and three nuts and bolts, about 4 cms long. The idea is to drill a series of holes along the long bar, starting from one end- the diameter of the bolts, then to drill two holes, one at each end of the short piece of bar.
To use it you choose an appropriate hole a short distance up the long bar, then bolt through it and the end hole in the short piece of bar thus securing the short piece to the long piece. This gives you a Y shape, the long end becomes the handle and the shorter piece has one of the other two bolts secured by a nut, tightened up. Finally put the last bolt in the last hole on the long piece, same end as the short bar is connected to. Secure this with a nut too, nice and tight.
Then you manoeuvre the bar so that the two bolts slot into two of the holes on the hub. Hold this then put your spanner on the nut or whatever that you are trying to undo. The connecting bolt does not have to be tight, triangulation makes it unnecessary, and a bit of play makes it easier to match the two end bolts with the two holes.
Different length short bars, different hole spacing and diameters makes it very versatile. Not my idea, pinched from a Haynes manual, probably back in the day when they were a bit more useful.
Cheers!
Fossicker
Of course you need to take two of the bolts out of the hub first! DoooooooooH! I bet you find you do use it more often, especially if you are doing much on the front of the engine.
| Search AULRO.com ONLY! |
Search All the Web! |
|---|
|
AULRO.com Copyright 2001 - 2025 Independently Owned and Operated by Dave Blears Computing - DavecandoIT - AULRO.com LAND ROVER and its logo are the registered trademarks of Land Rover. Land Rover is not affiliated with AULRO.com. |
|


Bookmarks