Page 2 of 5 FirstFirst 1234 ... LastLast
Results 11 to 20 of 48

Thread: Detachable camp body build for 130....

  1. #11
    Join Date
    Jan 1970
    Location
    Gold Coast
    Posts
    1,938
    Total Downloaded
    0
    Quote Originally Posted by Sitec View Post
    Here is the 'box' in the build stage. Basic framework done, with place for the roof tent above. There will be a canvas over the top when finished, and side spars for tree/foliage protection. The plan is to use Air suspension to drop the vehicle from under the body.
    Looks great - almost big enough to sleep in the pod - just need a slide out bed and drop down canvas on the door - that would be a very quick set up then - and nice and dry if rains

    I am interested in your project because I want to build a camper on a 130 tub (actually have 2 to join) and in two mind re rood top or sleep in design.

    But coming from same angle as you basically want simple set up and pack up so easier for weekends away

    Skiboy

    89 Orange Rangie UTE - our play thing - sadly now sold
    75 Rangie/Series/Hybrid/LS3 - Bumblebee with a sting!!!!
    2018 RRS - The new touring vehicle - replaces 2012 RRS

  2. #12
    Join Date
    Dec 2009
    Location
    Williamstown, Barossa, SA
    Posts
    3,451
    Total Downloaded
    0
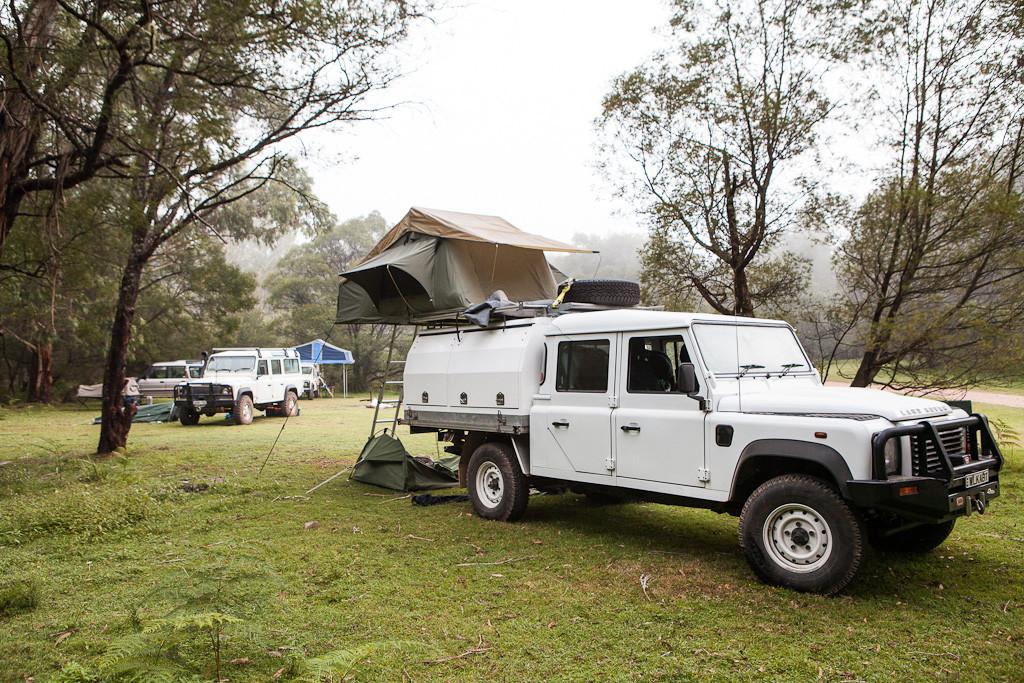
    Yeah, we thought long and hard re sleeping arrangements, and decided that the top was the only option, as it leaves you all the space below. If you sleep below, you'll find that you'll start to pile loads of stuff up on the roof! Re the wheel nuts, the 130 has alloys so the nuts are right for it. Different vehicle in the background! Cheers tho!!

  3. #13
    Join Date
    Jan 2010
    Location
    Sydney
    Posts
    79
    Total Downloaded
    0
    Subscribed, looks great.

  4. #14
    Join Date
    Dec 2009
    Location
    Williamstown, Barossa, SA
    Posts
    3,451
    Total Downloaded
    0
    Well, with the help of an early minute, the box is dropped in place! It fits too which is a bonus!!! Off to buy alli sheet and tube for the top rails this avo!
    Attached Images Attached Images

  5. #15
    Join Date
    Jan 2007
    Location
    Logan Village area S.E. QLD
    Posts
    17,686
    Total Downloaded
    0
    We didn't have ours in Melrose, here if you haven't seen it.. http://www.aulro.com/afvb/projects-t...s+camper+build

    Works a treat, easy to off load when staying for a few nights.

    Mrs hh
    Series Landy Rescue

    Parts, welding, finger folding, Storage, Painting, Fabrication, Restorations,
    Our FB Page..
    https://www.facebook.com/SeriesLR?ref=bookmarks

    '51 80", Discovery 2, Defender 130, 101 FC + 20 other Land Rover vehicles

  6. #16
    Join Date
    Dec 2006
    Location
    Torres Straits
    Posts
    3,503
    Total Downloaded
    0
    Sitec,
    before you sheet it off - have you considered making the swing up doors solar panels rather than Al sheeting?

    In time I will be making swing up panel for the side of my 130 tray. A 200W panel will suit the side of my tray nicely.

    When you get to camp swing up the doors and the panel does its thing.

    They are cheap and tough enough to use as cladding these days

    S
    '95 130 dual cab fender (gone to a better universe)
    '10 130 dual cab fender (getting to know it's neurons)

  7. #17
    Join Date
    Dec 2009
    Location
    Williamstown, Barossa, SA
    Posts
    3,451
    Total Downloaded
    0
    Well, the decision was made! Home made legs it is... Everything that I have looked at is either ridiculously over priced or needs extensive modifying. Air bags can come later if the wind down legs have enough travel. So, several off cuts of 45mm and 50mm RHS purchased, 4 x 1 meter lengths of 16mm threaded rod several washers and nuts and we're away! Have finished one leg and the 10 yr old Dewalt lifts it up and down beautifully!
    Attached Images Attached Images

  8. #18
    Join Date
    Dec 2009
    Location
    Williamstown, Barossa, SA
    Posts
    3,451
    Total Downloaded
    0
    And the nearly finished leg in place. Just needs the foot welding on (a piece of 65 x 5 flat bar 105 mm long with a little upturn each end. Just three more to build!

    Just noticed that photo is really poor. Will get some more in daylight tomorrow avo.
    Attached Images Attached Images

  9. #19
    Join Date
    Sep 2010
    Location
    Moe, Victoria
    Posts
    646
    Total Downloaded
    0
    This a carry me camper unit, so the solar was an addition, but I agree, solar doors is something to think about.

    Attached Images Attached Images

  10. #20
    Join Date
    Nov 2012
    Location
    Melbourne
    Posts
    330
    Total Downloaded
    0
    This is shaping up to be a great build. I'd love to see how you've constructed your legs in a bit more detail if you get a chance. Like you, I've found the cost prohibitive when you consider you still have to modify most comercial legs to suit your application anyway.

    This is our current setup. Fridge and legs are the next addition.

    '11 Def 130 "Henry"

Page 2 of 5 FirstFirst 1234 ... LastLast

Bookmarks

Bookmarks

Posting Permissions

  • You may not post new threads
  • You may not post replies
  • You may not post attachments
  • You may not edit your posts
  •  
Search AULRO.com ONLY!
Search All the Web!