

 Reply With Quote
Looking good.
Might have missed it but who are you getting the ZF done through and how much are they expecting for the privilege? Are you getting your box strengthened at all?
Sent from my HTC One using AULRO mobile app

 Master
Supporter
Master
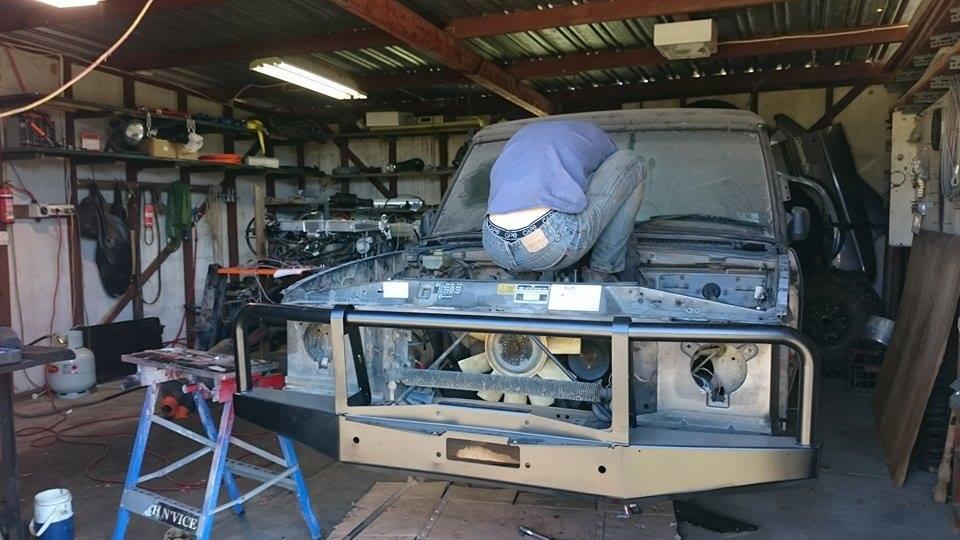
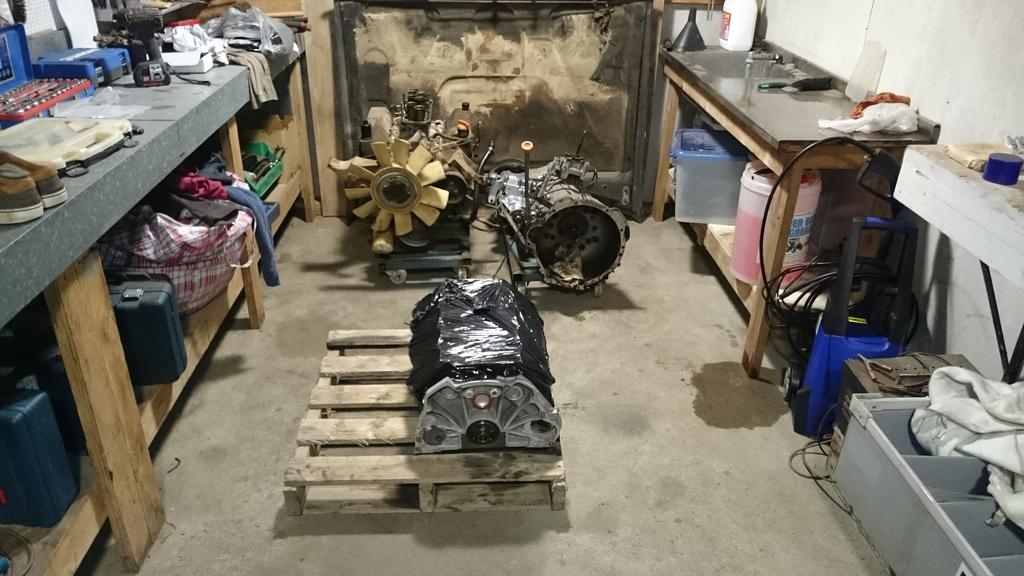
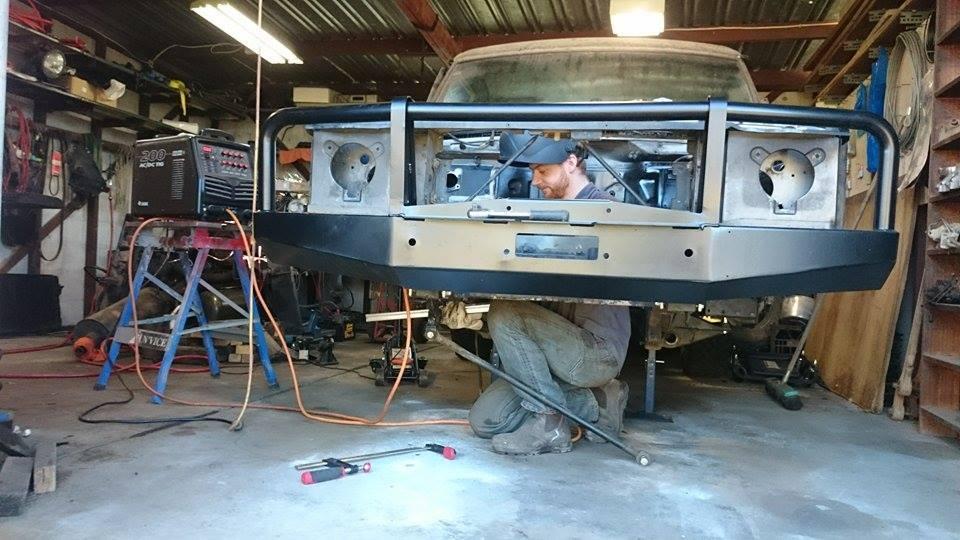
SupporterRight another weekend down and some more progress. Again thanks goes out to Derrick for helping me out in the workshop. Below are the shots.
The engine was removed. As you can see no love was given to the engine sitting in the engine bay, I was stepping all over it while undoing bolts.
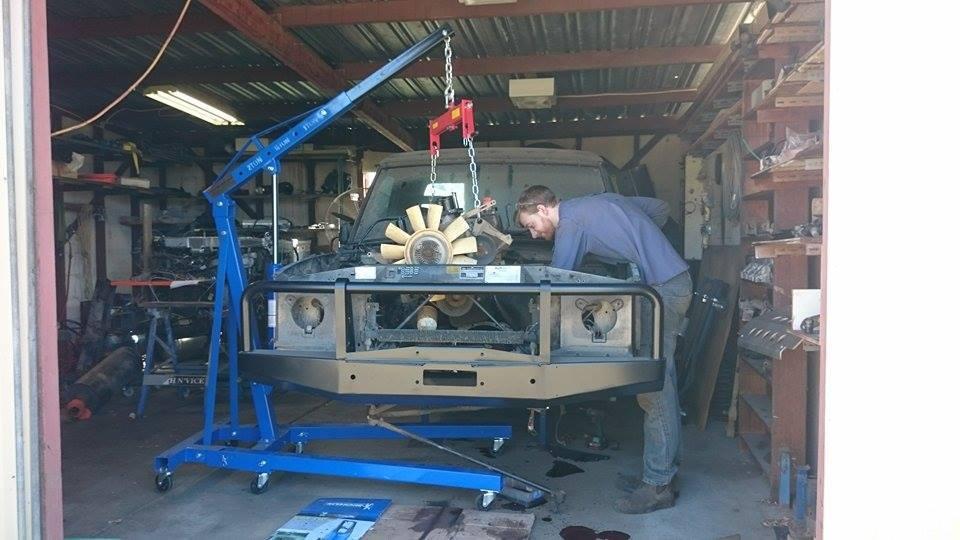
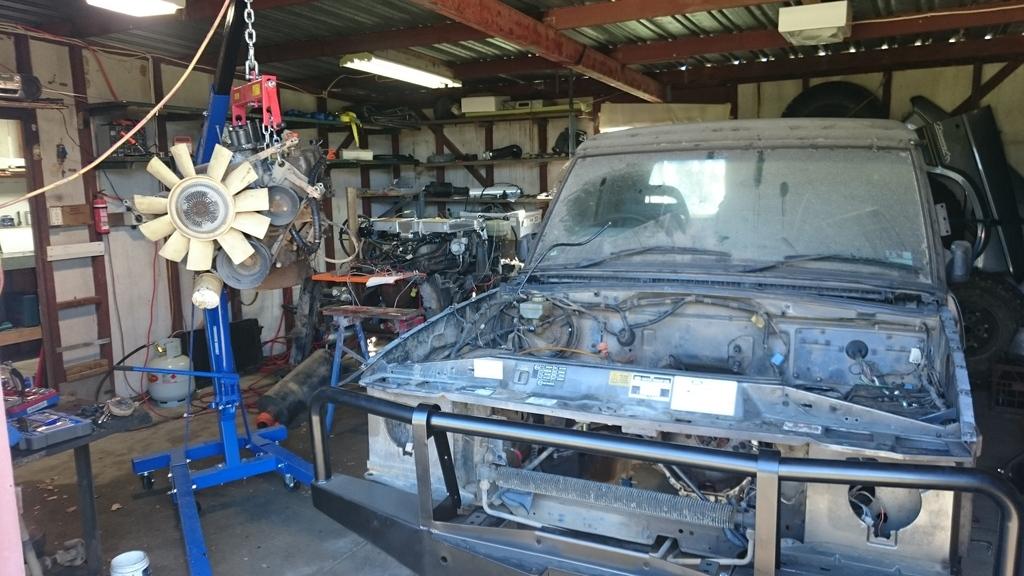
And it was finally out.
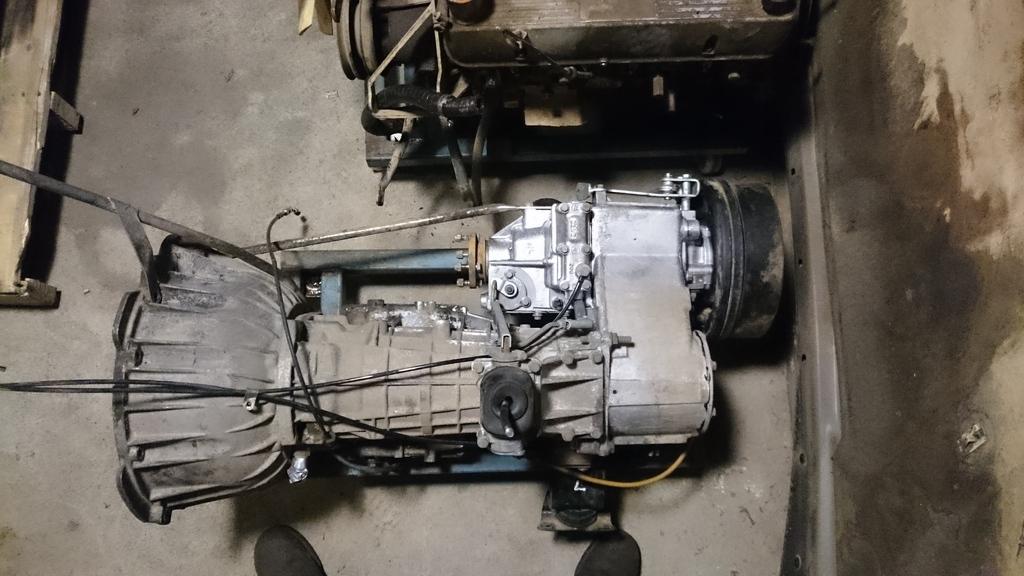
Then we moved on to getting the gearbox out, which proved to be a little trickier since the car was sitting so low (no springs). But I managed to get out out via the engine bay.
[IMG]http://www.stirlsilver.com.au/images/DiscoveryBuild/DSC_0244_zpszdhusjvv.jpg.html][img]
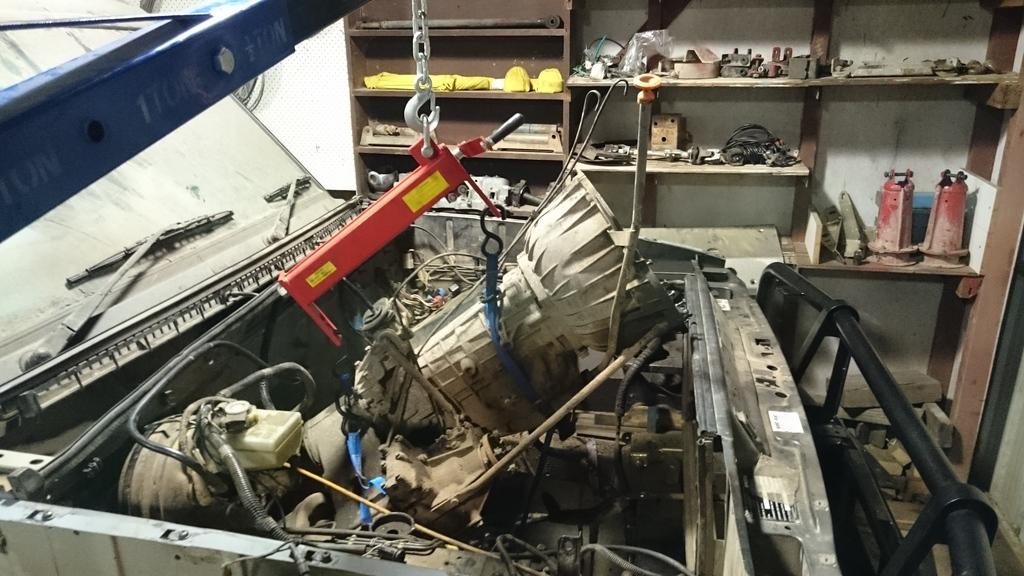
As I mentioned before, the automatic gearbox is ready for delivery, I just need to pull off the transfer case from the original gearbox so that I can send the transmission off as part of the exchange. One thing I am curious about is if I can get away with simply using the transfer case as is. Are these transfer cases known for having issues or should I be pretty safe to simply bolt it on to the new gearbox?
Also, the new engine is ready for delivery, I'm just sorting out purchasing some axles while I'm at it.
Next week will most likely be pressure washing the engine bay and underside of the car followed by modifying the front spring perches to raise them by 2". Then I guess I'll start putting the new engine together!
Stirling
Moderator
Looking good.
Might have missed it but who are you getting the ZF done through and how much are they expecting for the privilege? Are you getting your box strengthened at all?
Sent from my HTC One using AULRO mobile app
The Phantom - Oslo Blue 2001 Td5 SE.
Half dead but will live again!
Nina - Chawton White 2003 Td5 S
Slowly being improved
Originally Posted by Judo

Swaggie
T/case will be fine if its in good nick . Plenty of lt 230`s out there that have ls1 ect infront of them")
Master
SupporterI got the transmission built by AB Automatics in Melbourne, they charged $3,850 and that is assuming you send an old 4HP22 core back to them.
Further progress.
The new top hat lined engine arrived from Triumph.
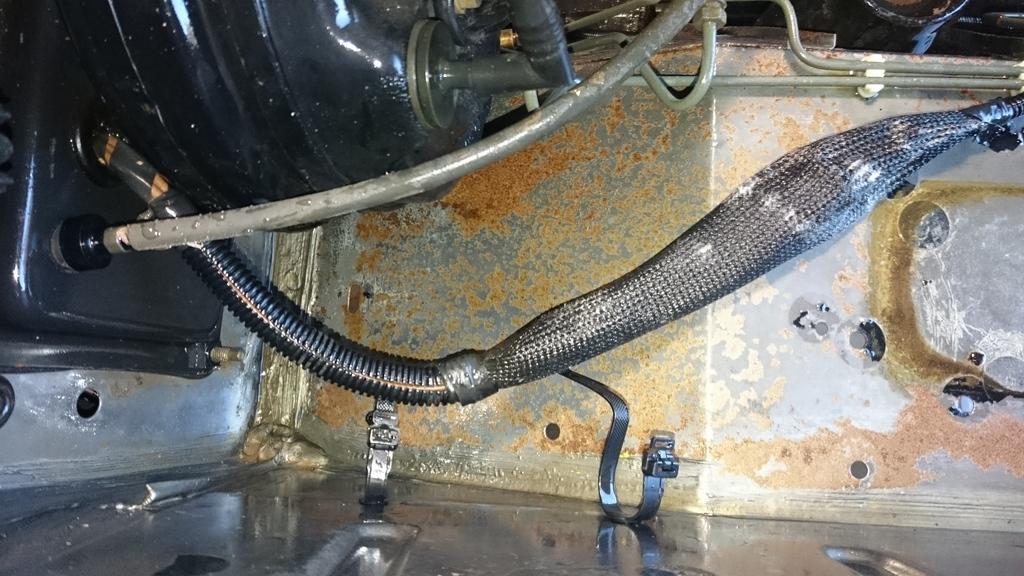
I pressure washed the transmission in preparation to separate the transfer case off the auto box so that it can be refitted to the 4HP24 box that AB Automatics built for me.
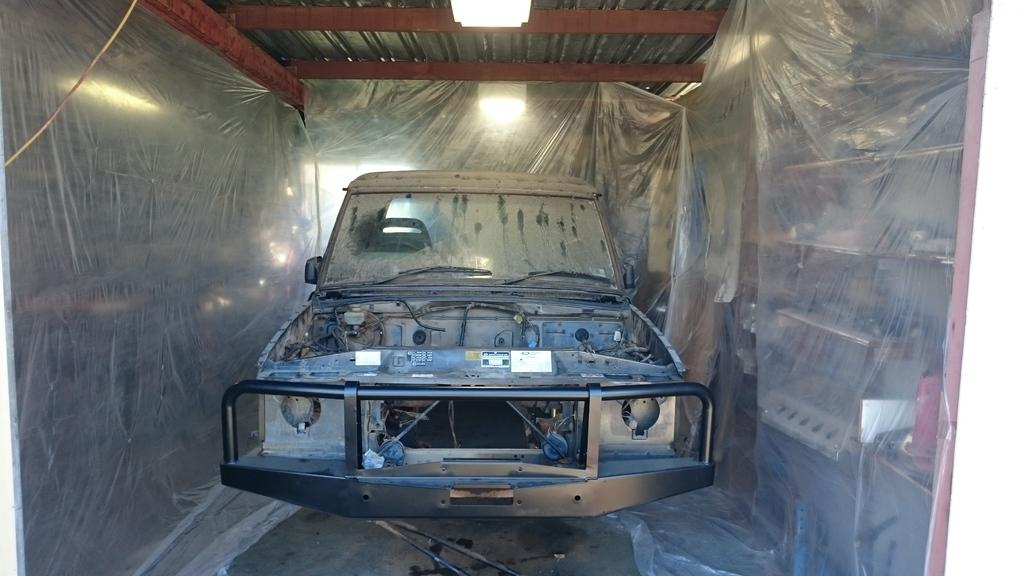
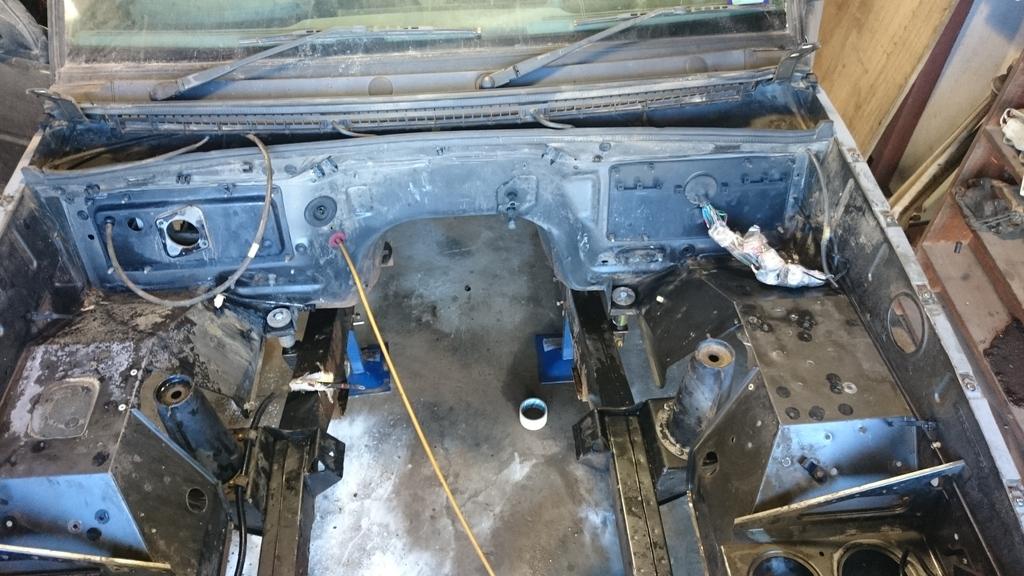
I temporarily converted the workshop into a washing booth so that I could pressure wash the engine bay. The photo strangely looks like a scene out of the Dexter series!
All washed down.
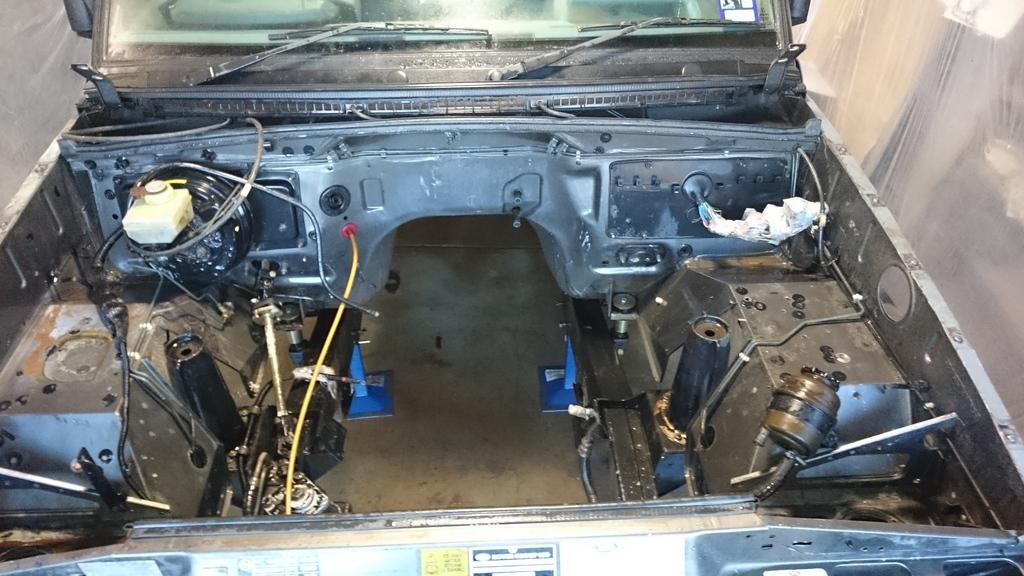
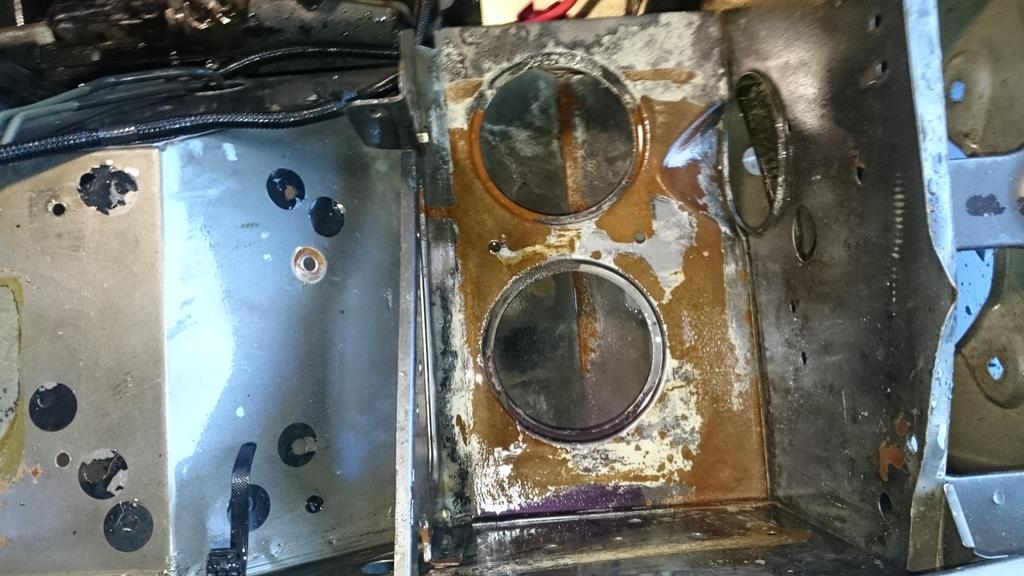
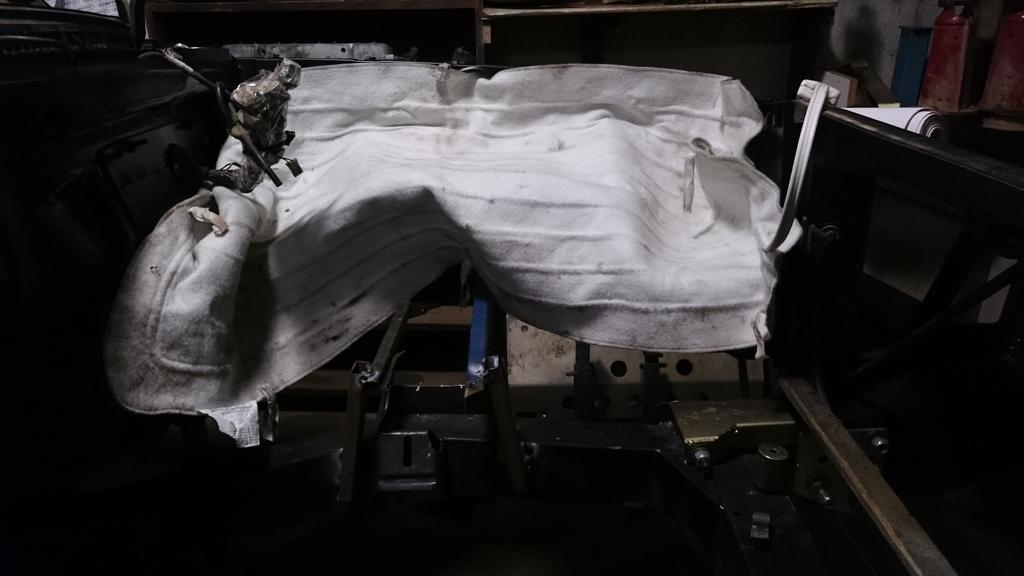
And then I discovered a sinister secret under the paint in the engine bay. Damage from a leaking battery and also leaking break fluid. Also the fact that I used a strong concentration of degreaser didn't help my case...
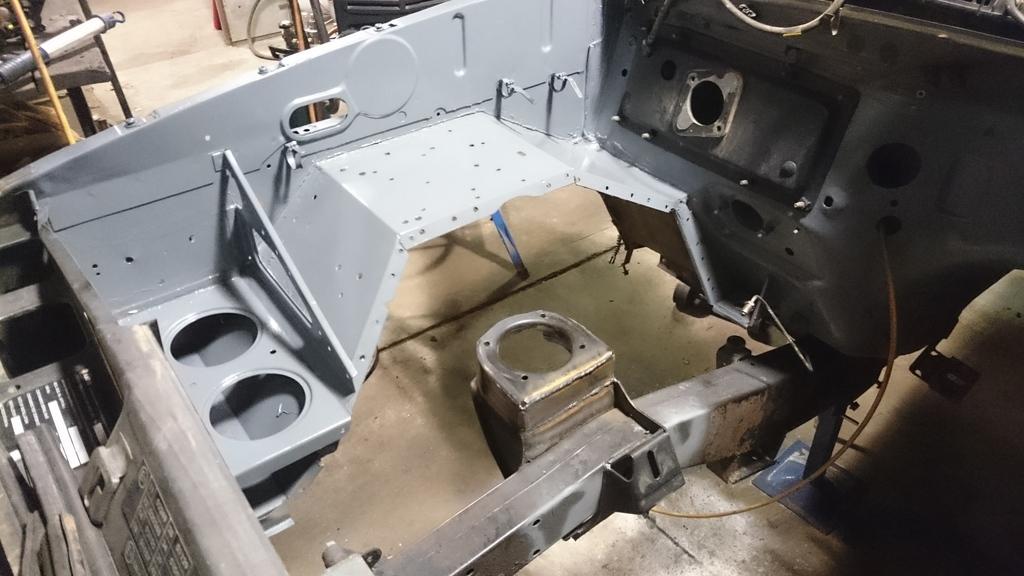
The process of removing all the rust. Looking better. I ended up putting a primer coat of epoxy rust converting paint, but forgot to take the photo.

Stirling
Master
SubscriberCheck out the passenger side body mount to see if there is any rust under the rubber. My washer bottle had been leaking and the whole side of the mount was rusted through.
I put the body lift kit in and lowered the body and the mount just folded up. I re welded it and then treated the area and battery box with the full POR15 treatment, so it should last for a fair while now.
Keep up the good work.
Neale
85 Range Rover Ute (Project in pieces)
89 Range Rover Classic (Black Thunder)
93 200tdi Disco,(OGRE)
96 300tdi Disco, DEAD MOTOR
04 Nissan Patrol with ALL the fruit
09 Cub Daintree Kamperoo
12 VE II Commodore Ute DD
Master
SupporterThat side is next on my list. Though it is in nowhere near as bad condition!
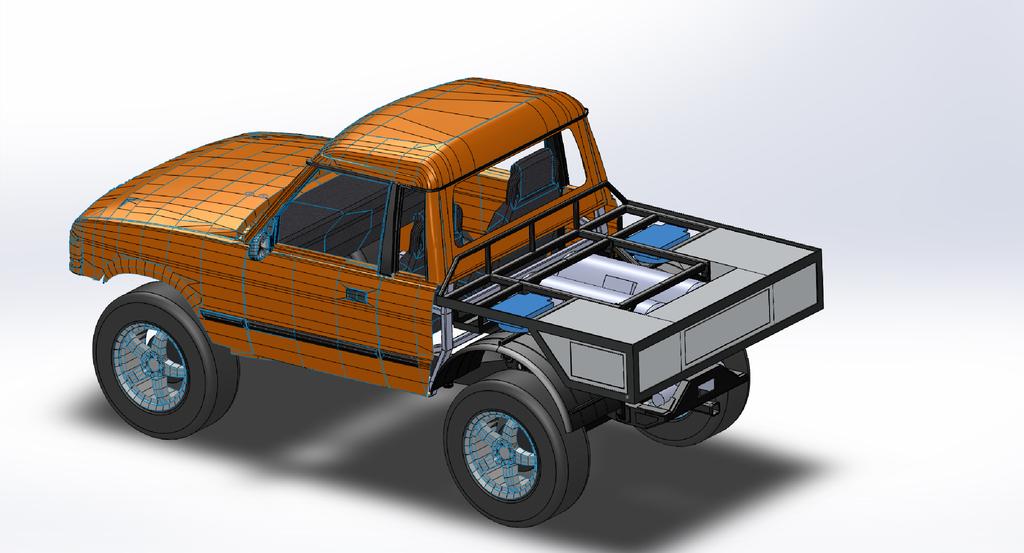
Spent some time tinkering in Solidworks. Plus putting in a lot of orders for things like:
Oil Coolers
Water proof enclosure & connectors for ECU
Pressure Transmitters
Temperature Senders
And so on...
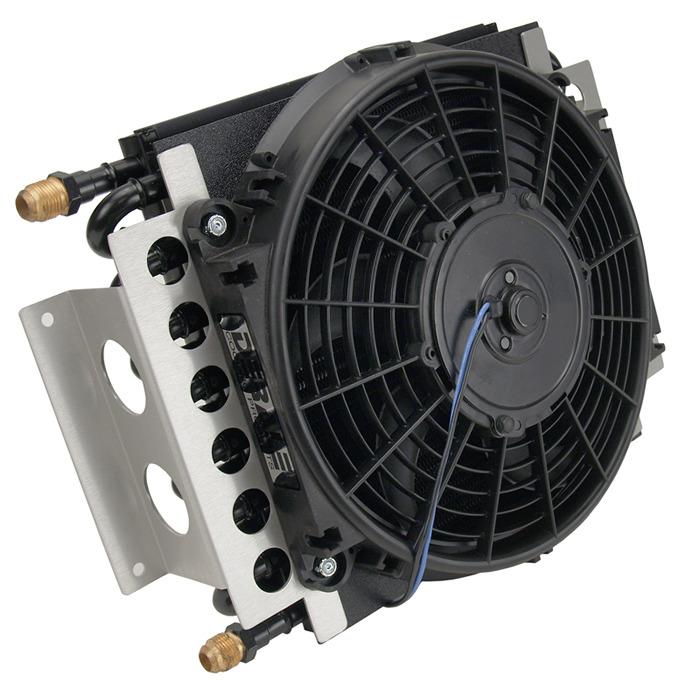
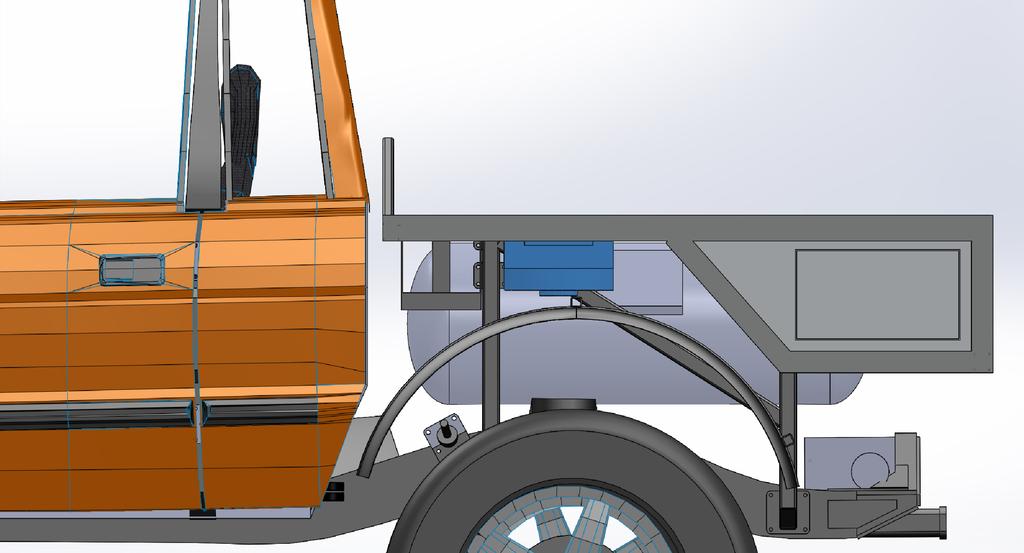
I've bought a pair of Derale 15800 oil coolers, one will be for the engine and the other for the transmission. Each controlled via the ECU by oil temperature senders. Below is what the unit looks like (It should arrive in the next week or so)
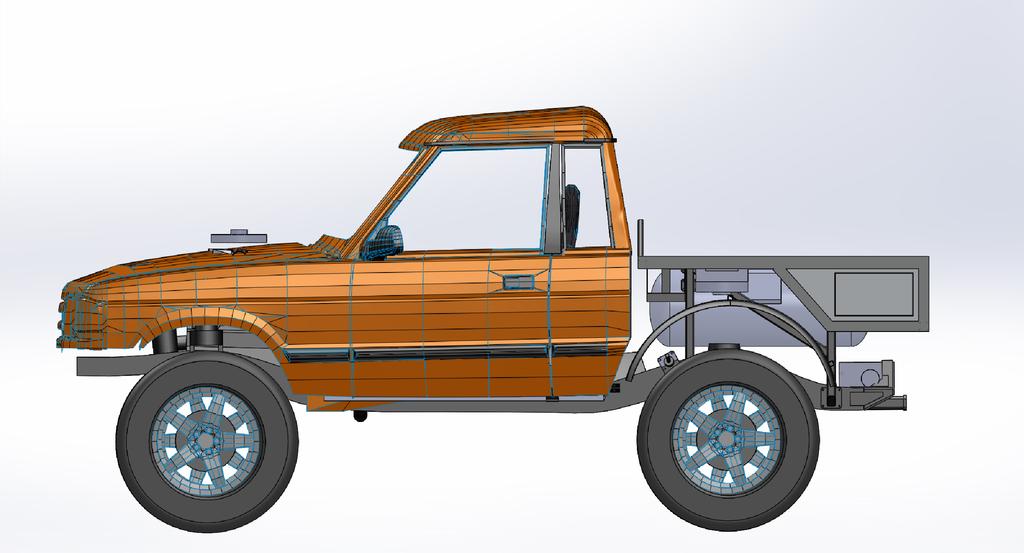
And below (in blue) is where I plan to mount them. According to my 3D model, they should JUST fit in. I'll find out soon if this is right!
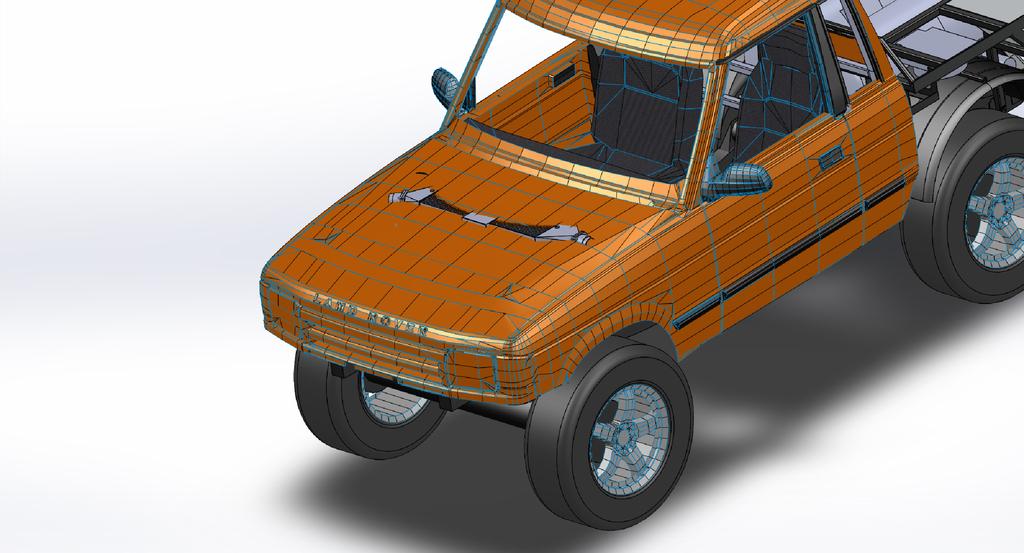
I also did some quick exploring on how much modification I'm going to have to do to the bonnet to clear the intercoolers and the fans for them. The answer is... A lot... It's going to be quite a bulge! plus I need to blend in a scoop. Should end up looking pretty agressive I think.
Back into playing in the workshop tomorrow!
Stirling
Master
SubscriberJust let it stick out the bonnet, street machine style :-)
OR you could put a clear cover over it to show off your cool set up :-)
Neale
85 Range Rover Ute (Project in pieces)
89 Range Rover Classic (Black Thunder)
93 200tdi Disco,(OGRE)
96 300tdi Disco, DEAD MOTOR
04 Nissan Patrol with ALL the fruit
09 Cub Daintree Kamperoo
12 VE II Commodore Ute DD
Master
This is a hell of a build - enjoying following it.
Considering there is a good chance this will spend time fording, is a cowl scoop the way to go?
Sent from my SM-G900I using AULRO mobile app
Master
SupporterThat would be an interesting look! Though I don't think it is legal??
I'll definitely want to design the scoop so that it catches the air stream and forces the air over the intercoolers. As for the situation when fording, I'm thinking of including some baffles which will reduce the amount of water that reaches the top of the engine. I need to think about the design some more!!
Ripped into the project some more this weekend making some great progress.
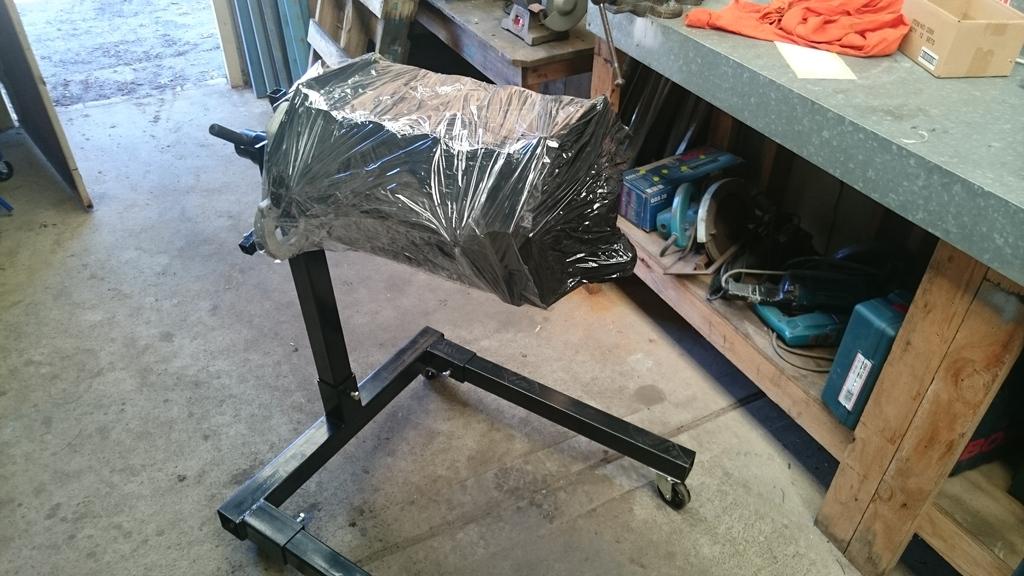
Last week I bought a 2nd hand engine stand but I didn't have bolts long enough to mount it. So that was sorted this weekend :-)
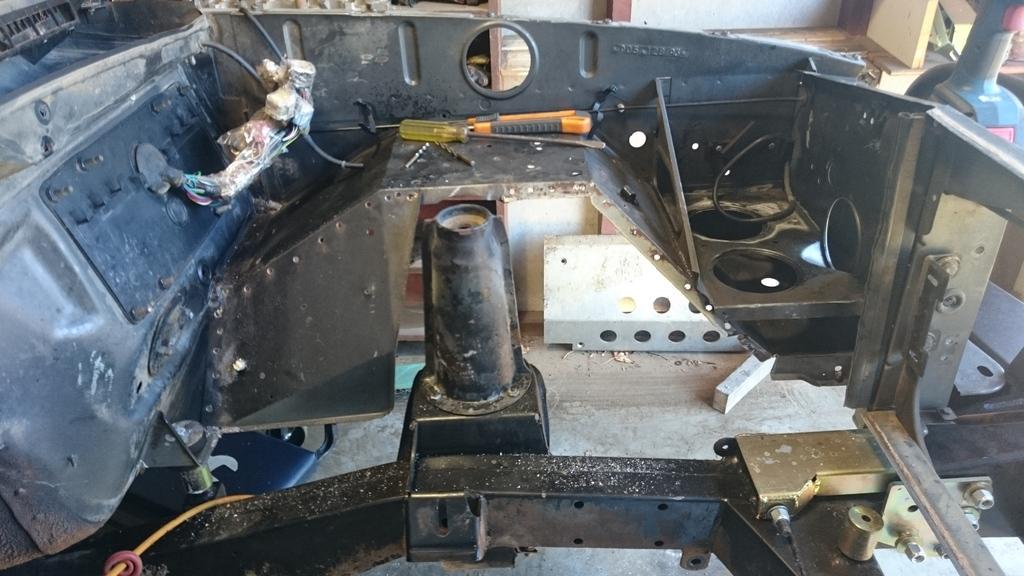
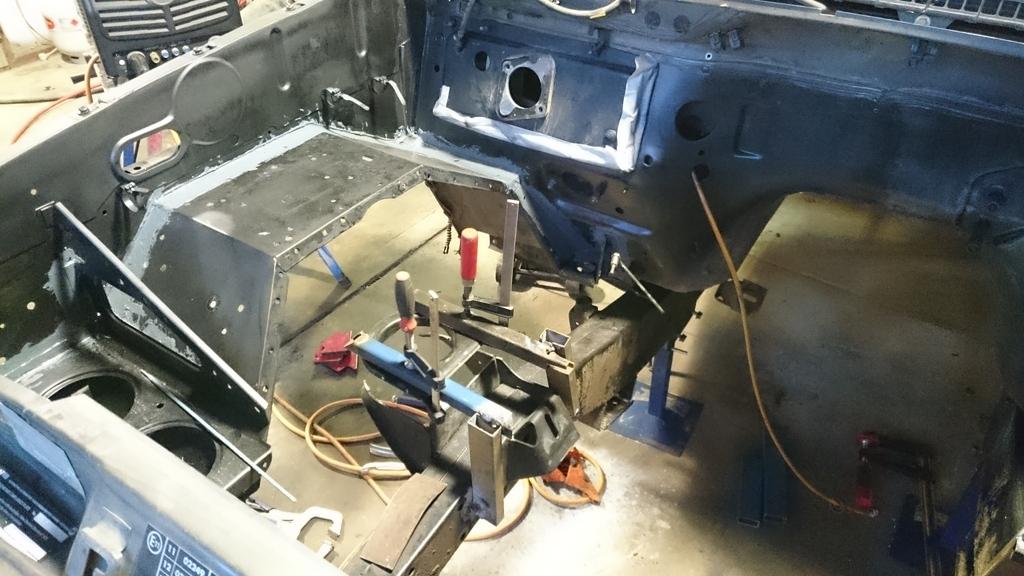
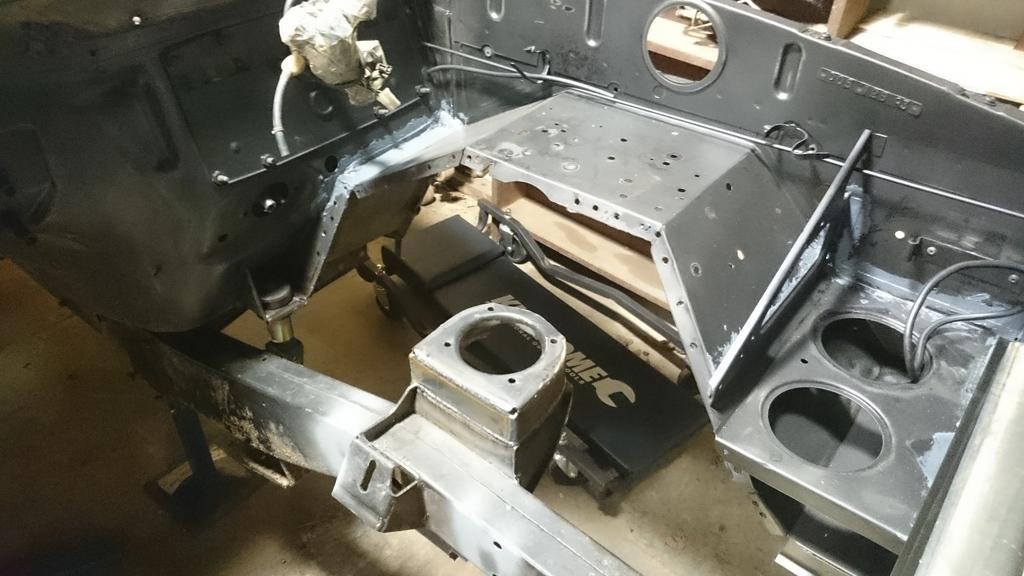
Another item I forgot to mention in my update from last weekend was that I had made a start of drilling out and removing the vertical panels of the inner guards. The plan is that I will re-bolt these panels back in using bolts so that I have better access to the sides of the engine. With so much stuff hanging off either side of the engine I need as much access as I can get to reach bolts!!
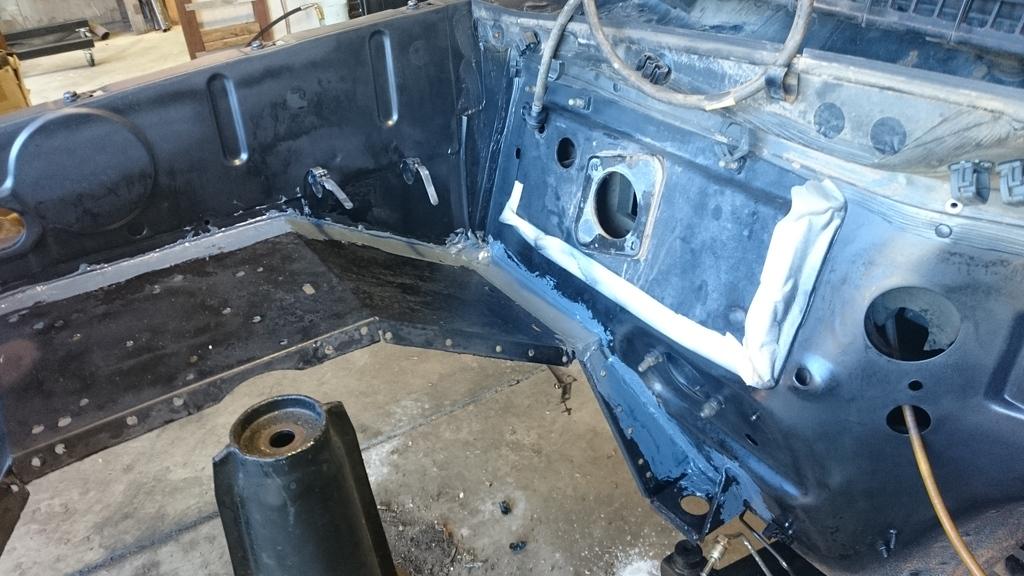
Right hand guard seam sealed after treating all the rust!
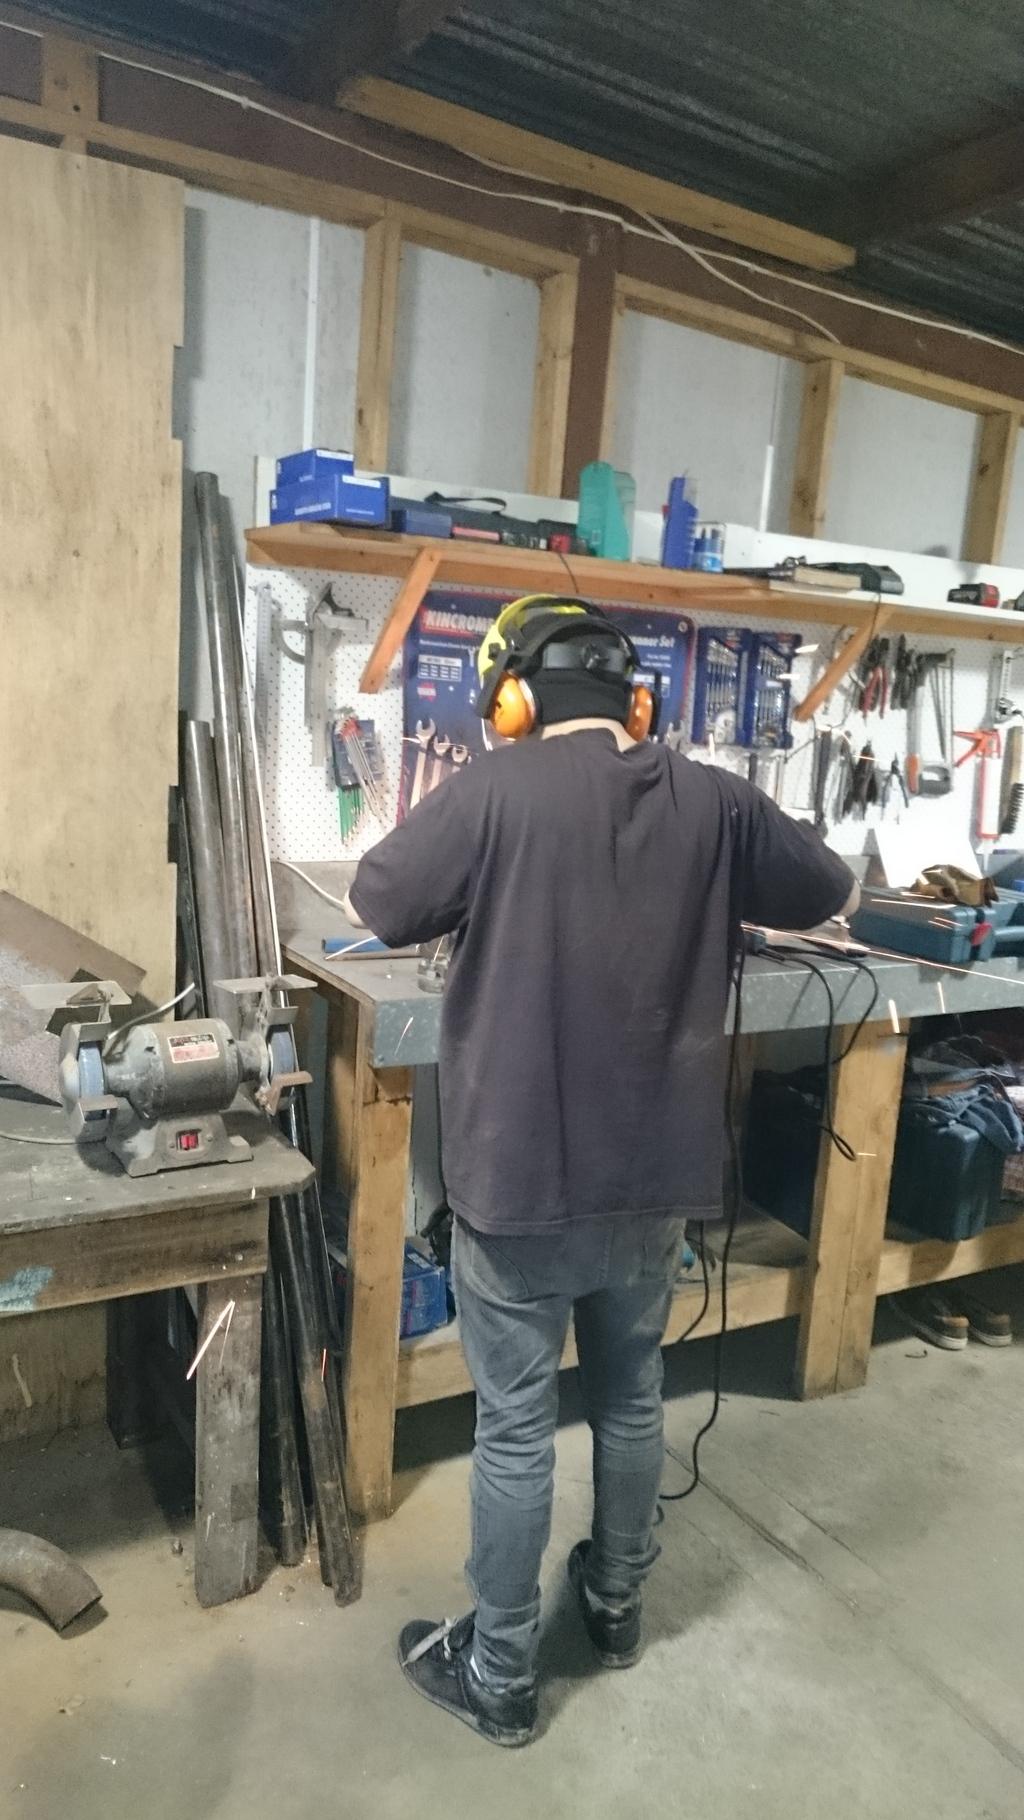
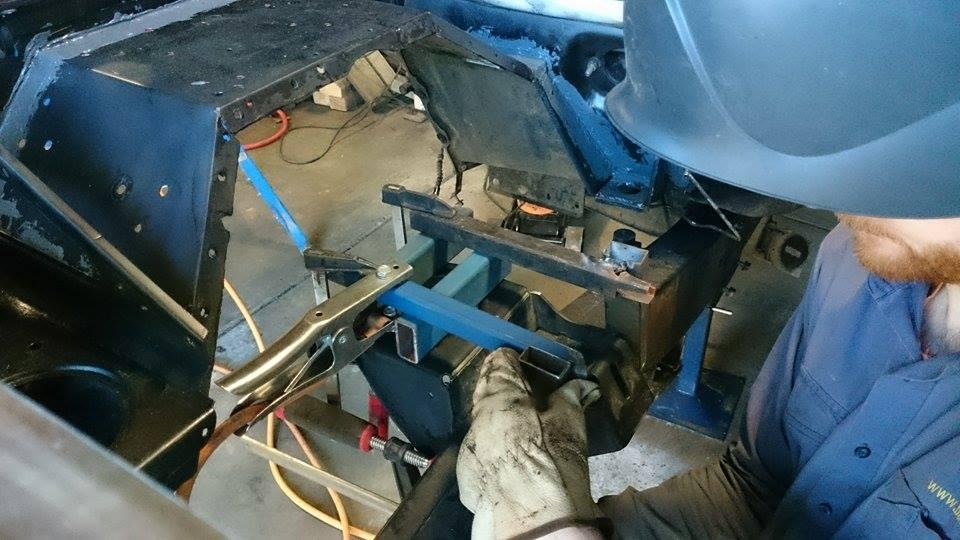
Here is an action shot of Derrick cutting some parts for me. Again a major help!
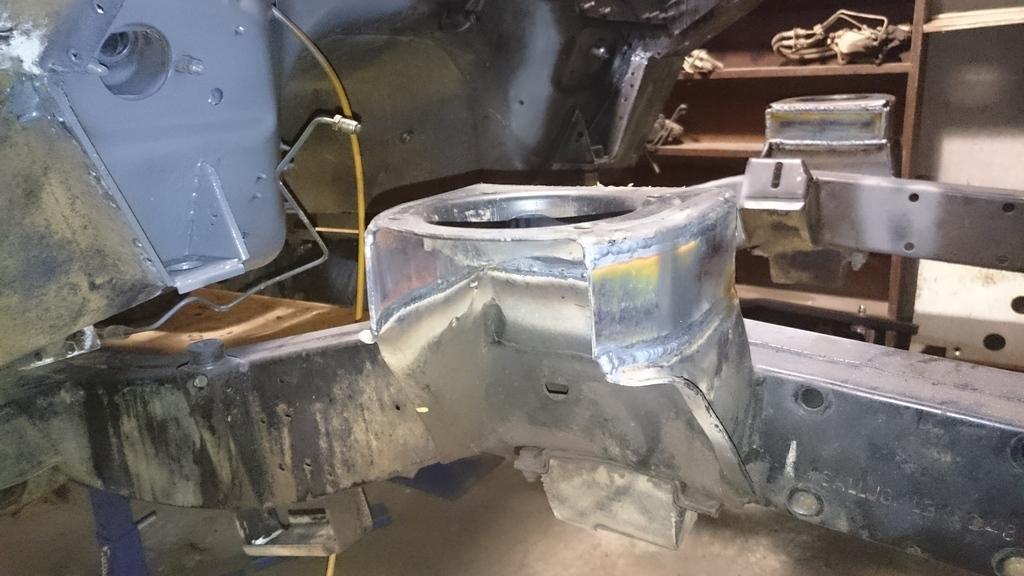
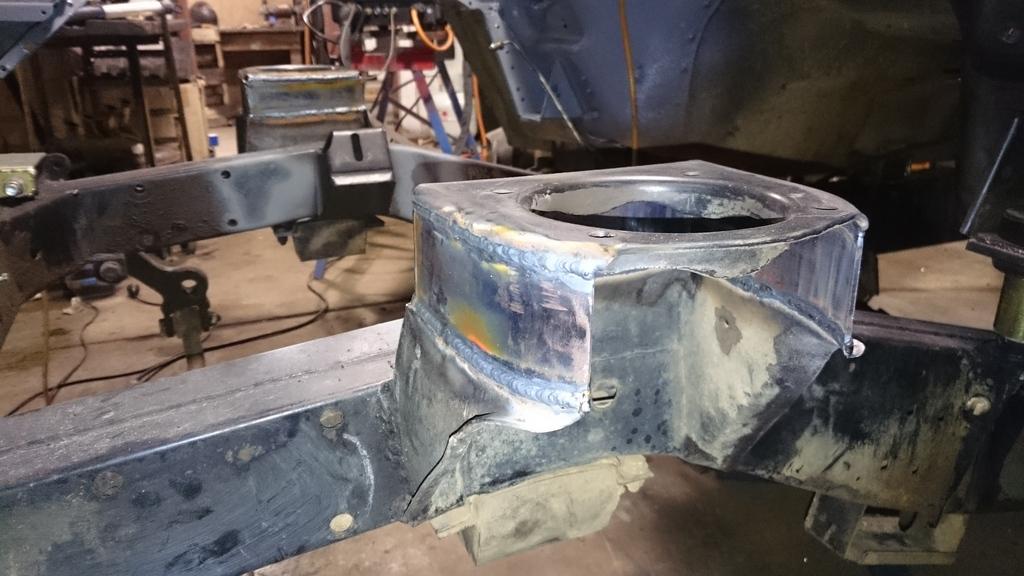
While the seam sealer on the righ hand guard cured and the primer paint on the left hand guard dried, we moved onto the spring perch modifications:
With all the cold weather going around, it was necessary for me to wrap the guard in an electric blanket which I modified to remove the auto off timer. This is so the primer paint would continue to cure over night.
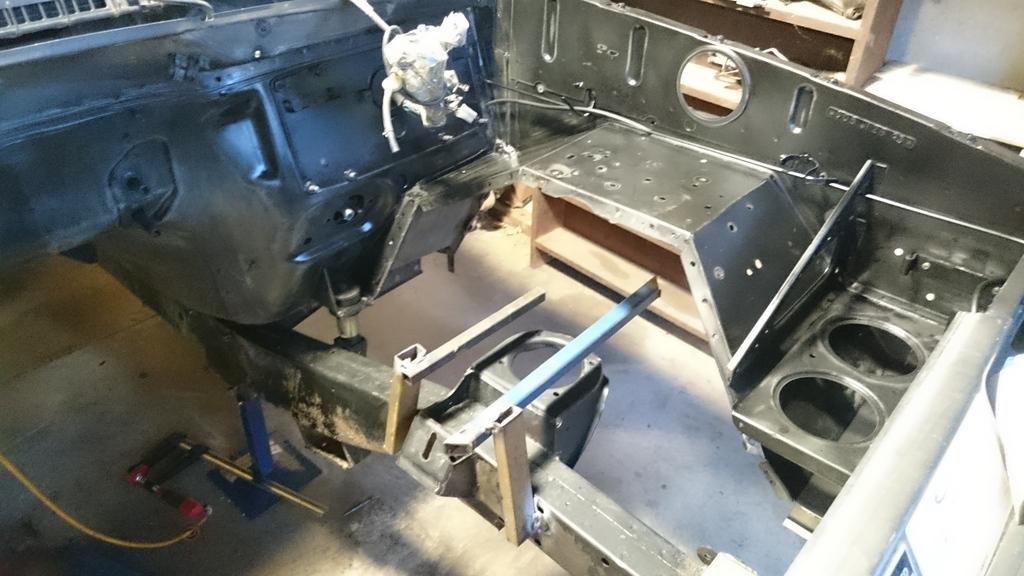
Next day, the right hand guard was top coated in a light grey paint and I finished welding up the 50mm extensions to the spring perches.
And that's all folks!
Stirling
Master
SubscriberCould you make removable covers or baffles to slip into place from under the bonnet when fording. Sort of like using a water bra on the front of your vehicle or make a bra that extends over the bonnet.
What is the idea behind raising the spring perch?
I have heard of raising the shock towers to use longer travel shocks but never heard of modding spring perch.
Neale
85 Range Rover Ute (Project in pieces)
89 Range Rover Classic (Black Thunder)
93 200tdi Disco,(OGRE)
96 300tdi Disco, DEAD MOTOR
04 Nissan Patrol with ALL the fruit
09 Cub Daintree Kamperoo
12 VE II Commodore Ute DD
 Posting Permissions
| Search AULRO.com ONLY! |
Search All the Web! |
|---|
|
|
|

Bookmarks