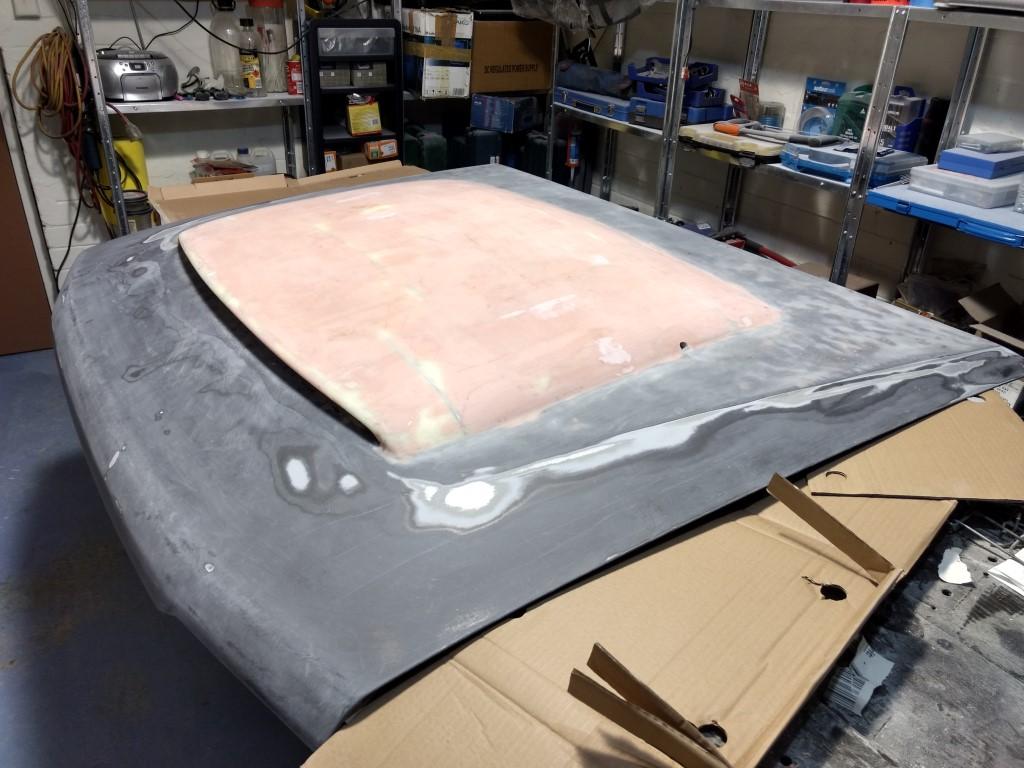
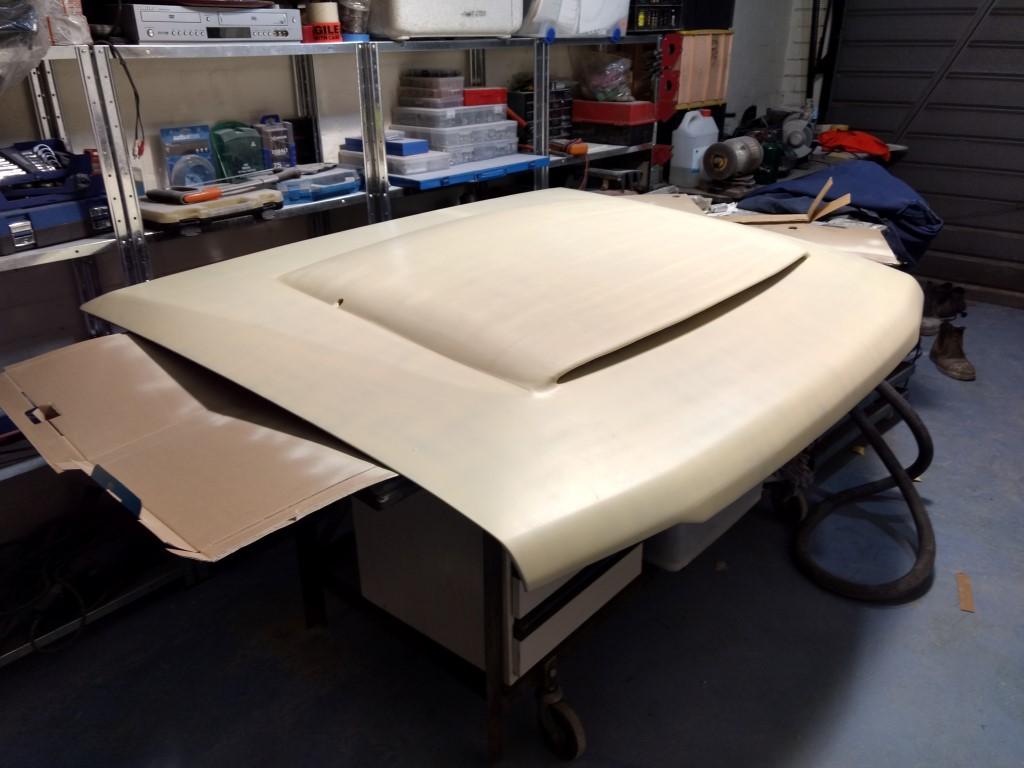
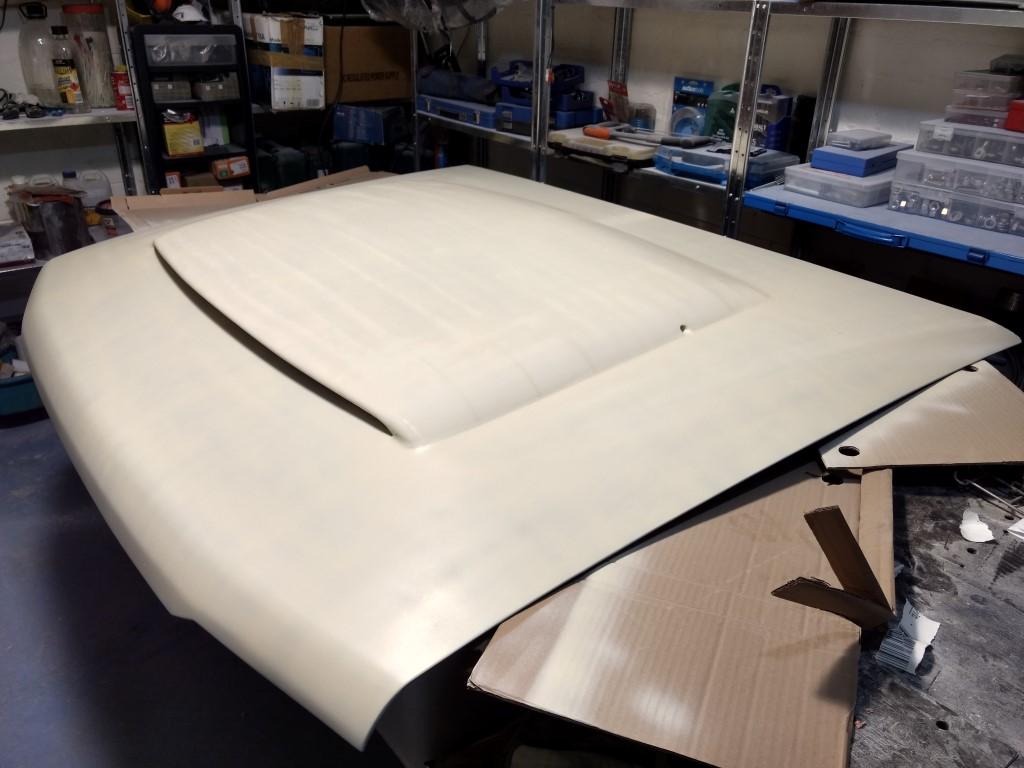
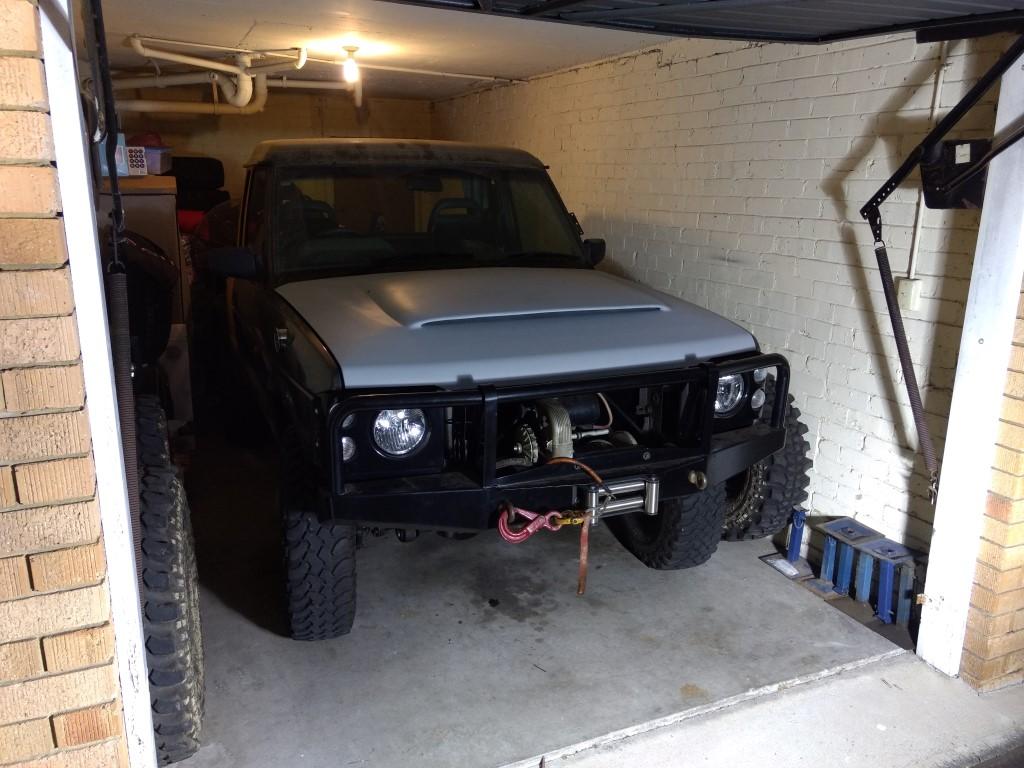
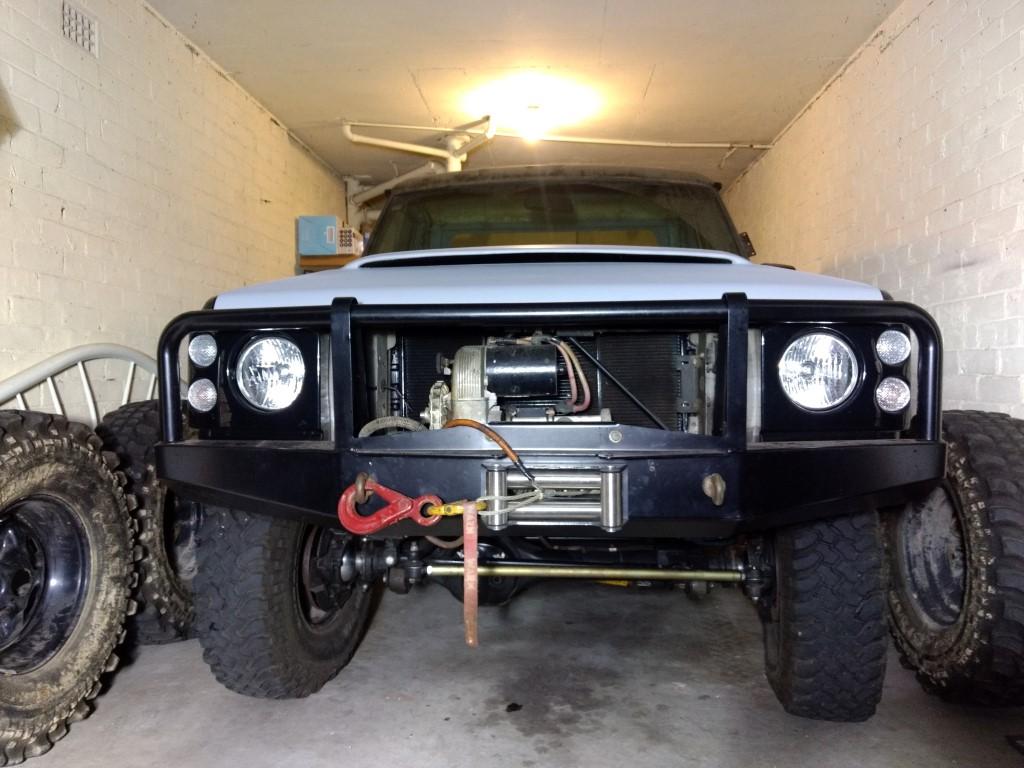
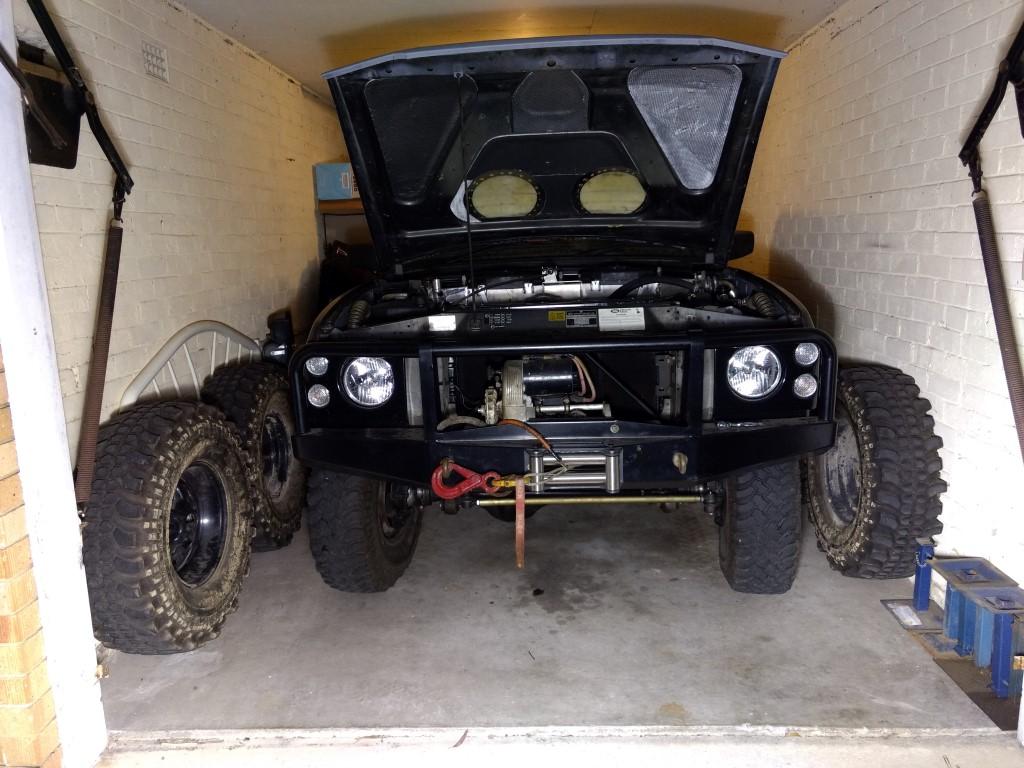
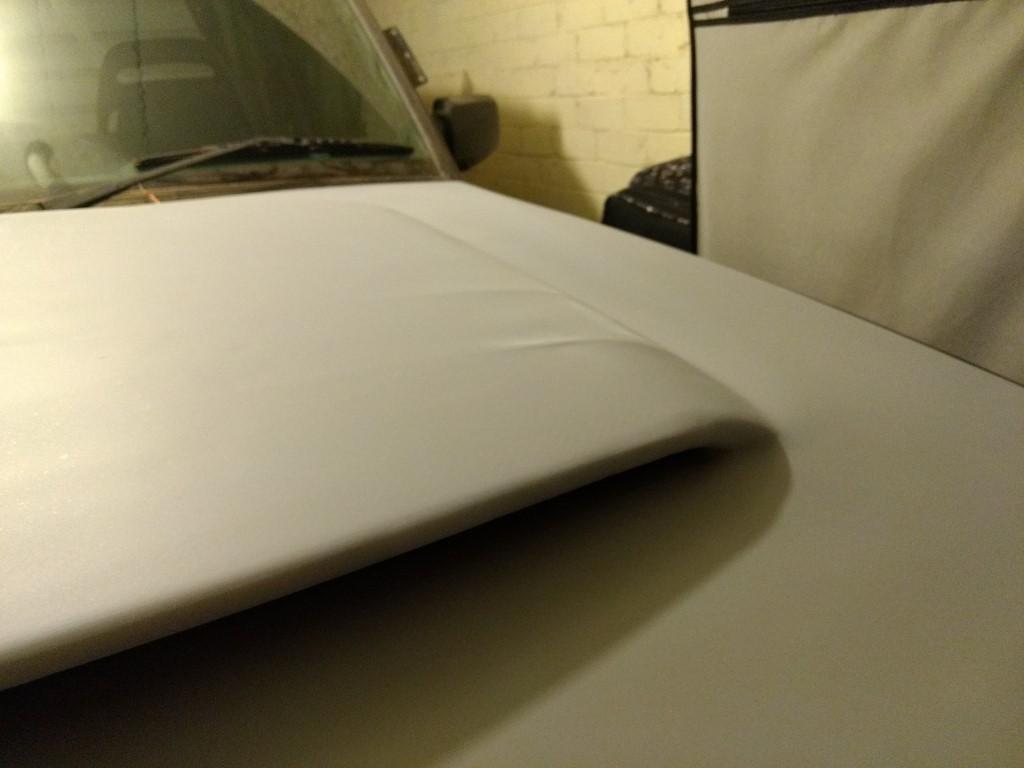
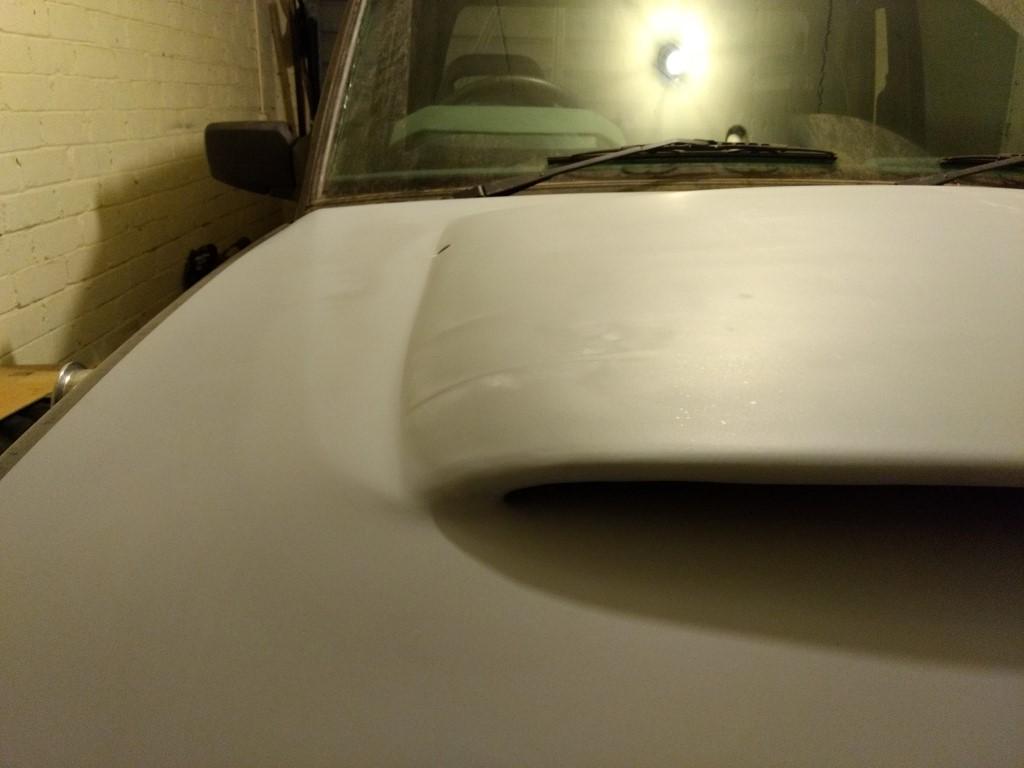
Thanks for the update. How are the radiator fans going? On and off as you'd expect, or running quite a bit? I ask because you've got that, (now sadly deformed!), bonnet scoop which I thought might pressurise the engine bay a bit. I think you'll need a decent 40-minute or so run on a highway to start checking that.
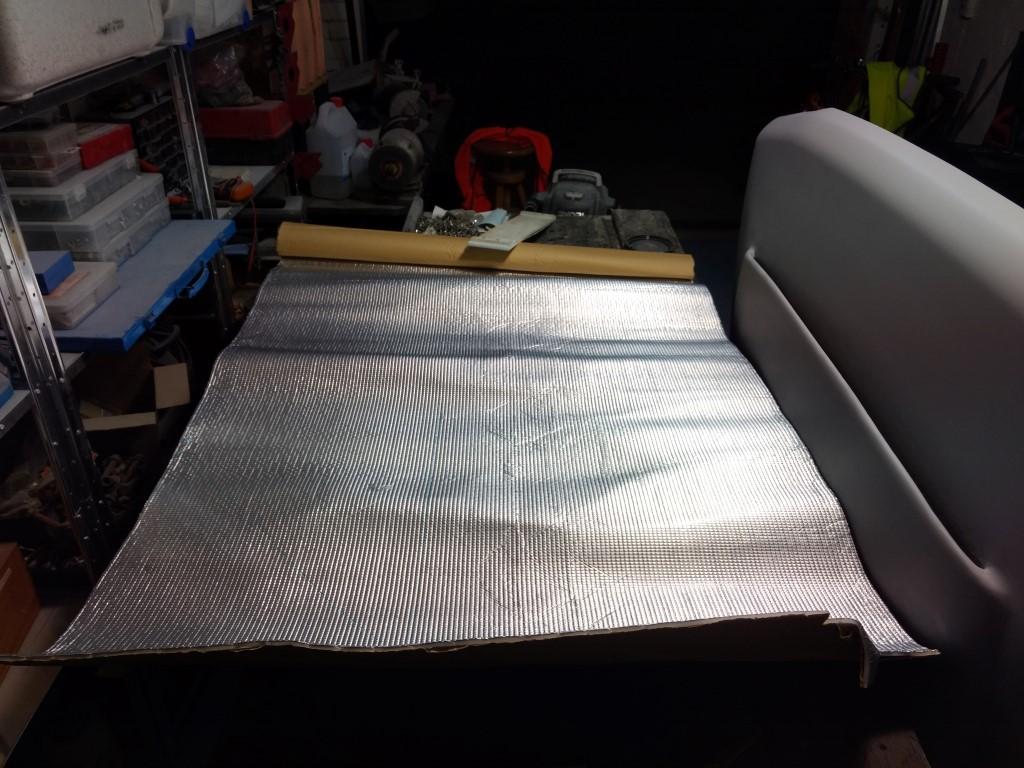
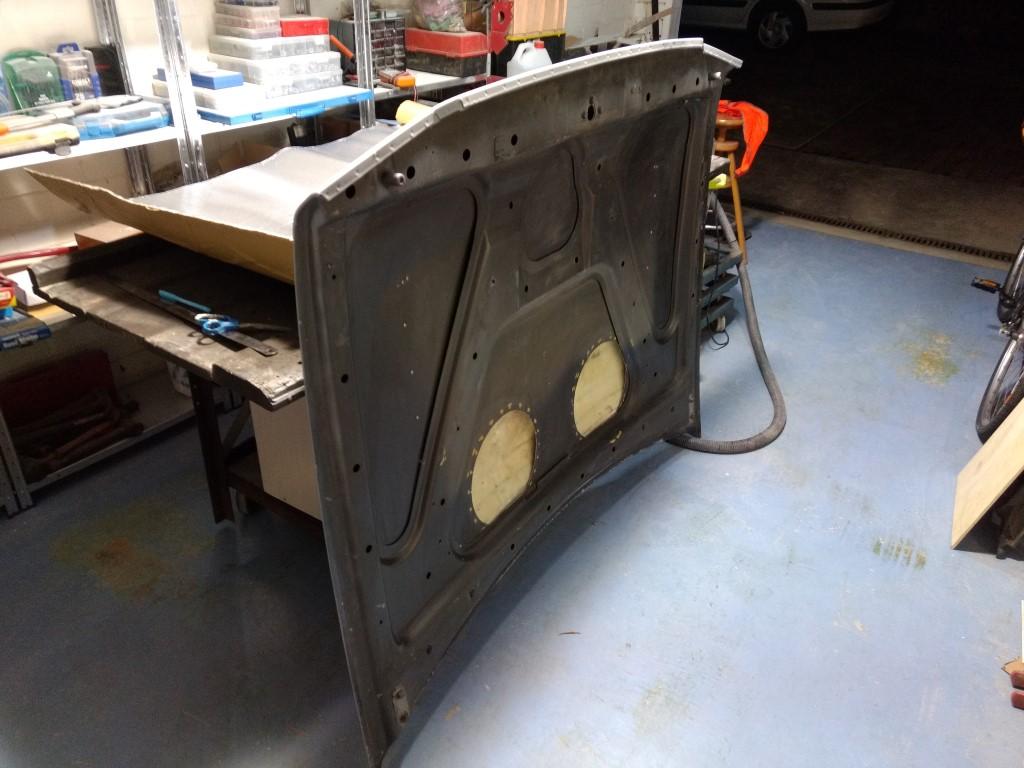
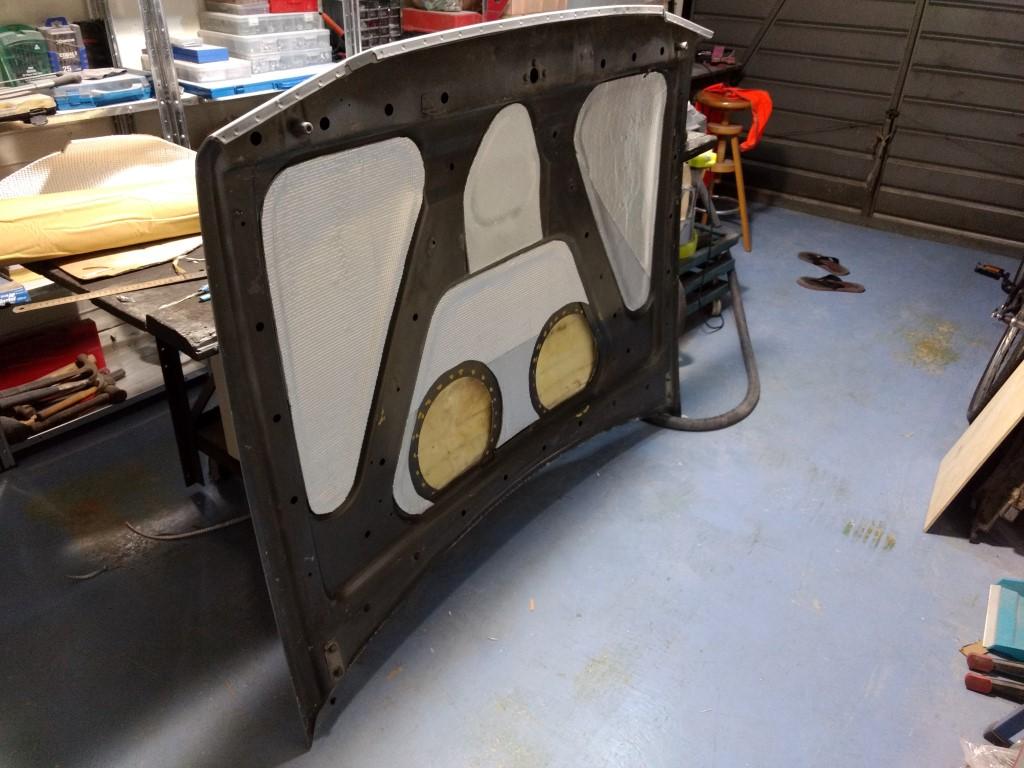
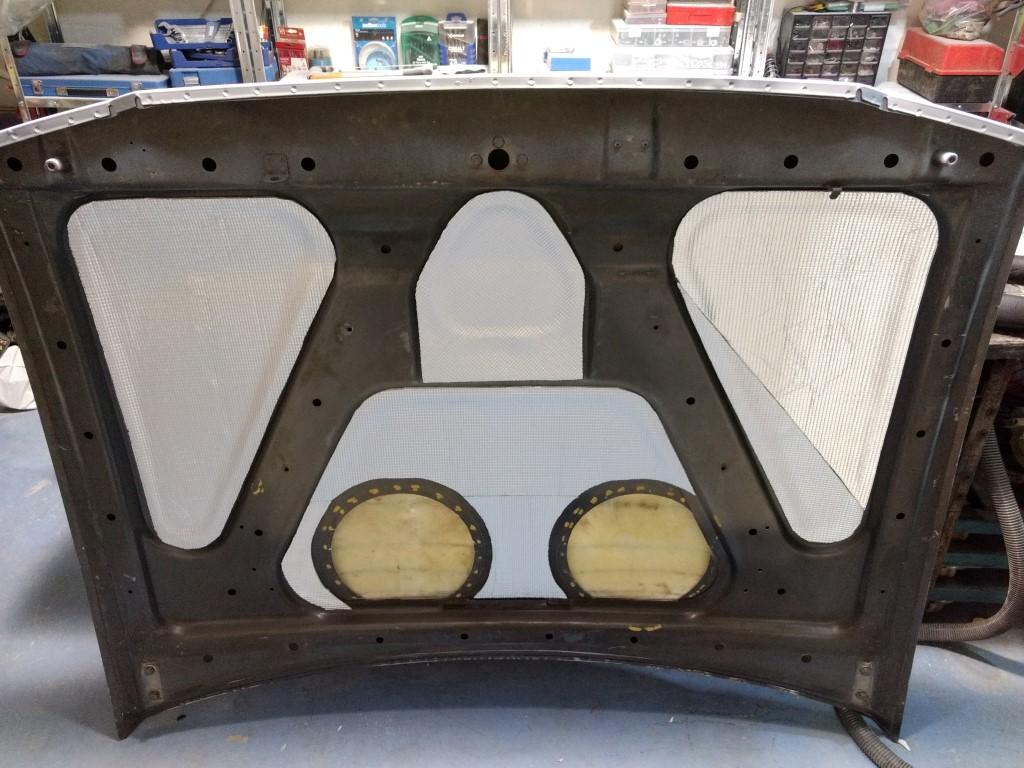
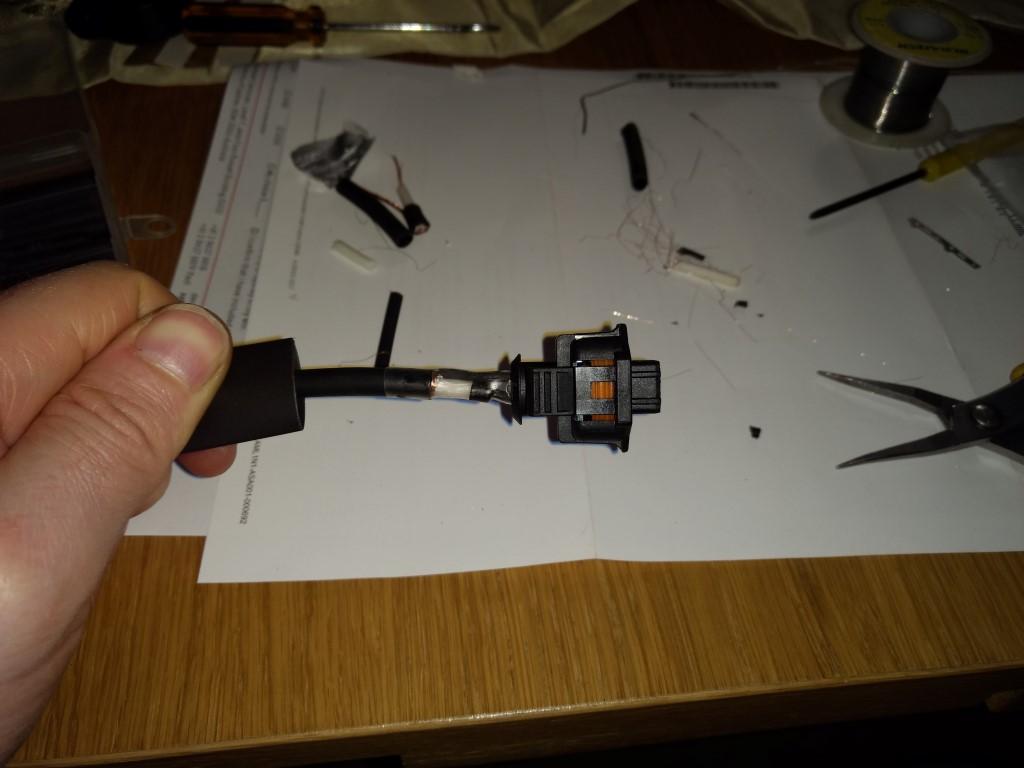
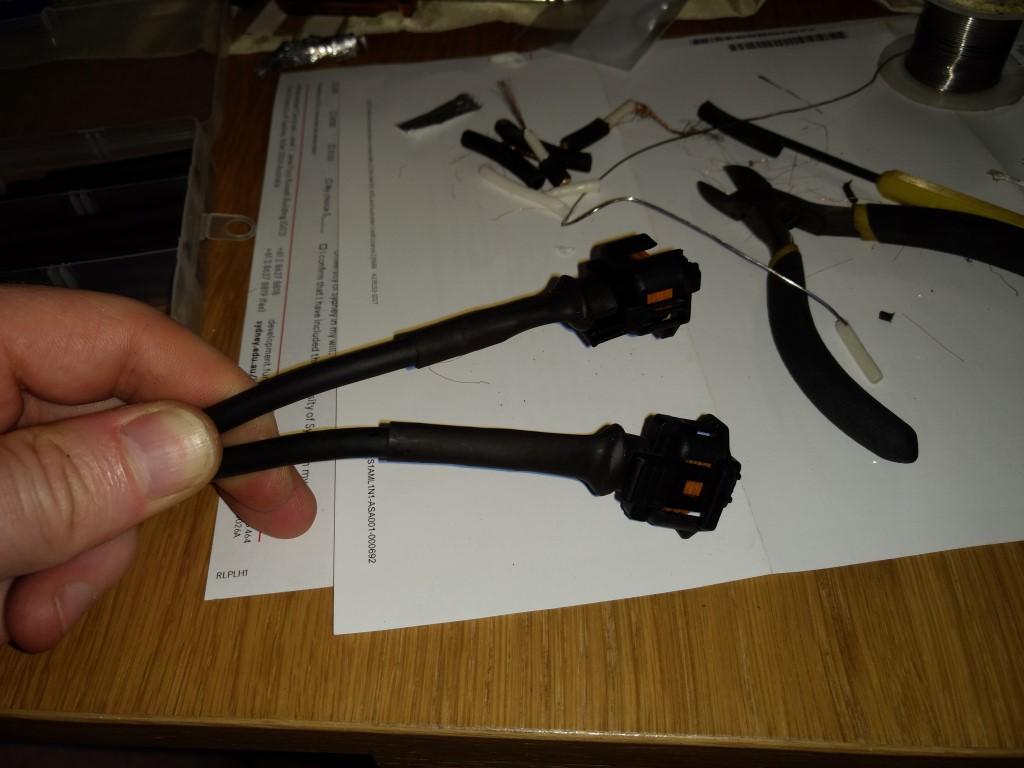
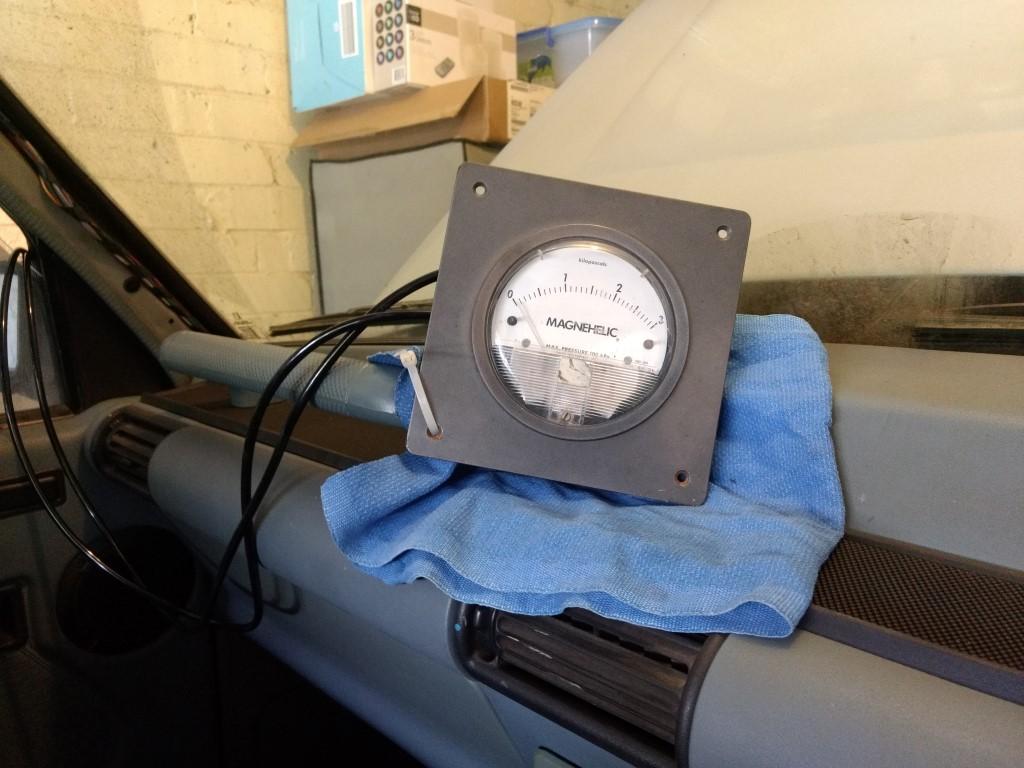
I'm still fumbling along with that testing I mentioned here months ago. I sealed up the bonnet gap and put a deflector under the bullbar, and took the two bonnet scoops I had facing forward and reinstalled them facing in reverse instead. Testing off the car with liquid smoke heated up with a soldering iron showed that airflow over these things would suck air out of the engine bay. Of course the opposite happened once they were on the car! So I must have a hell of a low pressure area in the engine bay. I'm still trying to work out how to measure that and get some idea of what the radiator airflow is. It never ends!!!
At any given point in time, somewhere in the world someone is working on a Land-Rover.


 Reply With Quote


 .
.


Bookmarks