


 Reply With Quote
Almost a year since my last update. I have done a lot of work, but after my wife got sick, I did not spend anywhere near as much time as I used to. When most of the treatment, operations and reconstructions were finished, we needed some time away, so we went on a a three month trip around Australia (Our three month lap of Australia
Now we are back, and things are going better, now time to get stuck into the truck, and hopefully get some real progress done.
First to recap progress over the past year:
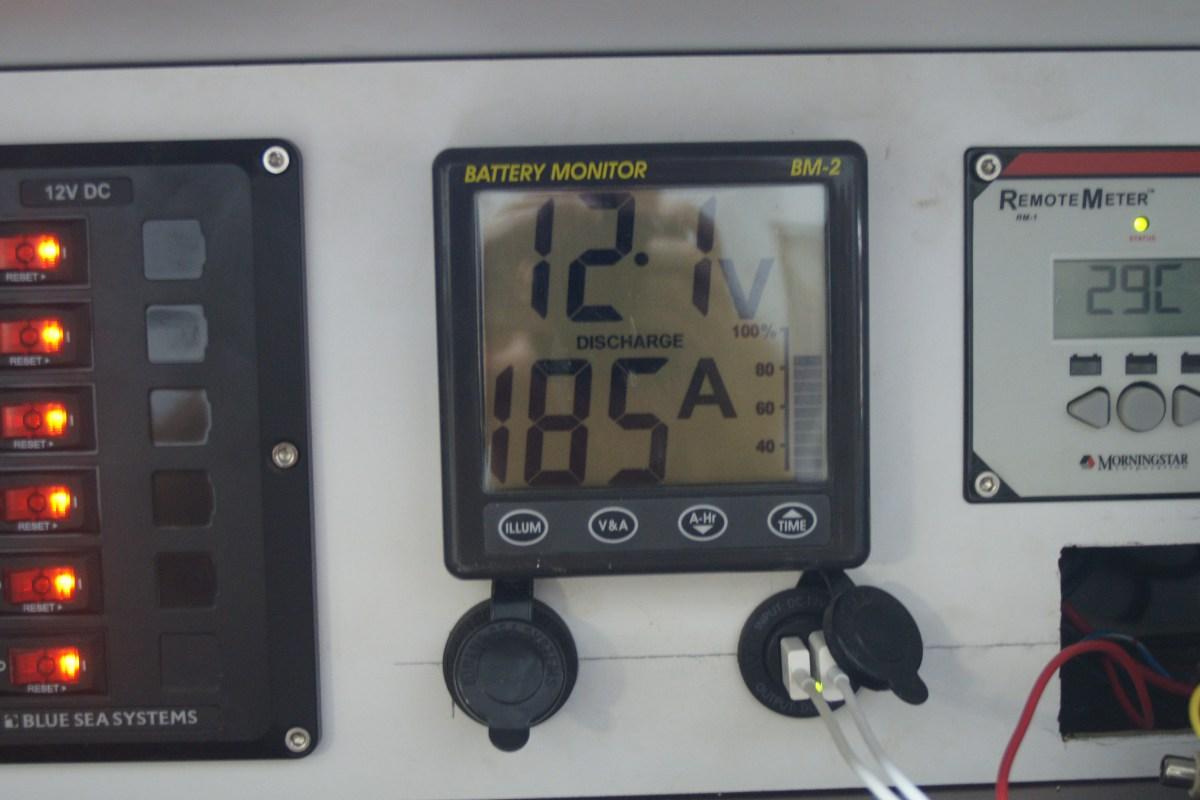
plumbing and the electrics.
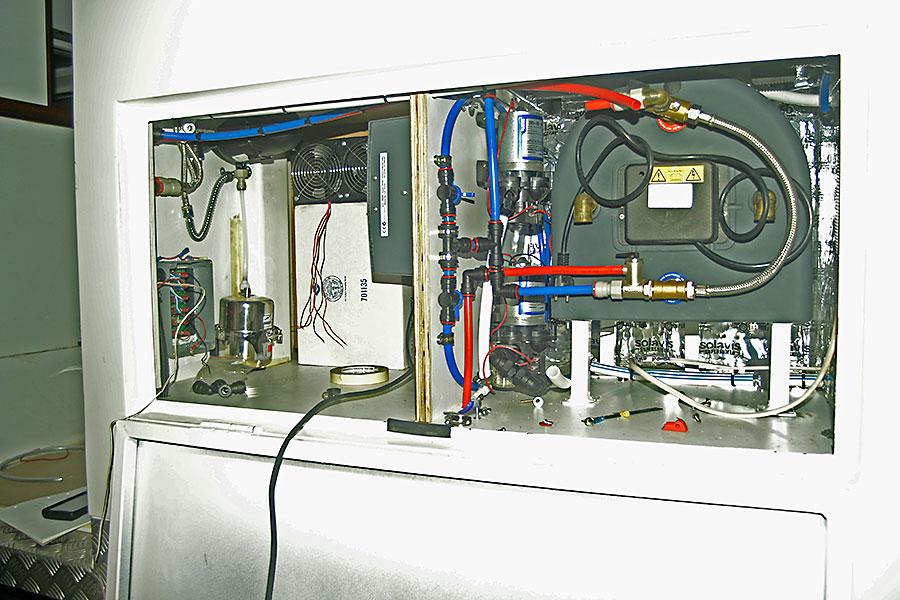
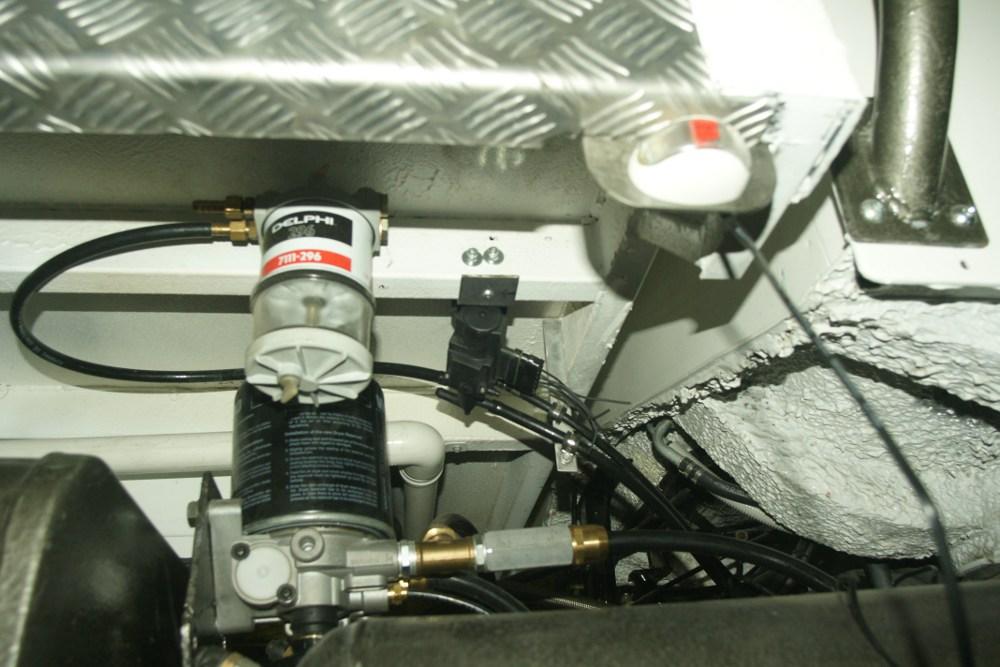
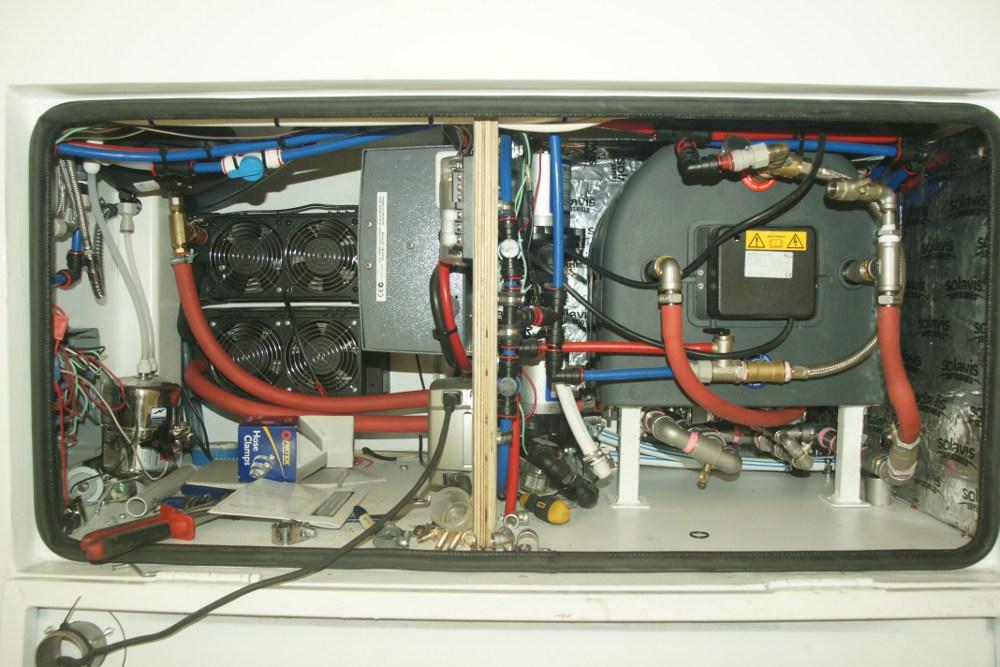
I've installed the hot water heat exchanger, I had to made a frame to get it off the floor, so that all the pipework will fit, otherwise it would be too difficult to get to. Next was to run all the water lines. The system is fairly complex.
The supply system consist of:
Two water tanks
Two independent supply lines
Two pre-filters
Two water pumps
Filler system (common fill point but with each tank isolated)
Air breather system on each tank connected to the fill point
The 20 litre hot water tank is heated by the engine cooling system, or the Webasto diesel heater. The on-board cabin heater is also part of the system, with isolation valves on the heaters to block it off when it is not required. As the engine can heat the tank to over 88 degrees, I have to fit a tempering valve - that blends the very hot water from the tank with cold water to reduce the temperature down to 40-50 degrees so it doesn't burn you. Since the water in the tank gets very hot, it expands, so there is also a expansion valve to bleed the excess pressure.
The delivery system consists of::
2 shower heads ( hot and cold - one in the entrance way, the other in the boot - which doubles as the outside kitchen tap)
Sink ( hot and cold)
2 drinking water taps (connected to the Seagull IV filter - next to the sink, and another tap in the boot.
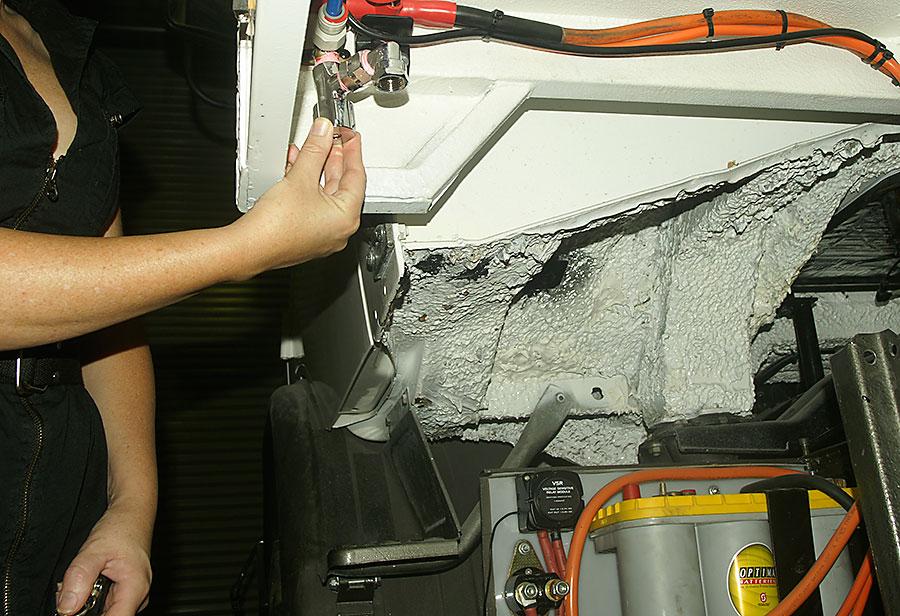
Outside hand washing tap ( front passenger side - cold only)
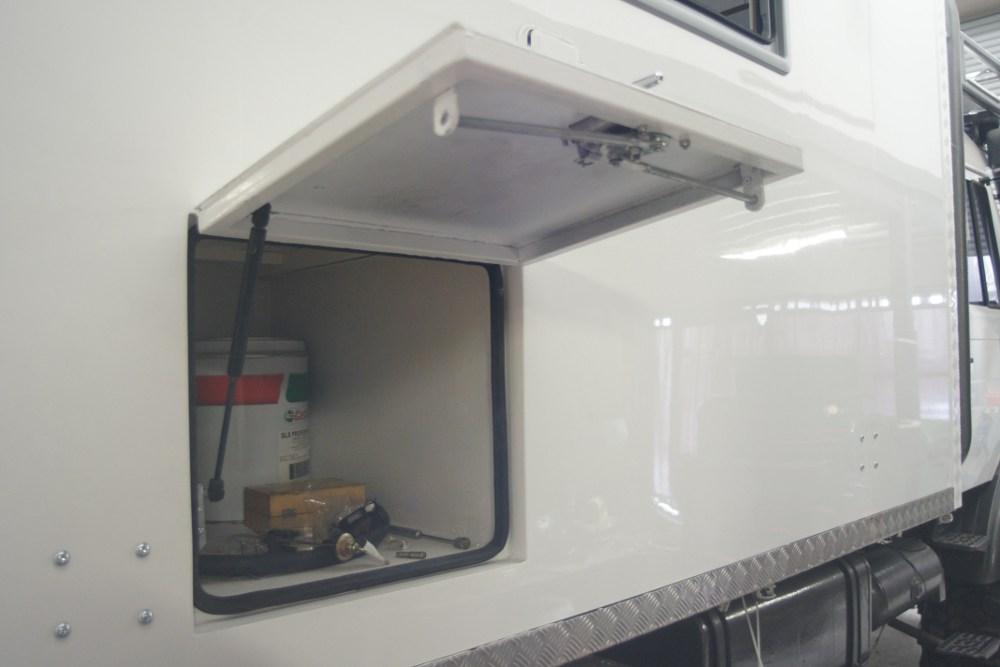
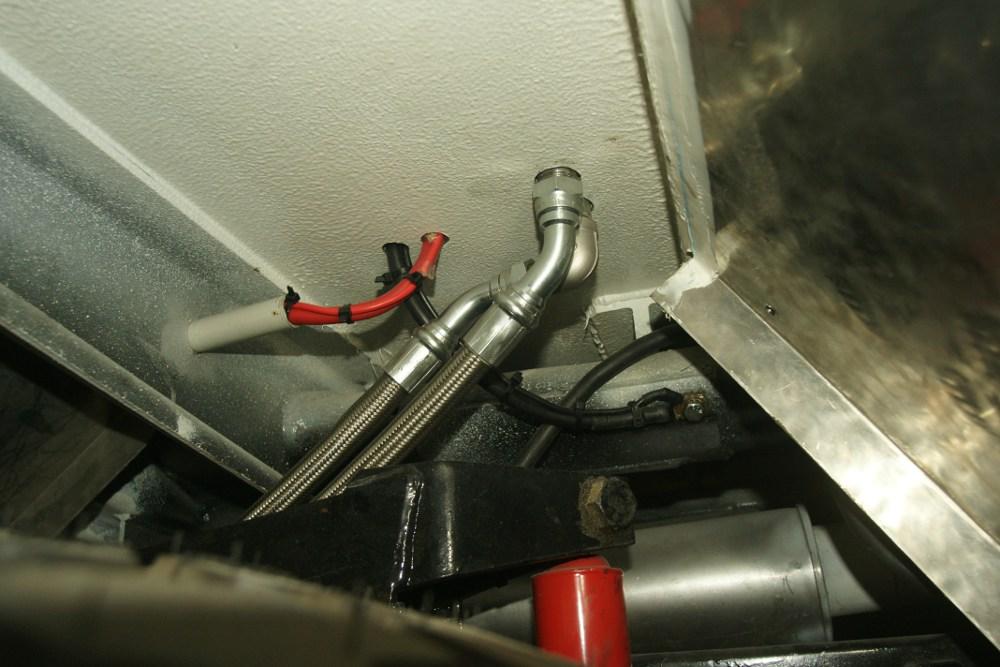
This shows the outside tap, can't see it unless you get under the truck, when the fuel tank is in, it will be hardly noticeable for outside unless you are really short. We can also switch it off from inside the truck.
There is a quite a lot of fittings required to get the rigid lines around the various compartments, and I have to keep the pipes accessible, but also out of the way. I'm using the John West system of push fit fittings. The fittings can either be a simple push on fitting, but that would be a bit too easy. The best way of doing it is to use inserts on ends of each pipe that reduces the possibilities of leaks, then locking clips to hold the fittings in the full lock position to stop them from coming loose over rough roads. So each pipe has the extra fittings, means you do everything twice, making everything fit, then taking all the pipes off again to fit the inserts, as once they are in, you can't take them out if you need to trim the hose a bit.
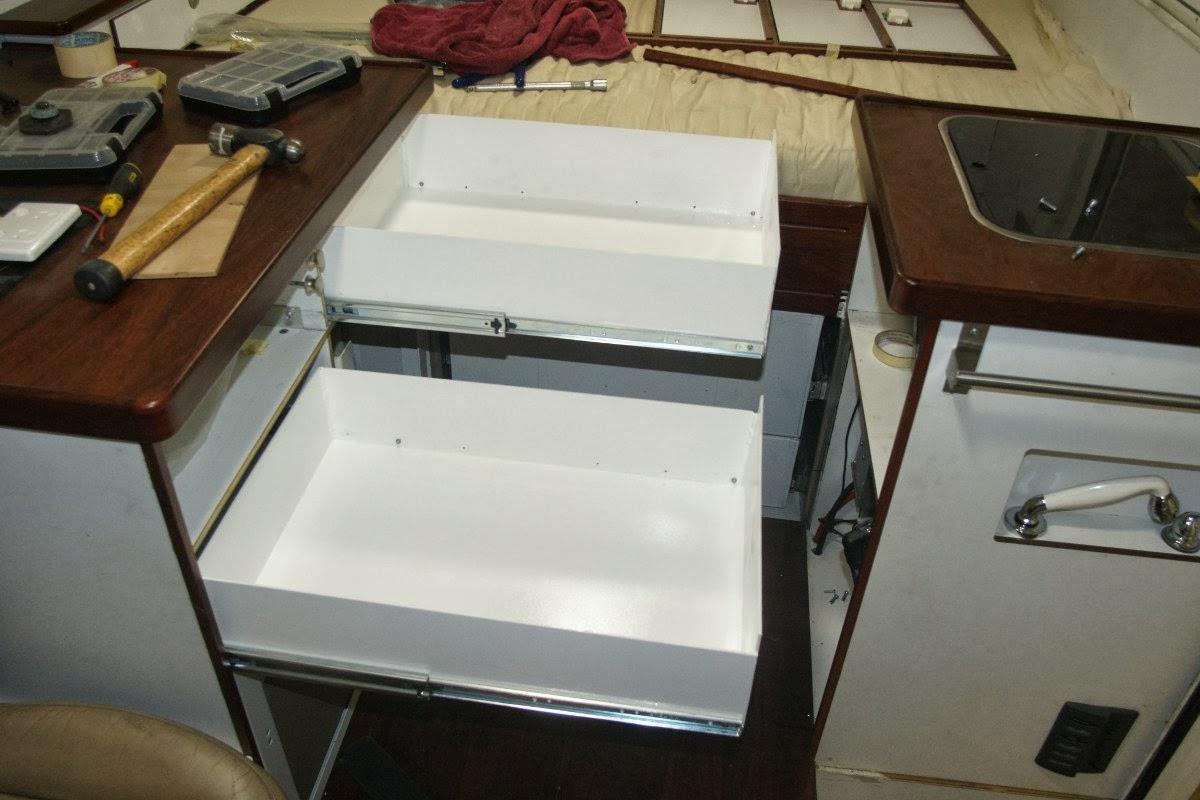
Next off the interior of the camper. This has been a long and drawn out saga, to date almost two years in the making, but it is getting closer.
The fridge slides and all the drawers are all in, The slides have a catch mechanism that keeps the heavy fridges in place. The drawers for pots, pans etc are made from 3mm aluminium, so they can handle the load. They are pretty big, so should be able to take all the gear and the day to day food supplies.
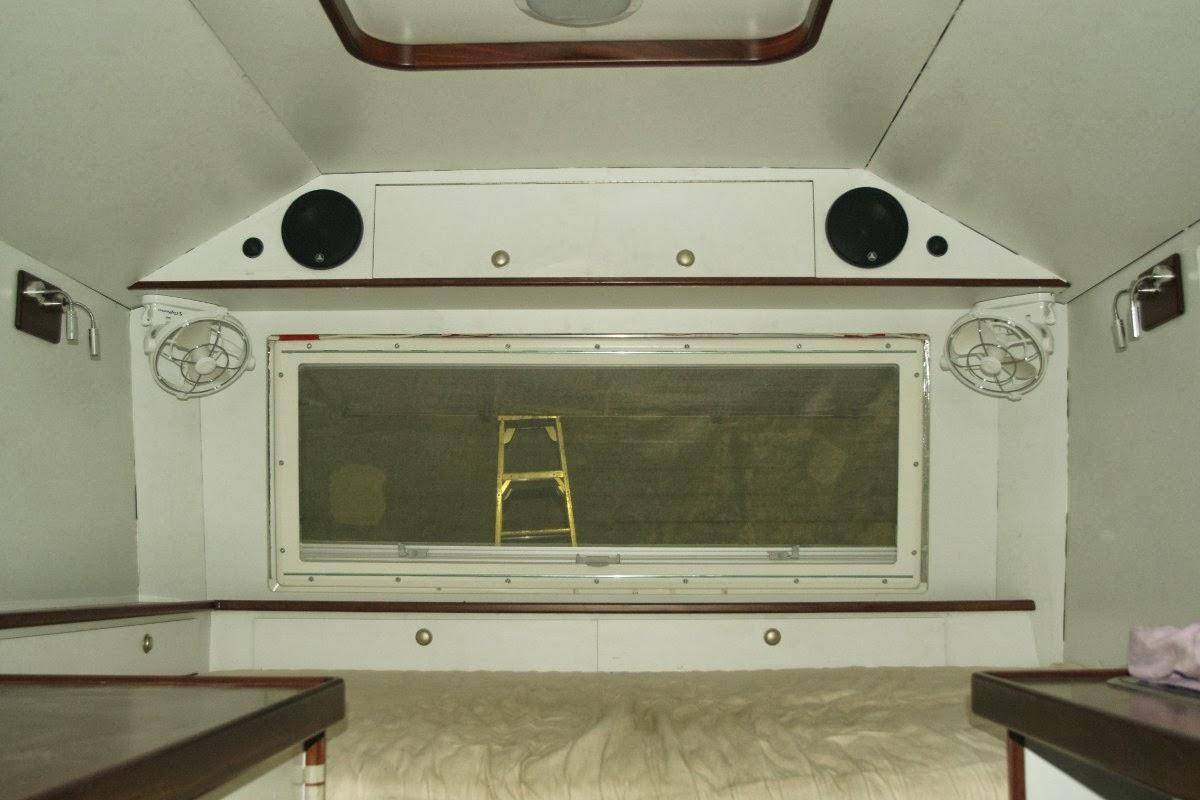
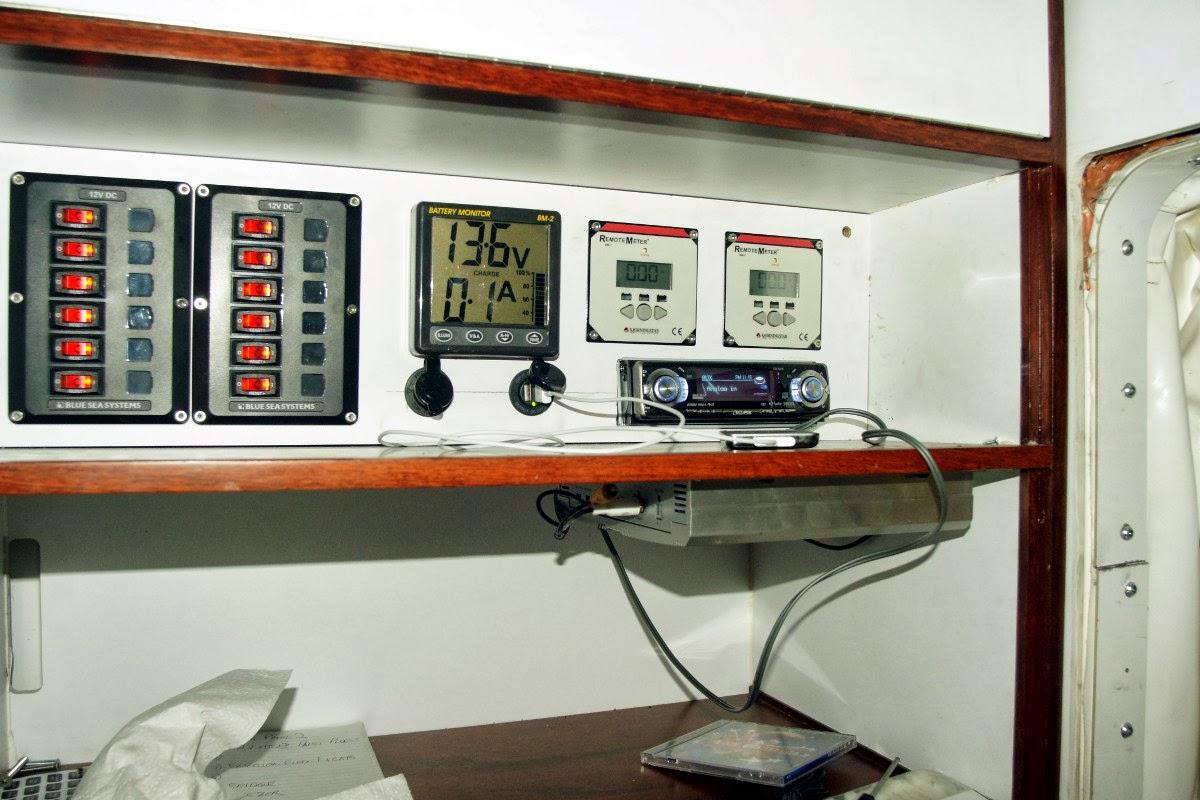
The rear locker is also in, and so is the sound system. After a bit of modification and stiffening, the sound is really good. I has also fitted the fans, the first ones I fitted were pretty noisy, the locker amplifying the sound, so I got some I tried fitting a rubber pad, but that did not do much good. After a bit of research, I found what was rated as the quietest fan on the market, the Camframo Sirocco fan.
Whittworths had them on special, for only a bit more than I could have bought them Overseas, so I headed off there and bought a pair. What a huge difference, they are really quiet on low speed, and have a faint hum at full speed. They fold flat against the back as well, and even have a timer from 2 - 8 hours.
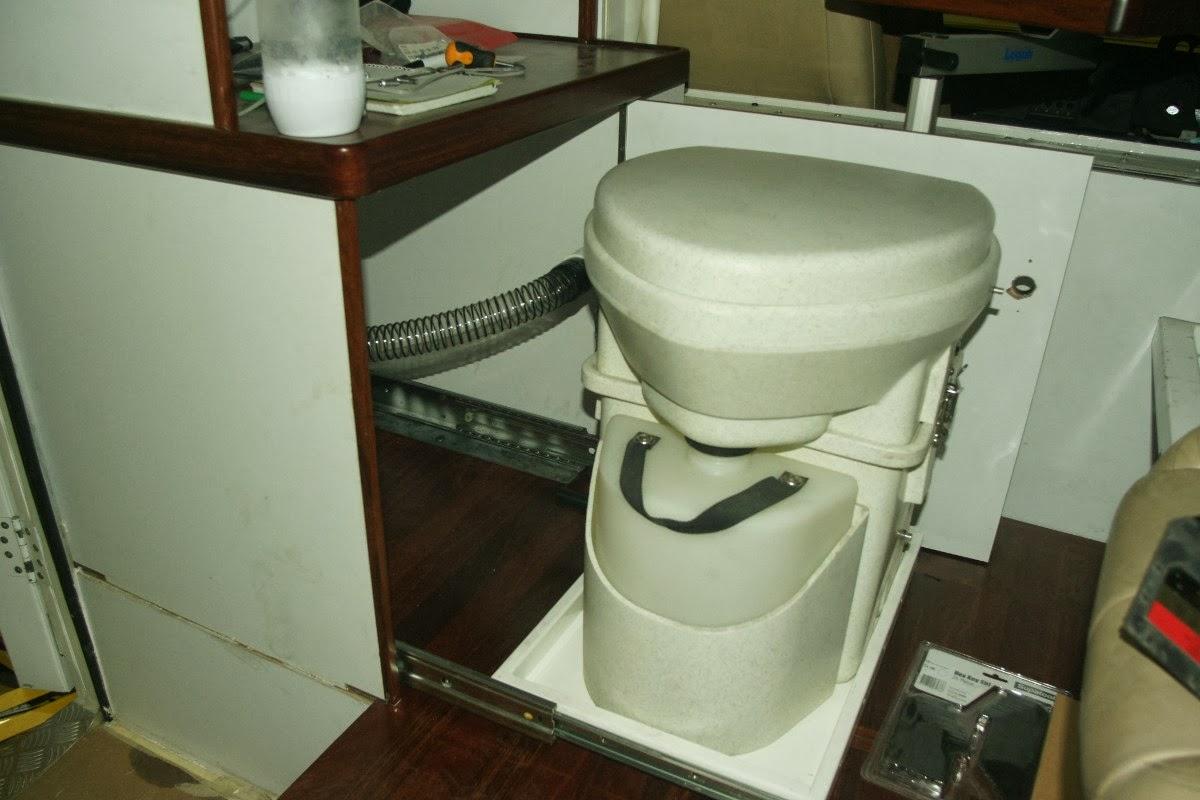
I also fitted the toilet slide and the door of the toilet, but there was a problem as the hinge is about 3mm proud of the side of the door (there is a strip to cover the edge) as the lightweight panels are only 12mm thick, and the hinge is 15mm. Unfortunately that mean the toilet slide did not work properly - hitting the hinges, so I had to reposition the toilet slide so it would work. An hour of two of repositioning and refitting, and we have a toilet. As usual, there was a problem, the little handle that you move to direct the flow to the solid or liquid containers would hit the door. So that hand had to be cut off, and a lower profile handle made that I put in the inside, out of the way. At last the whole thing was functional. Now to make the catch to hold the slide in position so it is not putting any load on the door.
The radi needed an external amplifier, as it generated too much heat inside the control panel cabinet. The good side is that the sound is even better with the amplifier.
I'll post more photos and reports a bit more often now that I'm working on the truck a lot more.

")


 [/IMG]
Bookmarks