

 Reply With Quote
that looks pretty good and straight... I'm sure you'll enjoy the journey.")
and lucky on getting one without rust!

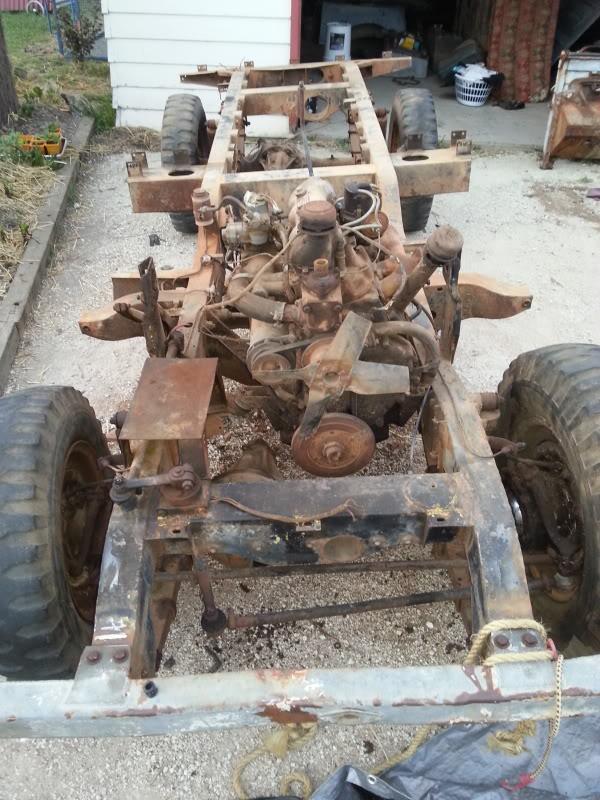
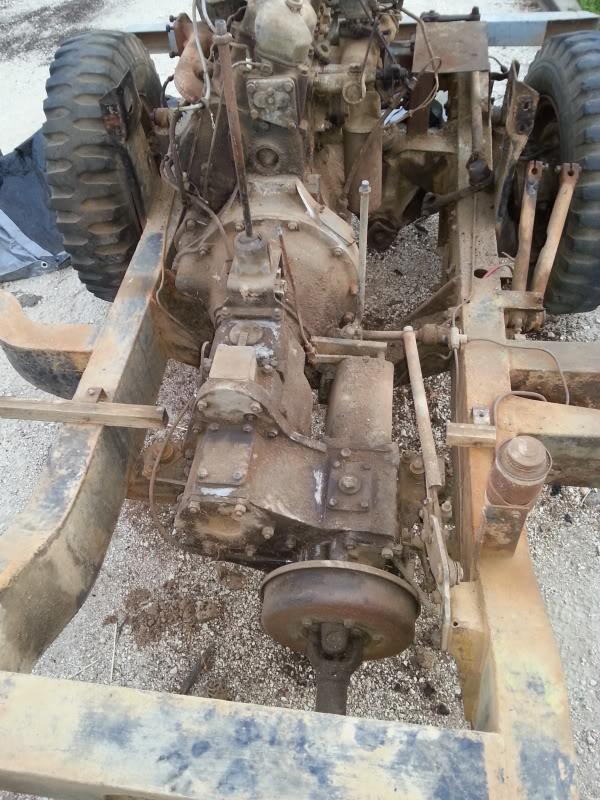
I had a pretty good run today and got all the bodywork off. Glad to have it done, I can start some fun stuff now, instead of battling with nuts and bolts!
I am really happy with it, the chassis is flawless really, despite being filled with dirt.
I will take the bulkhead to be blasted next week. I'll likely replace or patch the top rail, the rest of it looks fine.
I have found that there is a spring works only 1hr drive away, I'll get the existing ones re-tempered and set.
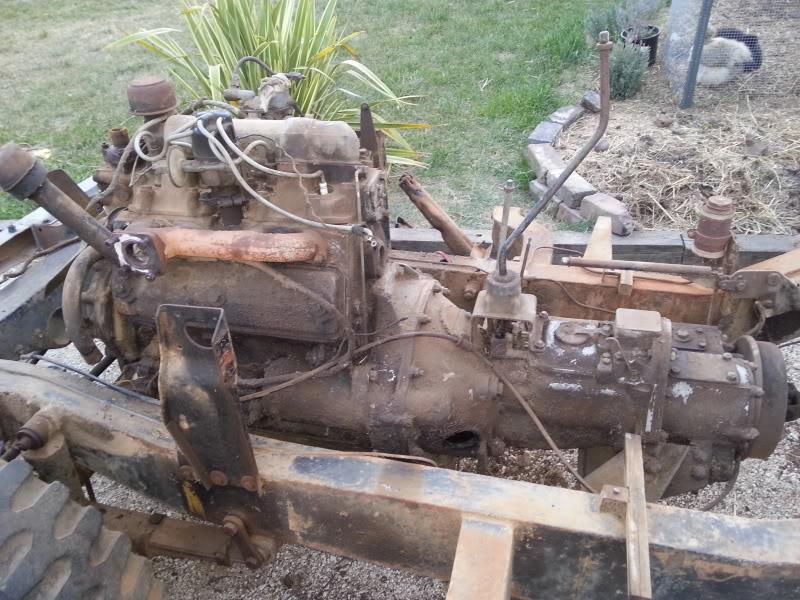
The engine water jacket definitely needs to be etched out and have all plugs replaced.
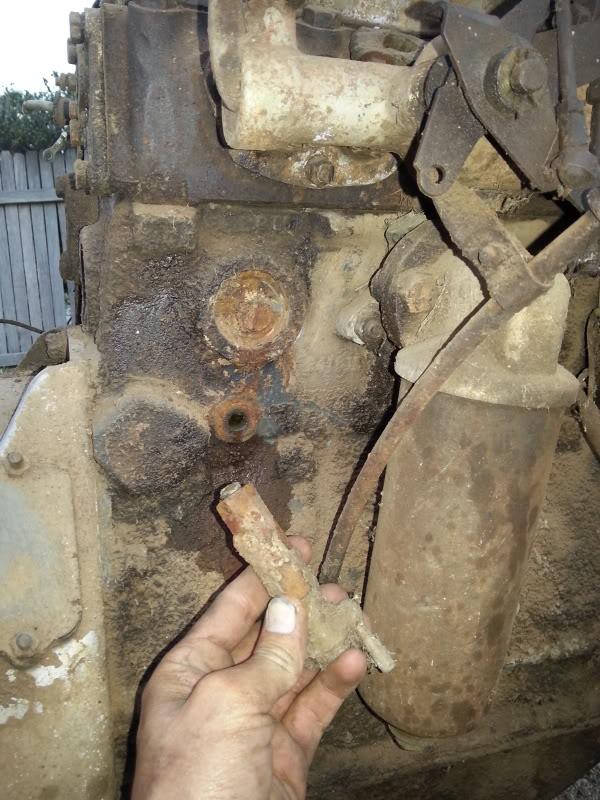
There was a tap on the oil filter side which just fell off in my hand, the alloy thread is completely rotten.
Can anyone confirm the thread size for it, and also size of the plug which is partially under the manifold?
Anyway here's some , I'll post again tomorrow once it's degreased.
Ash
 Master
that looks pretty good and straight... I'm sure you'll enjoy the journey.
and lucky on getting one without rust!
YarnMaster
SupporterGood project.
Its got the factory bolt holes in the front crossmember for a Capstan winch too.
Keith
YarnMaster
Nice car Ash!
I don't know what the tap is for but it could be replaced with a threaded plug.
The best way to confirm thread sizes on a S1 is to acquire the following tools: a set of thread gauges in the 55 degree Whitworth thread form, which measure the thread pitch; a vernier caliper, or micrometer, for measuring outside diameters; a thread chart which lists the diameter, thread pitch; teeth per inch; and tapping drill sizes.
Using this information you can quickly work out if the thread is a standard one, or a non-standard. Most of the threads on the S1 are B.S.F; some are B.S.W. and I believe the threads for the core plugs are B.S. Conduit, which is rather obsolete.
You will also need a thread file to clean the threads in your block, which is a laborious way to do it, but achievable. And if you really get into it, buy a BSF tap and die set with sizes from 1/4" up to 1/2", which will cover just about every fastener on the car except the wheel studs which are 9/16".
For S2 and S3 you will need Unified and metric thread gauges as well as the tools listed above,
Cheers Charlie
Thanks Charlie, I took your advice and scored some Whitworth gauges yesterday, as well as the illusive 1" BSCon tap!
Over the weekend I started the job we all love, degreasing..
I also got any cooling related ancillaries, and the manifolds removed from the engine.
I can tell that corrosion will be the major annoyance of this engine.
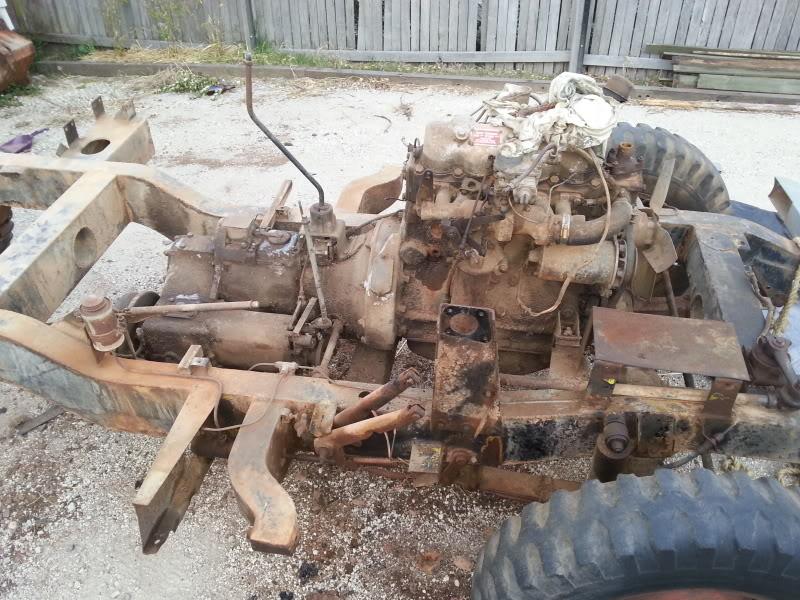
The thermostat housing looks fine, water pump OK (needs rebuild though), the worst I came across was the inlet manifold.
Has anyone dealt with a similar issue?
I was thinking either fill with Devcon or TIG it up and grind.
YarnMaster
My manifold is the twin brother of yours including the corrosion!Originally Posted by ashhhhh

I took mine to the engine re-conditioners and blasted it in his cabinet, which revealed a very thin base and two holes on the water-branch. I think the only solution for me, will be to cut out a large hole in the base and weld in a new plug,
Cheers Charlie
Master
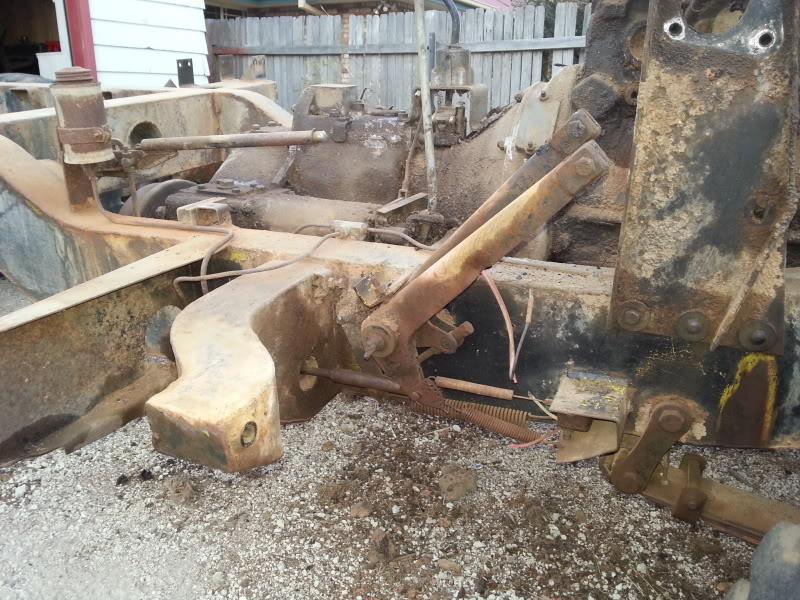
Hey I love the pieces of wood to hold the floor up just in front of the brake reservoir and its matching longer one on the passenger side. What a great modification! On my 86 those brackets that hold the floor up at this point are crushed down and I have been wondering how to fix them. Thanks for the great pics.
Master
I think you can come over and help me with my 56 project that has stalled a bit since i got the 109. you certainly get things done in a hurry.
Mike
Haha... Definitely a bushy fix.
Yeah Mike I've been keen lately, I figure if I clog my shed with a million body parts then I HAVE to finish it... Lol
The prize arrived today... hope it's right. :sly:
So yes, the tap worked a charm.
The thread isn't perfect as some of it has rusted away, but it should be adequate.
I also had another win with the manifold off the spare engine - it's basically corrosion free!
 Posting Permissions
| Search AULRO.com ONLY! |
Search All the Web! |
|---|
|
|
|
Bookmarks