

 Reply With Quote
Sending a PM.
.

 Master
[QUOTE=turkeybrain;1801041. The Cradle Coast campus is pretty tiny.
You'll love Tassie though. It's a great place to live.[/QUOTE]
We prefer to call it 'intimate' - great staff/student ratio
But I agree with turkeybrain - top place to live, and plenty of old landies
Let us know if you're coming this way
Roger
ForumSage
Sending a PM.
.
Master
It's been far too long since I last posted here... I guess it's a combination of gallivanting around the countryside, an ongoing injury and 'work' to blame... I call it 'work', as it's pretty much gallivanting in and of itself, the only difference is I get paid for it. It's also pretty hard to call it work when you go for joy rides in steam locos...
http://www.youtube.com/watch?v=GYYnWlKsDbs
The comment at the beginning of the video was to the driver, who was wondering why I was filming. It was so I could sent the video to my best mate, who loves steamers and was stuck in an office in front of a computer. I know he'd return the favour when possible.
I'm loving work, so much better than uni! Only one year to go now. Mind you, this is a pretty awesome job with an excellent boss, so maybe the real world isn't quite this good...
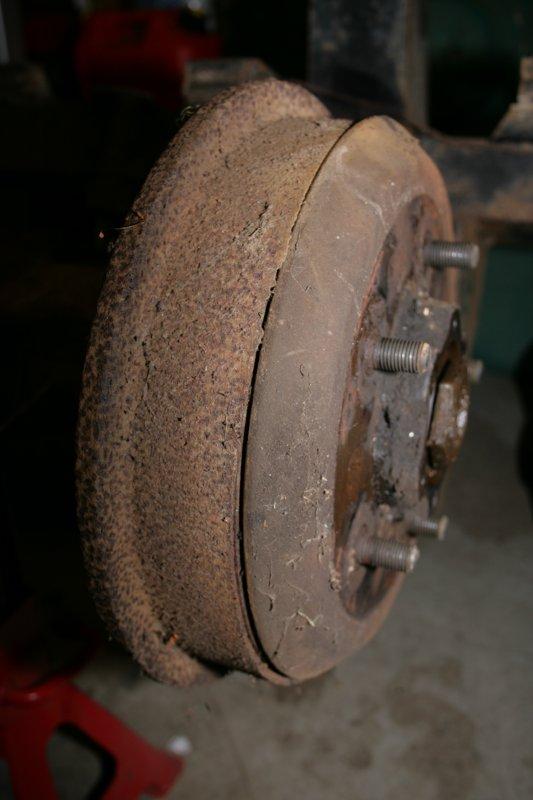
Anyway, in my spare time I have been pottering around in the shed and doing the odd job or two. I've primarily focused my attention on the axles, as according to the pseudo Gantt chart I've whipped up, they appear very early on the critical path of this rebuild. I've had some 'fun' (read: manly tears of frustration have been shed), with half shafts which rotate freely but are completely seized within bearings located in the swivel hubs, plus so much rust and dirt it's not even funny. You also get the odd surprise...
I'm pretty sure those two pieces of the drum aren't supposed to be detached from one another... And people have told me that I won't need new drums!
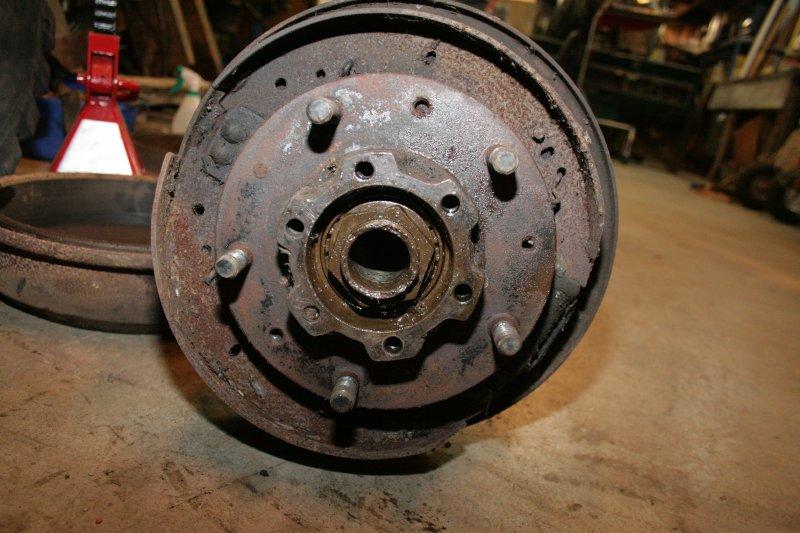
I've also had some 'laughs' with hub nuts and stub axles. I had to pay Arthur a surprise visit last Saturday as I was struggling to get the hub nuts undone on one side of the rear axle. Turns out there was significant thread damage to the stub axle, and it took the two of us an awful lot of effort to get it undone. Good thing he's got all the tools I need just up the road! He also reckons the stub axle is stuffed, so I need a new one.
This photo is with one of the two hub nuts removed. It's pretty hard to see, but you can see some of the damage to the end of the stub axle. I'll take a better photo when it's fully disassembled, but that's not a high priority any more. Read on...
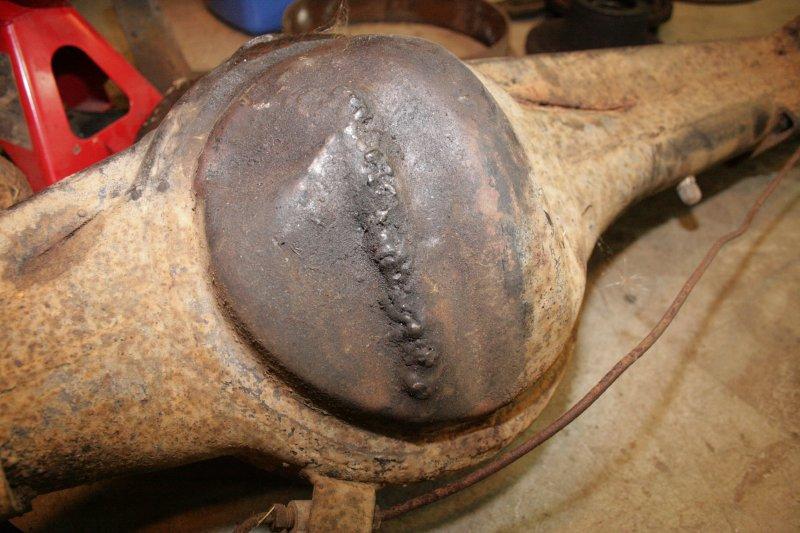
Arthur also took a look at the rear axle casing. His attention was drawn to the pumpkin.
One of the previous owners has obviously hit something and the diff sprung a leak. Or maybe it's from when the diff exploded, as mentioned in a previous post. Speaking of which, I finally remembered to take a photo of the pin they left floating around inside when they rebuilt it in a hurry.
No prizes for guessing why the crown wheel has lots of chips taken off the outer edge.
Anyway, with the welded repair on the pumpkin, Arthur reckons it has probably warped the whole axle, and has recommended replacement.
I also took the opportunity to get him to check the diff I removed from the front. I'm pretty sure I said in the past that it seemed OK to me, turns out I was wrong. I missed the end float, which is apparently pretty bad according to Arthur. He also reckons somebody has fiddled with the backlash, making it reasonable, which is why I thought it was OK.
So at this point, I have 1 good quality Rover diff which will nicely bolt in the front and a completely ruined back axle. I'm now on the hunt for a salisbury. I wasn't going to bother with that upgrade yet, but I need an axle anyway!
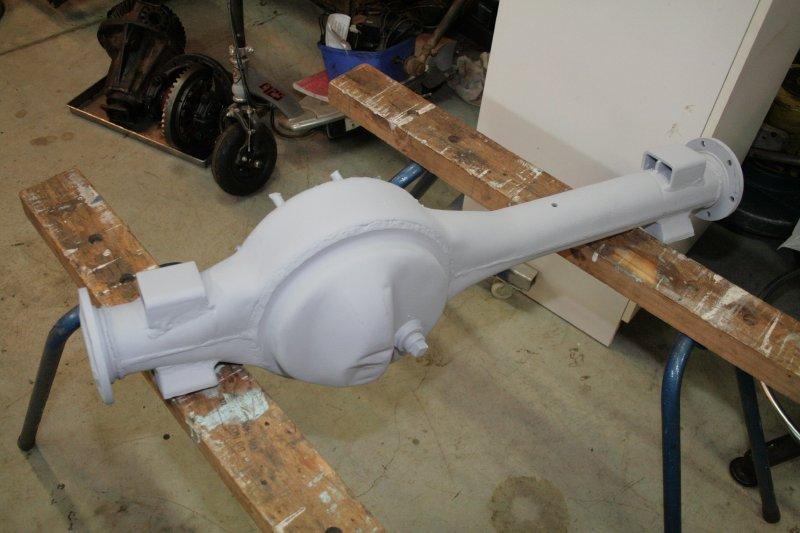
Thankfully the front axle casing is in significantly better condition, and I've cleaned that up and started painting it. I forgot to take a photo before painting (or even beginning preparation), but it's looking good now. Just need to put on a top coat.
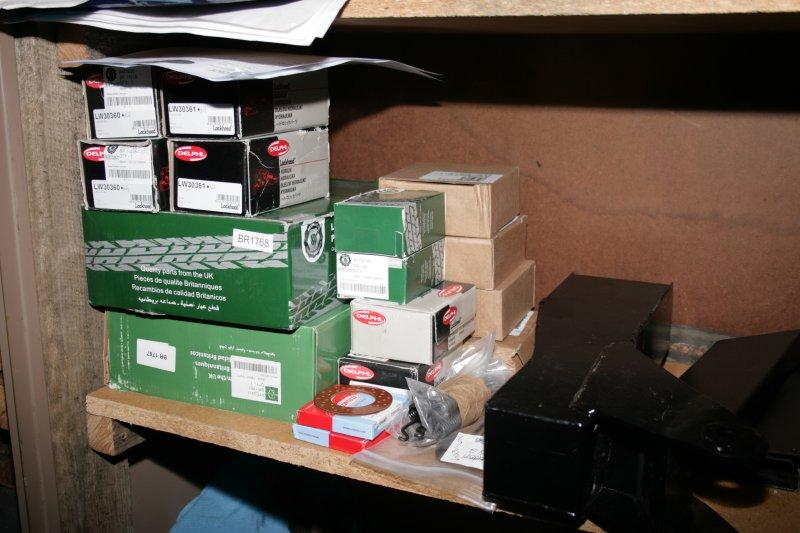
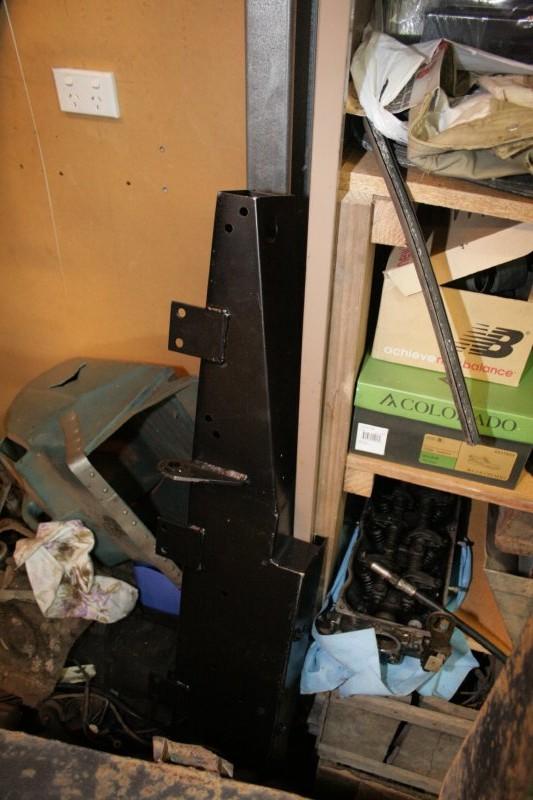
I've managed to get some parts in from the UK, mostly revolving around the two early critical components, axles and the chassis. I've got all new bearings and seals for both axles, as well as a completely fresh set of brake goodies, including springs, adjusters, slave cylinders and shoes. I still need to order new drums, as I really do need some new ones. I've also shipped in a new rear cross member (as some of you may recall from a previous post, it has a lot of rust in it), a front left dumb iron (which shows signs of past repairs) and a pair of bulkhead pillar repair sections. I was pretty happy with a shipping bill of just over A$300 for all that from the UK!
I've also managed to con my technically competent (that is to say, he is very competent when it comes to technical things, not that he is by some obscure method considered somewhat competent, but I digress) cousin to weld all these bits and pieces on for me, as I don't quite trust my welding enough. His workmanship, however, is truly awe inspiring. I'm not sure when he's going to be able to do it for me, but hopefully it's not too far away.
I made the comment to Arthur recently that I find it most disheartening to see the threads on here where somebody buys a car, brings it home and strips it to a bare chassis in a single weekend. It took me a whole year! I consider getting 6 bolts undone a good night's work, as typically they're so badly rusted or clogged with dirt that 6 can take over an hour with two men working on it! The more I see of this car, the more I realise how badly it's been neglected, and just how bad its condition is. Knowing what I know now, there's no way I'd have bought it, but I did, and I'm still having fun (genuine fun this time) working on it. It's going to take a lot more time off me yet though.
I also need to publicly thank Arthur, he's been very kind in allowing me to show up and use his expansive collection of both tools and knowledge at very short notice. He's a real asset to have living nearby, and I really do appreciate his help, particularly when he patiently answers all my newbie questions. He also makes a pretty good spare parts dealer!
Anyway, that's it for tonight. I don't expect I'll do much work done on it next week either, I'm getting paid to play with steam trains again for 4 days. I'm only slightly excited!
-Martin
Master
Sigh. Posting the photo of the front axle housing reminds me that I forgot to fix the dents before painting.
Ah well, it isn't tagging the crown wheel anyway.
-Martin
OldBushie
I cant wait to get down there and check it out myself.
ForumSage
Hi MartinOriginally Posted by turkeybrain

Thanks for the bouquet, it sure has brightened up my day.
I am really passing on the time and help that was once given to me by a long time deceased friend, Les Wells. He was the consummate tinkerer always building and modifying, but was never too busy to answer my questions about Land Rovers.
Les owned a 80" Land Rover with some special features that he had delight in showing me.
The cab was tin, pop riveted over a soft top truck cab frame.
Hanging by a piece of wire from a nail in the pole holding up the shed roof was, a pair of brass swivel pin housing balls that Les had rebuilt by brazing and then worked back to their correct shape, the clutch and brake foot petal plates were also brass.
I have never seen one since, the badge that was on his Land Rover, it was the words Land Rover cast on a brass plate that was shaped like a folded ribbon.
Les had also told me that his 80" chassis never had a chassis number stamped on it anywhere, unlike the later 80" that he had wrecked for parts, it's number was easily visible.
I do hope I can be lucky enough to find the remains of Les's Land Rover someday, in time for Les's One Hundred and Tenth Birthday.
.
YarnMaster
Arthur,
It sounds as if Les's 80" was a pre-production prototype!
I have been lucky enough to see L48, which the owner pointed out to me, has bronze swivels and bronze pedals,
Cheers Charlie
ForumSage
Hi Charlie
I wish that I had taken better notice then, as there where other details that didn't show up on the later production models.
One thing that I can remember was, Les could swing up the head light to shine back into the engine bay, that was hinged like a WW2 Jeep's light, I couldn't say if that was made at the factory like that or if Les had thought the Jeep idea was handy and had modified it.
I also remember the Five ignition coils he had fastened around the engine bay which included the one that Les had wound by hand.
Poor Martin, I had better stop as this is your thread !
Master
No, you're right, I find it most interesting. Feel free to continue, I'm still learning!
-Martin
ForumSage
Hi Martin
Managed to pull the old 2A chassis out of the horehound yesterday, that now means you could have a stub axle with a good thread !
.
 Posting Permissions
| Search AULRO.com ONLY! |
Search All the Web! |
|---|
|
|
|


Bookmarks