Page 13 of 14 FirstFirst ... 311121314 LastLast
Results 121 to 130 of 132

Thread: Series 2a restoration

  1. #121
    Join Date
    Jan 1970
    Location
    Cessnock NSW
    Posts
    4,990
    Total Downloaded
    0
    That is looking very smart, cheers Dennis

  2. #122
    Join Date
    Apr 2015
    Location
    Cairns
    Posts
    151
    Total Downloaded
    0
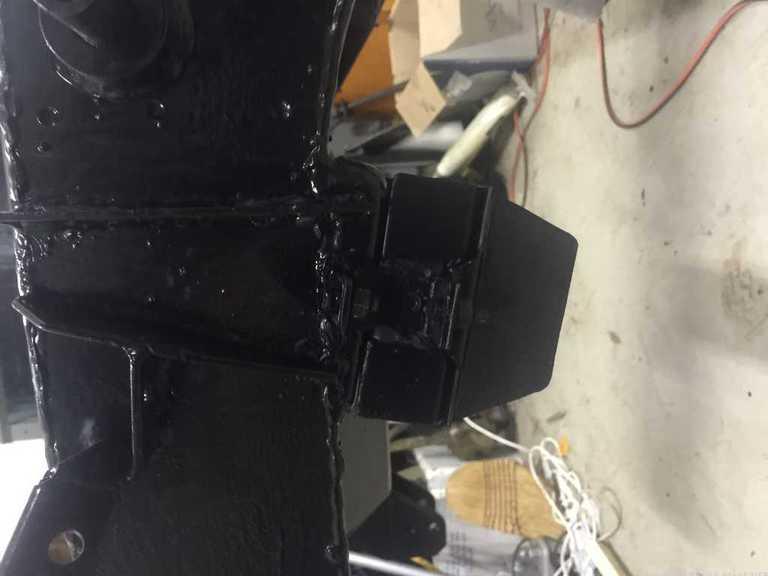
    Thanks Denis had a real slow start to the year due to work but well into again. Very pleased how well that back cross member has come up.

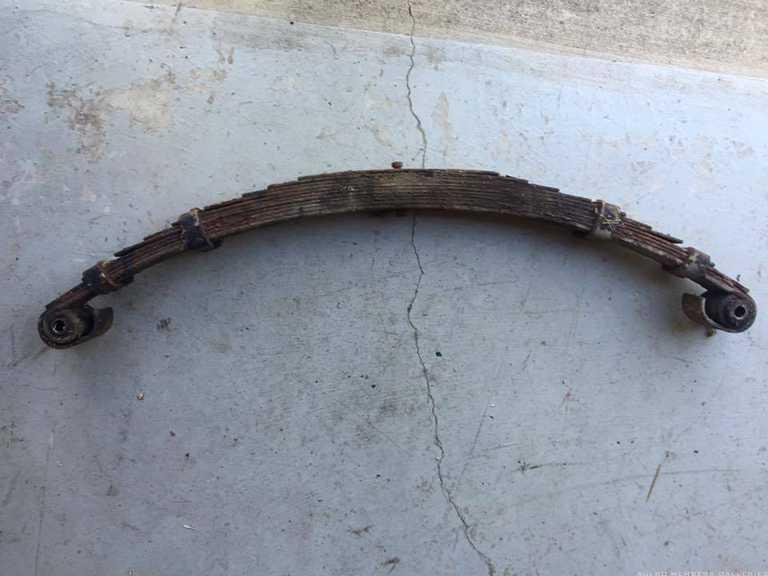
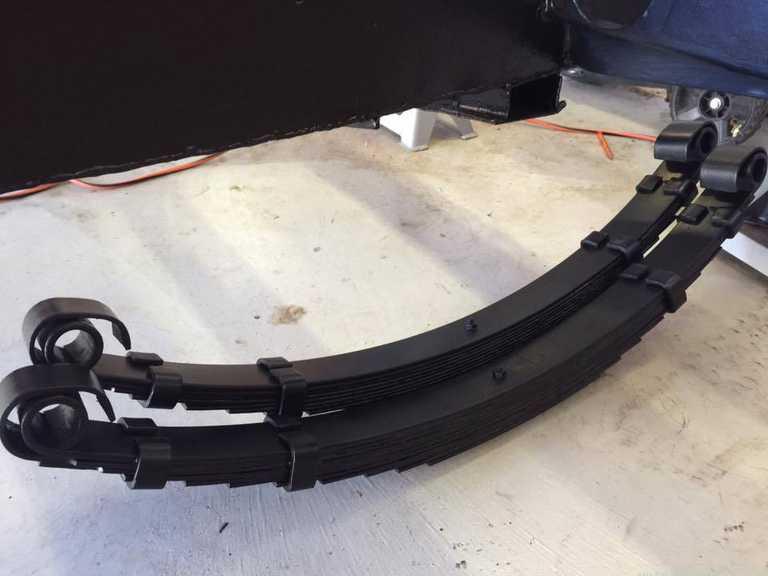
    Also got the water pump fitted to the S1 - will have a go at fitting one of your springs next weekend. The engine on it fires up almost on first turn.

    All the best Scott

  3. #123
    Join Date
    Aug 2006
    Location
    Gold Coast QLD
    Posts
    1,746
    Total Downloaded
    0
    Very nice, look forward to watching the build up. Makes me want to do a 3rd one, but SWMBO would leave me if I did. Hey, that would make more room in the workshop
    1964, S2a SWB "Ralph"
    1977, S3 SWB "Smeg" (Gone)
    1996 D1 300tdi auto (Gone)
    1973 Rangie Classic (Gone)
    2012, 110 (Series 12) Puma "The Tardis"
    1962 109" Tray Back "Ernie"
    1998 D1 300tdi (Dizzy)
    2017 Kawasaki Versys 1000

    You must now cut down the tallest tree in the forest... With... A HERRING!!!!!

  4. #124
    Join Date
    Apr 2015
    Location
    Cairns
    Posts
    151
    Total Downloaded
    0

    Spring renovation

    I have spent the past couple of weeks working on the springs. Dennis had provided fantastic instructions on how to do this - thanks mate. This is what the looked like before I started:


    First job was to take them apart by bending out the spring clamps.Then clamped the spring together before removing the center bolt. Then removed the clamps and pulled the leafs apart.


    Out came the bushes:


    I then cleaned them up using a flap sander on an angle grinder and a wire brush. Here is the before and after result:


    Found this on them:


    Then lightly greased the leafs and put them back together. Used de-greaser to get them clean before etch priming and painting. and here is the finished result:


    I then took apart the shakles, sand blasted them in my small cabinet, primed and painted - and here is the before and after:


    I have done the front and rear springs. the rear springs are easier because they have bolts rather than bent clamps. Very happy with the result.

    Now into the cleaning blasting and painting stage. I am trying a few parts in molasses - but because Wilf was given a very rough paint job and most parts have paint on them I think most parts are going to have to be blasted - we will see.

  5. #125
    Homestar's Avatar
    Homestar is offline Super Moderator & CA manager Subscriber
    Join Date
    Aug 2010
    Location
    Sunbury, VIC
    Posts
    20,105
    Total Downloaded
    0
    You've done well, I only got to the pulling them to bits stage, then I just chucked them in the bin as it looked way too much like hard work. I still have to order the replacements yet.
    If you need to contact me please email homestarrunnerau@gmail.com - thanks - Gav.

  6. #126
    Join Date
    Apr 2015
    Location
    Cairns
    Posts
    151
    Total Downloaded
    0
    It was a lot of dirty work - but rewarding when you get to the painting stage. I nearly gave up half way through the second front spring when I realized that the first one I had done had a leaf missed out - it had got missed up with the rear leafs!!!! so I had to unbend and re-bend the clamps for a second time. I think replacements are quite expensive - maybe I am just a tight arse!

  7. #127
    JDNSW's Avatar
    JDNSW is offline RoverLord Silver Subscriber
    Join Date
    Jan 1970
    Location
    Central West NSW
    Posts
    29,511
    Total Downloaded
    0
    The numbers should make it easy to get the springs back in the right place - remember right and left are not the same!

    John
    John

    JDNSW
    1986 110 County 3.9 diesel
    1970 2a 109 2.25 petrol

  8. #128
    Homestar's Avatar
    Homestar is offline Super Moderator & CA manager Subscriber
    Join Date
    Aug 2010
    Location
    Sunbury, VIC
    Posts
    20,105
    Total Downloaded
    0
    Quote Originally Posted by Chinookflyer View Post
    It was a lot of dirty work - but rewarding when you get to the painting stage. I nearly gave up half way through the second front spring when I realized that the first one I had done had a leaf missed out - it had got missed up with the rear leafs!!!! so I had to unbend and re-bend the clamps for a second time. I think replacements are quite expensive - maybe I am just a tight arse!
    They are expensive, which is one reason I still don't have them. . Not nearly as expensive as some other bits I've bought, so not bothered in the grand scheme of things, it just takes a bit longer to do.
    If you need to contact me please email homestarrunnerau@gmail.com - thanks - Gav.

  9. #129
    Join Date
    Apr 2015
    Location
    Cairns
    Posts
    151
    Total Downloaded
    0

    Buffer

    One small step for Land Rover a giant leap for Wilf the Land Rover. The first part goes back onto the chassis. The rebuild begins


  10. #130
    Join Date
    Jan 1970
    Location
    Cessnock NSW
    Posts
    4,990
    Total Downloaded
    0
    Your going well there mate, cheers Dennis

Page 13 of 14 FirstFirst ... 311121314 LastLast

Bookmarks

Bookmarks

Posting Permissions

  • You may not post new threads
  • You may not post replies
  • You may not post attachments
  • You may not edit your posts
  •  
Search AULRO.com ONLY!
Search All the Web!