G'day Scott,
Good to see you doing so well.
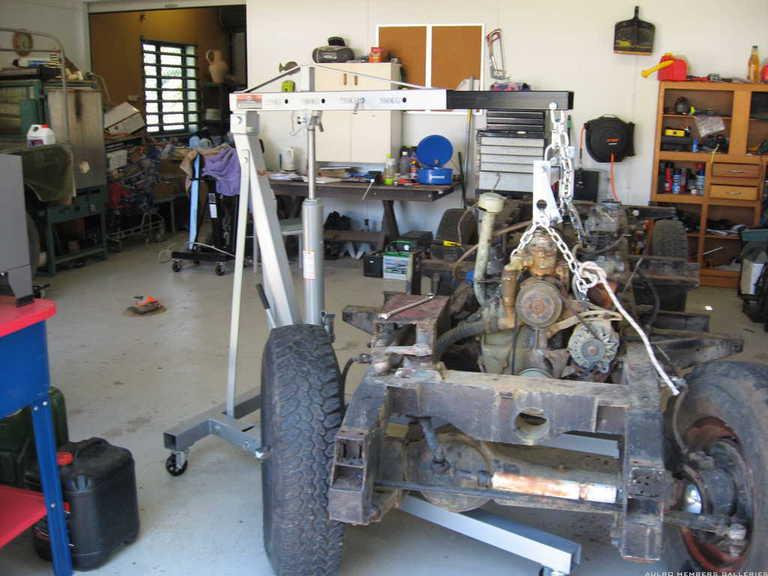
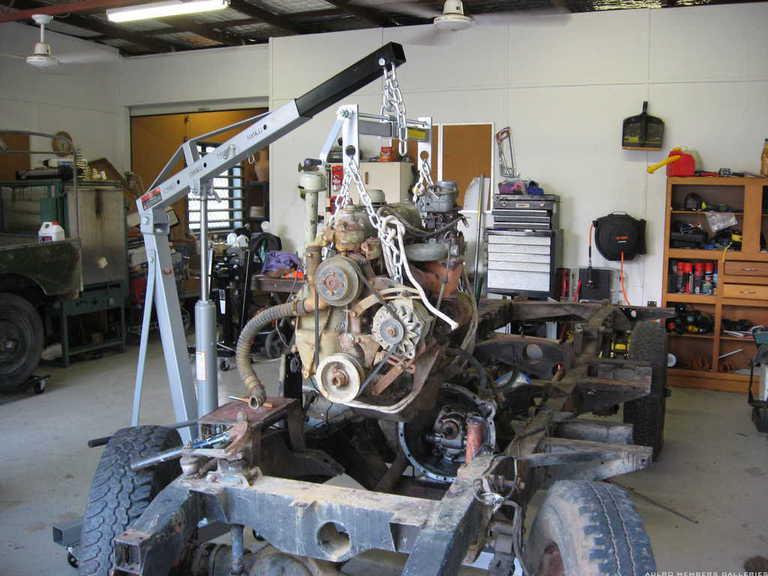
I've recently pulled the engine and gearbox from Wombat. Here's the story of that effort.
The restoration of Wombat
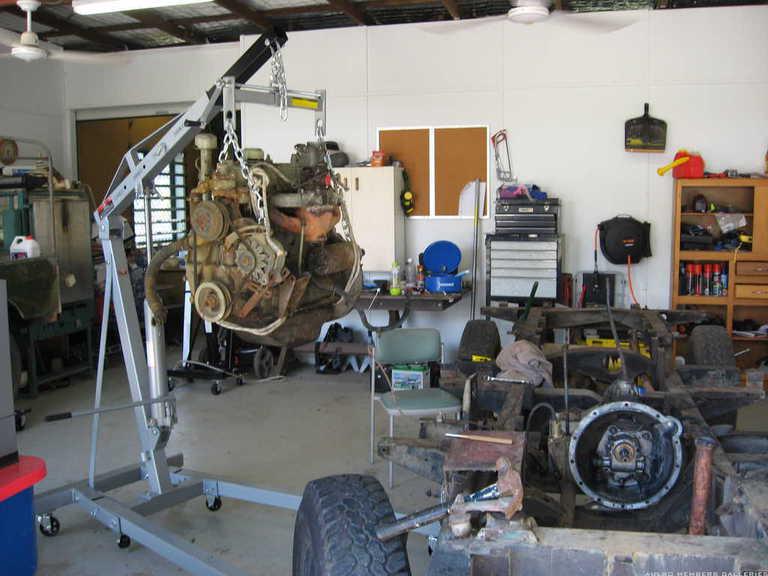
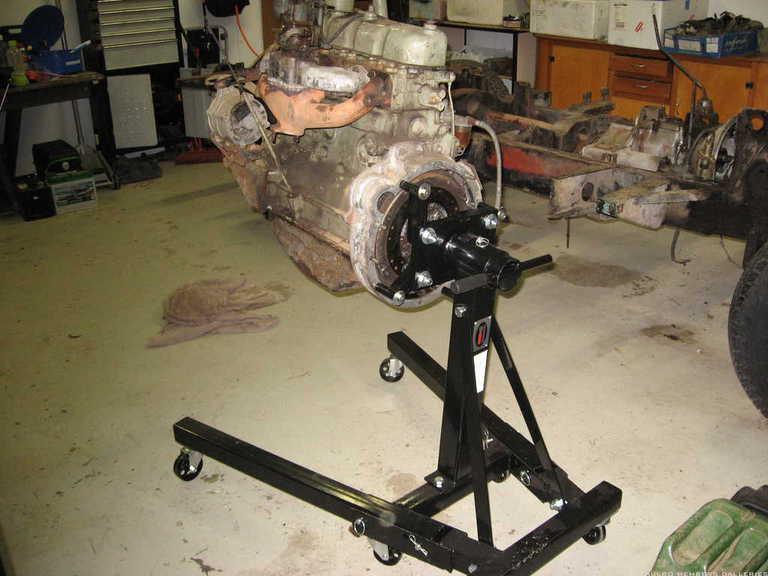
I removed the gearbox and transfer case as one unit, leaving the engine in place. The manual and other places talk about a wedge of wood under the rear of the engine but I found that wasn't necessary as the engine was sitting on the crossmember.
For lifting points, I used one of the rear gearbox case bolts to mount a piece of strap with holes in it. At the front, I used one of the gearshift mounting points. The gearbox slid back and lifted out easily.
Although Wombat is a Series 1, it has a 2 1/4 motor. These motors come from the factory with a pair of mounting brackets bolted to the front and rear of the head. I hooked straight onto these. As it happened, my engine mounts were shot so rather than undo them, I just lifted the engine straight up and they parted without complaint.
The whole process is more scary than difficult.
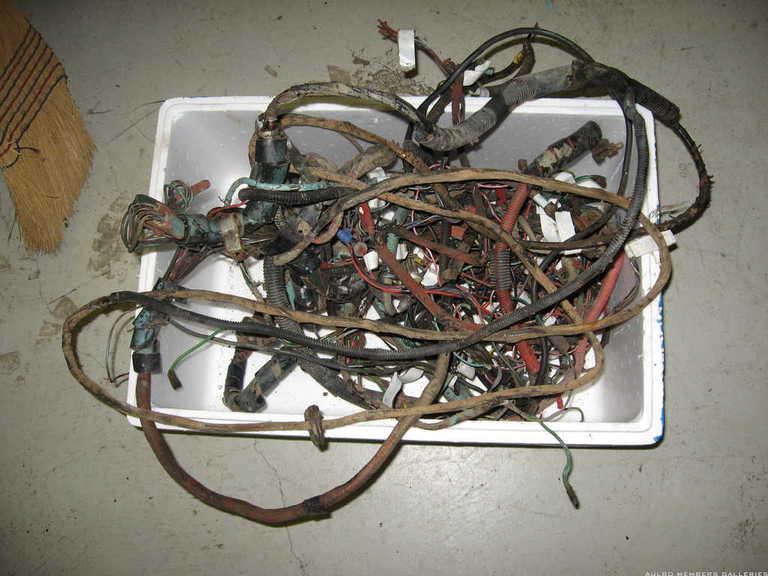
As far as the wiring loom goes, I'll be buying a new one. I've been assured they're easy to fit because they come labelled and with instructions. I suspect that is a bare faced lie because NOTHING involving electrics is straight forward... but maybe I'm being overly cynical


")


 Reply With Quote
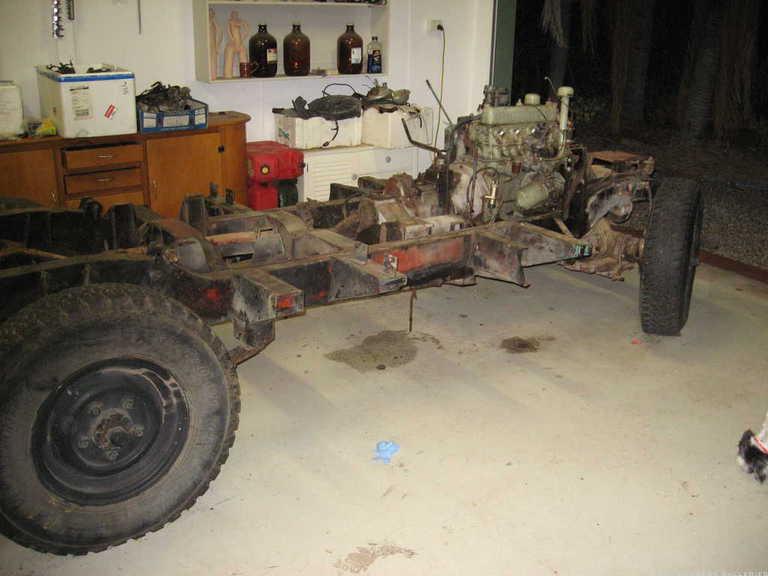


Bookmarks