
Originally Posted by
Cap

Was on the seat belt subject not long ago with JDNSW - the design I found online that didnt need the bar but provided the 3way was:
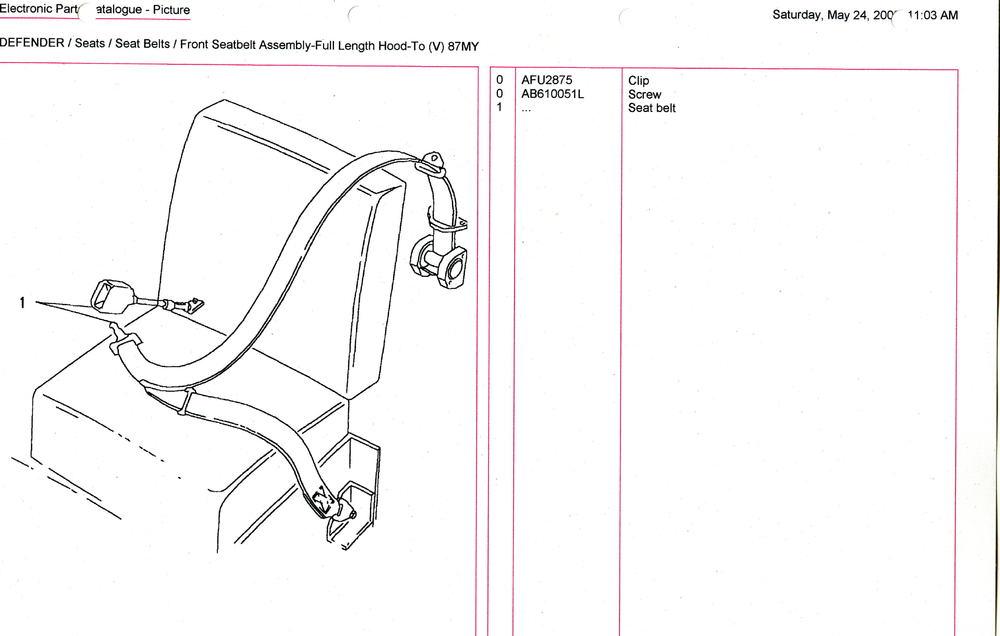
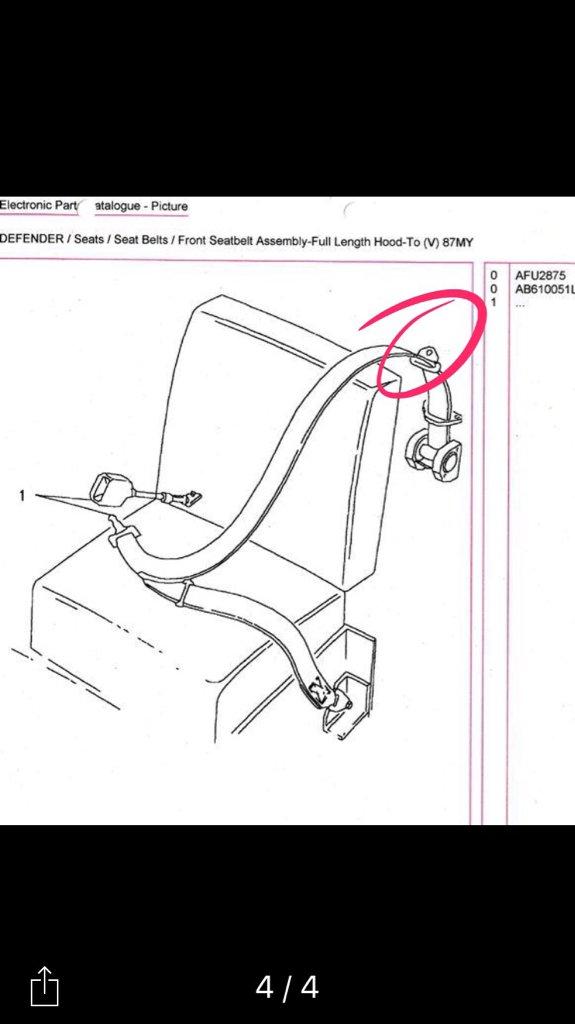
If you look at the picture there is an attachment in mid air with nothing to bolt to..... The belt guide above the inertia reel is shown mounted to the top of the bulkhead
The attachment in mid air should be fixed above shoulder height so a bar will probably be needed.
The other alternative is lap belts if they are applicable for the year.
Colin
'56 Series 1 with homemade welder
'65 Series IIa Dormobile
'70 SIIa GS
'76 SIII 88" (Isuzu C240)
'81 SIII FFR
'95 Defender Tanami
Motorcycles :-
Vincent Rapide, Panther M100, Norton BIG4, Electra & Navigator, Matchless G80C, Suzuki SV650


 But not as much fun in making it.

 Reply With Quote
 Did you rebuild yourself? Is it hard to do?

Bookmarks