

 Reply With Quote
G'day NiteMare,Originally Posted by NiteMare

Thank you for posting the bit about the box section to guide the bumper bar bolts through. This repair is on the list of repairs I have to get done very shortly.
Kind Regards
Lionel

 Master
i'm guessing you mean the square plate closing the end (nose) of the dumb iron, yes those are as standard landrover plates although my welds were probably linished back a bit more than the originals
inside the dumb iron there is a sort of W originally to guide and support the bumper bolts from compressing the chassis, as i had to open my dumb irons up for extensive repairs i just replaced that with a piece of box section between the bolts, this in my opinion reduces the risk of mud etc' getting trapped and rotting the front out again
here's a link to my p/bucket page showing my hacking and patching
My 1965 109 pictures by NiteMare_08 - Photobucket
edit..
if you do need to open the dumbirons up in the same way as i did, DO NOT forget to drill the drain hole in the bottom plate, i used a holesaw to cut my drain hole
second edit..
you'll need to jump to page six to see the state and repairs i did
TopicToaster
G'day NiteMare,
Thank you for posting the bit about the box section to guide the bumper bar bolts through. This repair is on the list of repairs I have to get done very shortly.
Kind Regards
Lionel
Master
G'day all,
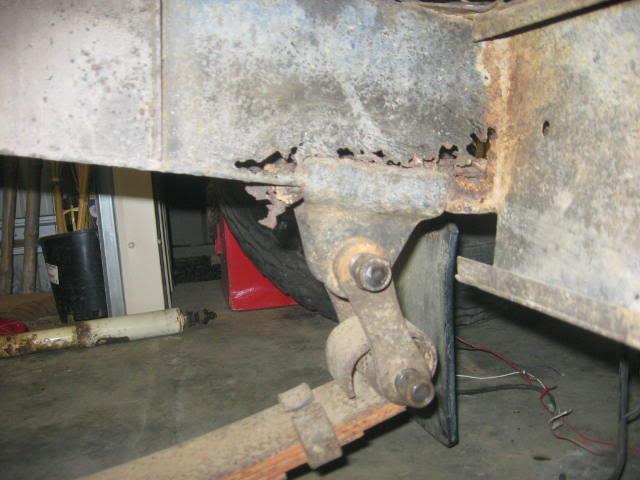
Managed to make a little bit of progress. Got the U bolts undone and front shackle bolts out, on the rear springs. The back diff out and that's where we stopped.
The two rear shackle bolts on both sides are seized. The amount of rust around the right shackle mount is not allowing for much persuasion of the bolts, as the chassis rail starts to distort.
I am in the process of making a bit of a press for the left hand ones, but I think I'm going to have to cut the shackle mount off to give me better access to the right ones.
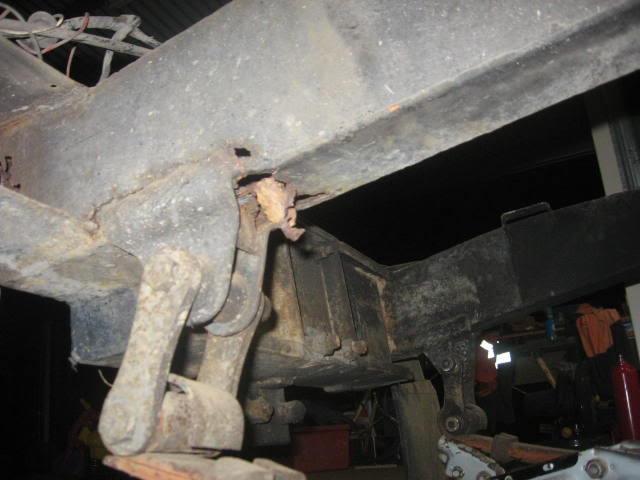
A question for the gurus... does the rear cross member come off when you grind the welds off the plates on top and bottom at the ends of the chassis rails where the cross member meets?
It's got to come off anyway, for repairs to it and the rail, so I should have a bit more breathing space.
Master
no i'm afraid it doesn't just fall off when you cut the top and bottom welds, it's also welded vertically up the sides of the chassis rails
here's pictures of the repairs/rebuild to my 109 chassis....
album
My 1965 109 pictures by NiteMare_08 - Photobucket
jig
if you look through my album you'll see how i dissected my rear crossmember to get at the chassis rails to repair them, i was lucky and didn't have to touch the shackle mounts, personally i'd clean up round yours with a twisted wire cup mop on an angle grinder and then scribe in marks to ensure correct repositioning of replacement mounts or even make up a pair of bars to mount from the forward spring mounts to the shackle mounts before removing the old ones
Master
G'day all,
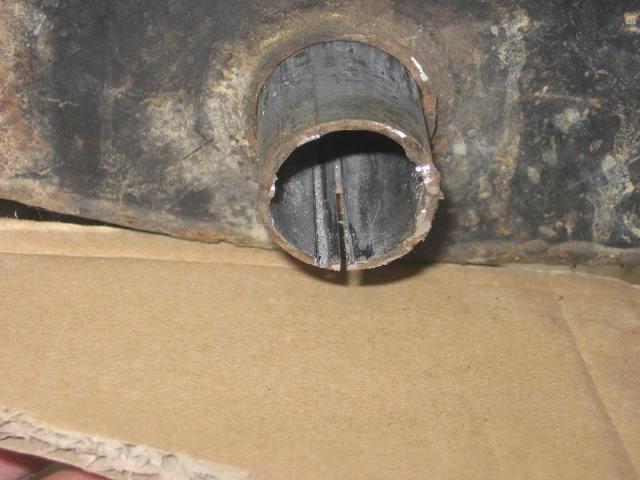
Finally got the springs and shackles off and started on the shackle bushes.
I followed the good advice found here in various threads and they didn't present too many problems.
First a couple of cuts through the bush
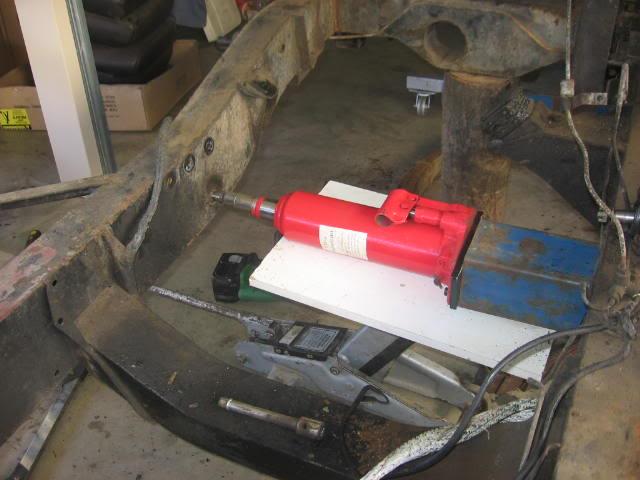
...and then just pushed them out with the bottle jack and the right sized socket
I'm at the stage now to start cutting the chassis in order to begin repairs of the right hand rail.
The rail is rusted from the rear cross member to forward of the shackle mount.
What would be the best way to proceed from here? I was thinking that the cross member would come off, then I could cut the end of the rail off, manufacture a new end and weld it back on.
I looked through NiteMare's album and it looks like he cut the out rigger off to gain access to the rail.
I haven't attempted anything like this before so I'm a little apprehensive of the task ahead.
Cheers for now,
Marty
Last edited by '76swb; 11th April 2012 at 08:54 PM. Reason: Added a bit more info
Master
my crossmember was rotten and i had a spare at hand without extensions (the bits that slide over the chassis rails) which was ideal, i built the jig on the chassis before cutting anything to ensure correct location of the new crossmember, i then removed the jig before cutting anything
i then dissected the crossmember and repaired one side at a time if i remember correctly, this allowed me to cut the new plate to shape without the chassis distorting, i only cut one plate at a time out of the chassis and replaced that before attacking the next plate
take your time look at the job as stages not as a whole, this will allow you to see just the one piece that needs replacing, once that piece is done look at the next piece
so if the whole rear of one chassis rail needs replacing you'll break it down into four or five small jobs rather than one large job (each face of the chassis rail) and then repeat the process on the other rail if you need to
if you need to change a shackle mount i'd personally drop the spring on that side and make a jig that fits between the front hanger and the shackle mount to ensure correct distance/alignment
take your time and look at the job as small jobs rather than one whole job, make a list if needs be and work out the order of cuts and repairs/welds to help you see how it needs to be assembled, the final fitting of course is the crossmember complete with jig
Master
Thanks NiteMare,
Confidence building words.
I like the idea of the spring hanger jig.
I'll definately get one of those sorted out before I go any further.
Master
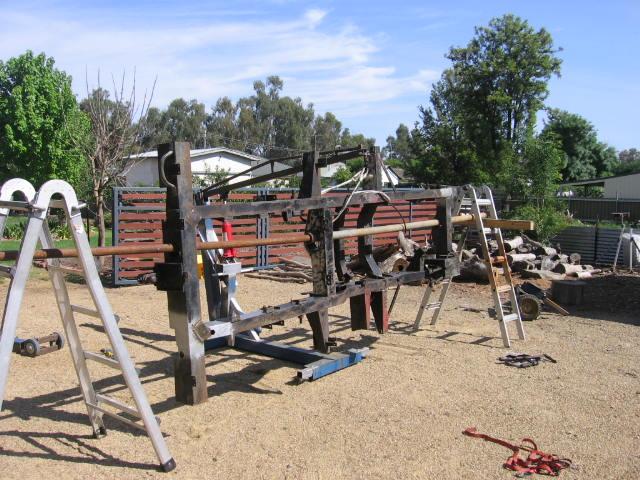
So it's been a long time between drinks (or maybe not!) but I have turned the corner from dismantling / cutting / welding, to getting on the road to reassembly.
I used the PTO holes to make a rotisserie which made sanding the chassis easier for me. I needed the chassis "down-the-back-where-you're-not-going-to-make-a-mess", which would have ment push it down the back, sand it, push it back to the shed, turn it over, push it down the back etc. It also made painting it much easier for the same reasons.
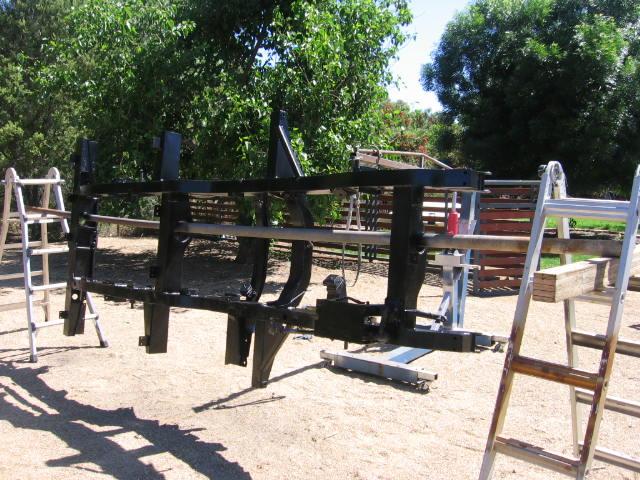
This is the first coat of White Knight gloss black rust guard. Used a spray gun for application.
I'm only putting down thin coats, so I think I'll end up with about 4 in the end.
I've also finished cleaning up the spring packs and re-bushing them, so I'll give them a quick hit with the paint gun as well.
Cheers for now,
Marty.
Master
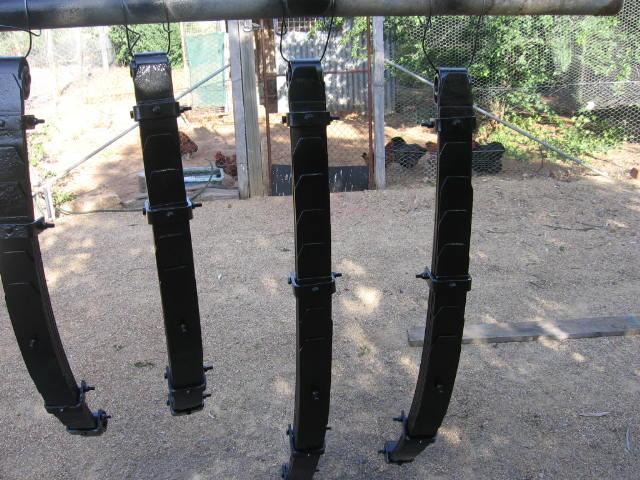
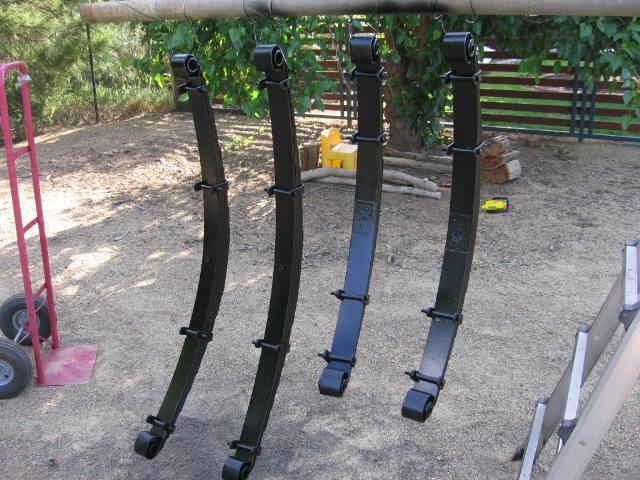
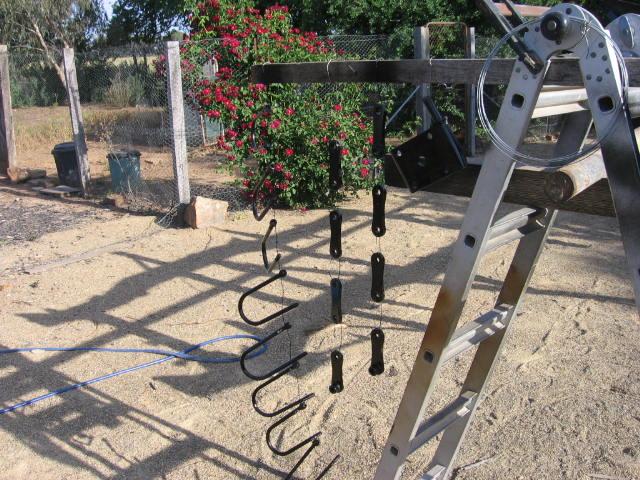
Here's the finished spring packs.
For each pack, they have been pulled apart, wire mopped to remove the crud and rust that had built up and ground to remove the ridges that had formed at the end of each leaf.
I then tapered the end of the leaves and made up removable spring pack clamps.
I have to give credit to Chazza at this point for his detailed and informative post I found earlier in this section of the forum. Thanks very much!
Springs tapered
And the removable clamps fitted
Got some of the other suspension components cleaned up and painted
That's about it for now
Cheers
Marty.
AULRO Holiday Reward Points Winner!
Hi Marty.
Nice progress. I'm waiting patiently for you to rip into your firewall. It looks oh so much like mine. My bottom fascia tray has rusted out identically too. Did you patch that up with fibreglass or is it sitting under a meter of other land rover bits waiting to be loved?
Andrew
 Posting Permissions
| Search AULRO.com ONLY! |
Search All the Web! |
|---|
|
|
|

Bookmarks