


 Reply With Quote
So, today was cut, weld, grind, paint day.
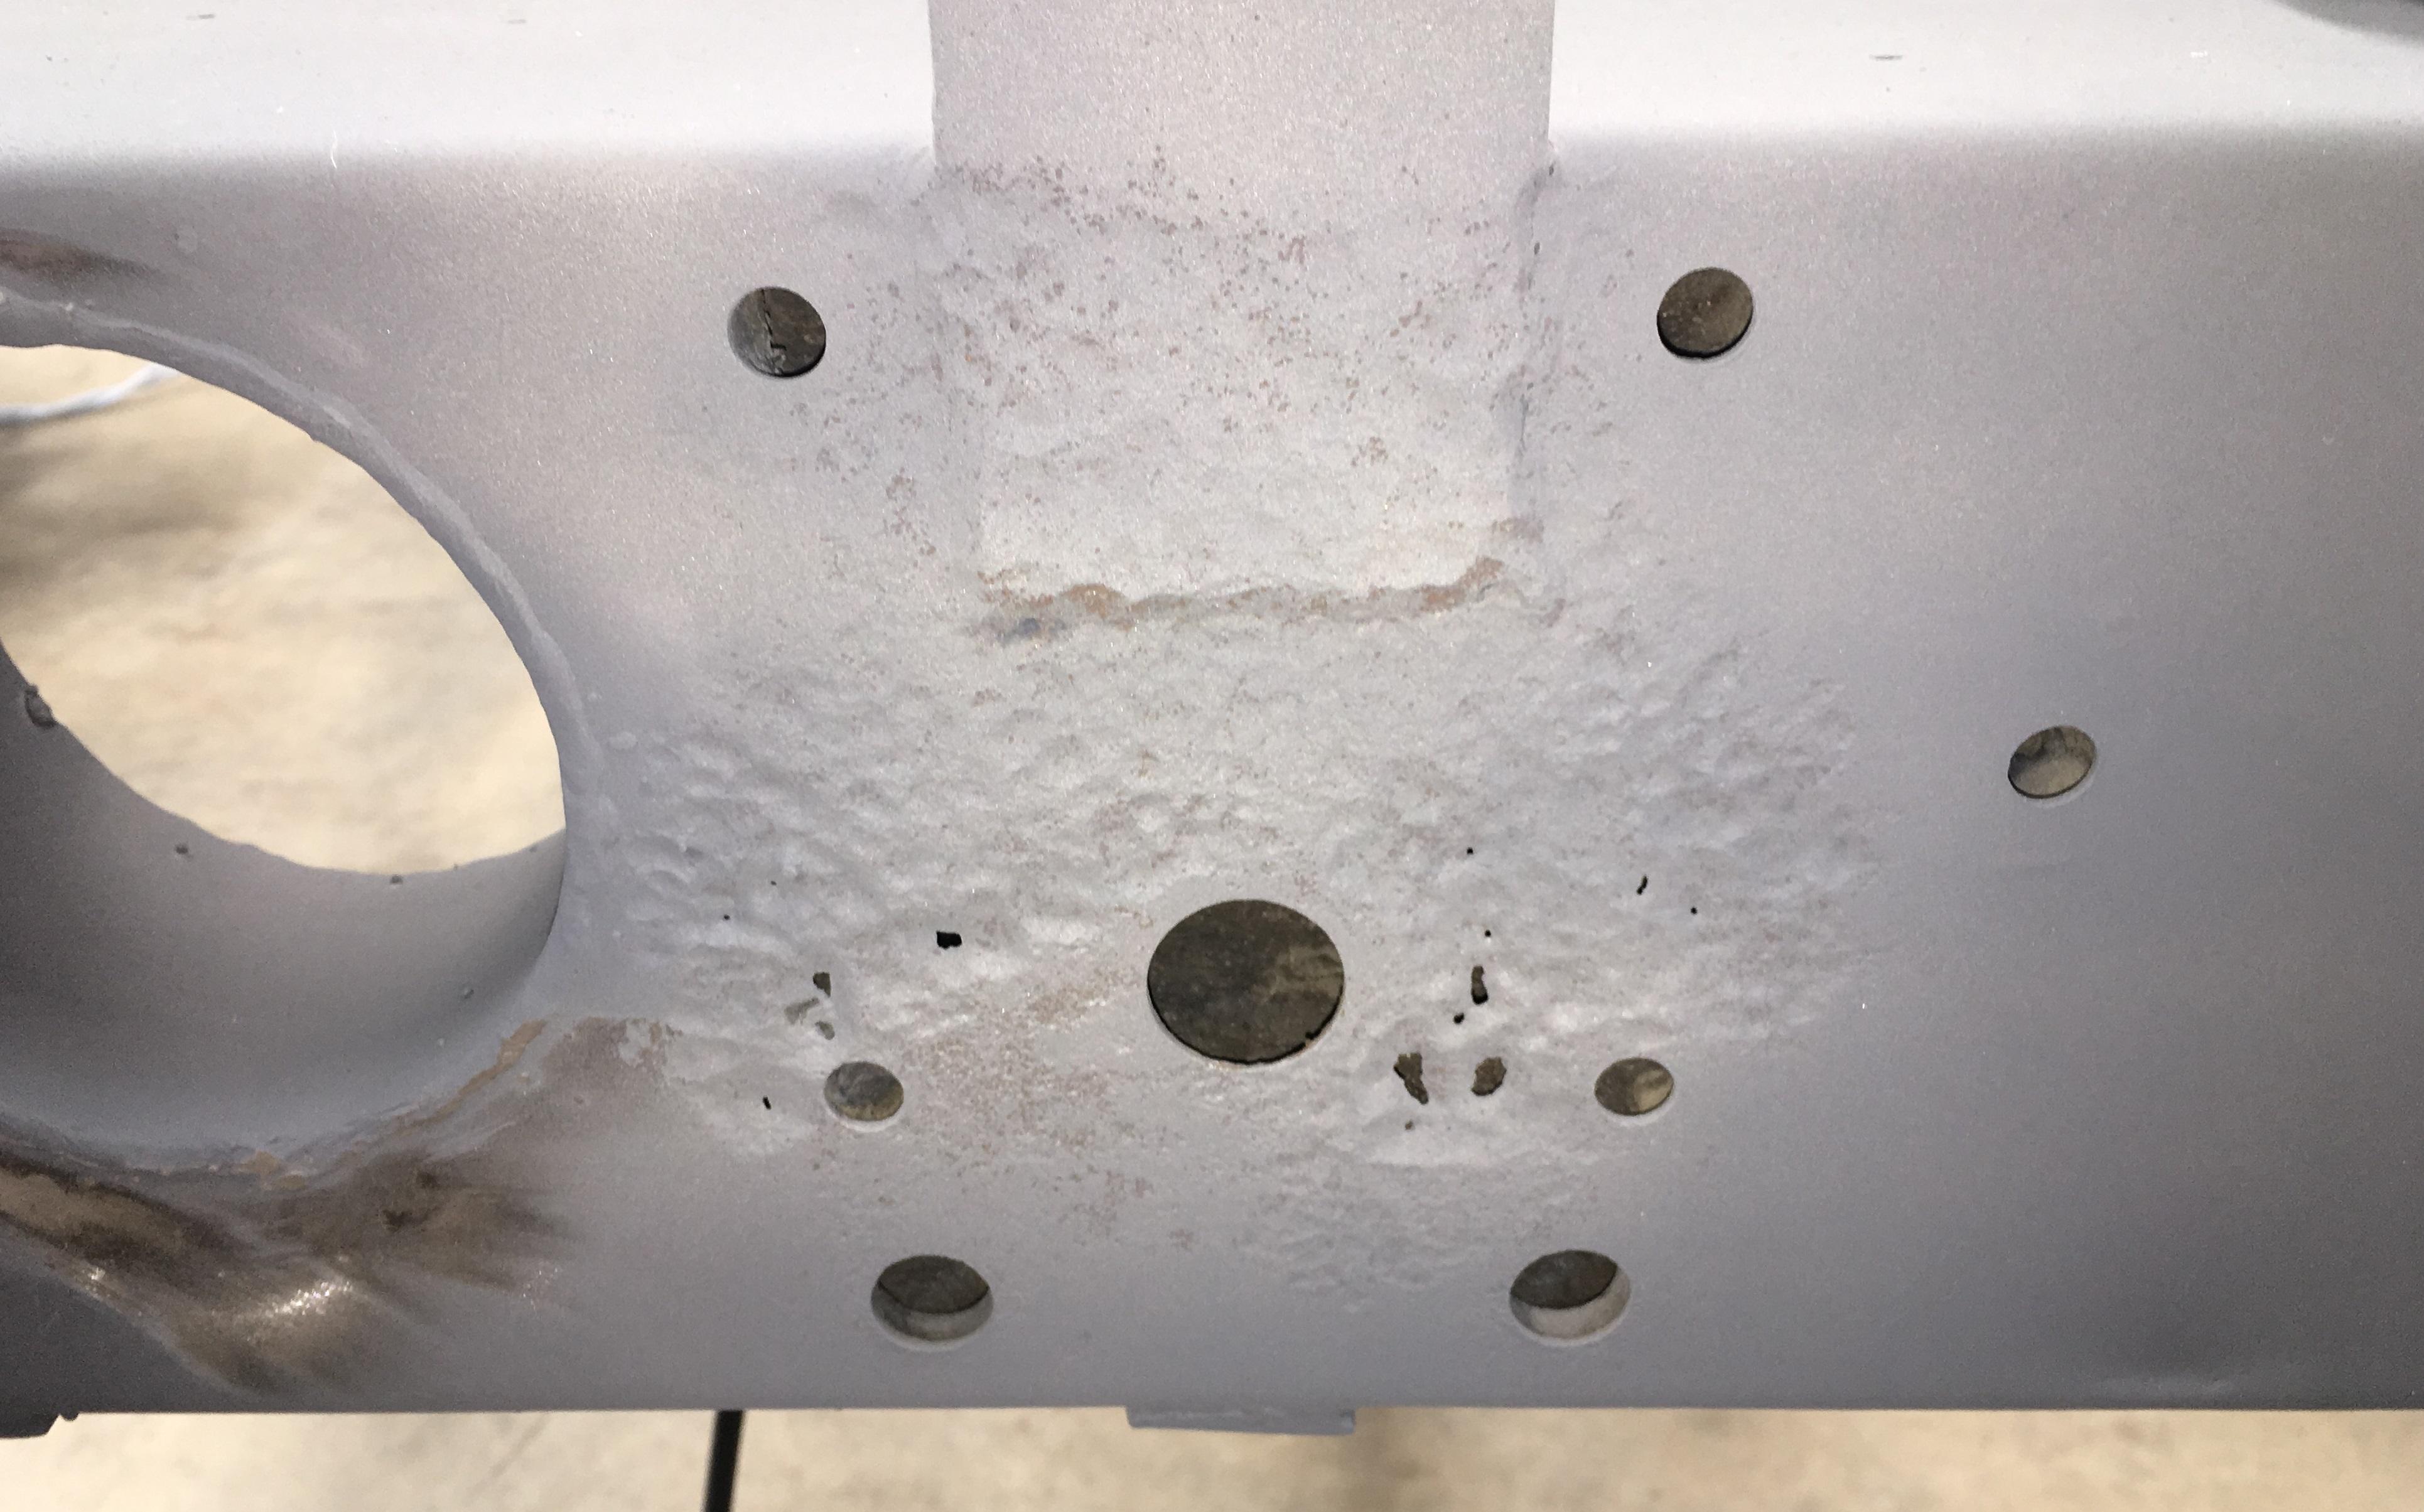
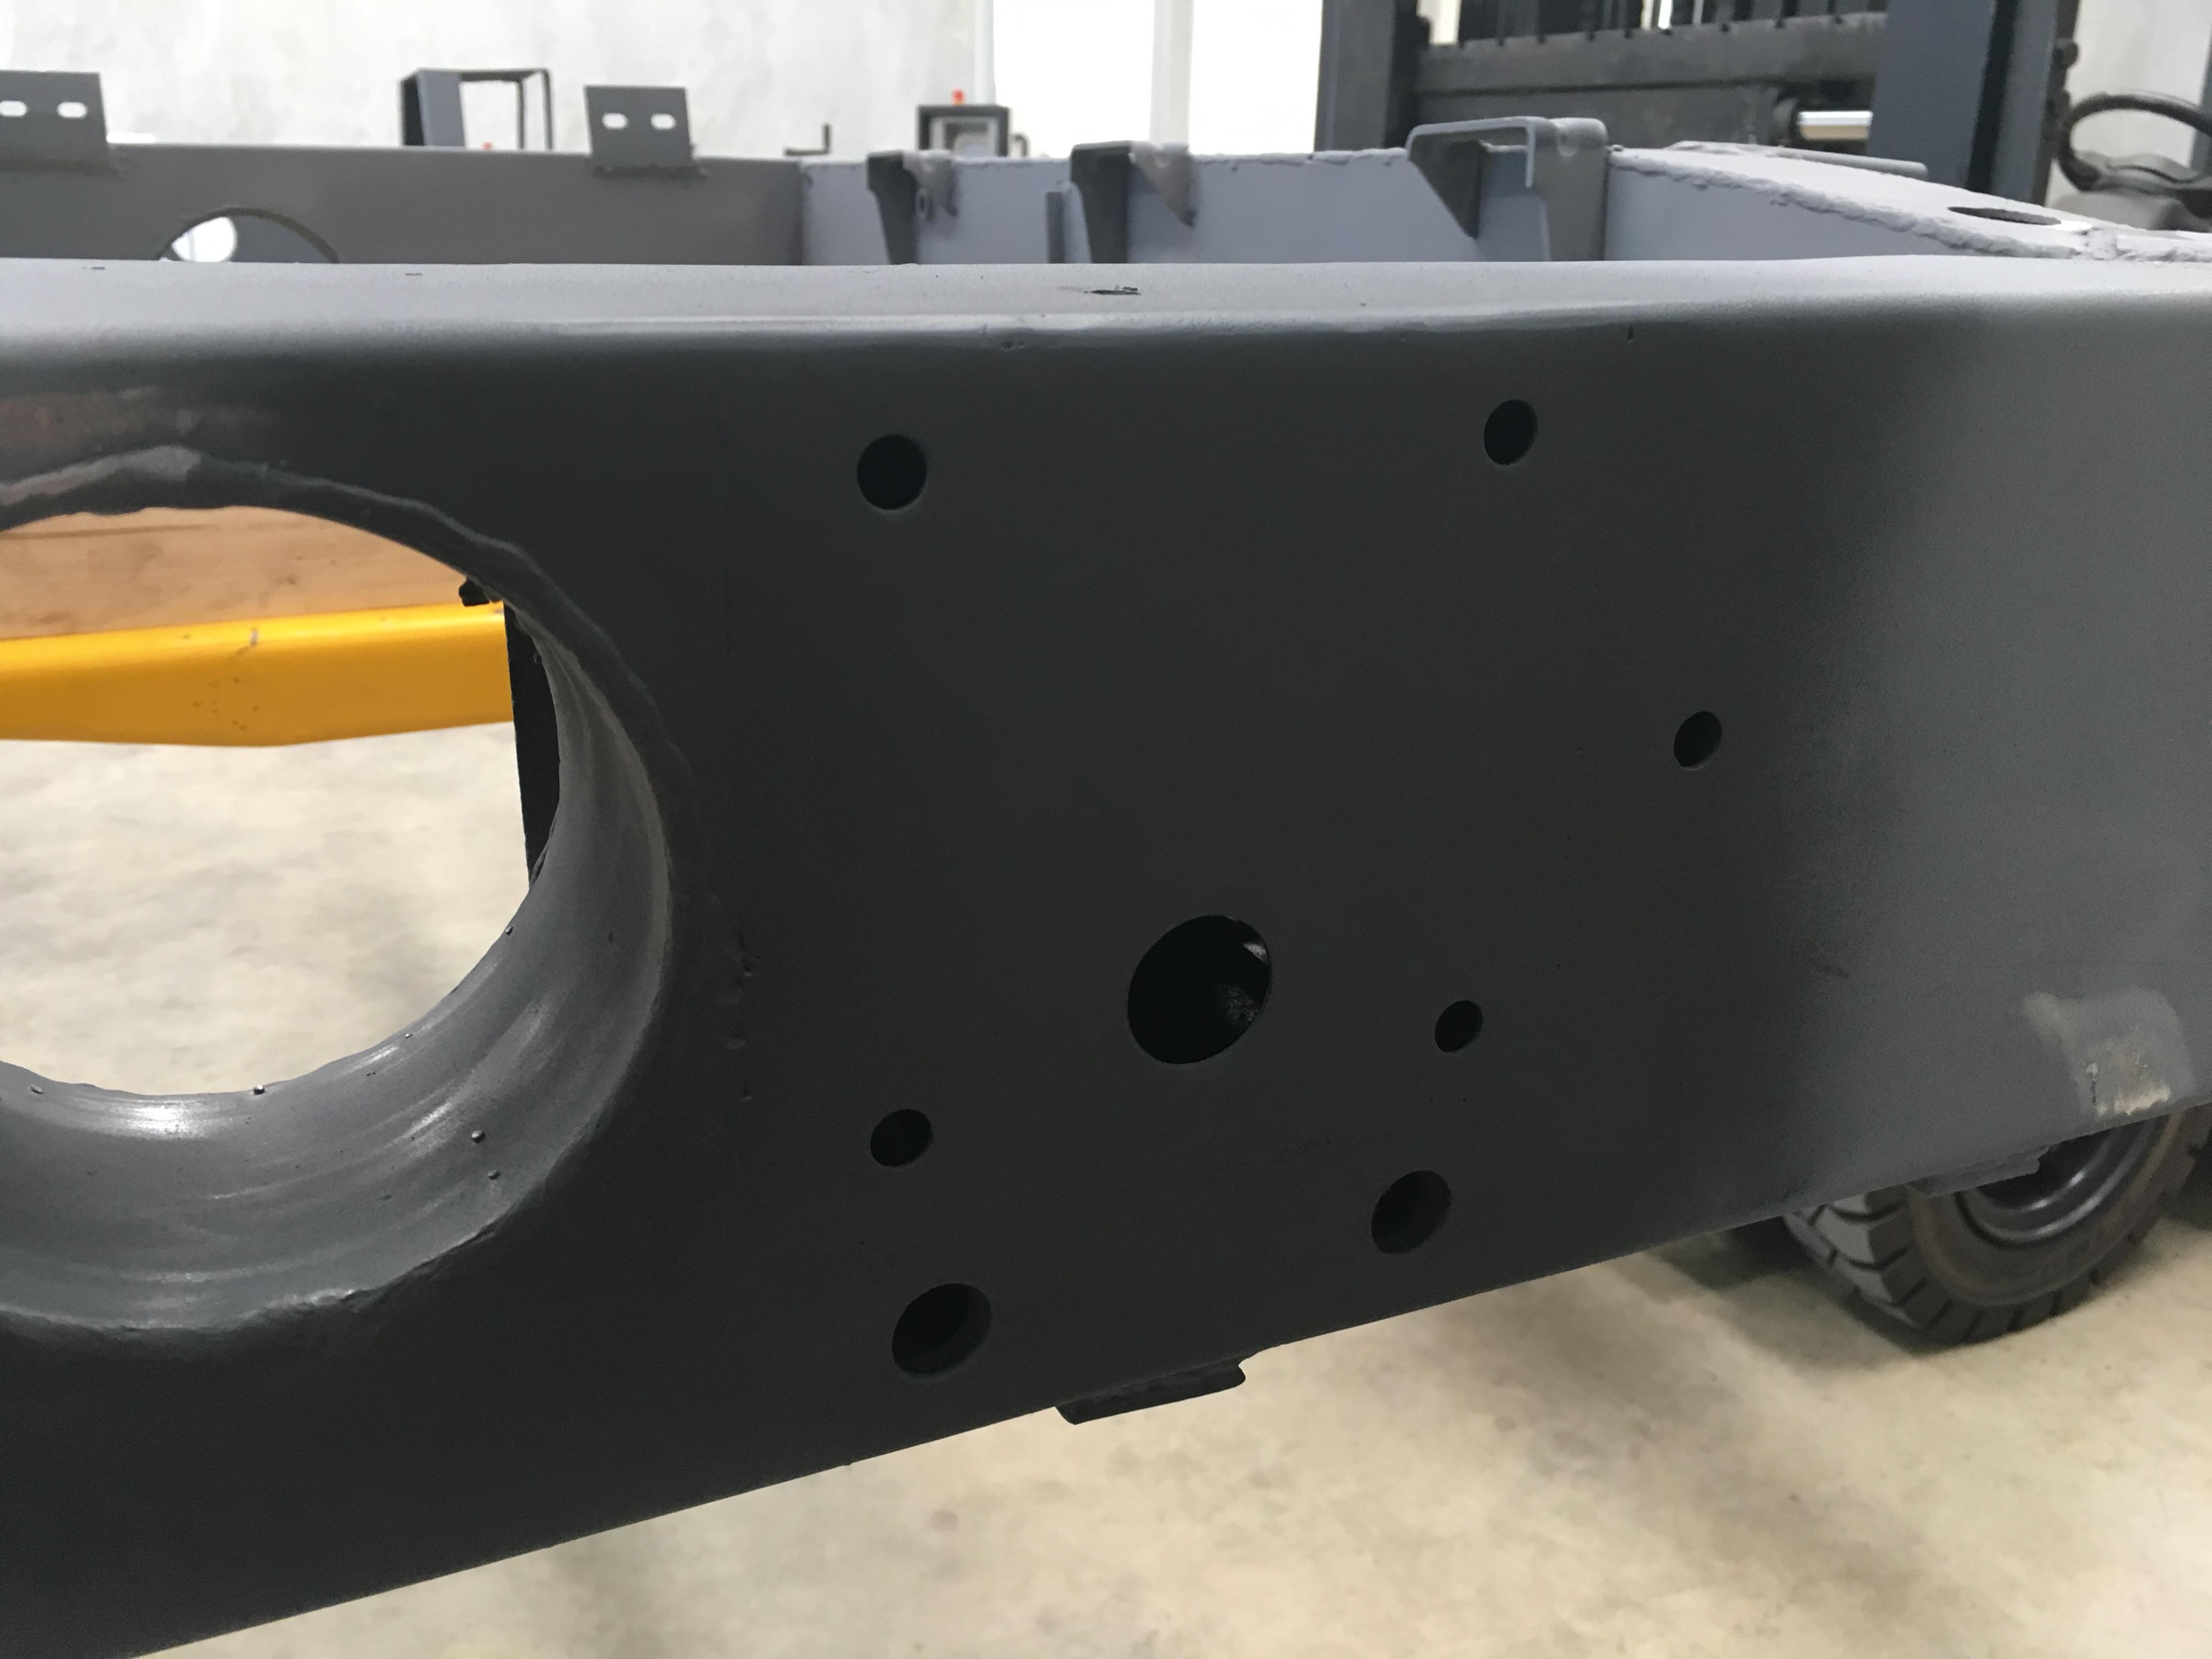
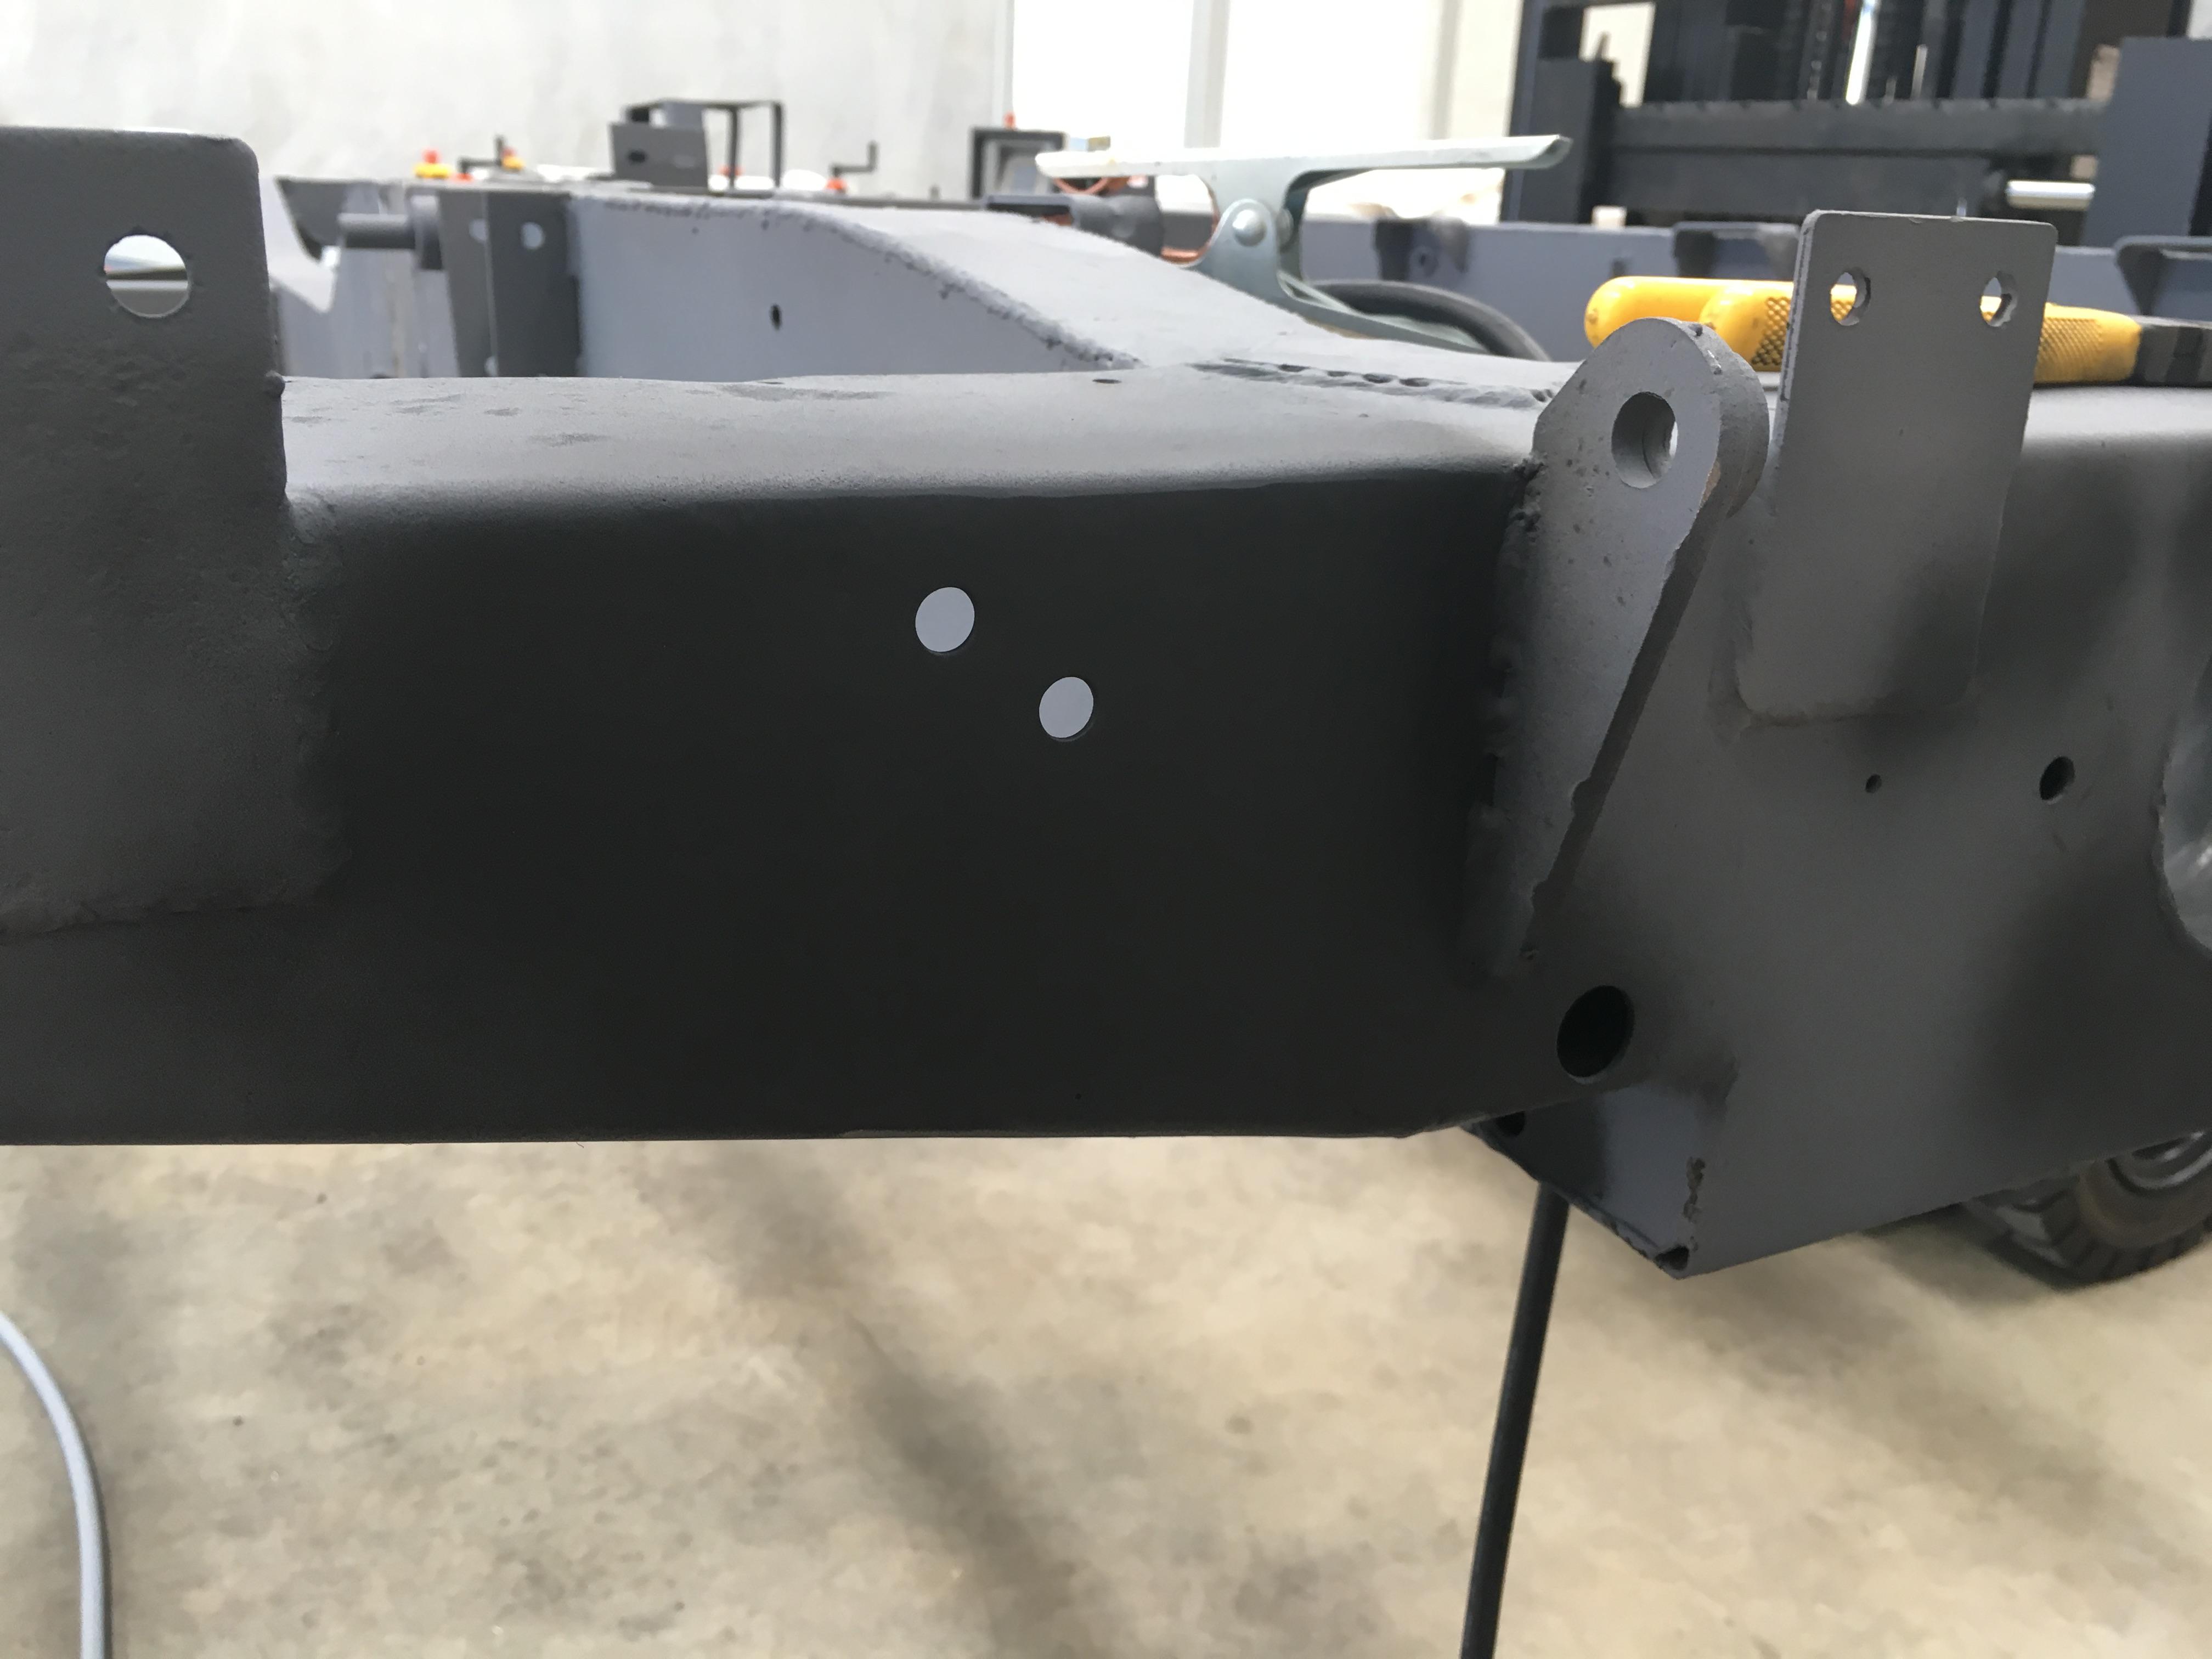
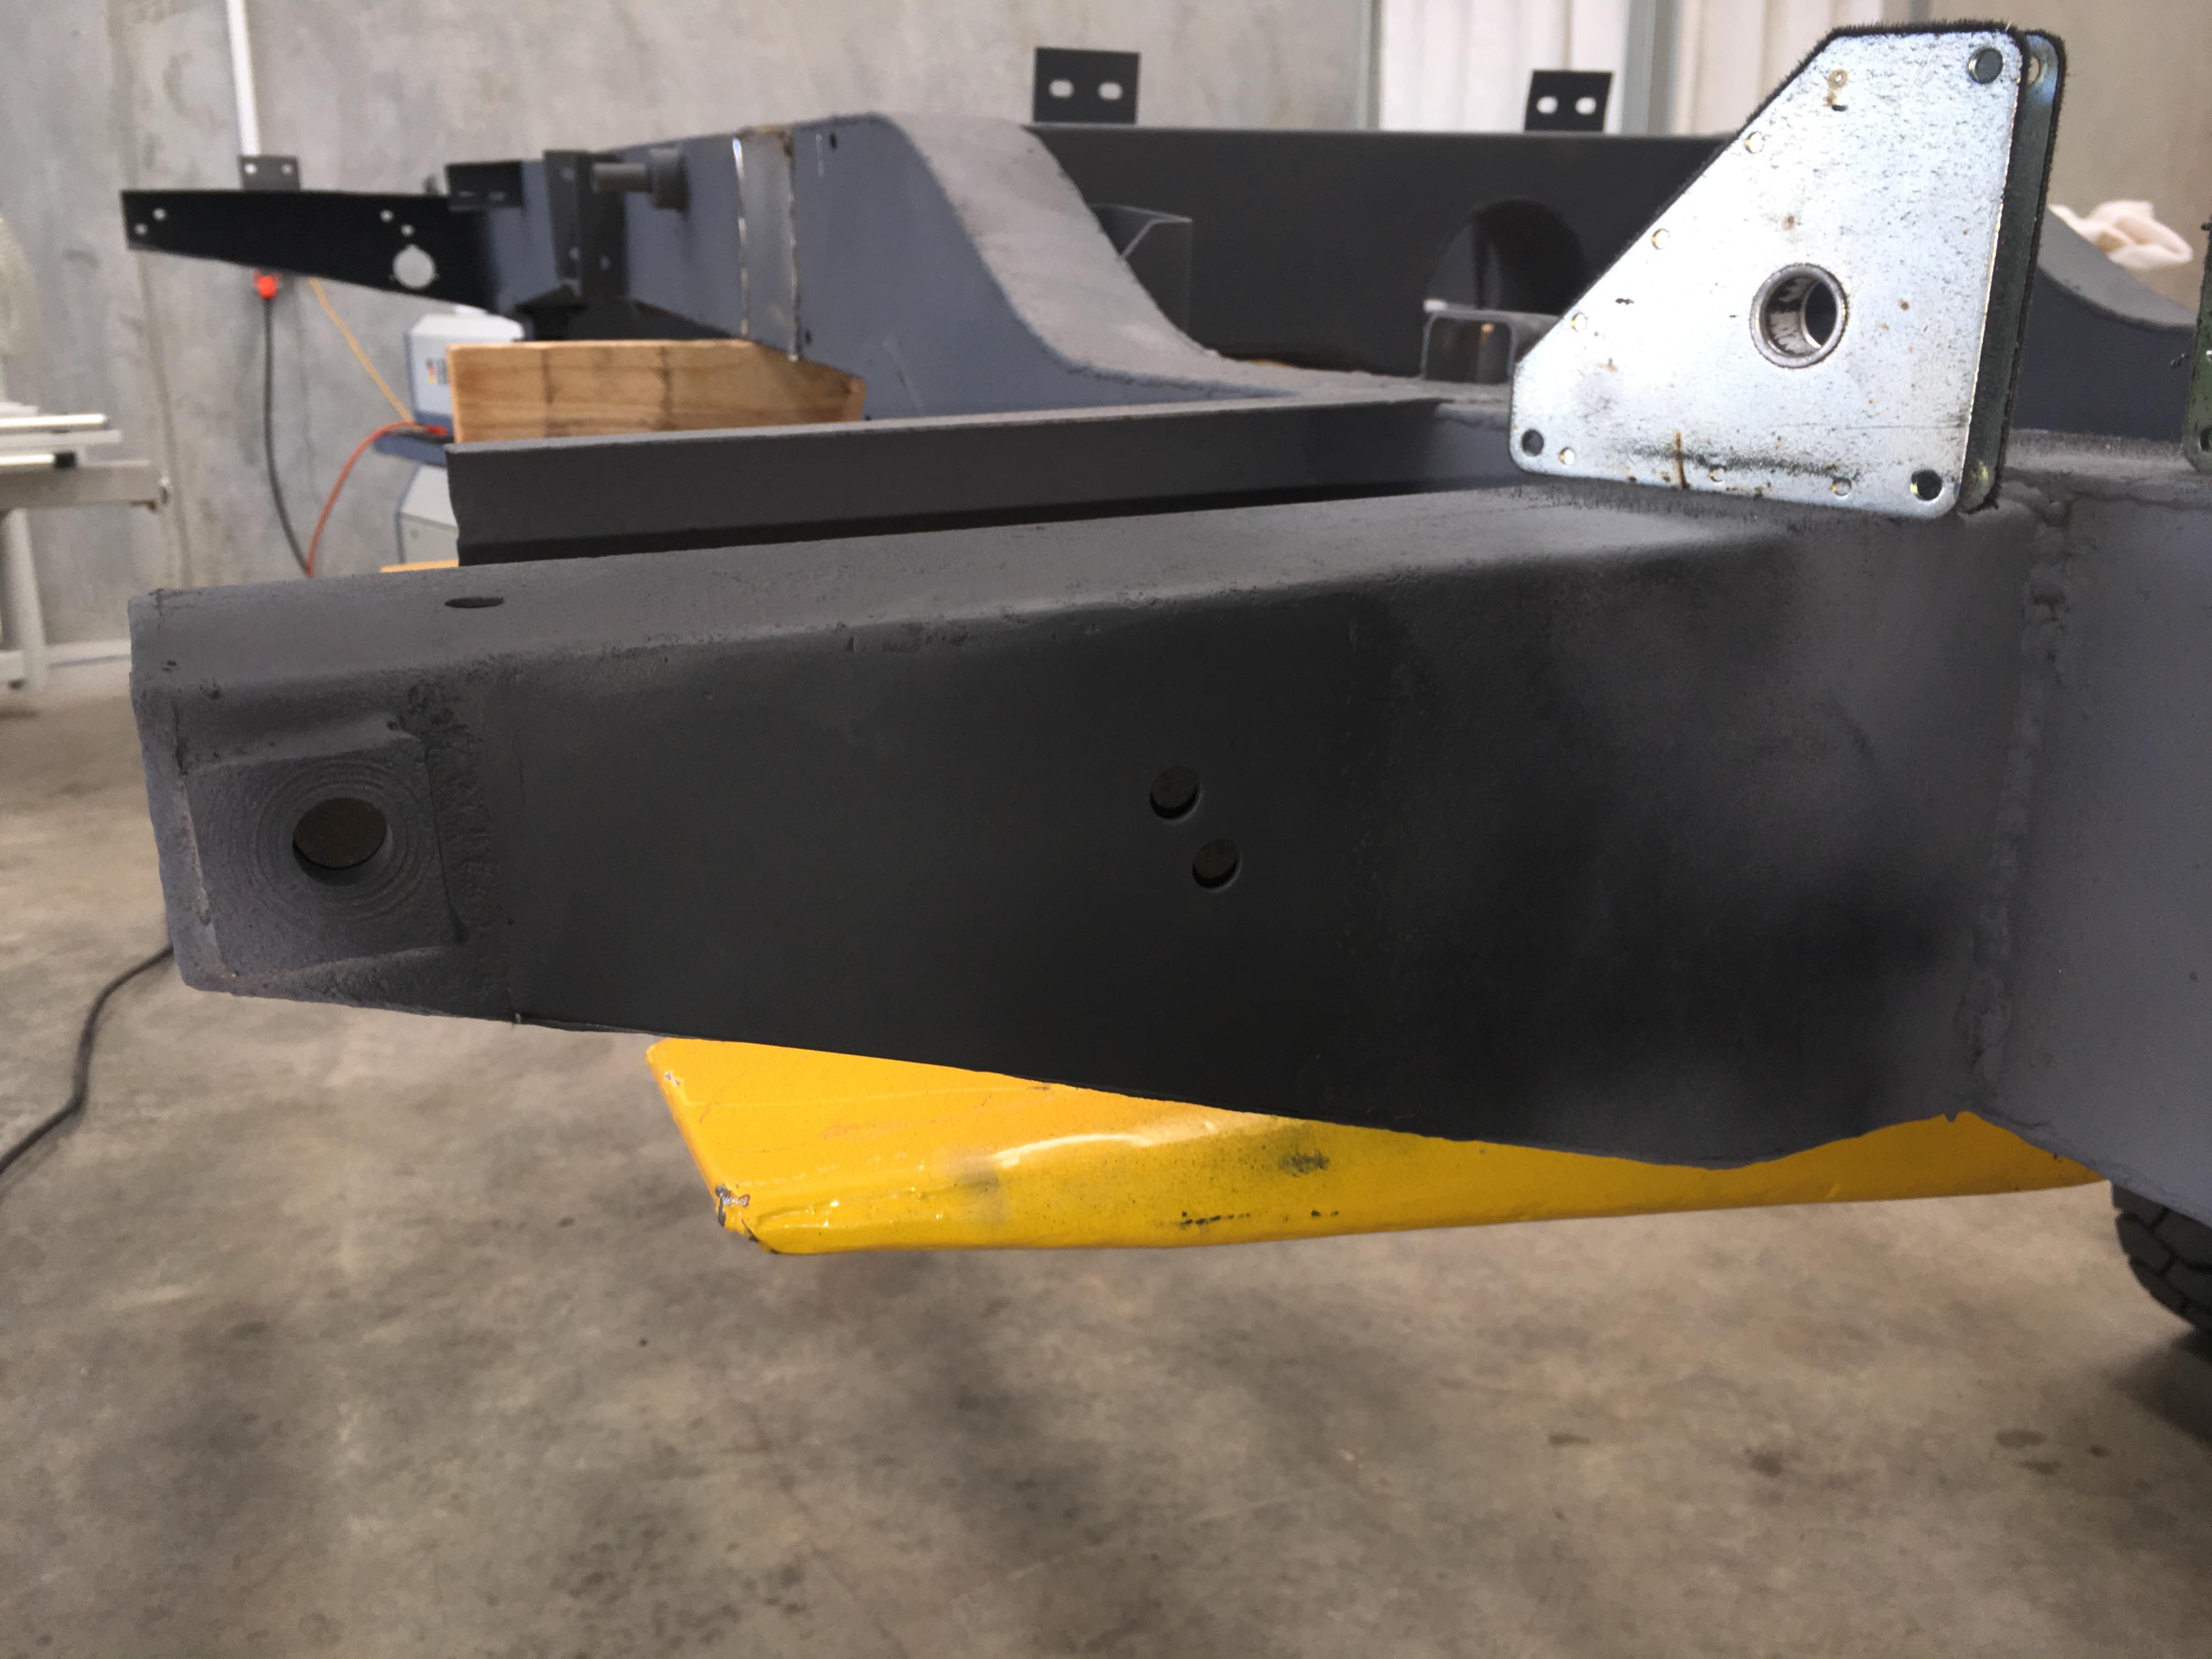
I started on the rear cross member where some rust had grown behind the tow hitch plate:
Piece cut out to reveal a bit of contraband AQIS had missed
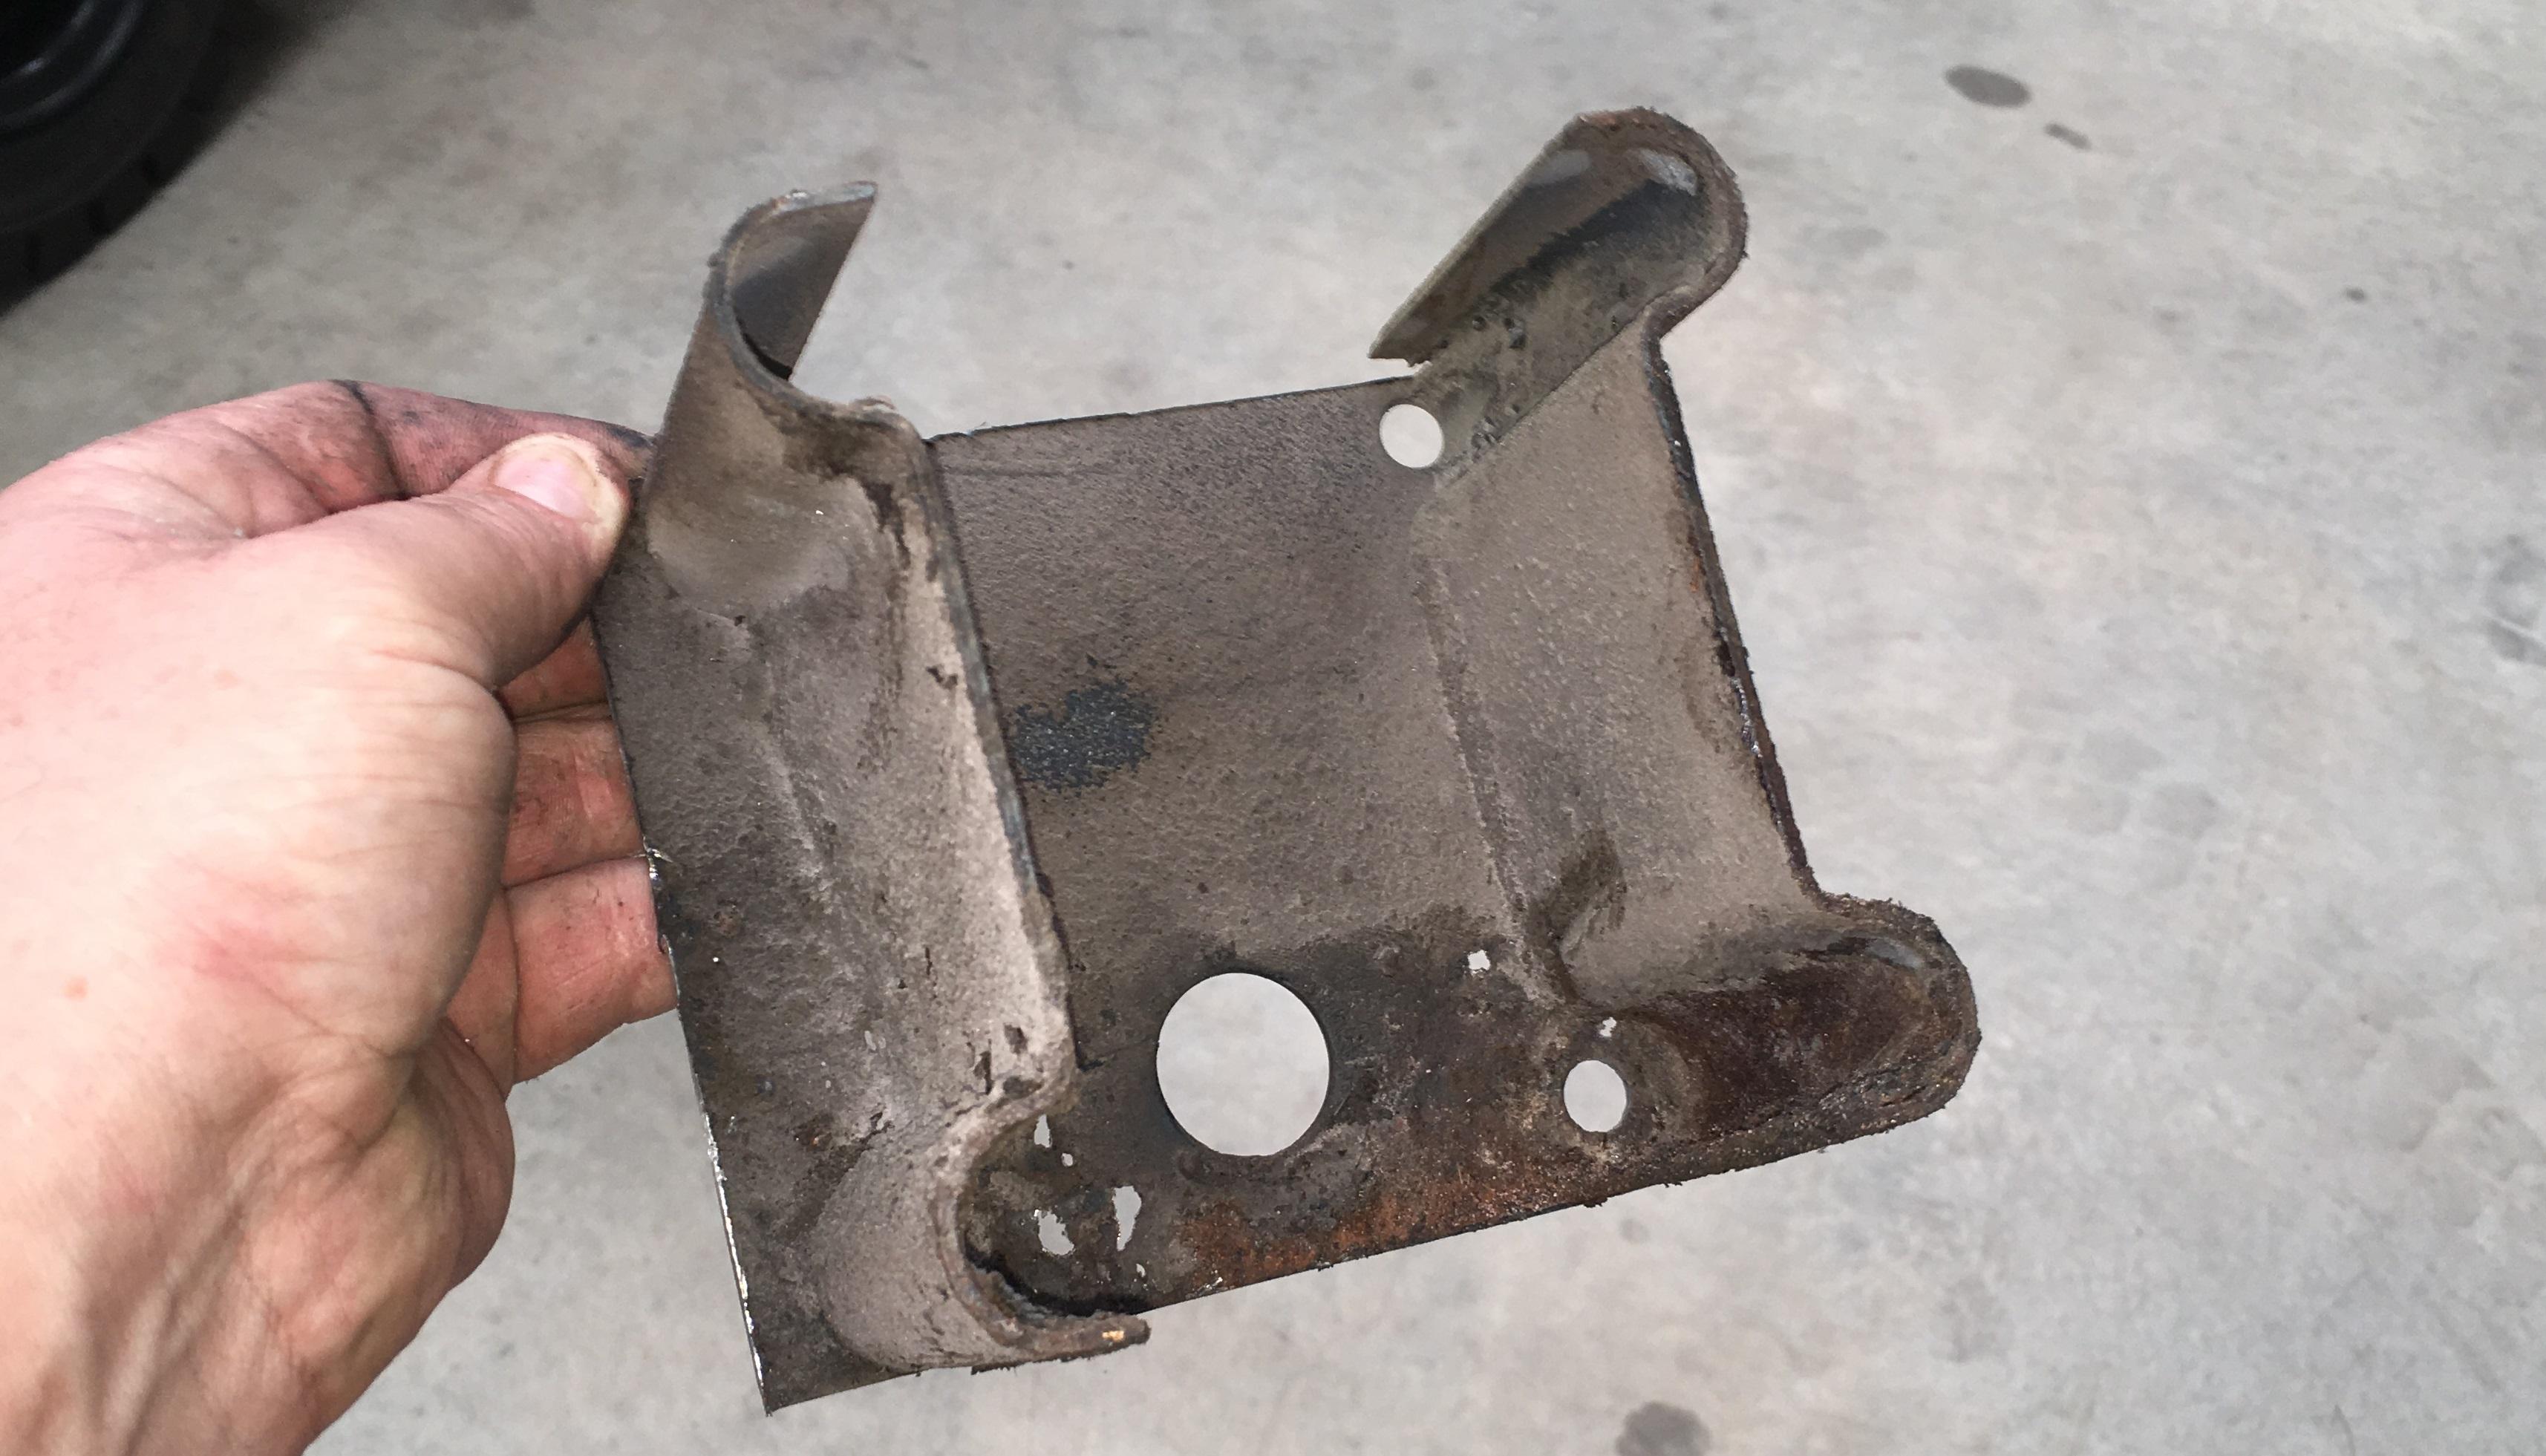
The bit I cut out, (fortunately just the right size!), has a distance piece welded to it, this was removed to be reattached to the new bit:
New bit welded in, (don't mind the booger bits on top, that's what happens when you try and rush things!).
And all ground back and painted
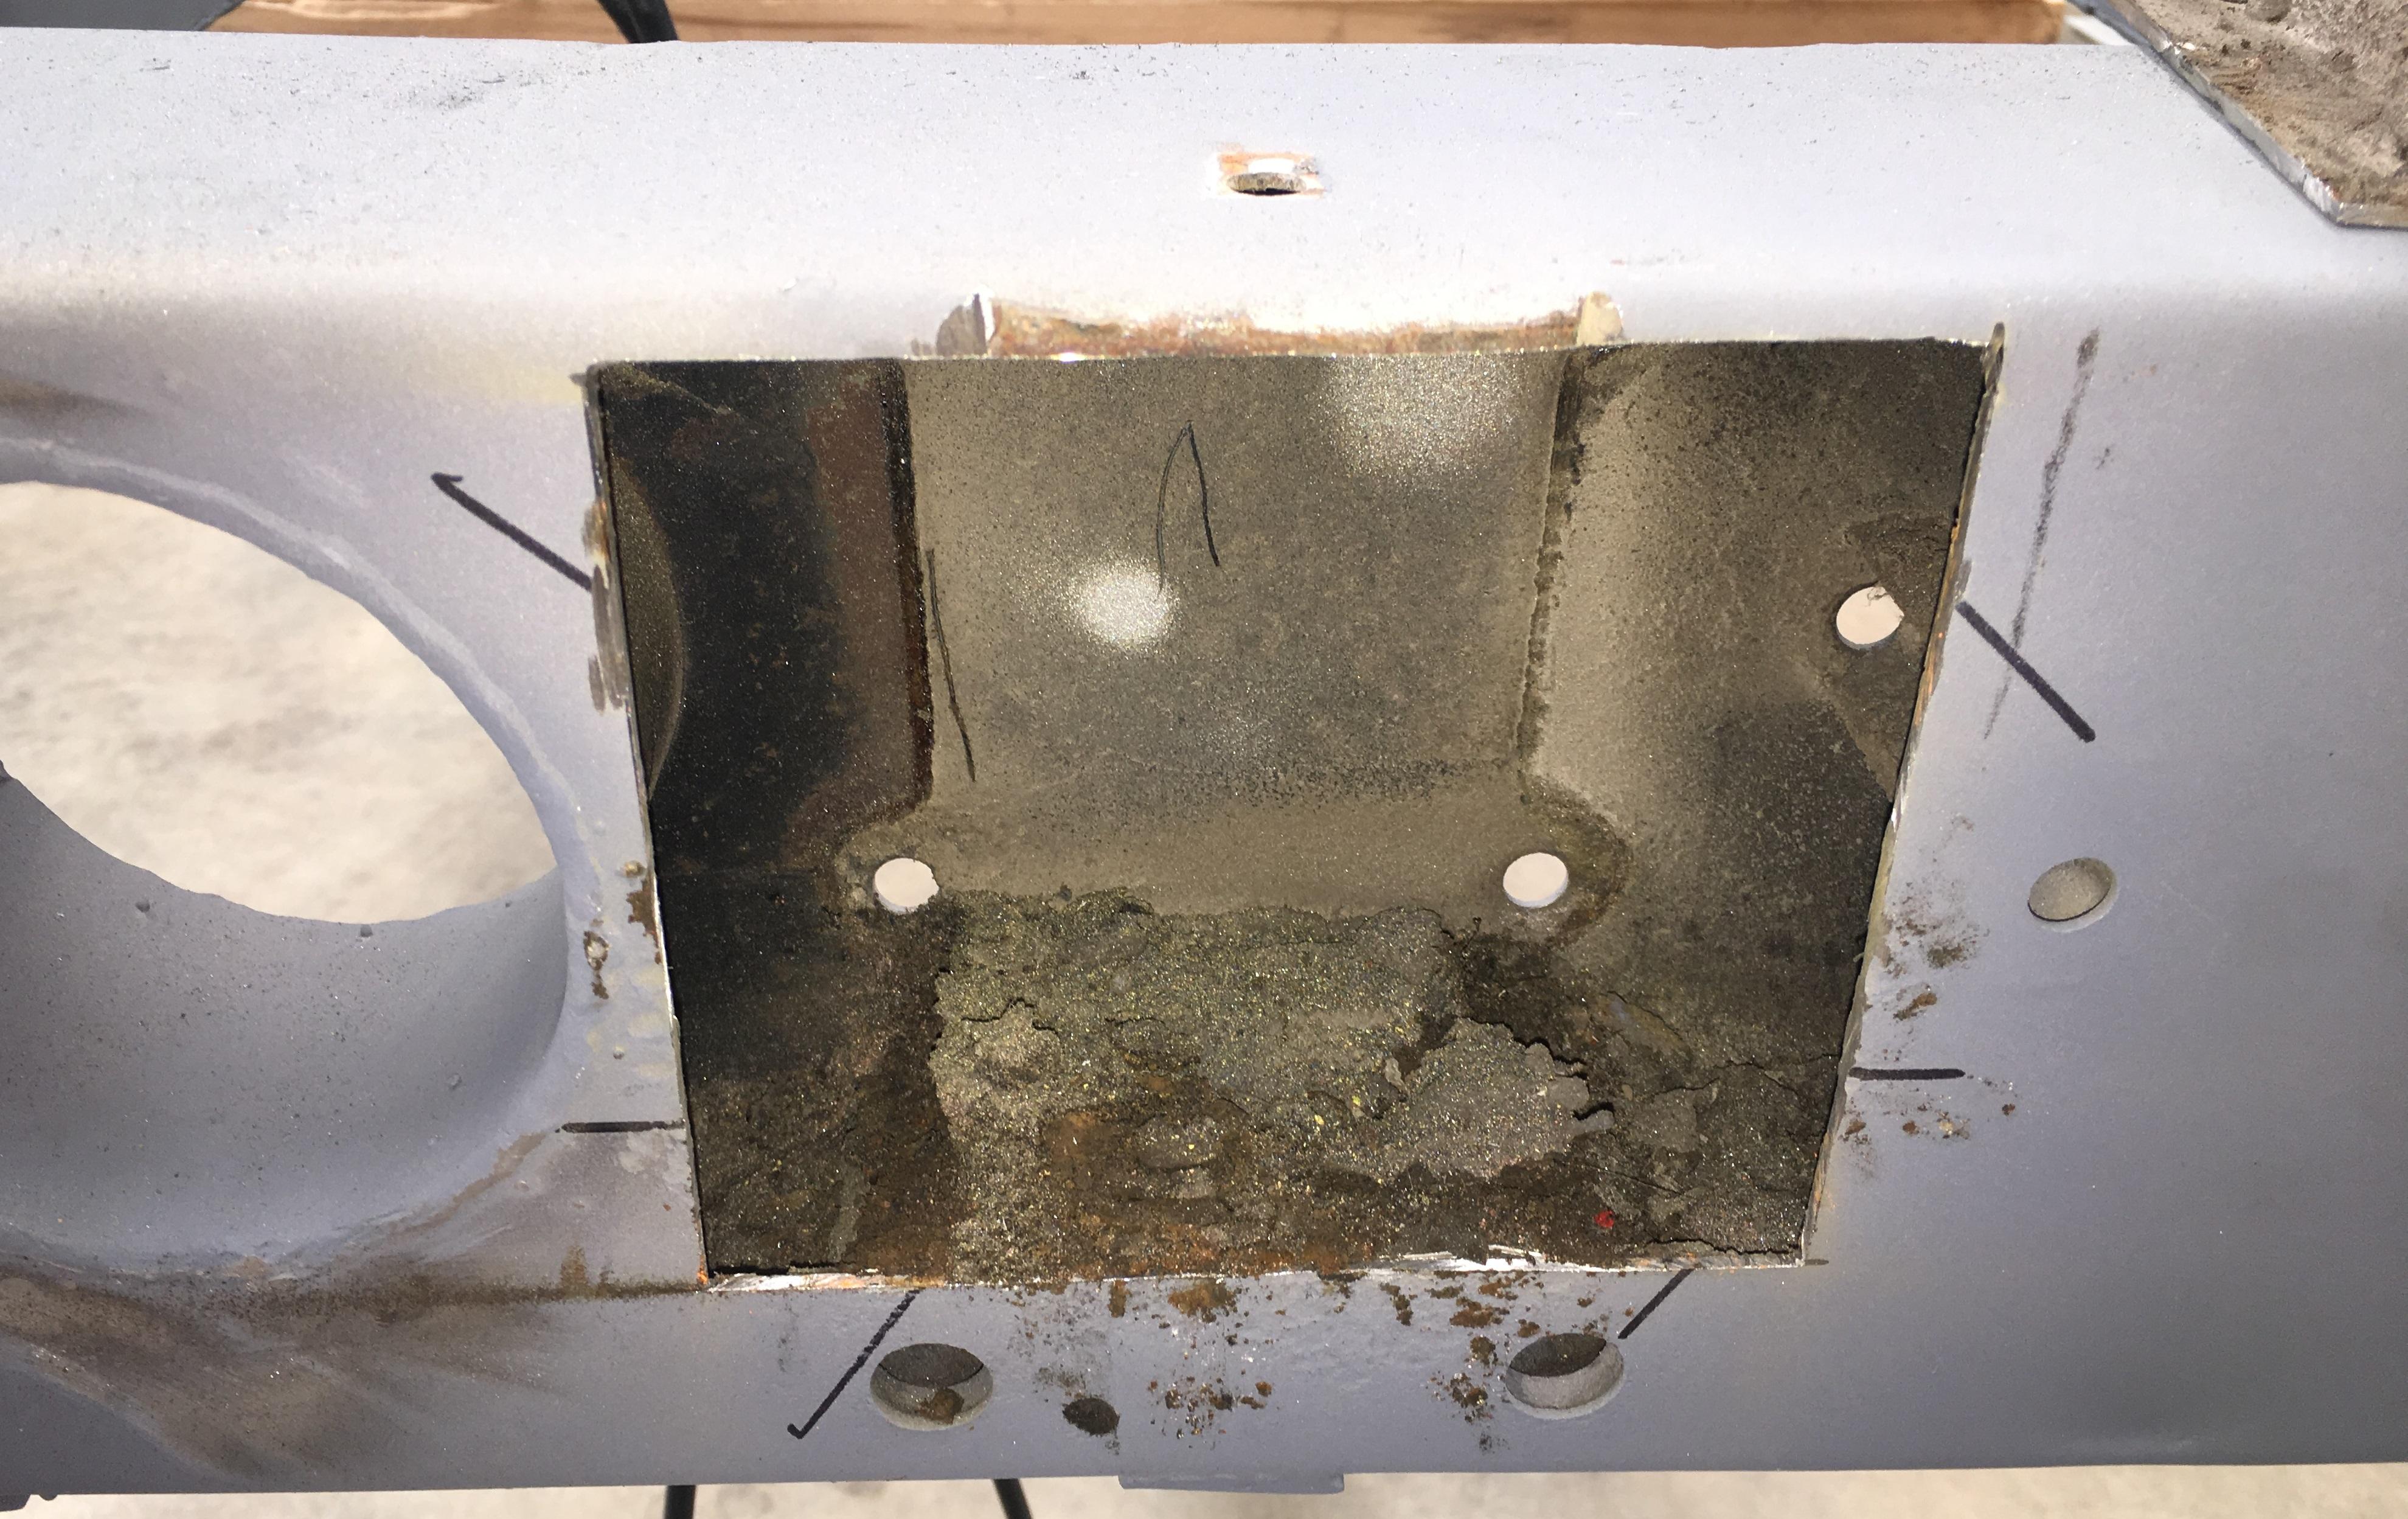
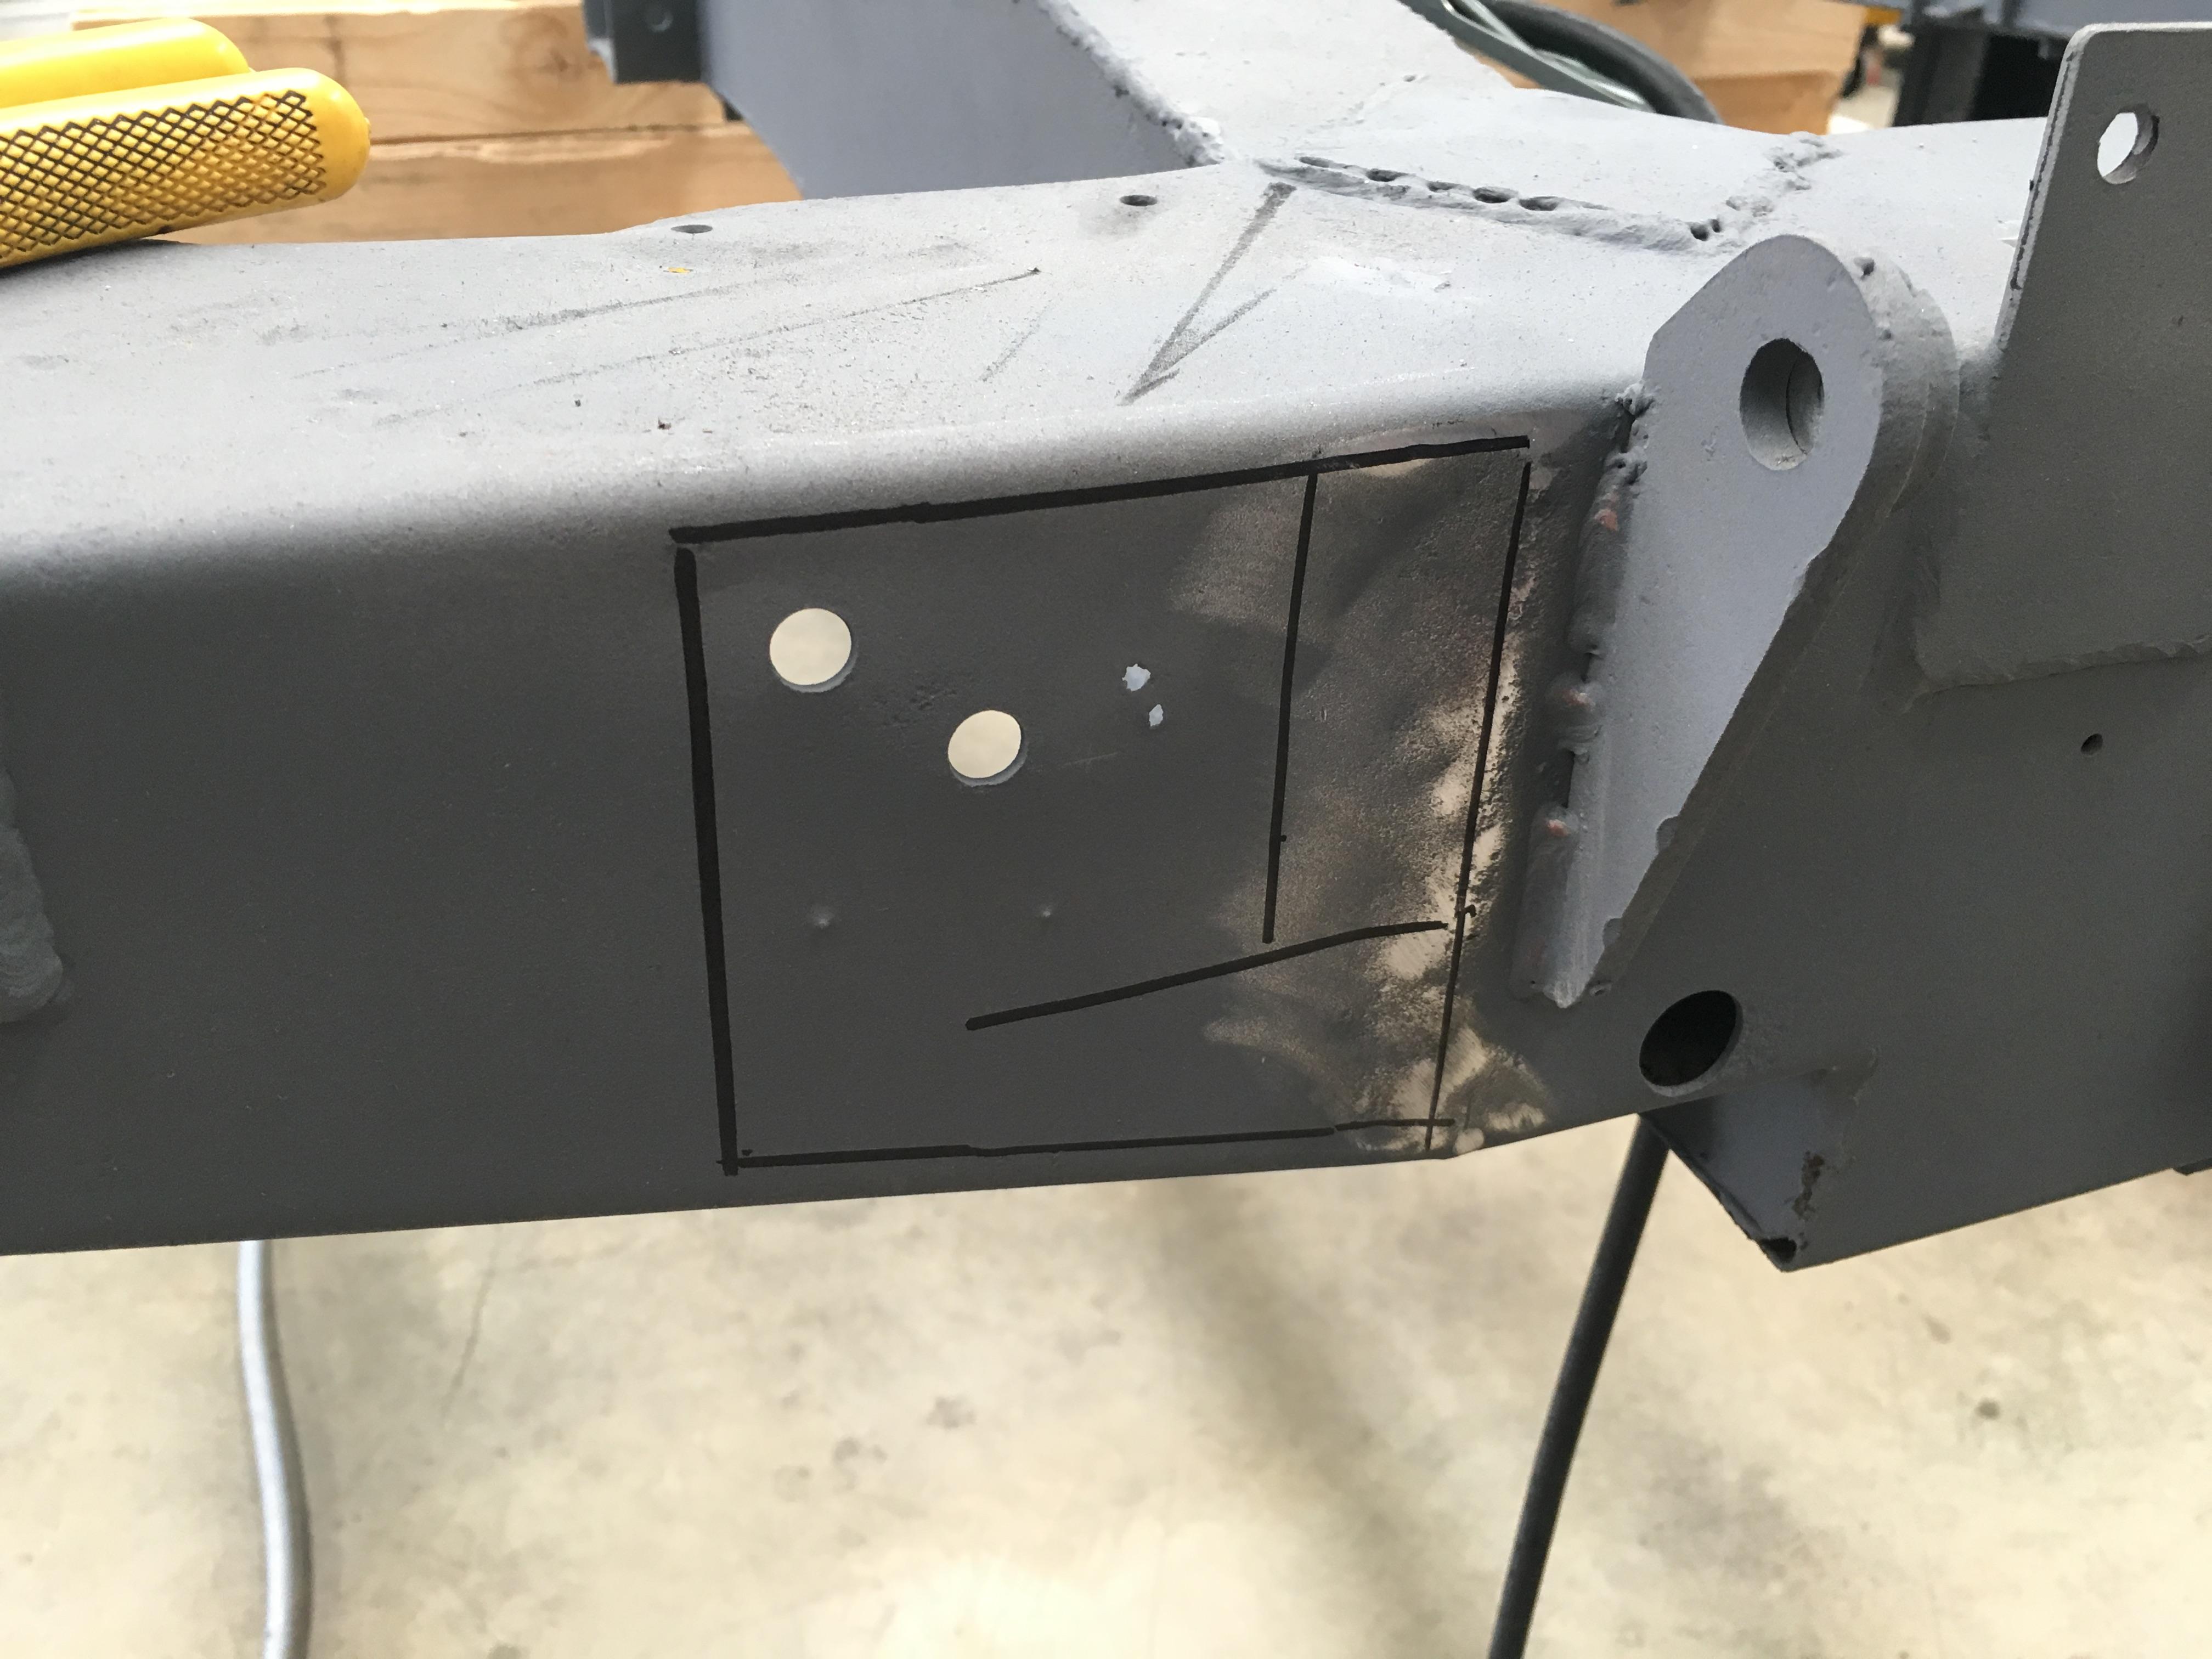
Next bit of rear cross member to be cut out. I marked some corrosion on the inside with a punch, then started marking a smaller bit to cut out before deciding "bugger it, might as well cut the big dent on the right hand side out while I'm at it":
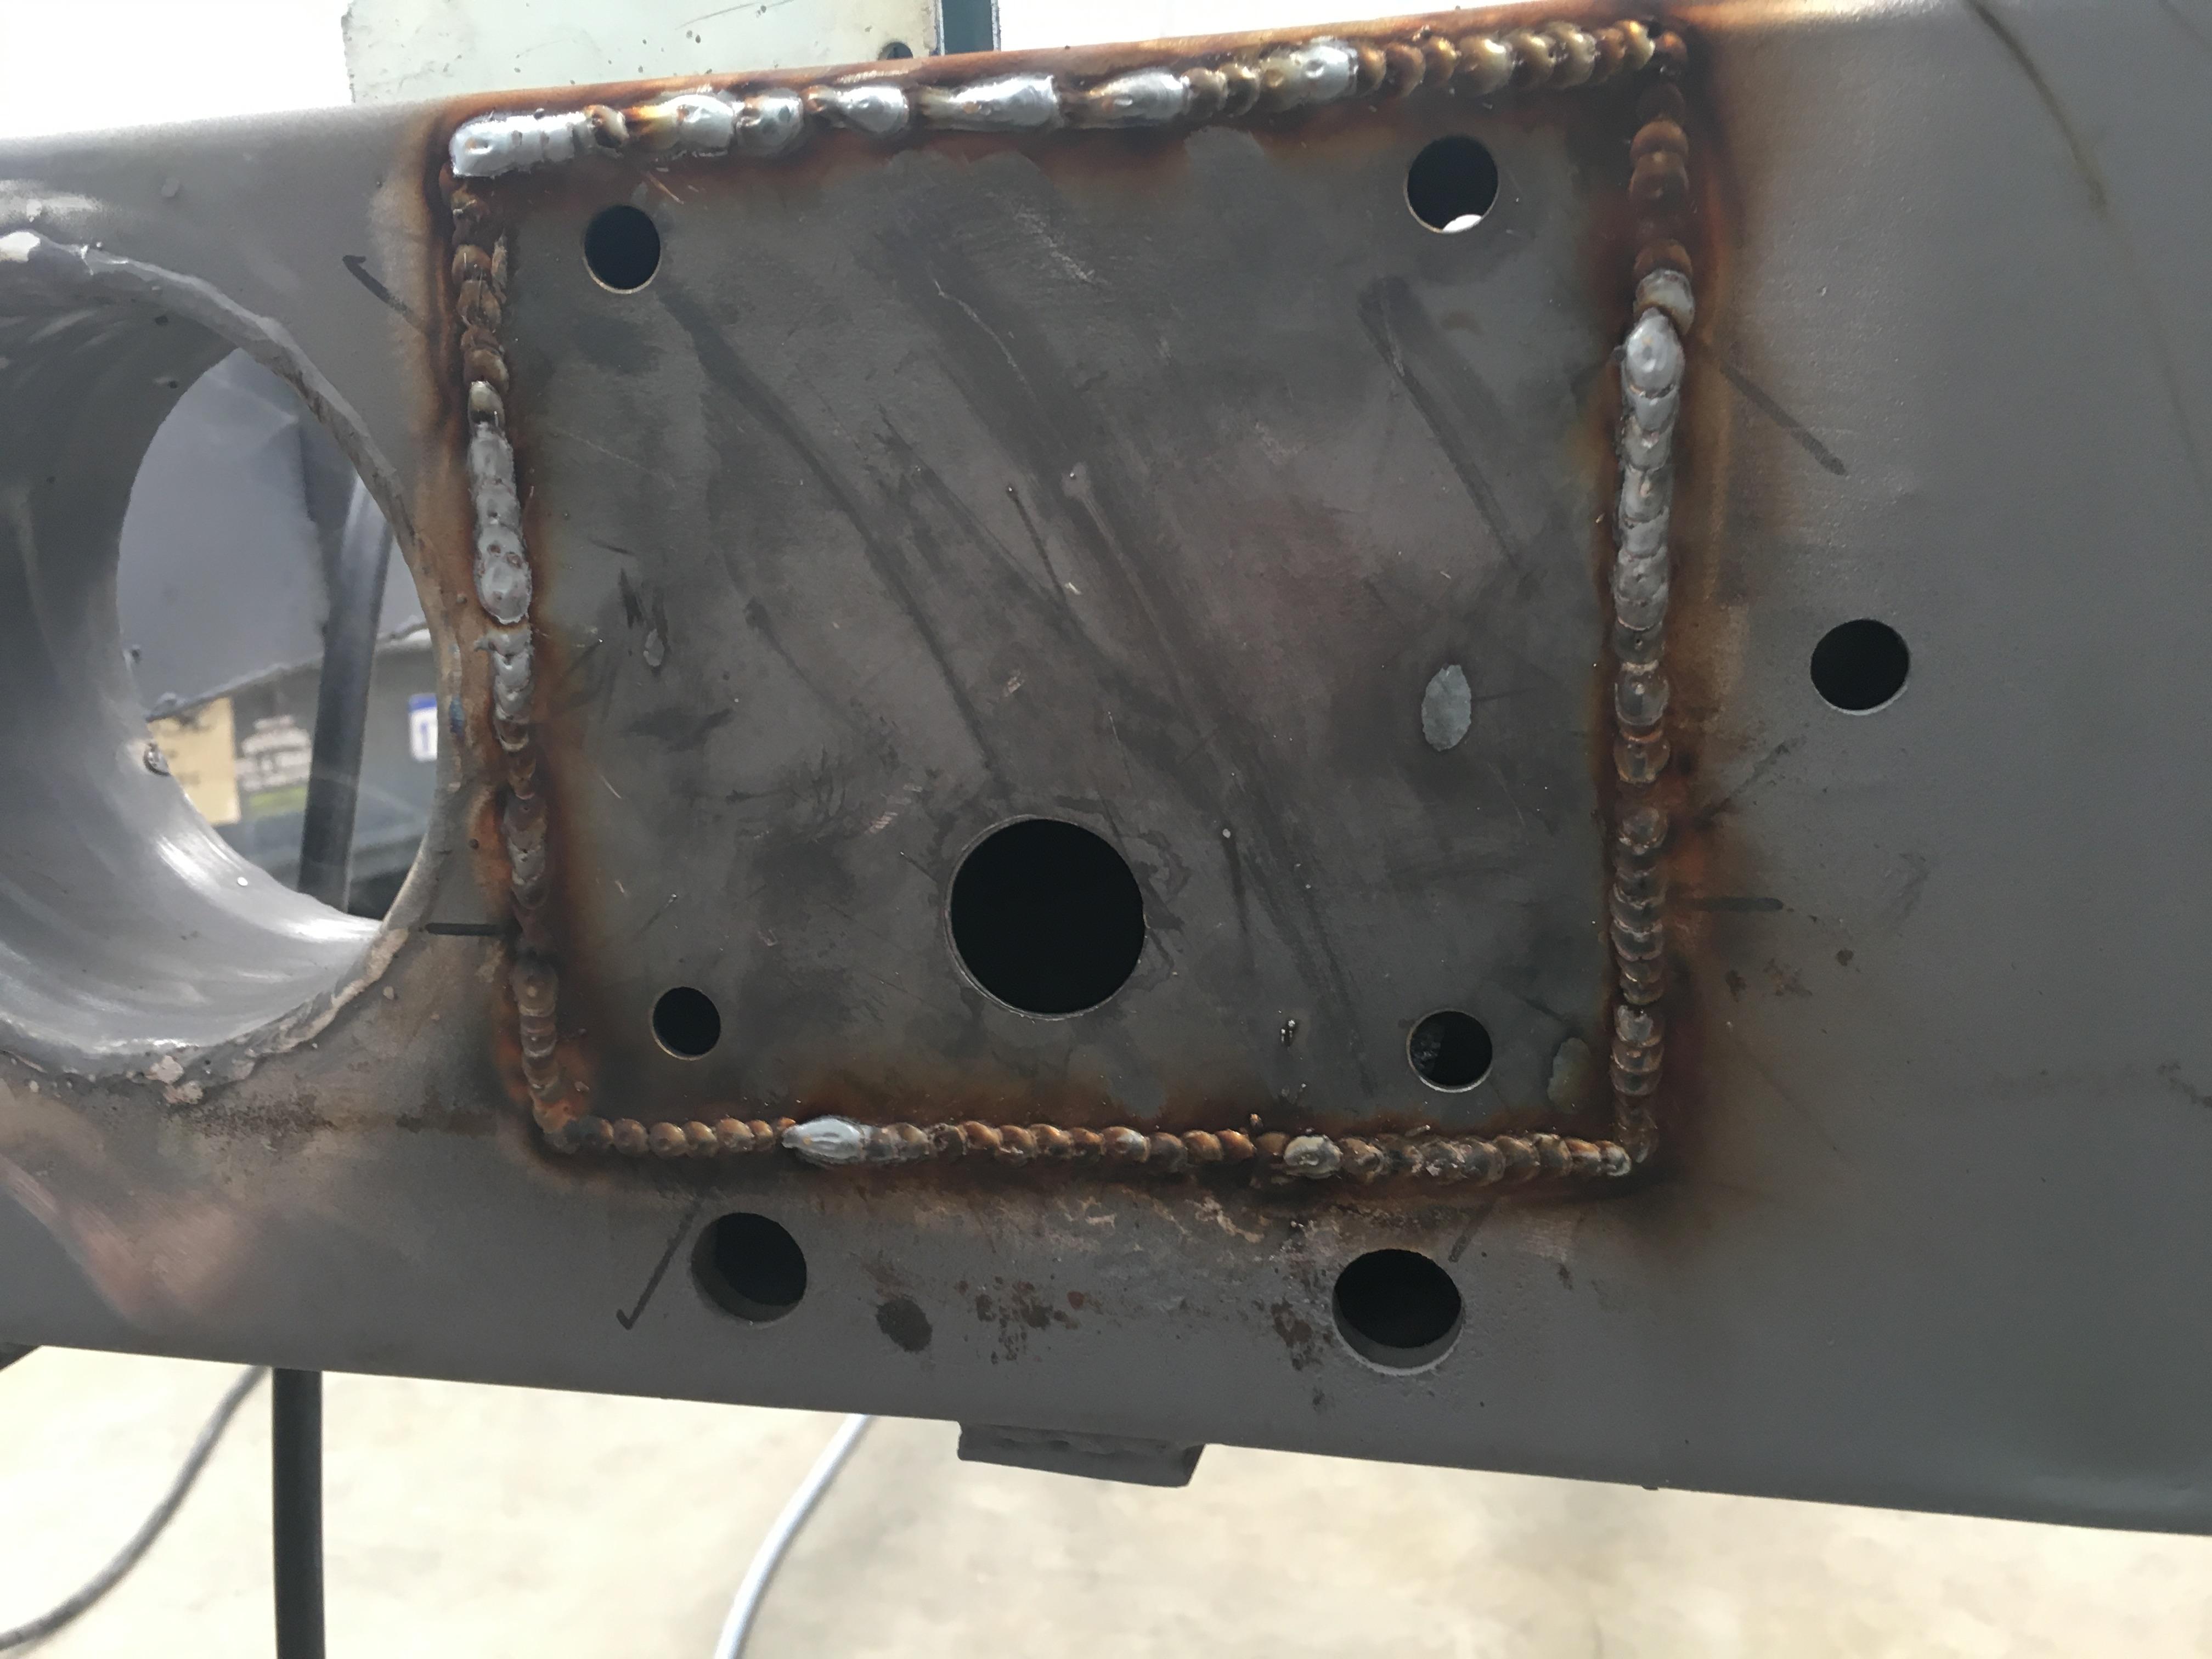
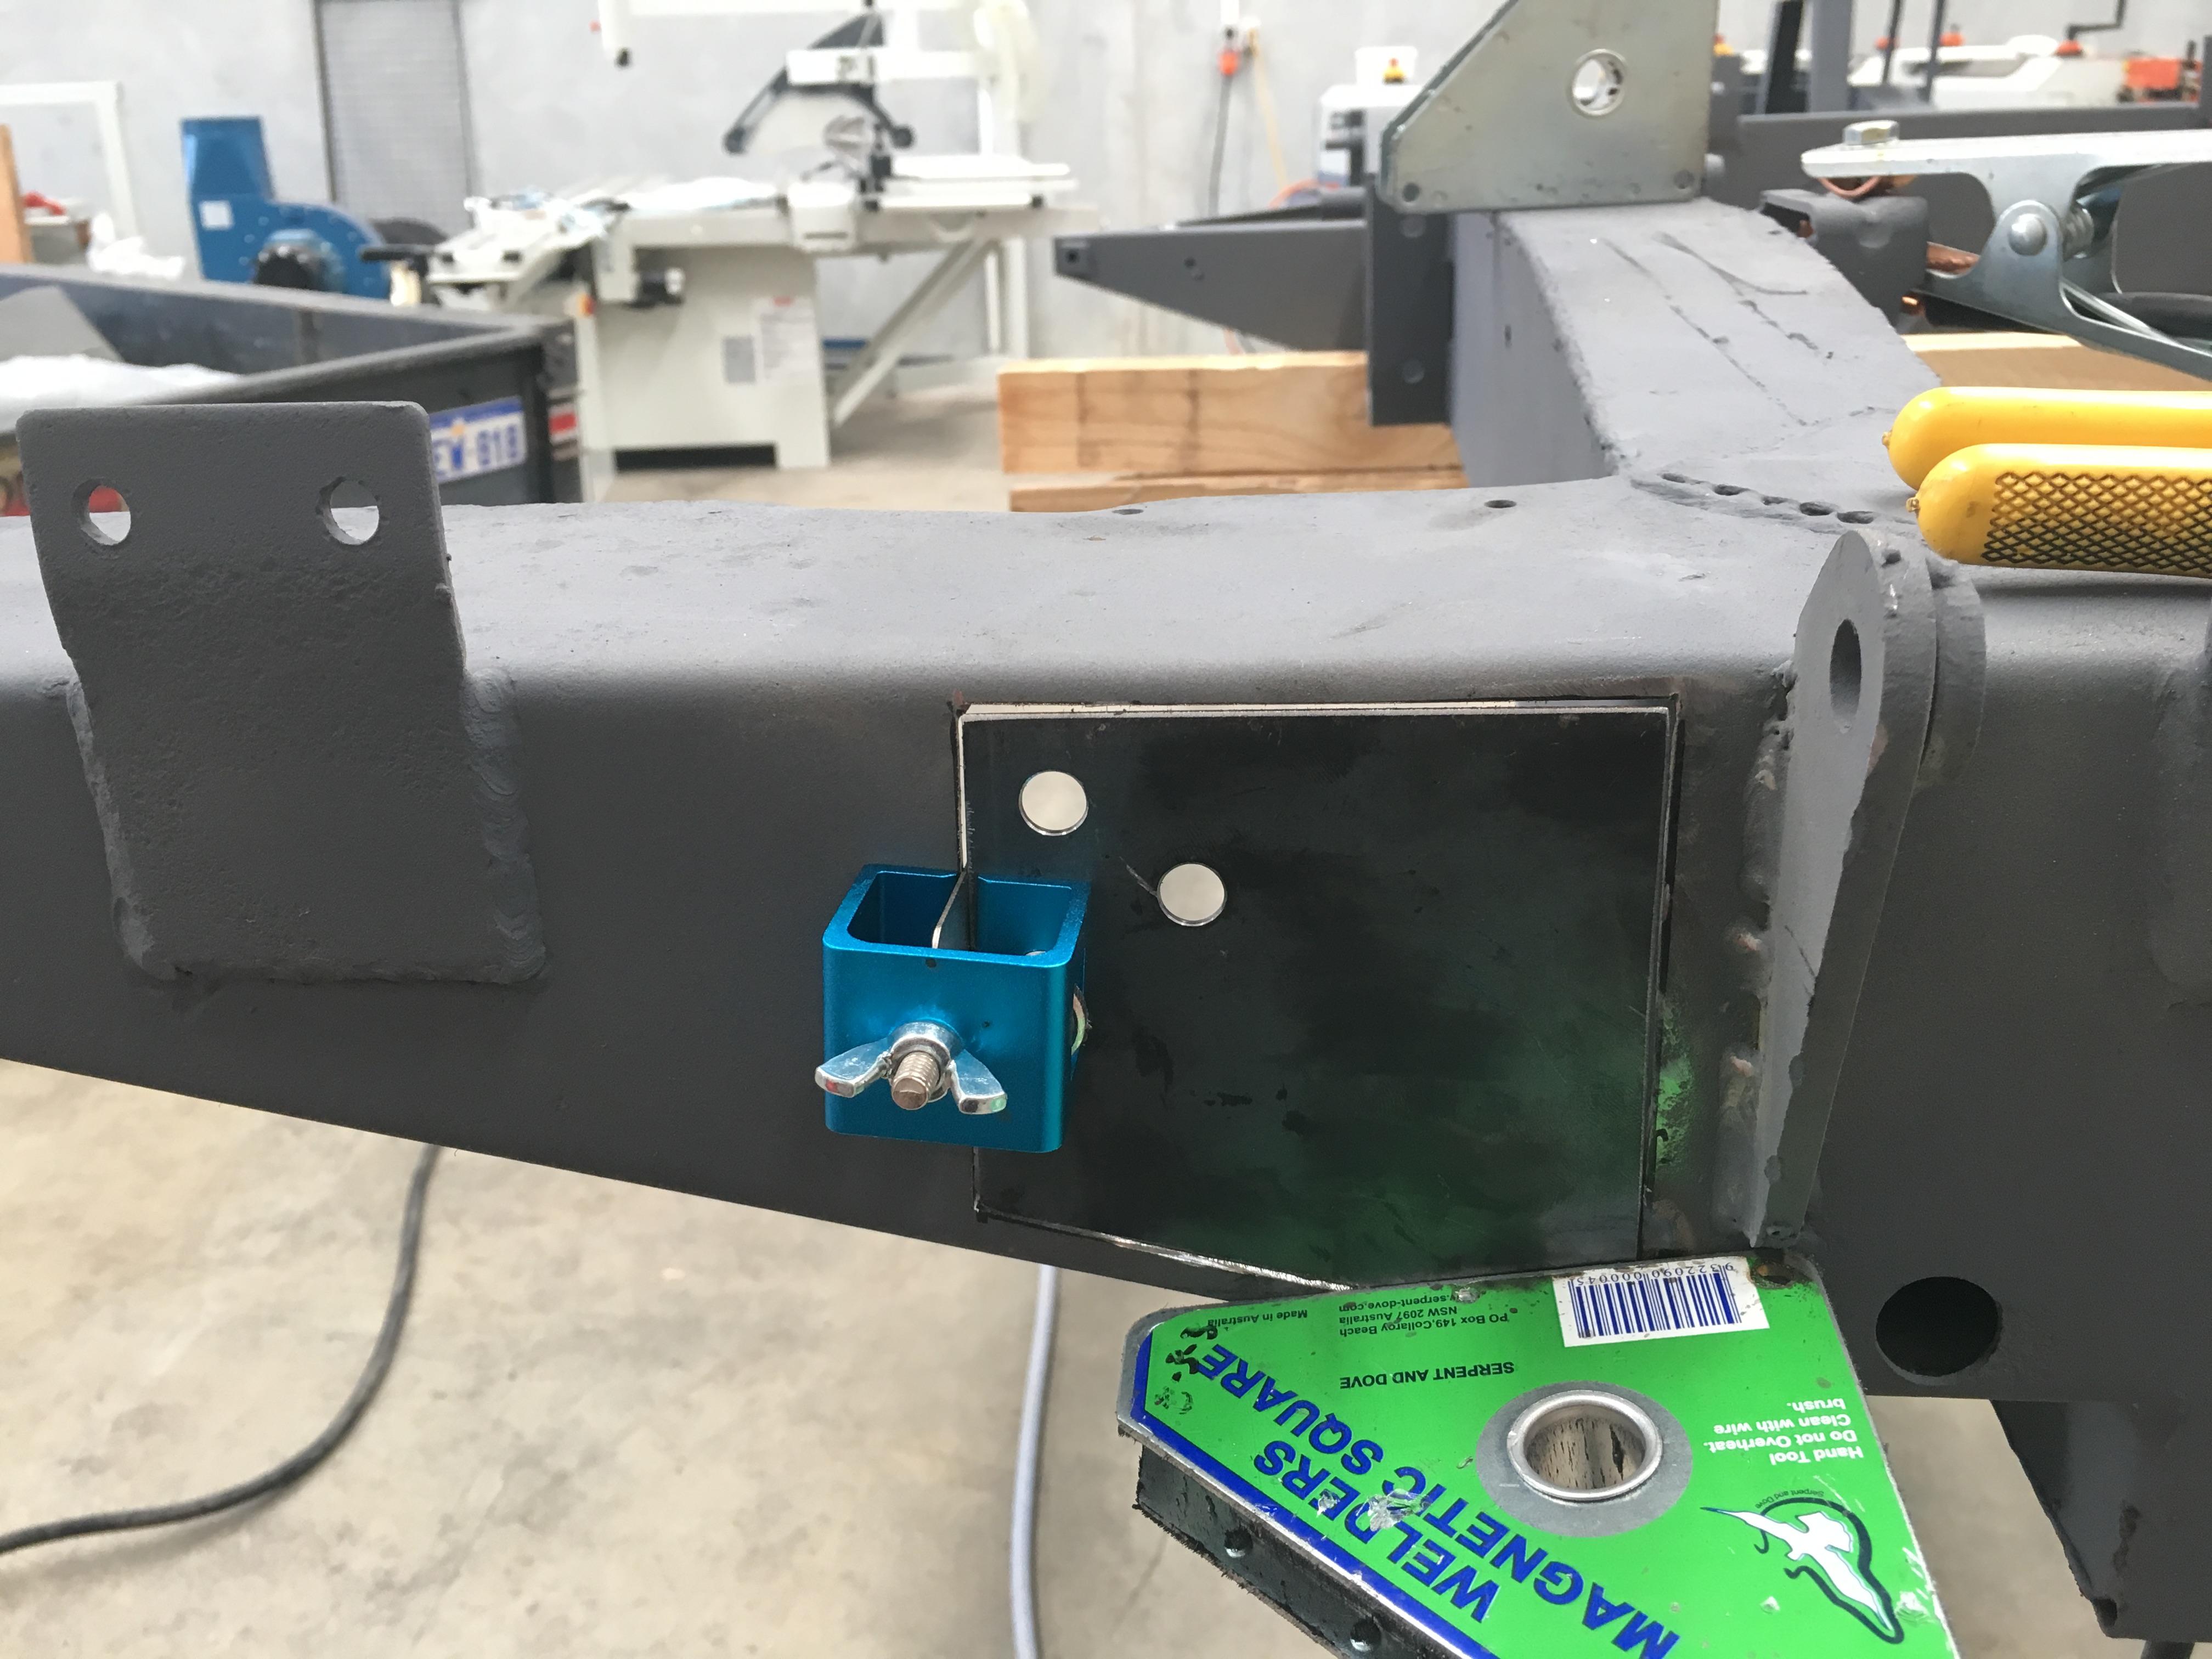
New part held in place, I like using the clamp thingo on the left as it sets a bit of a gap so I can be sure I'm getting good penetration on the weld. And as Mark Evans says "if you're not getting penetration, you're not doing it right"
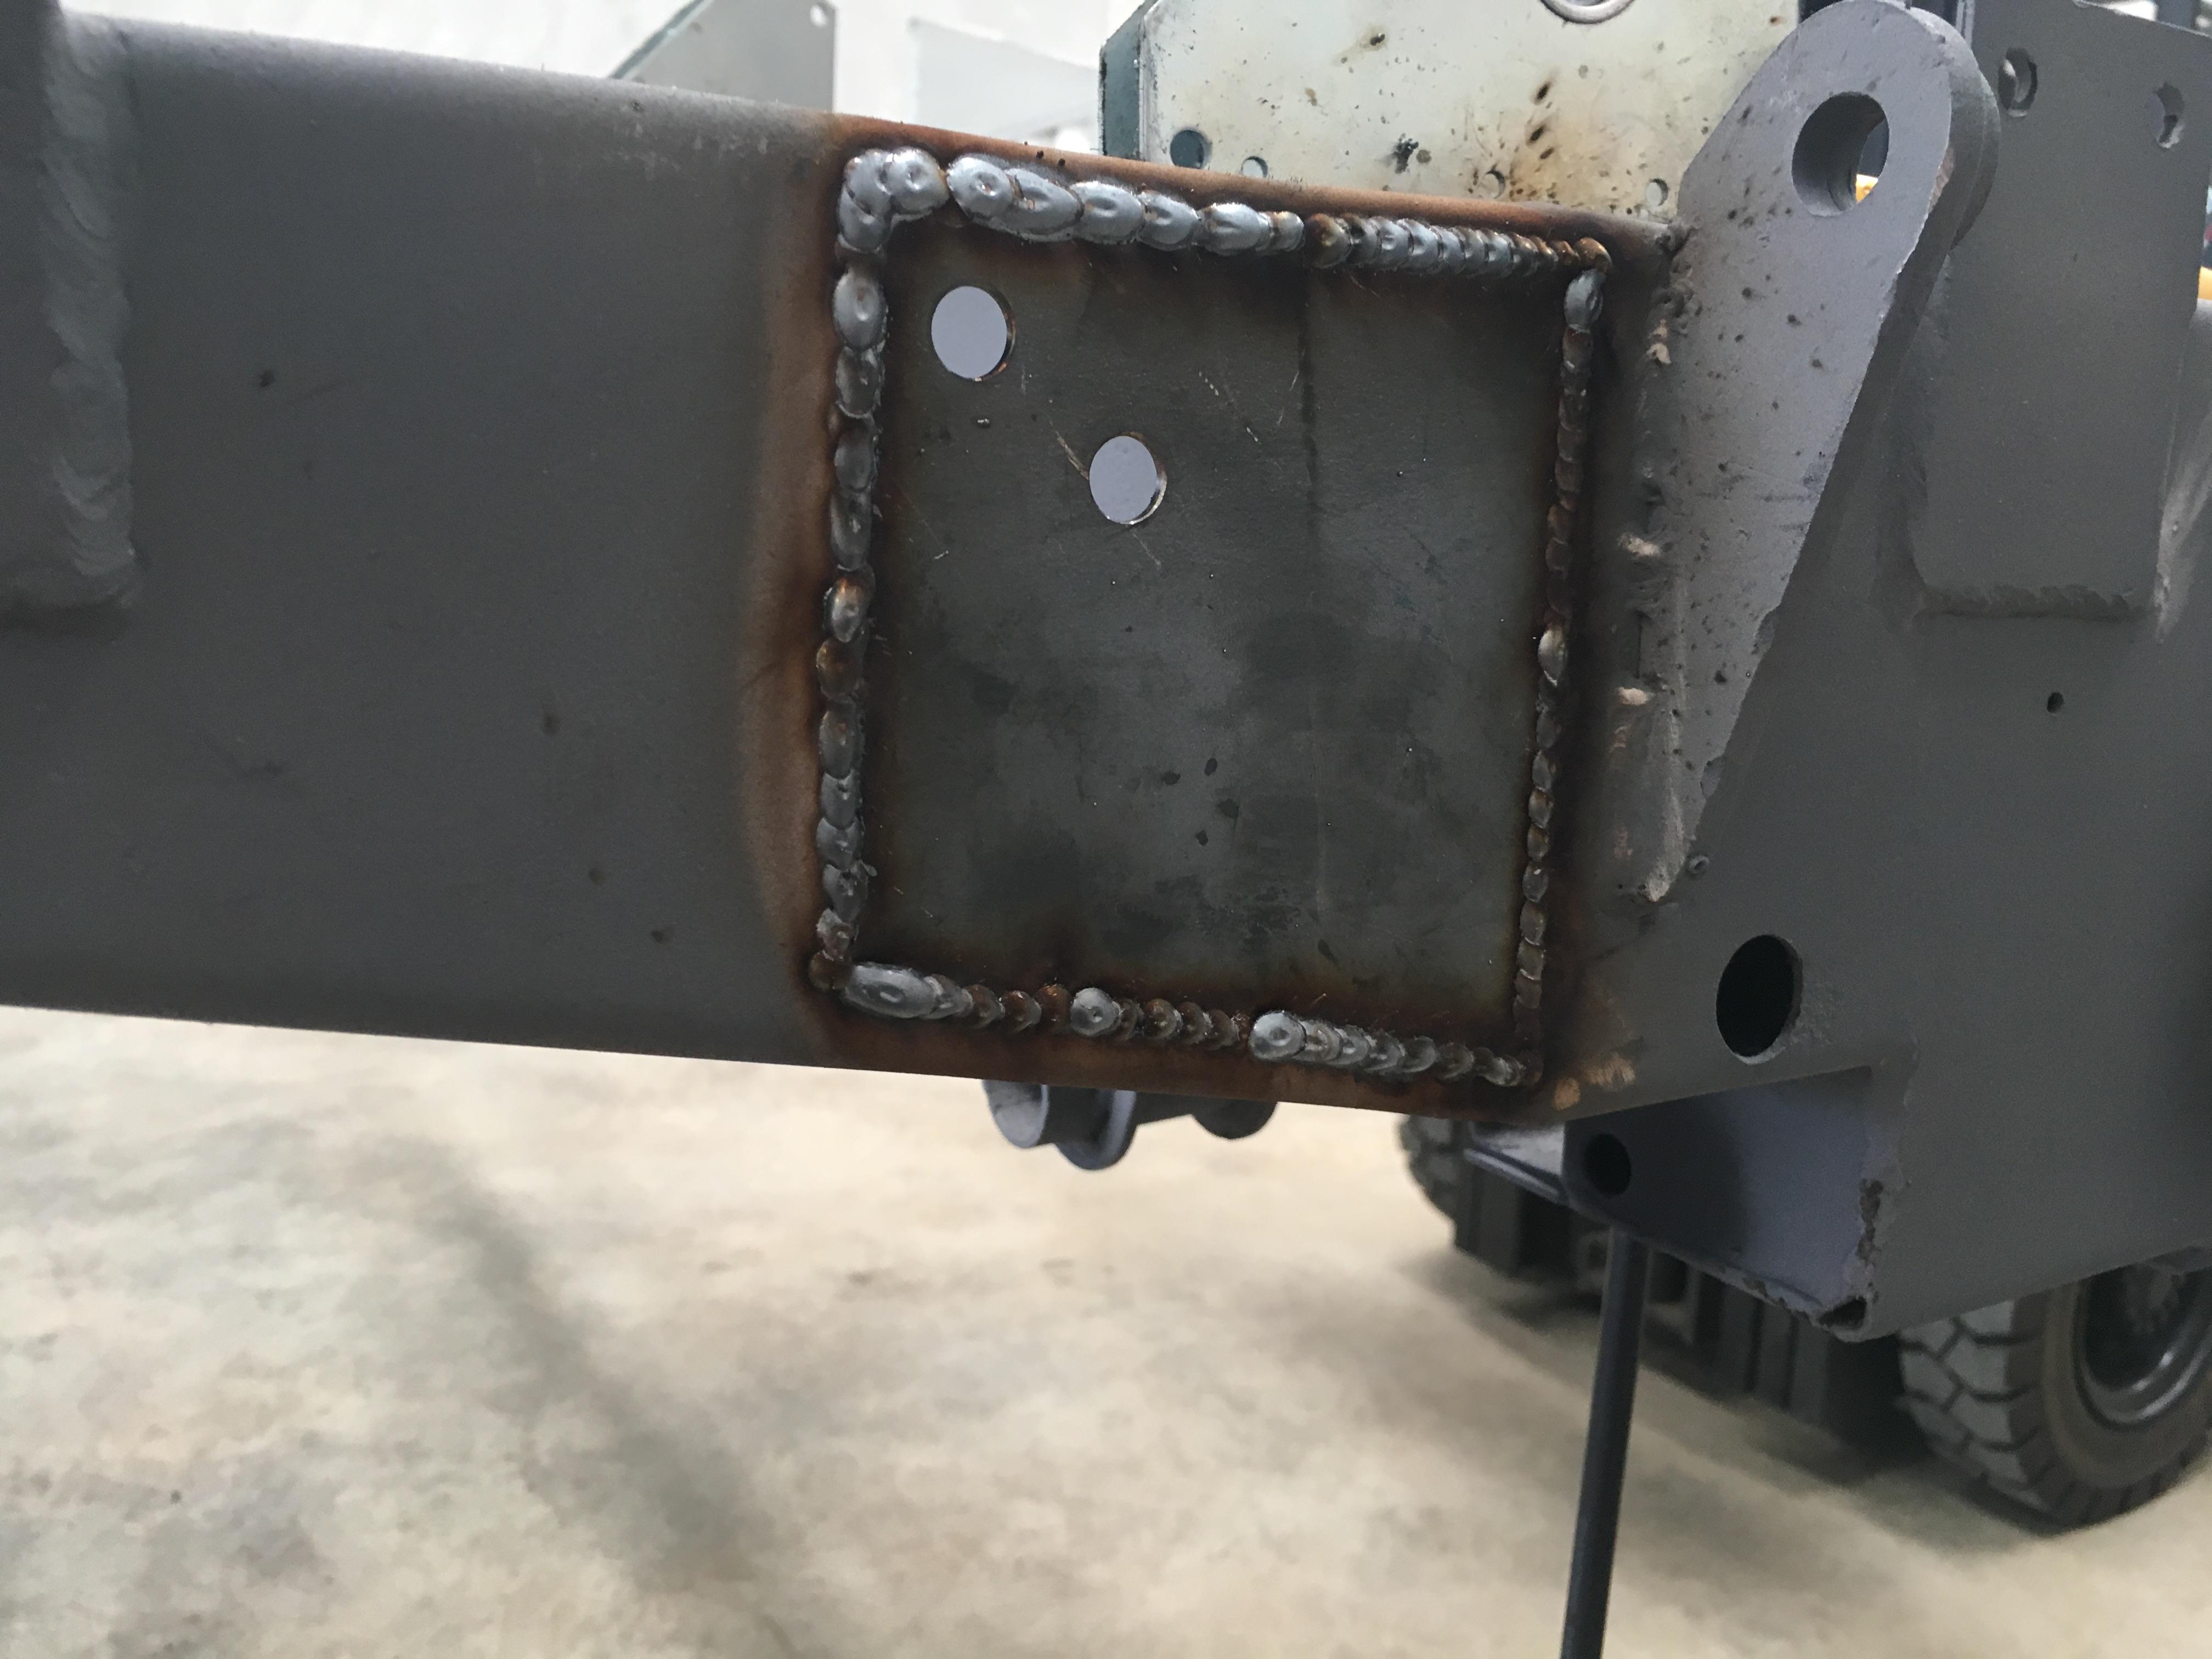
Welded in:
And cleaned up and painted:
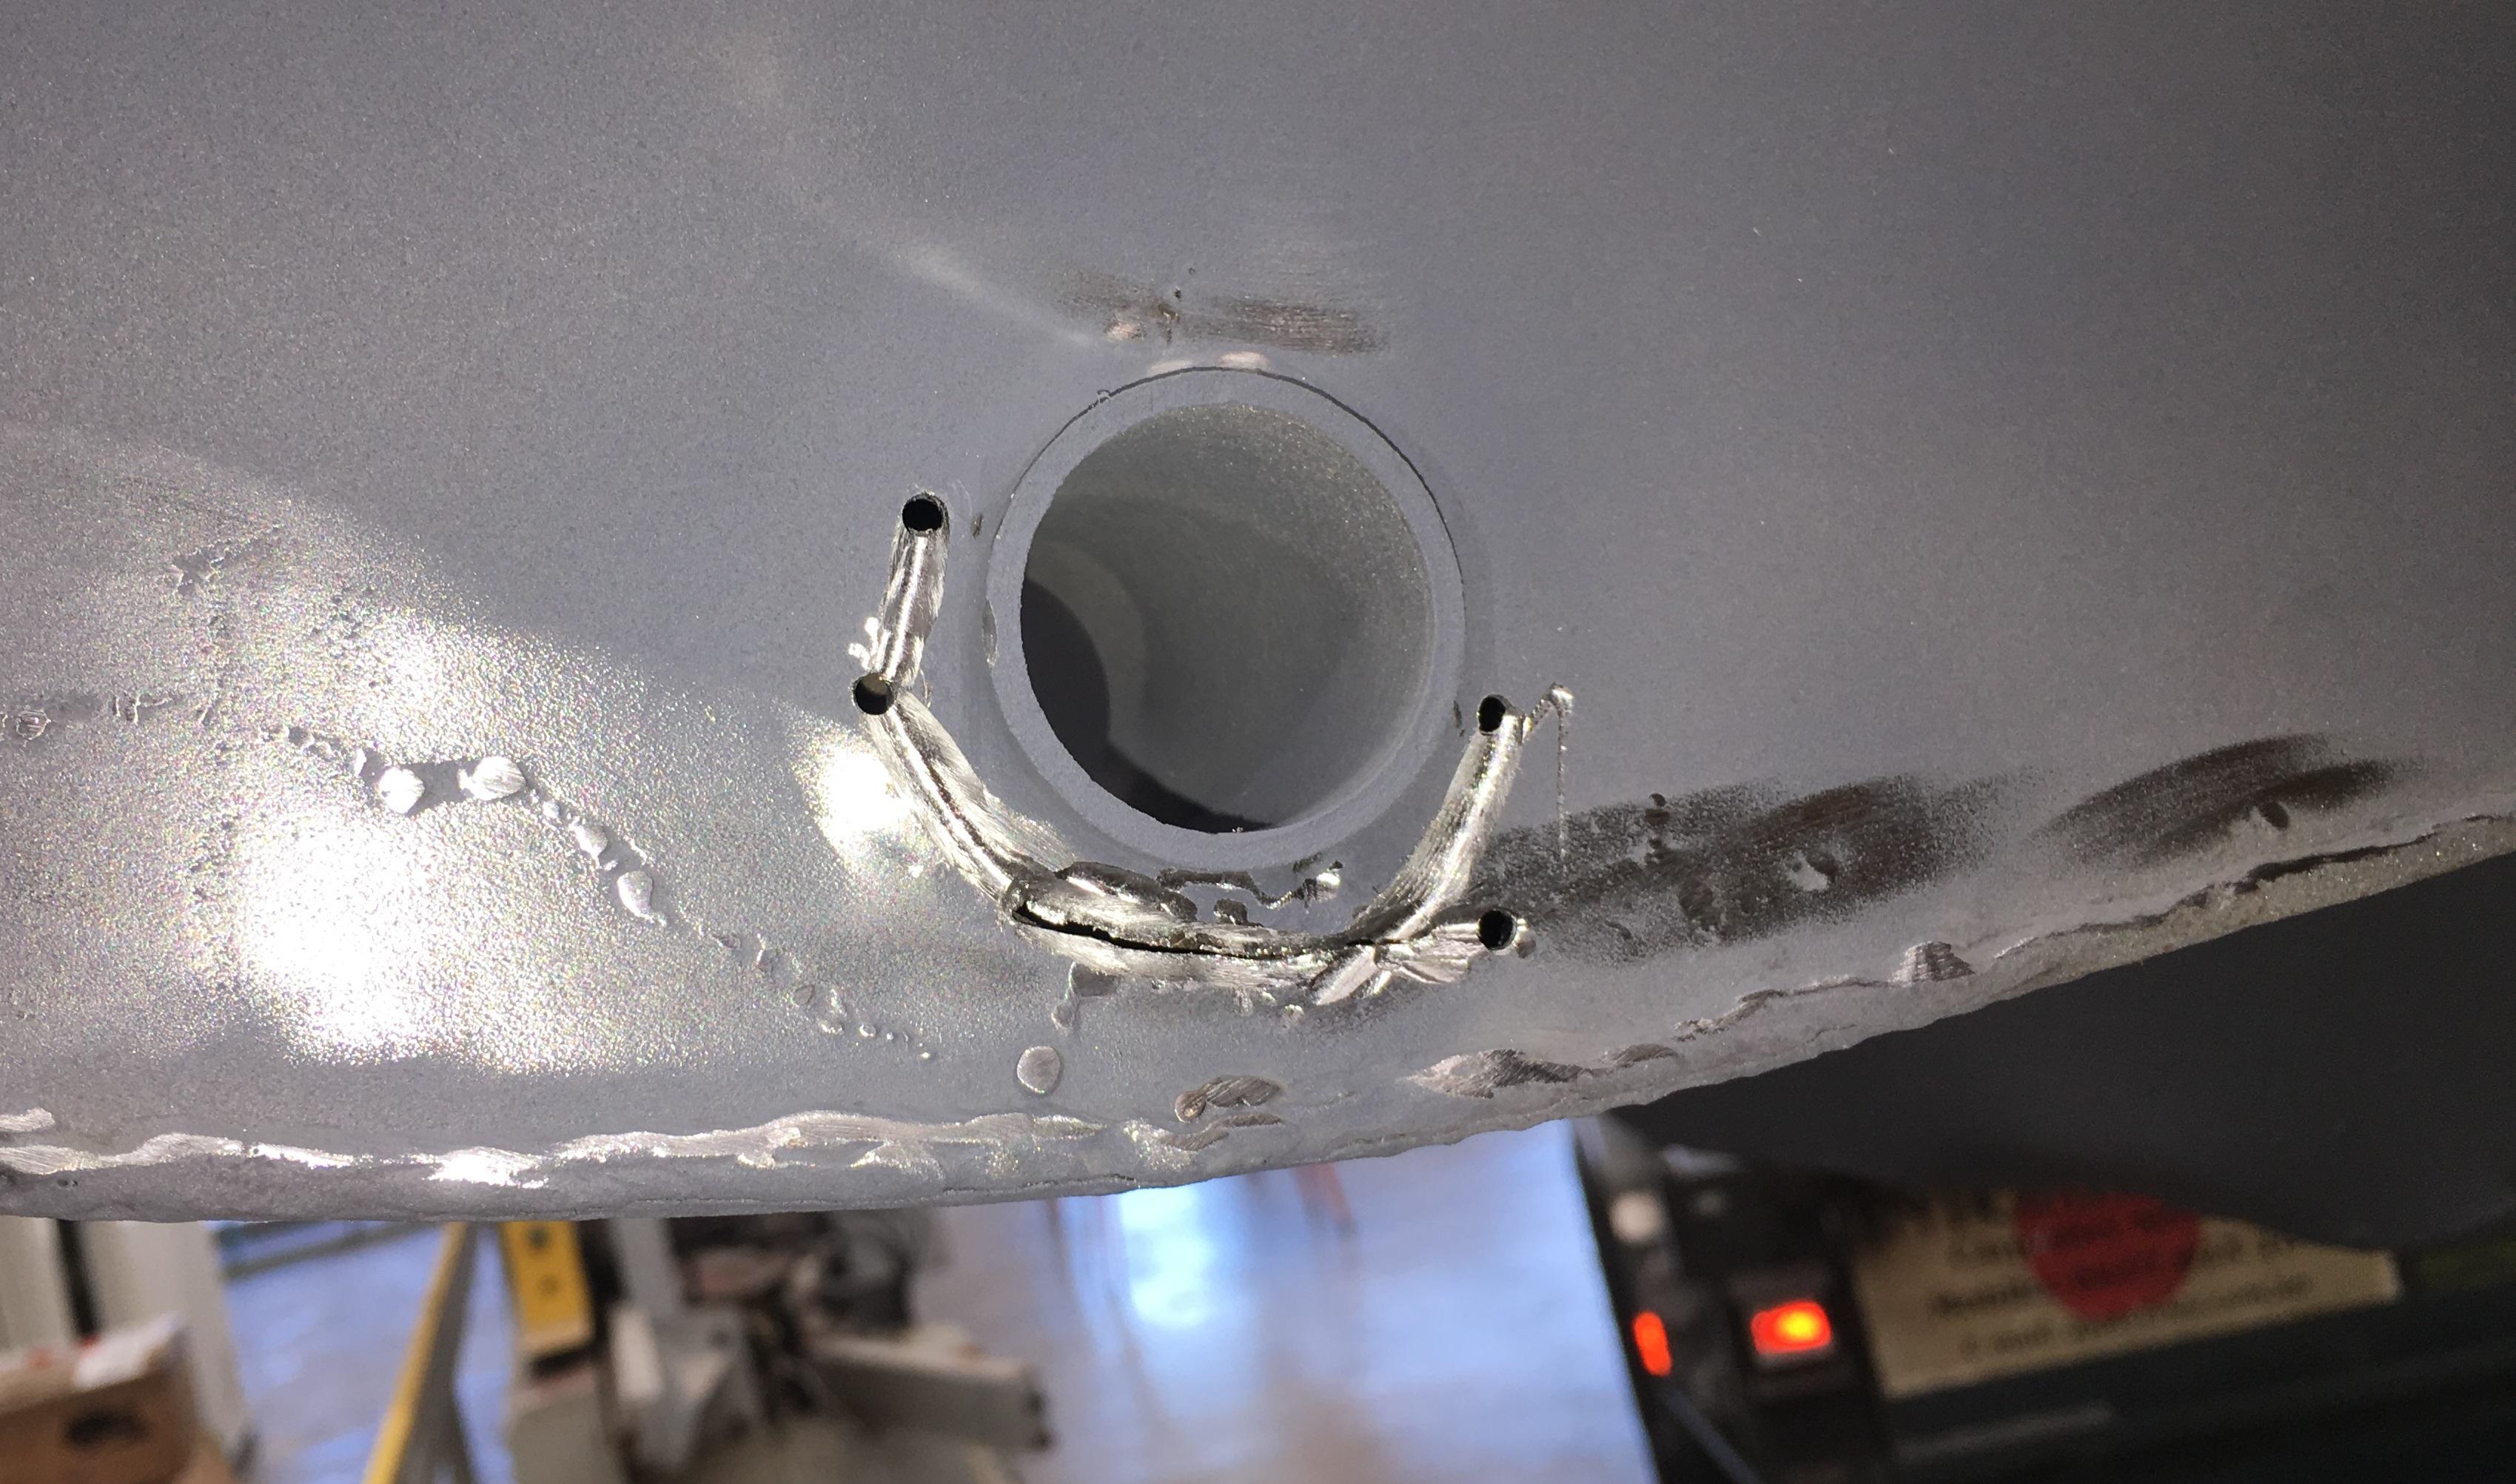
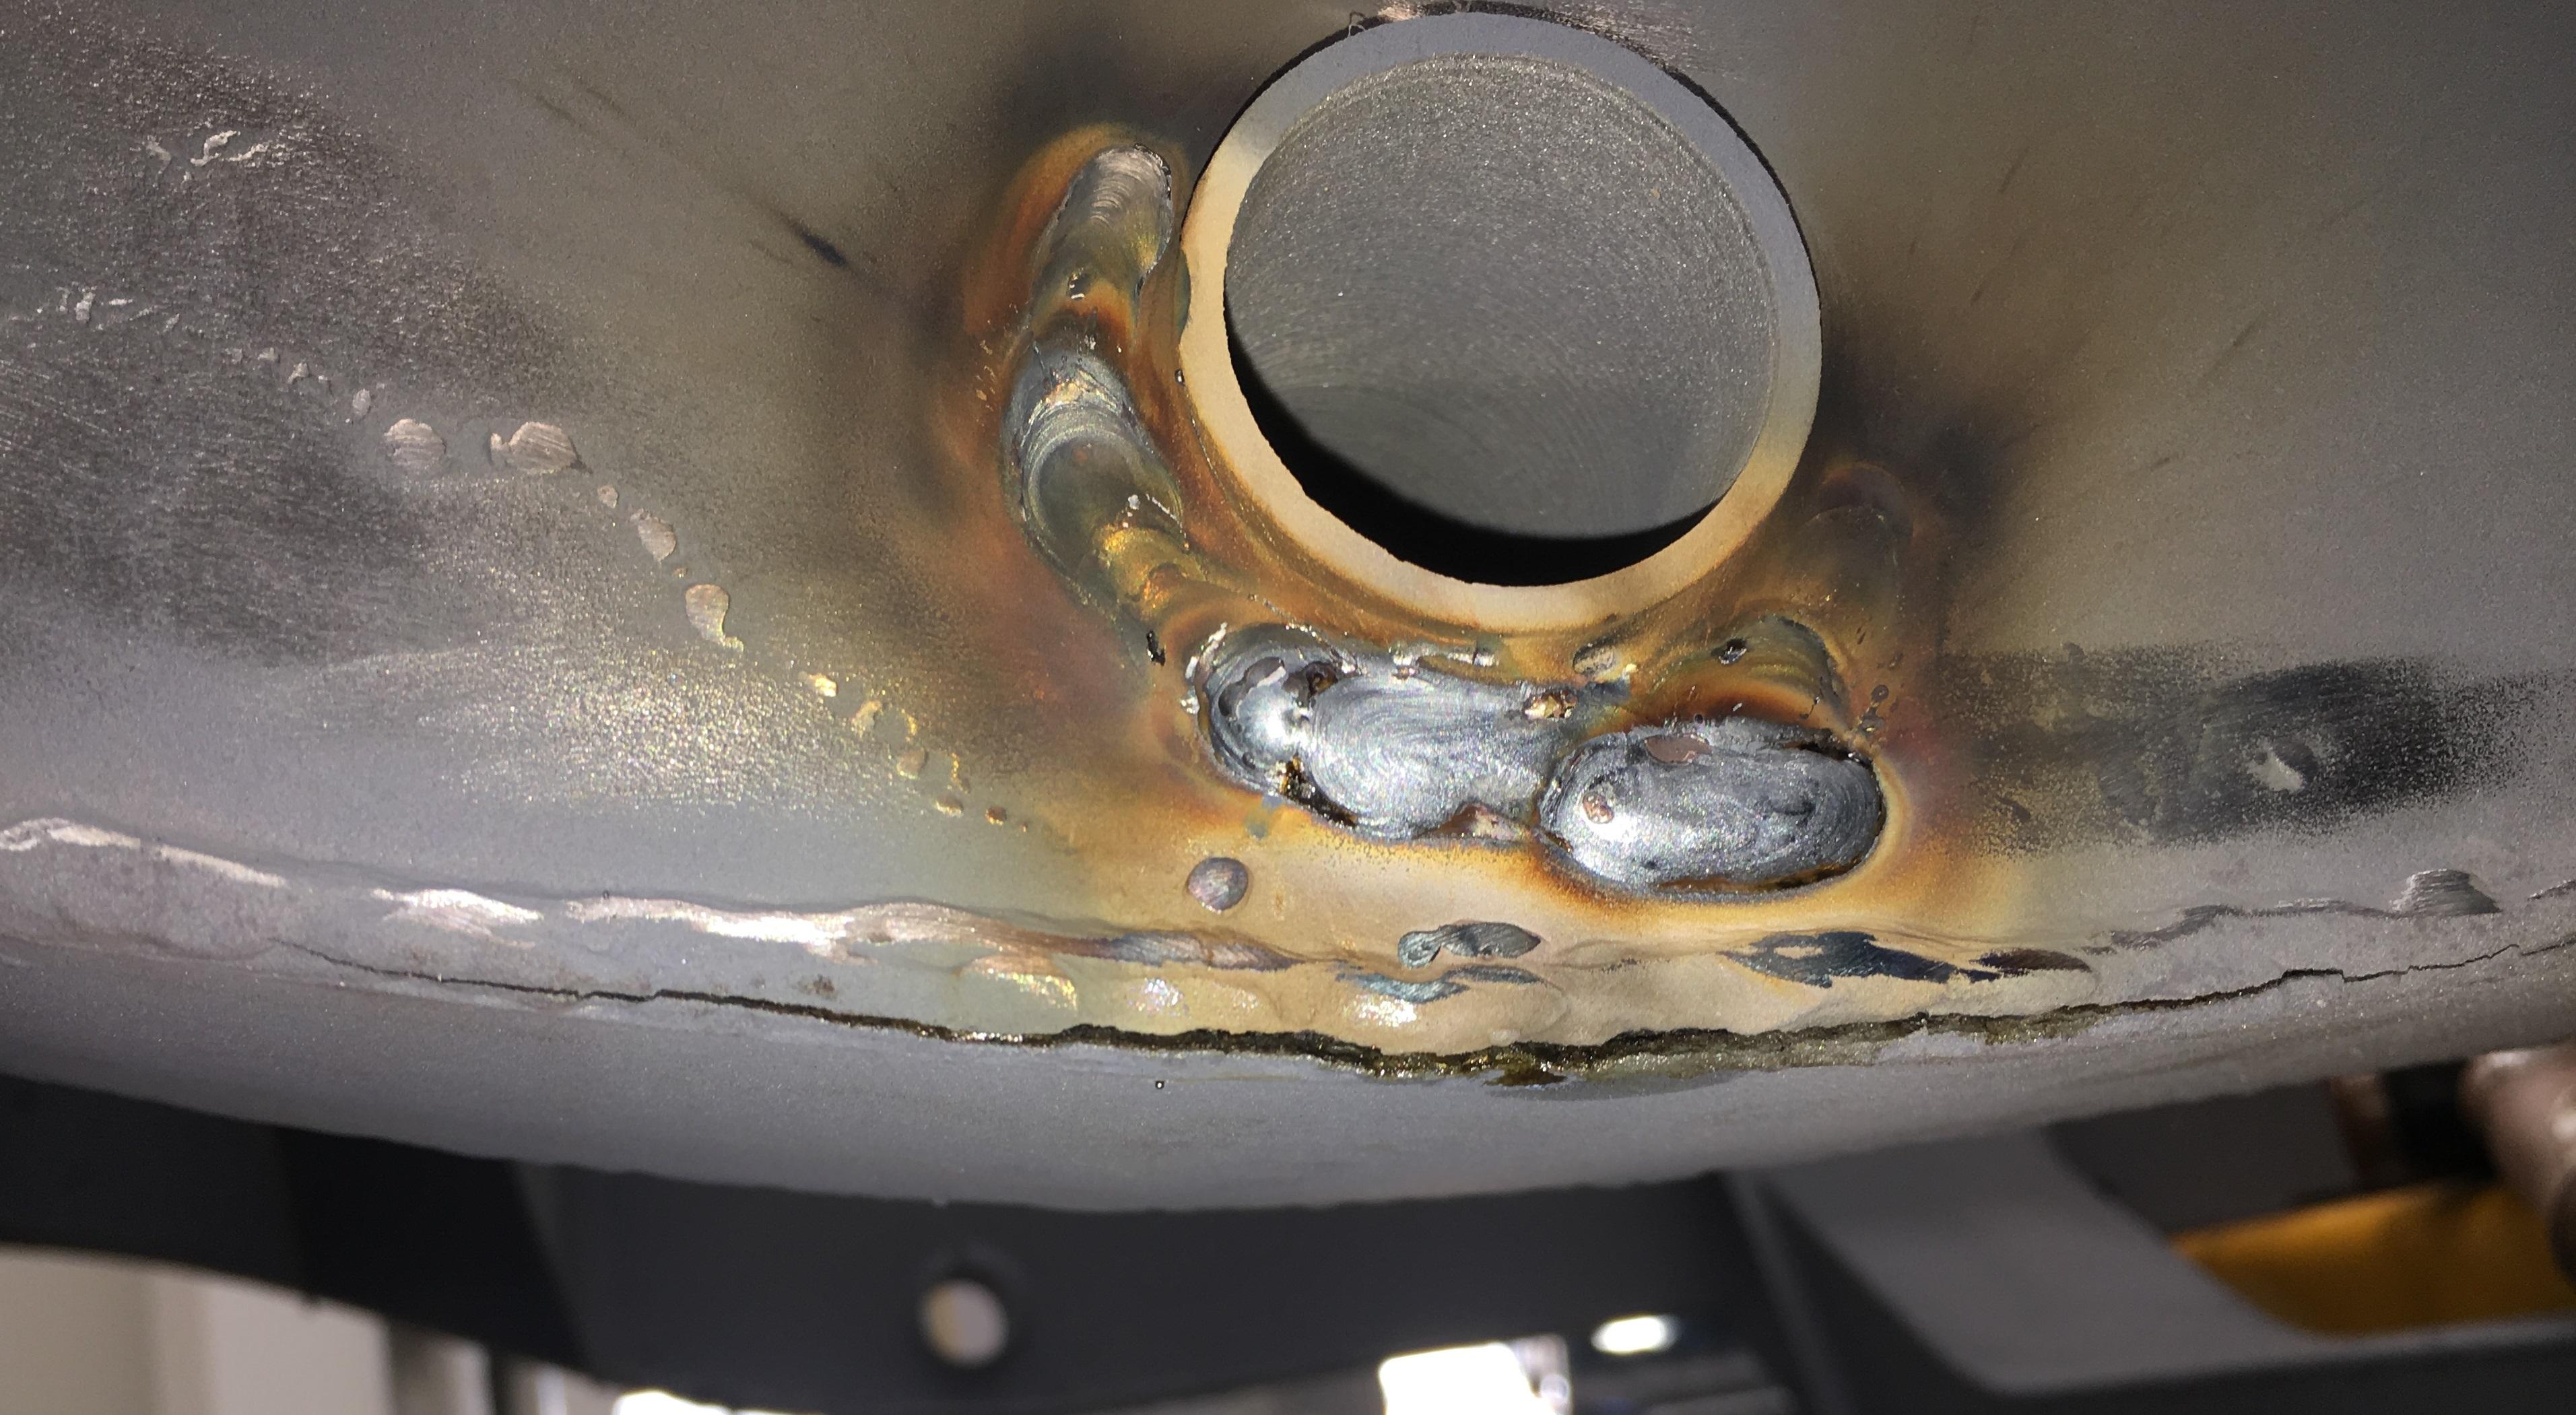
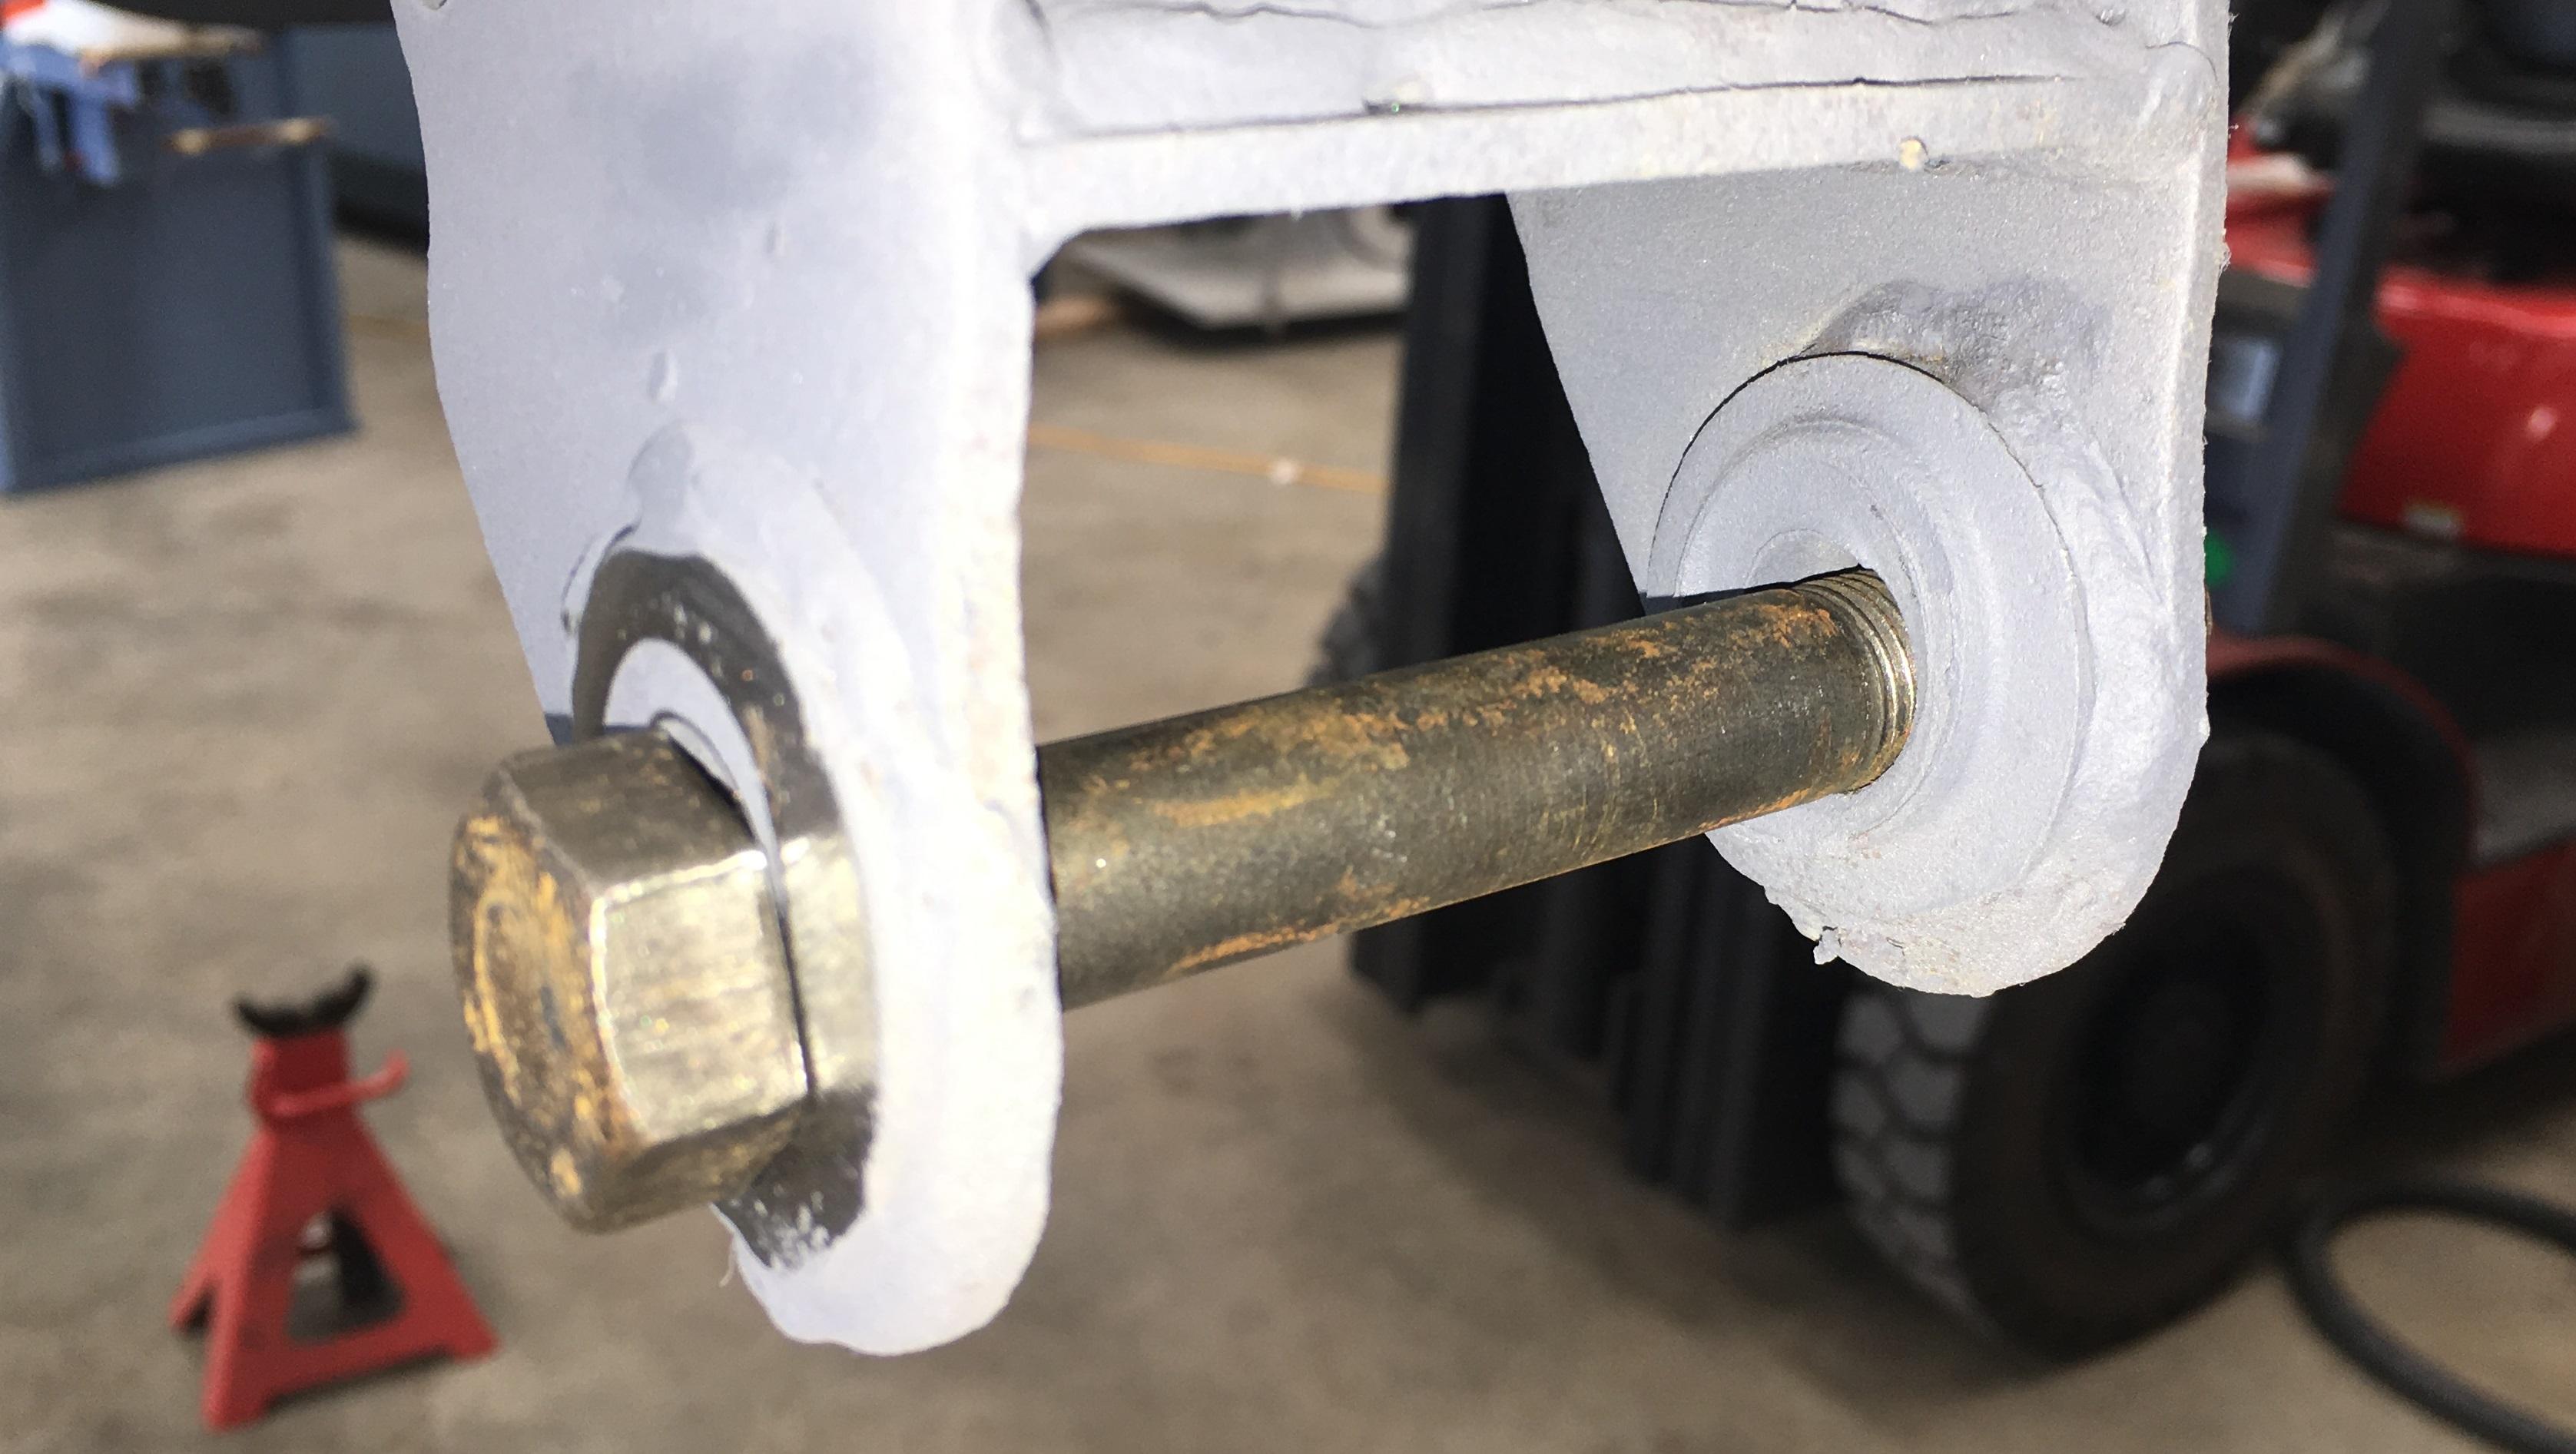
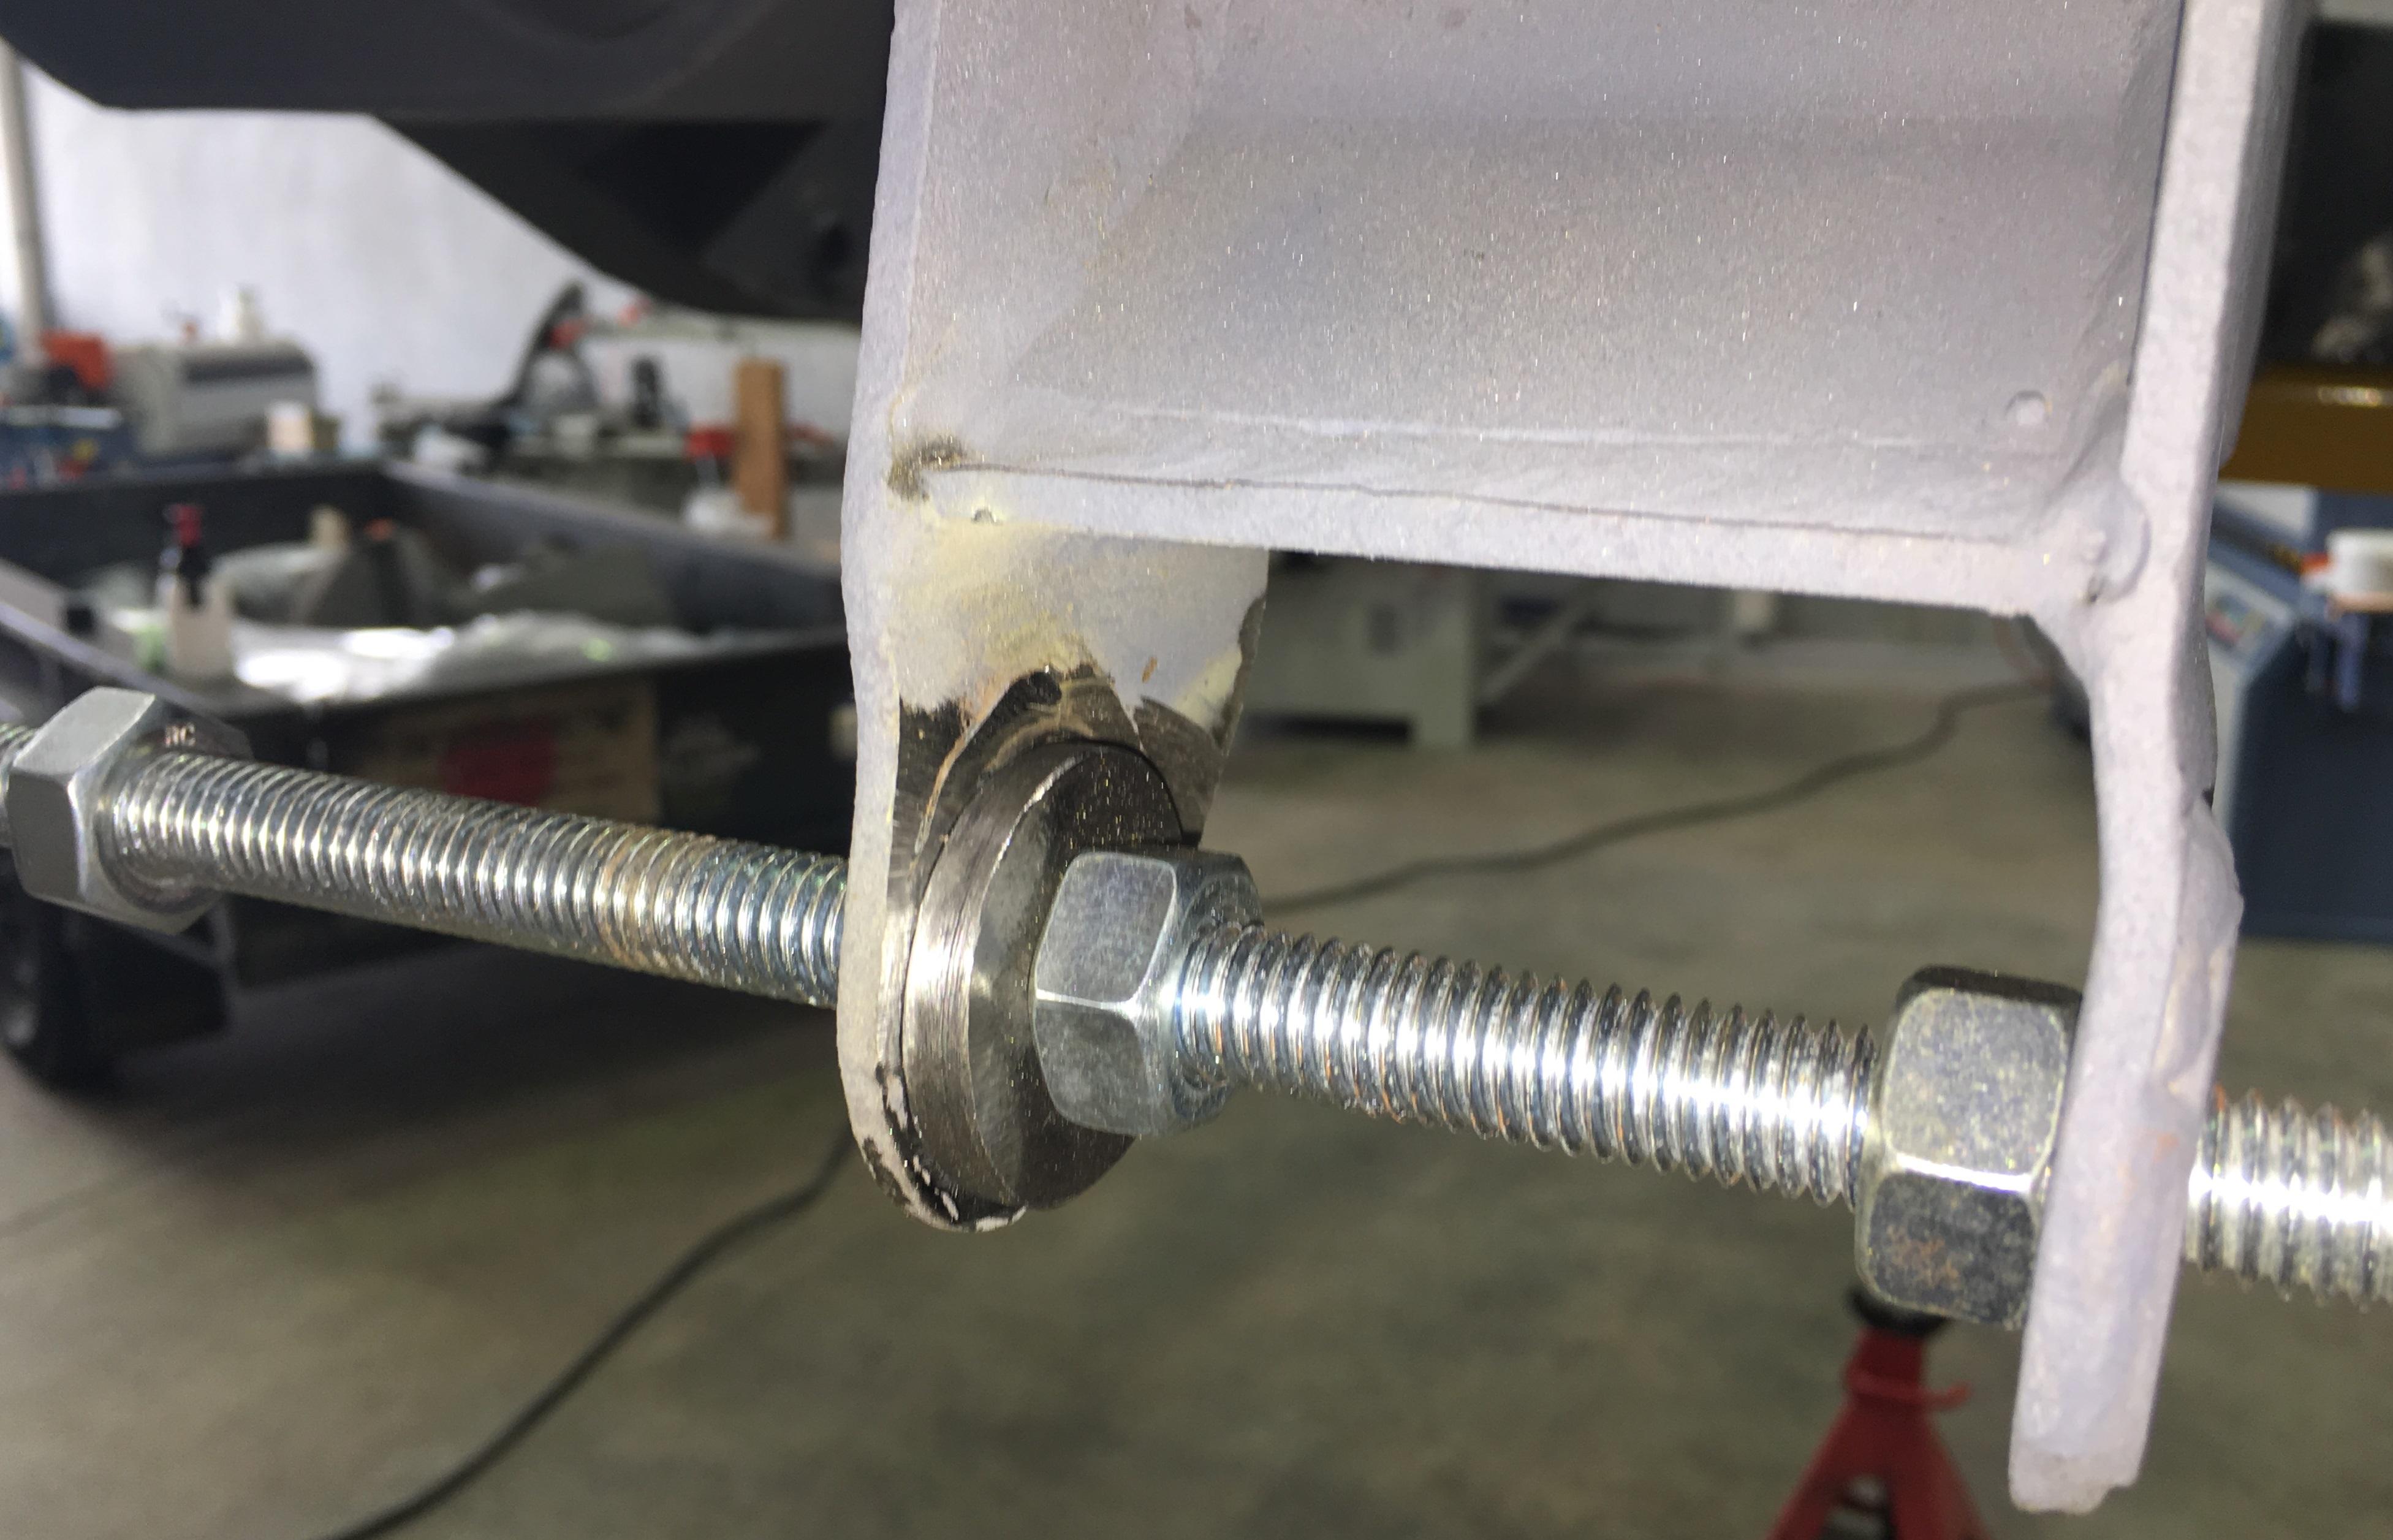
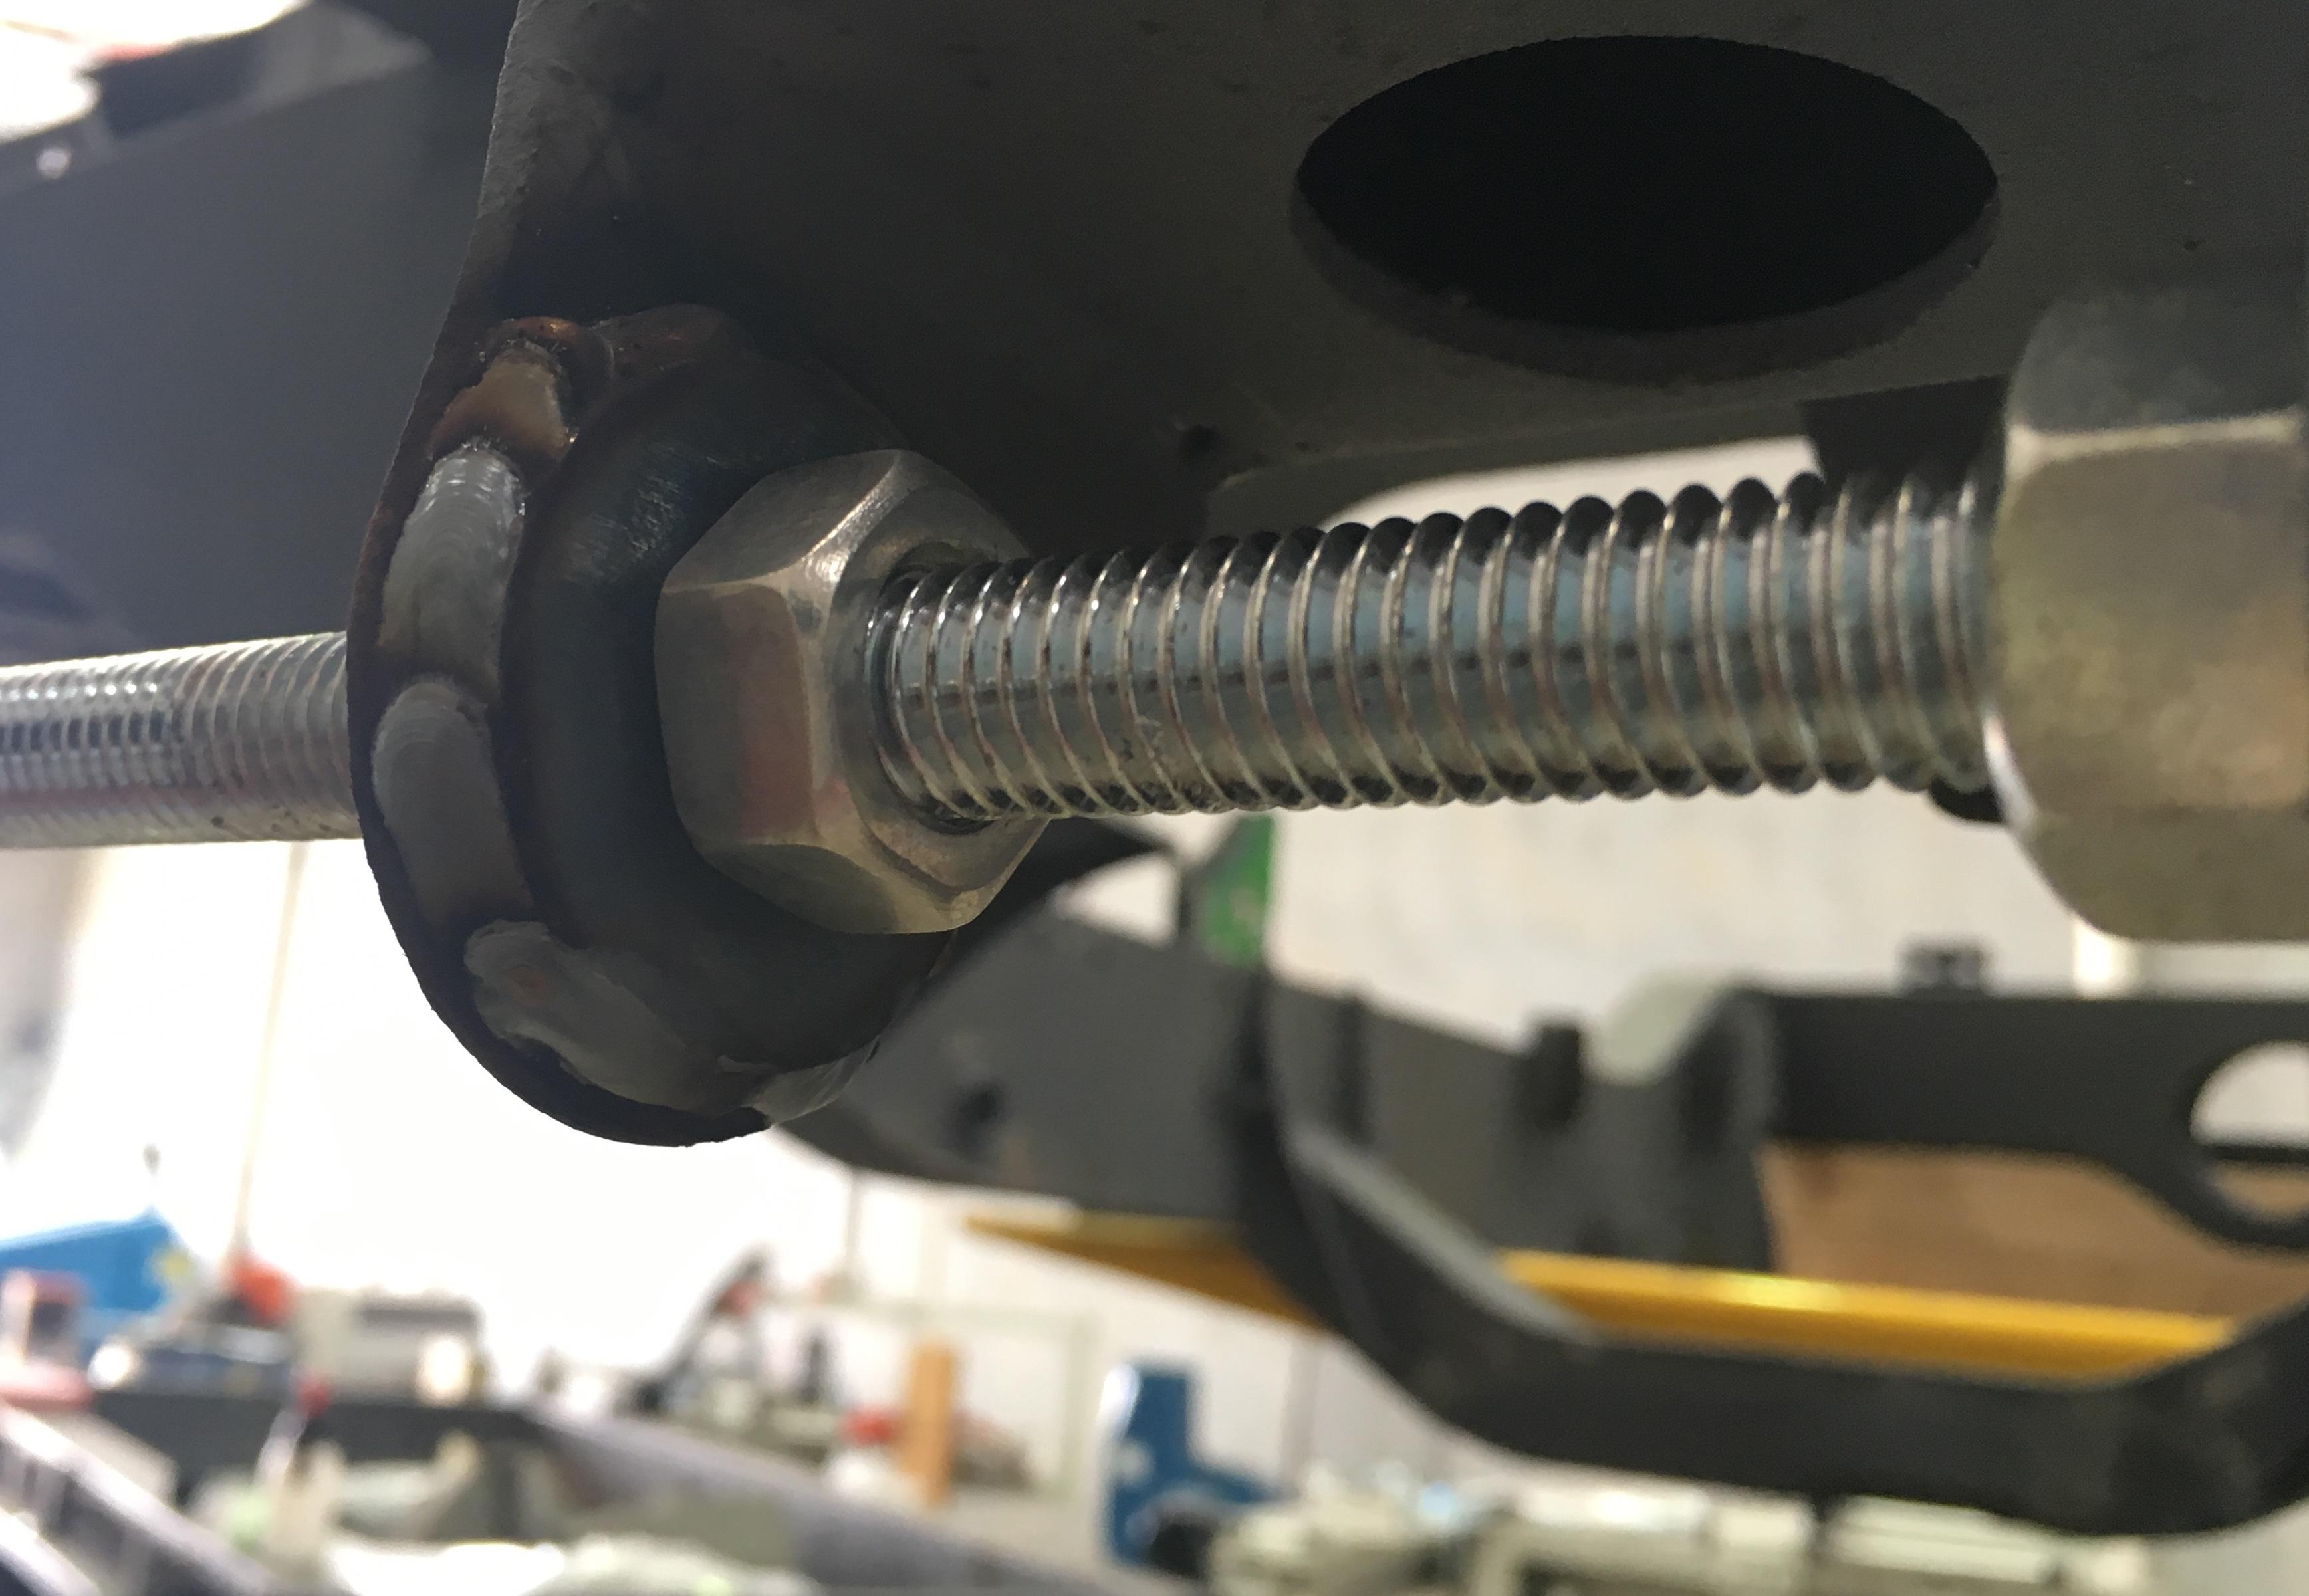
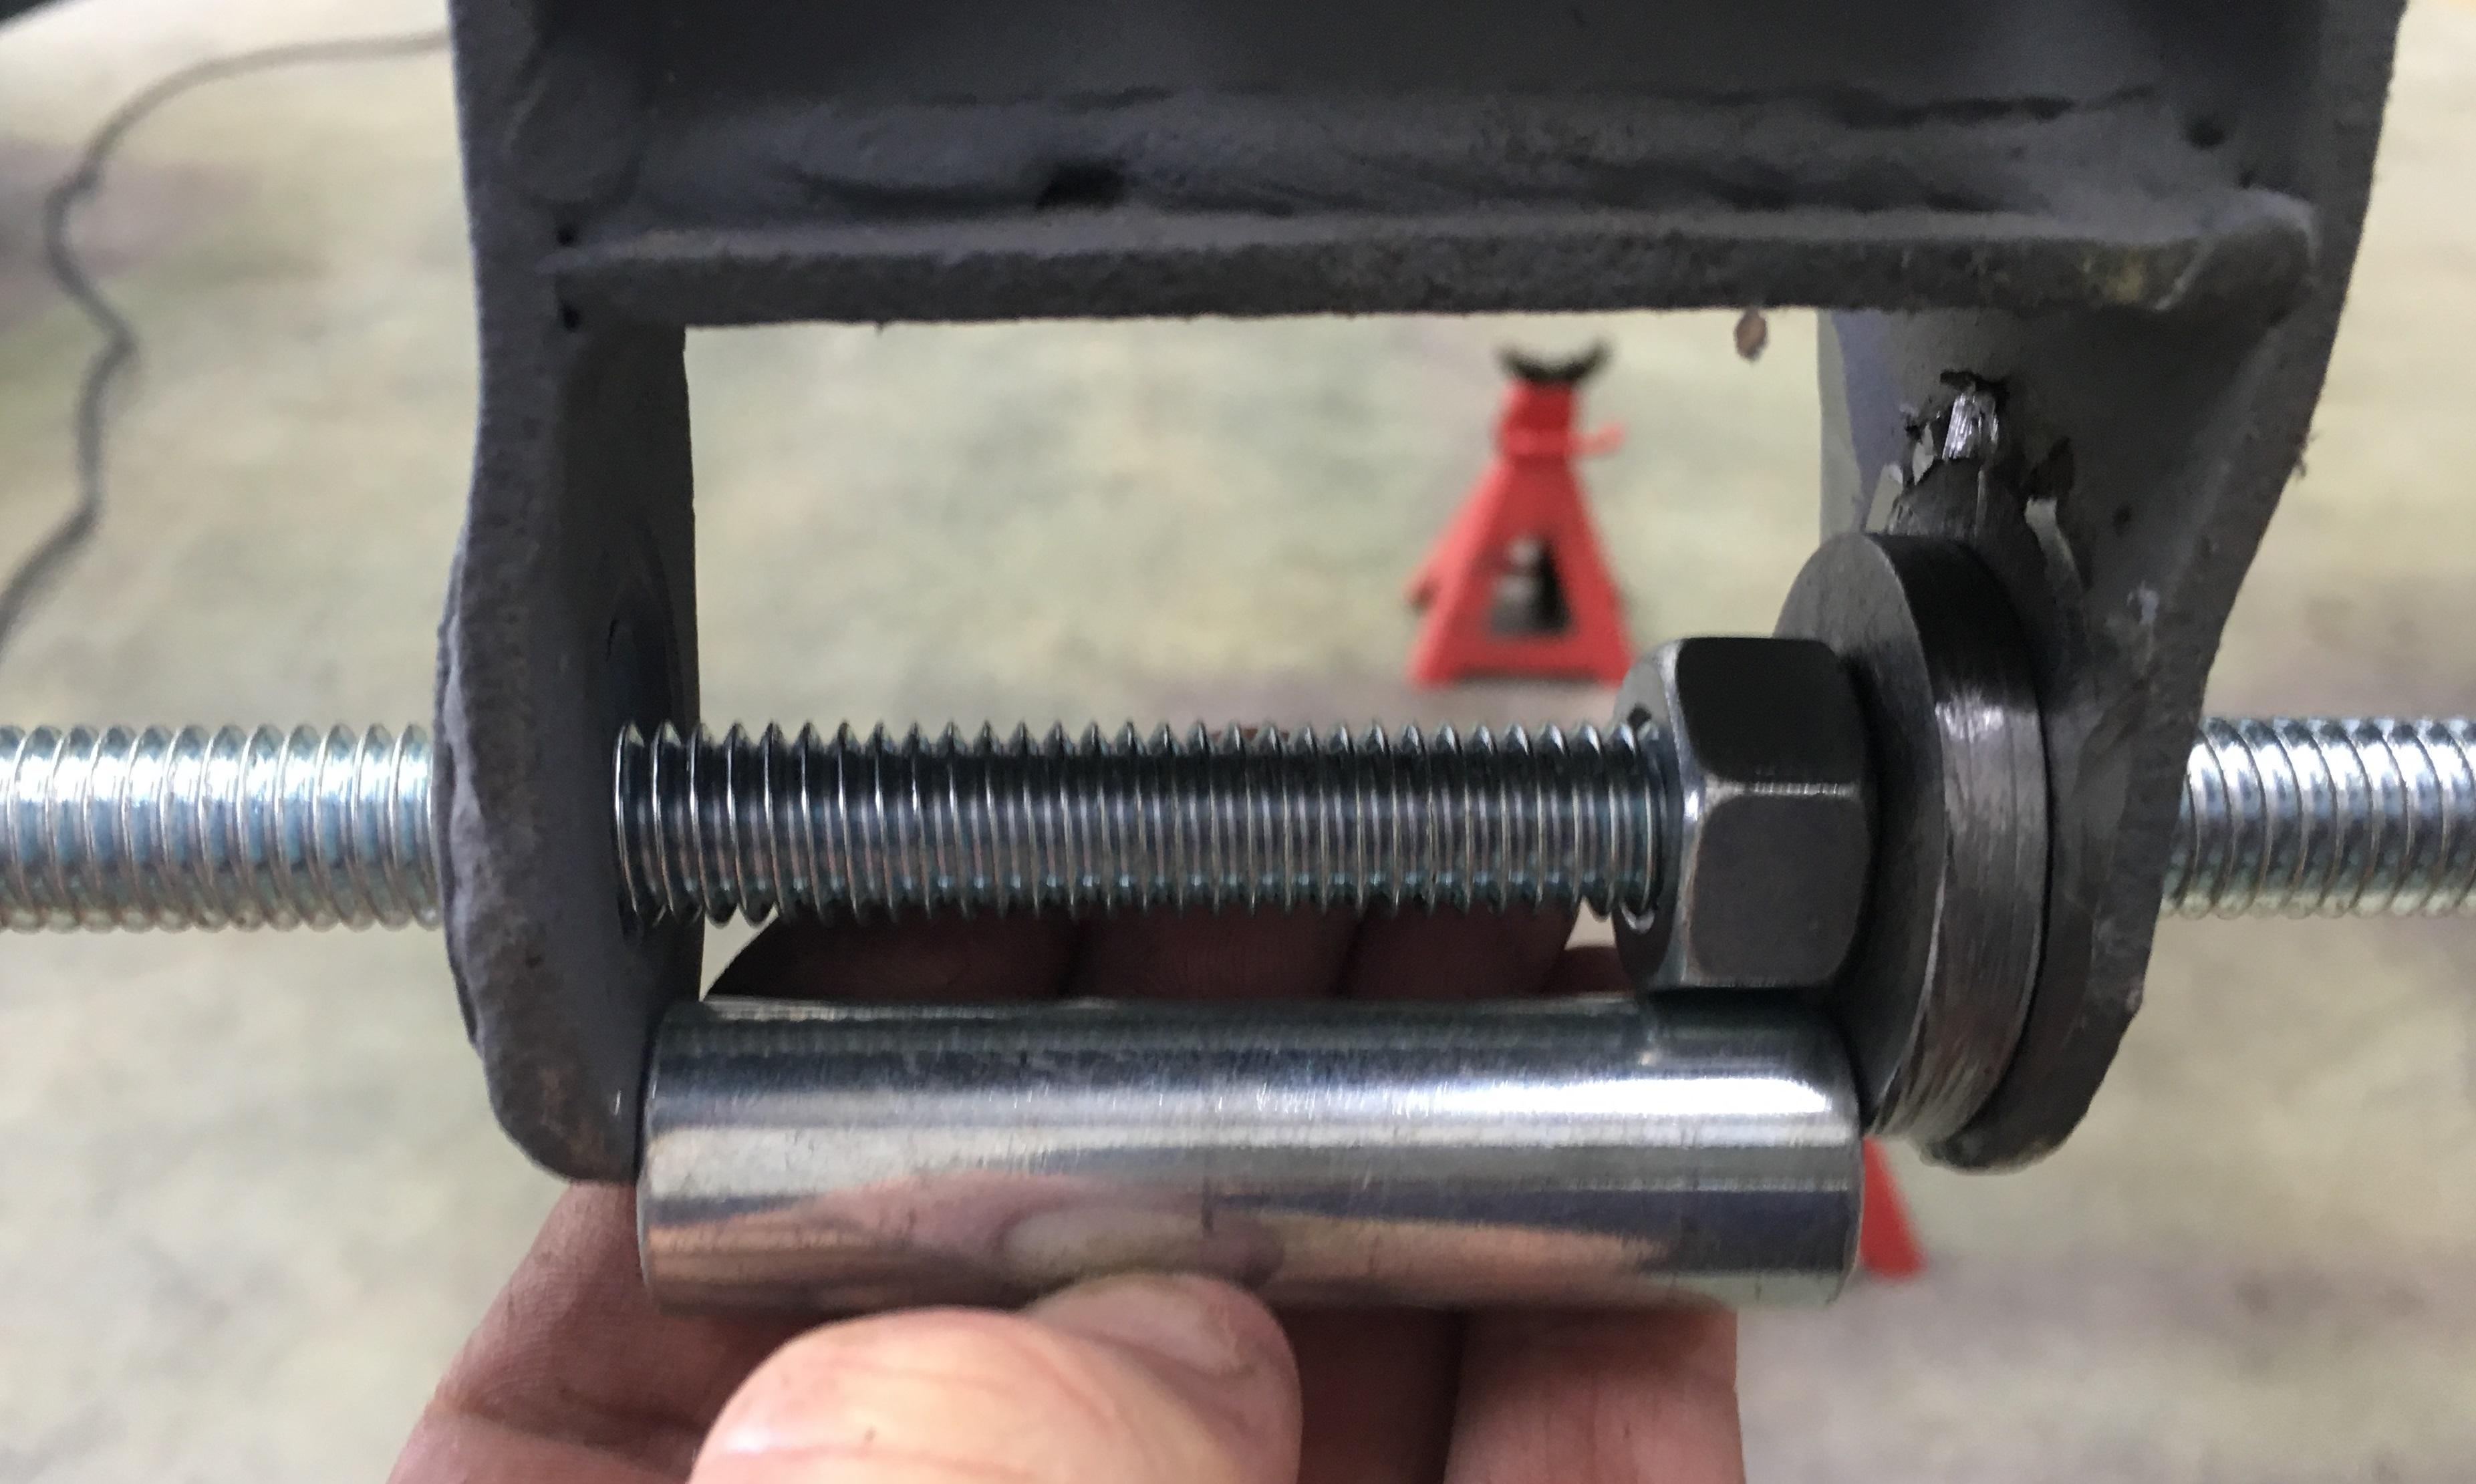
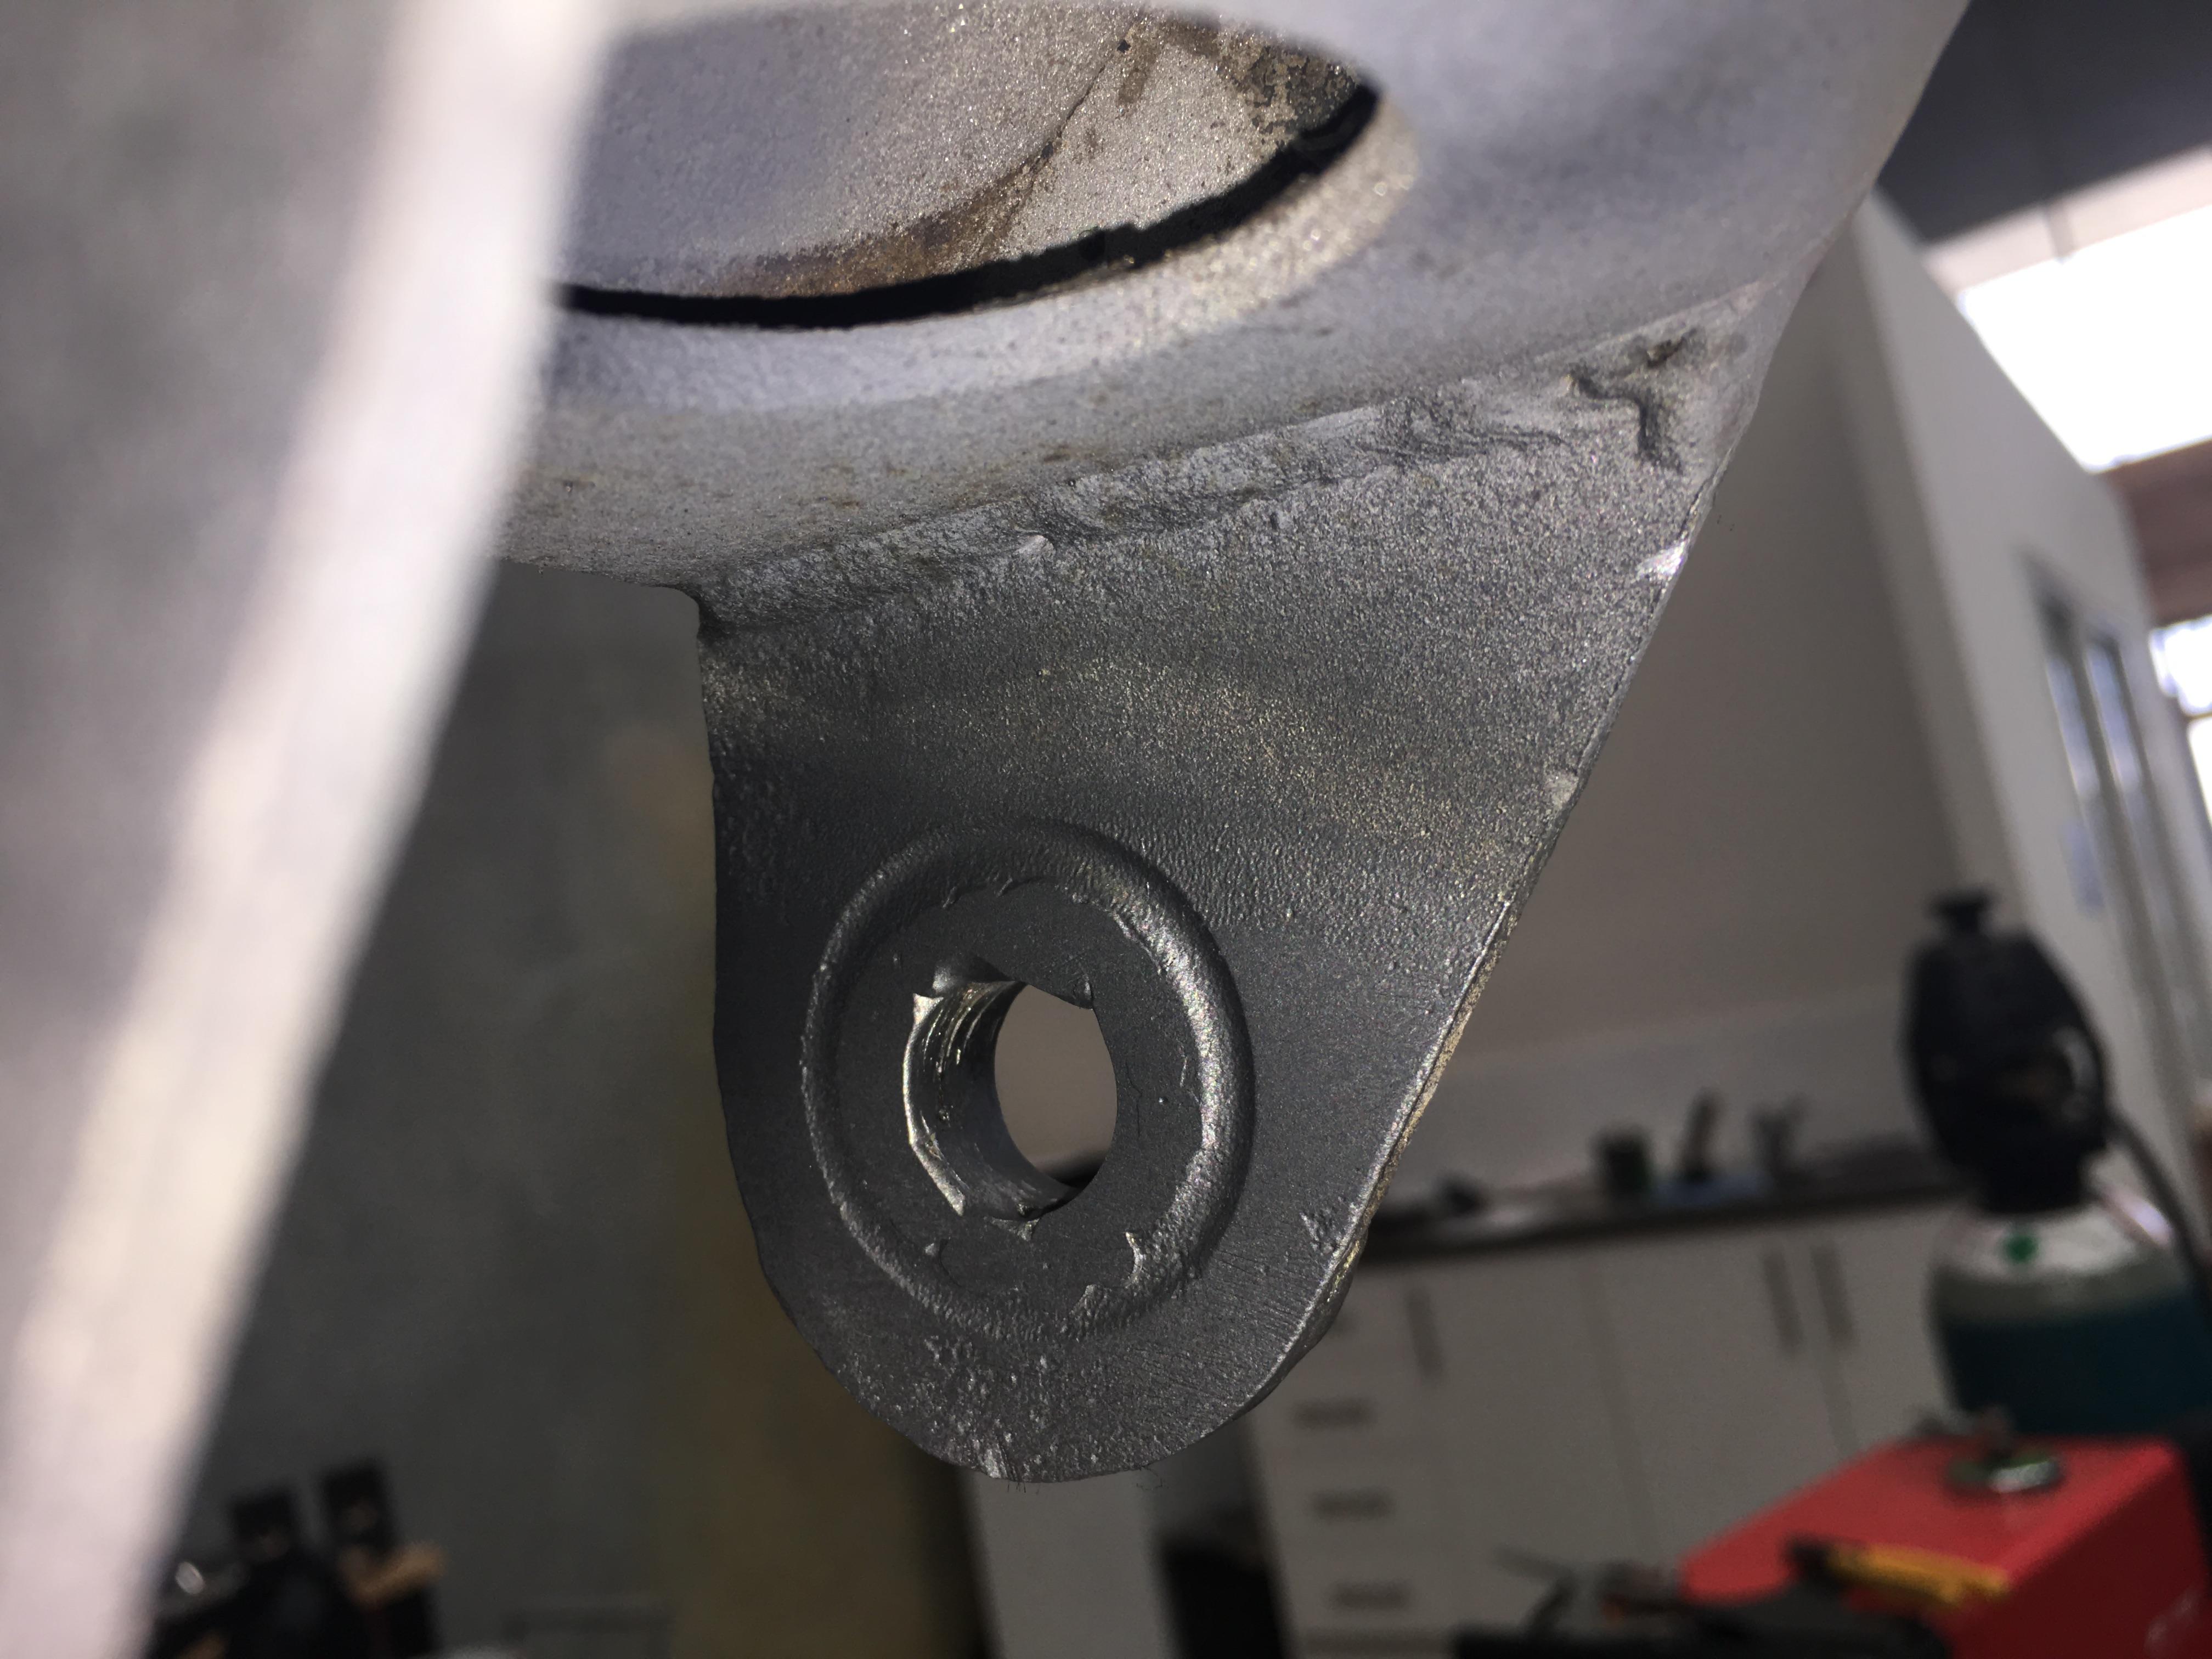
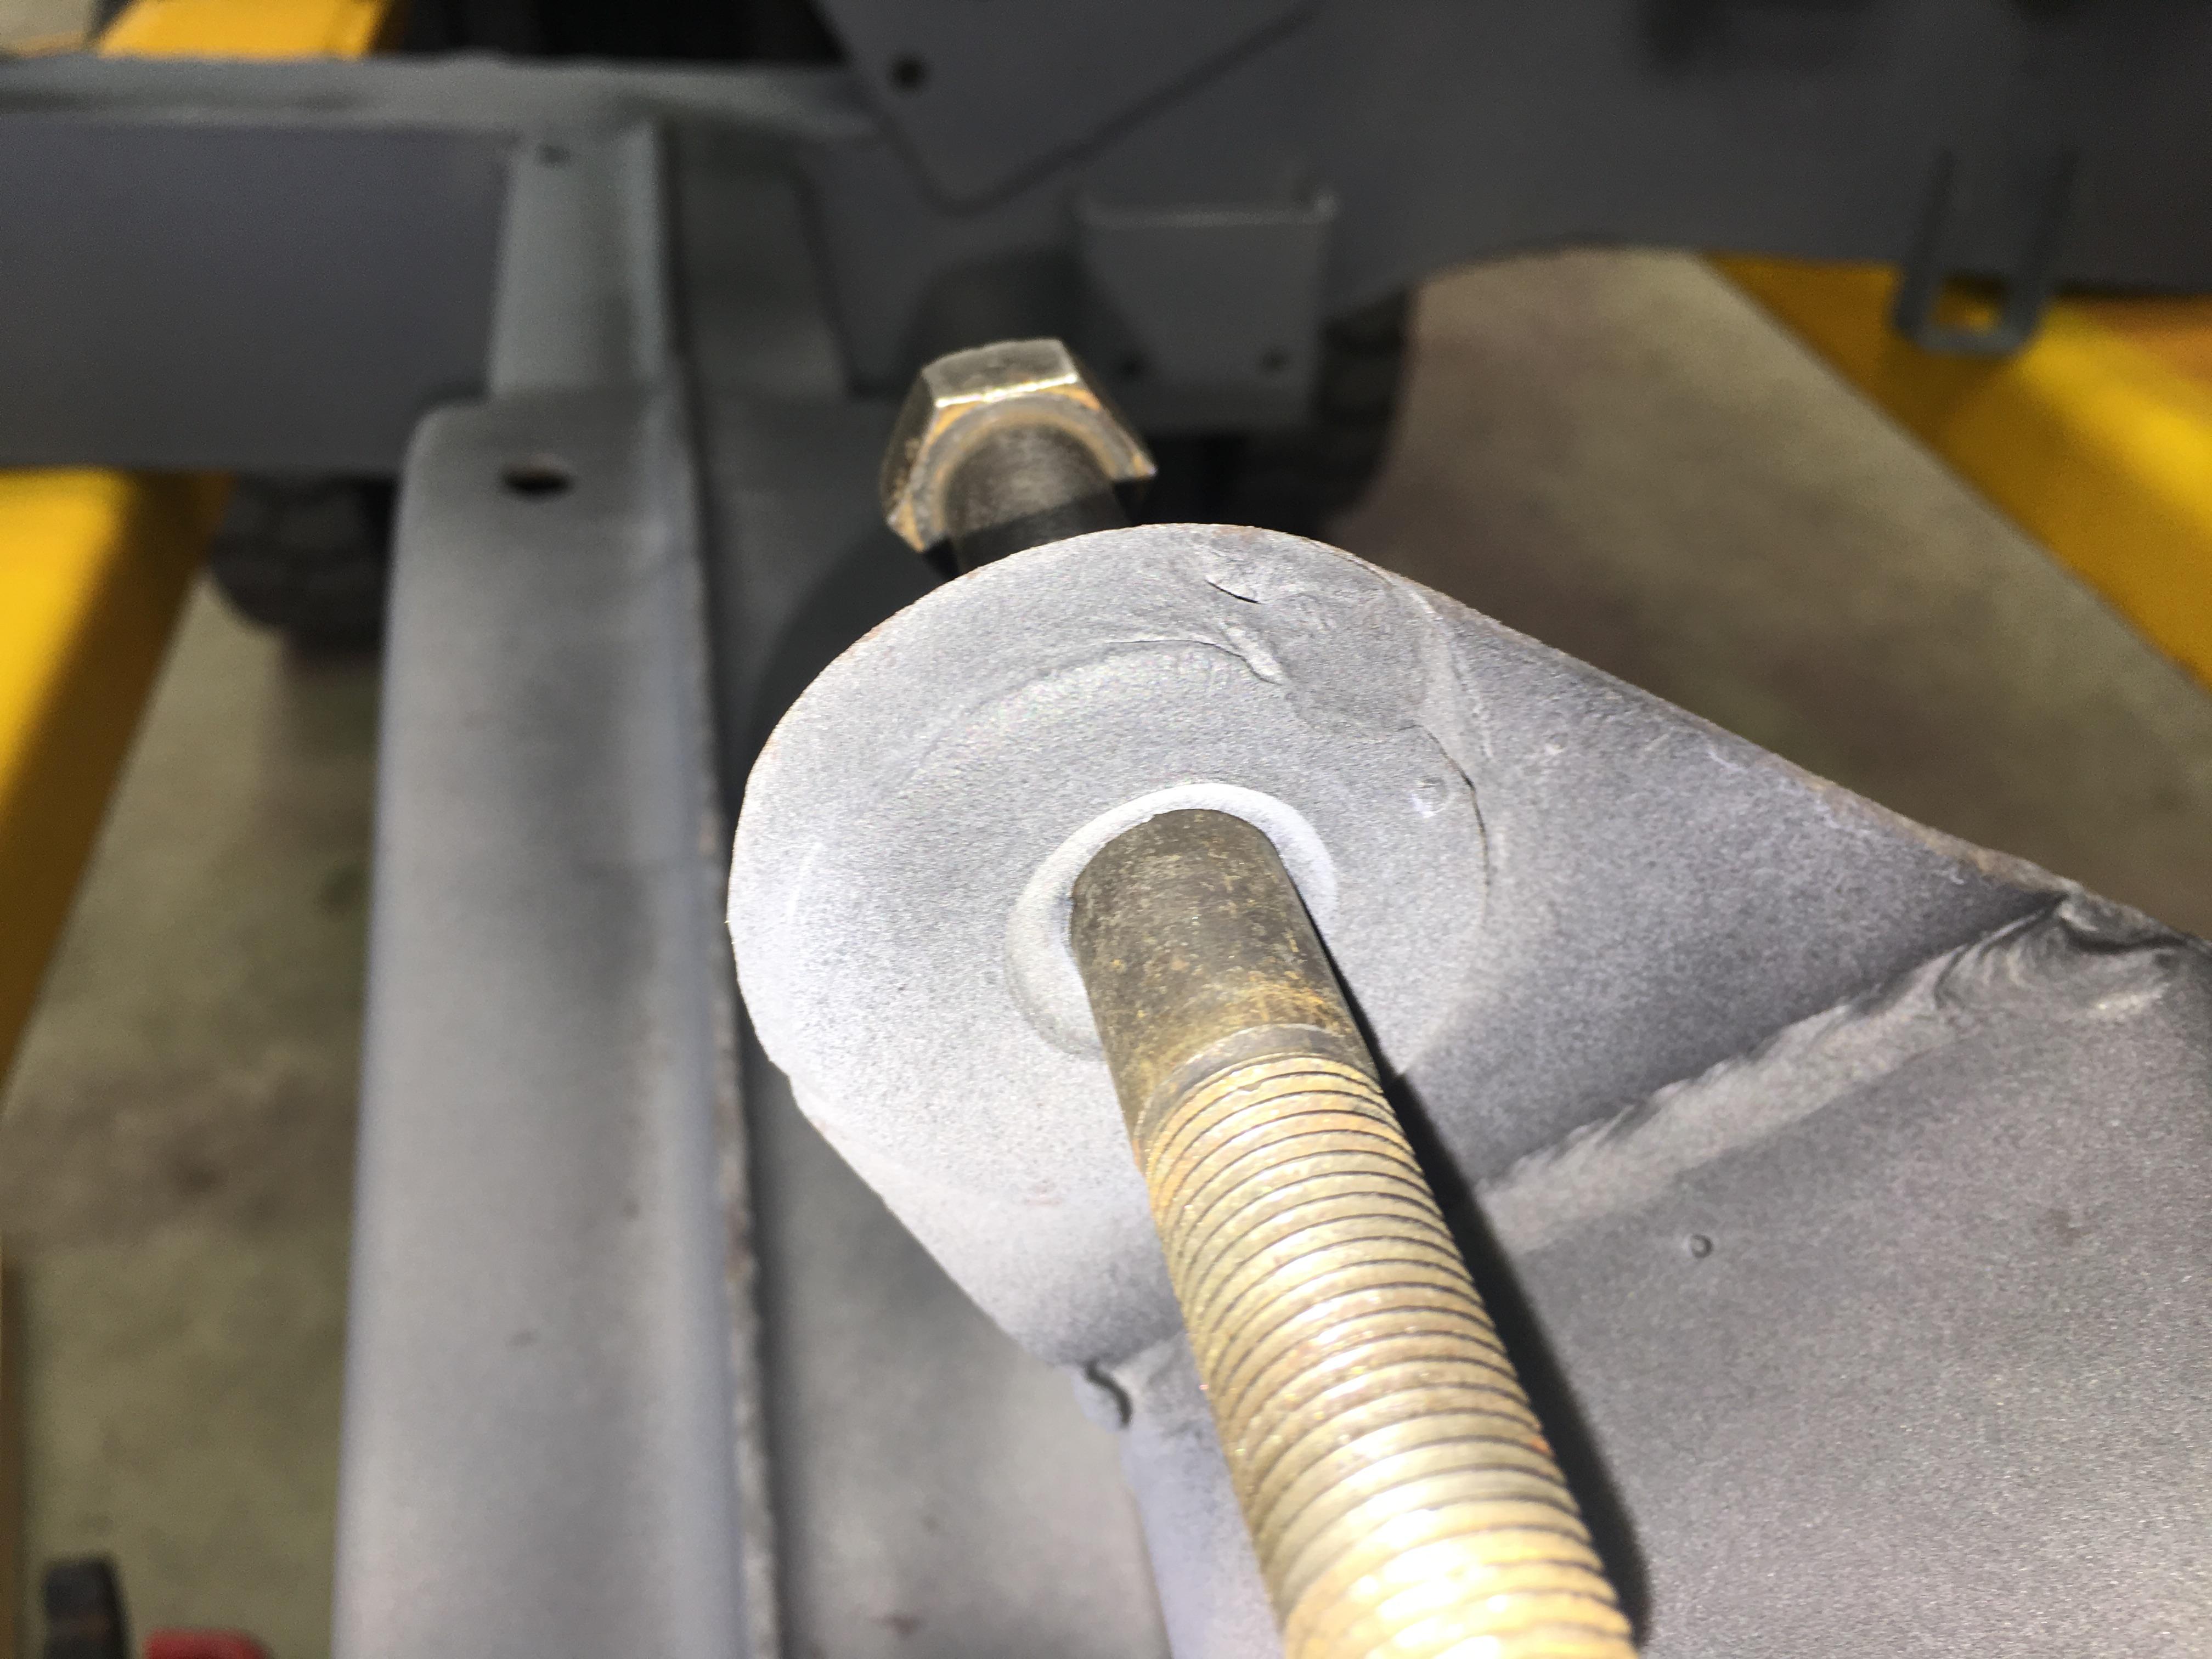
Next part to tackle was the crack around the front passenger spring mount. Holes were drilled at the end of the cracks to stop them propagating, and the crack opened up a bit with a die grinder:
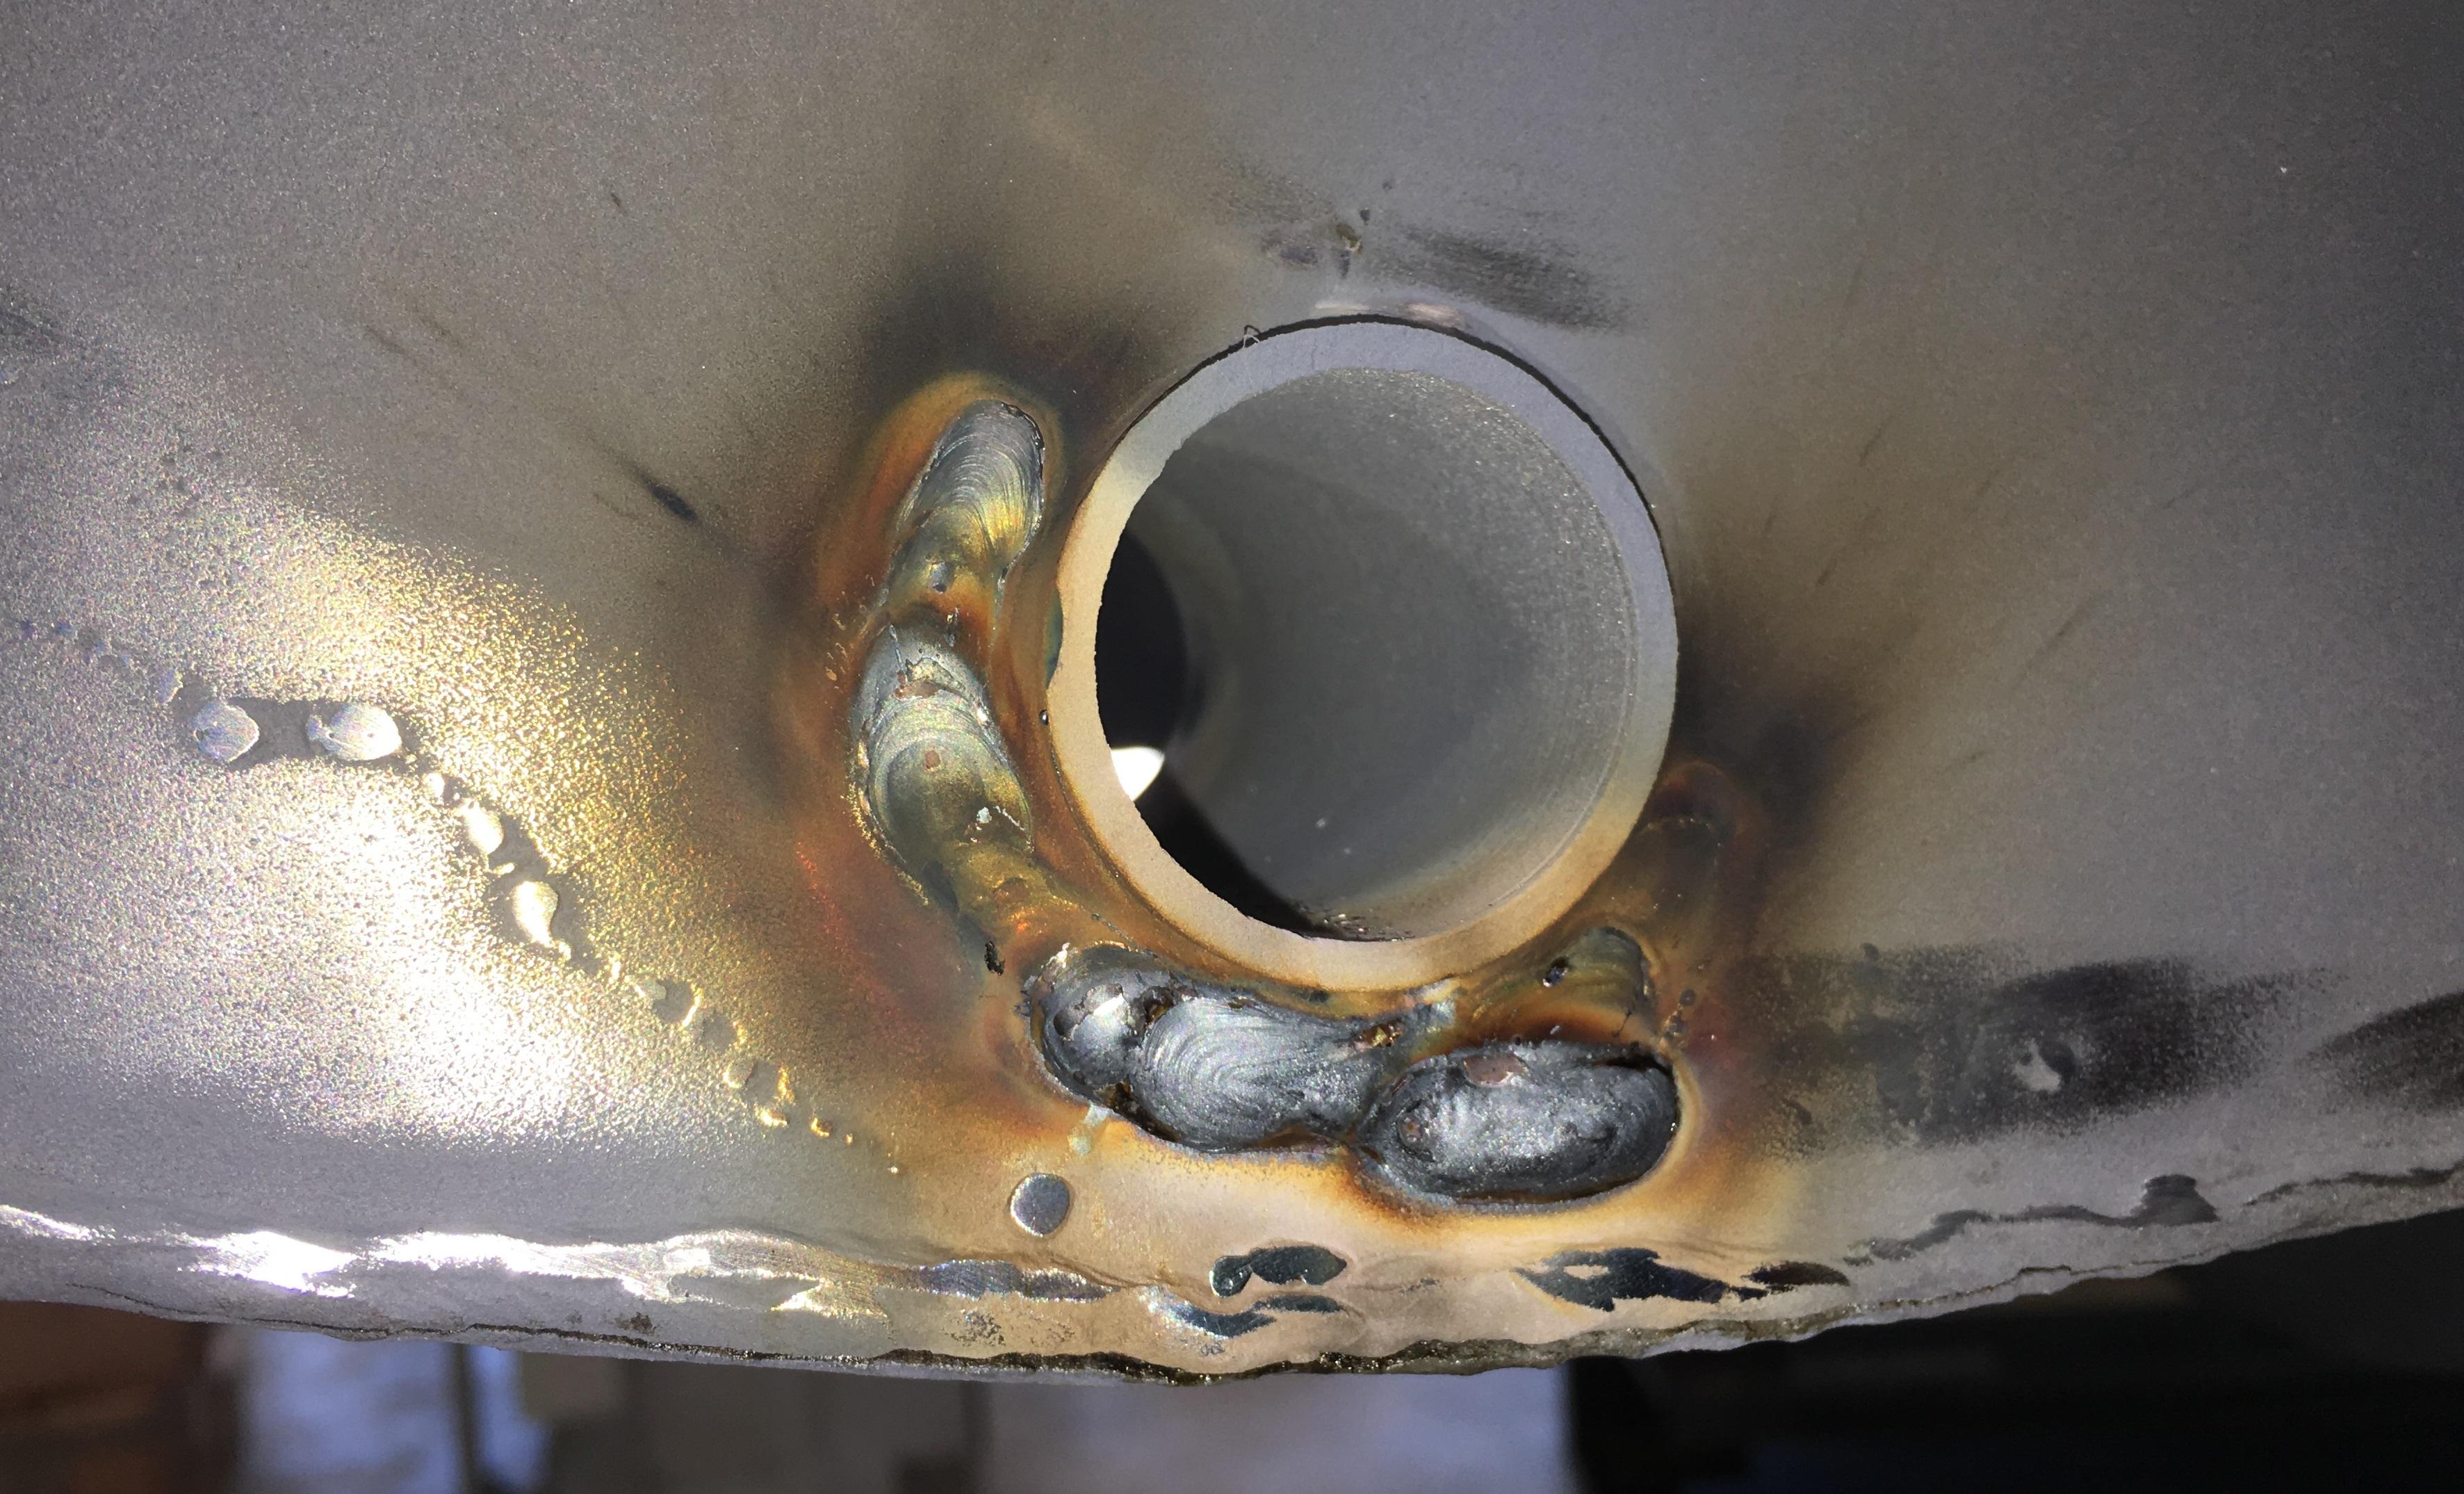
All welded up, not as neat as I would like, but the inside of the chassis has been filled with oil/anti-corrosion stuff in the past which is making welding a challenge, (excuses excuses!):
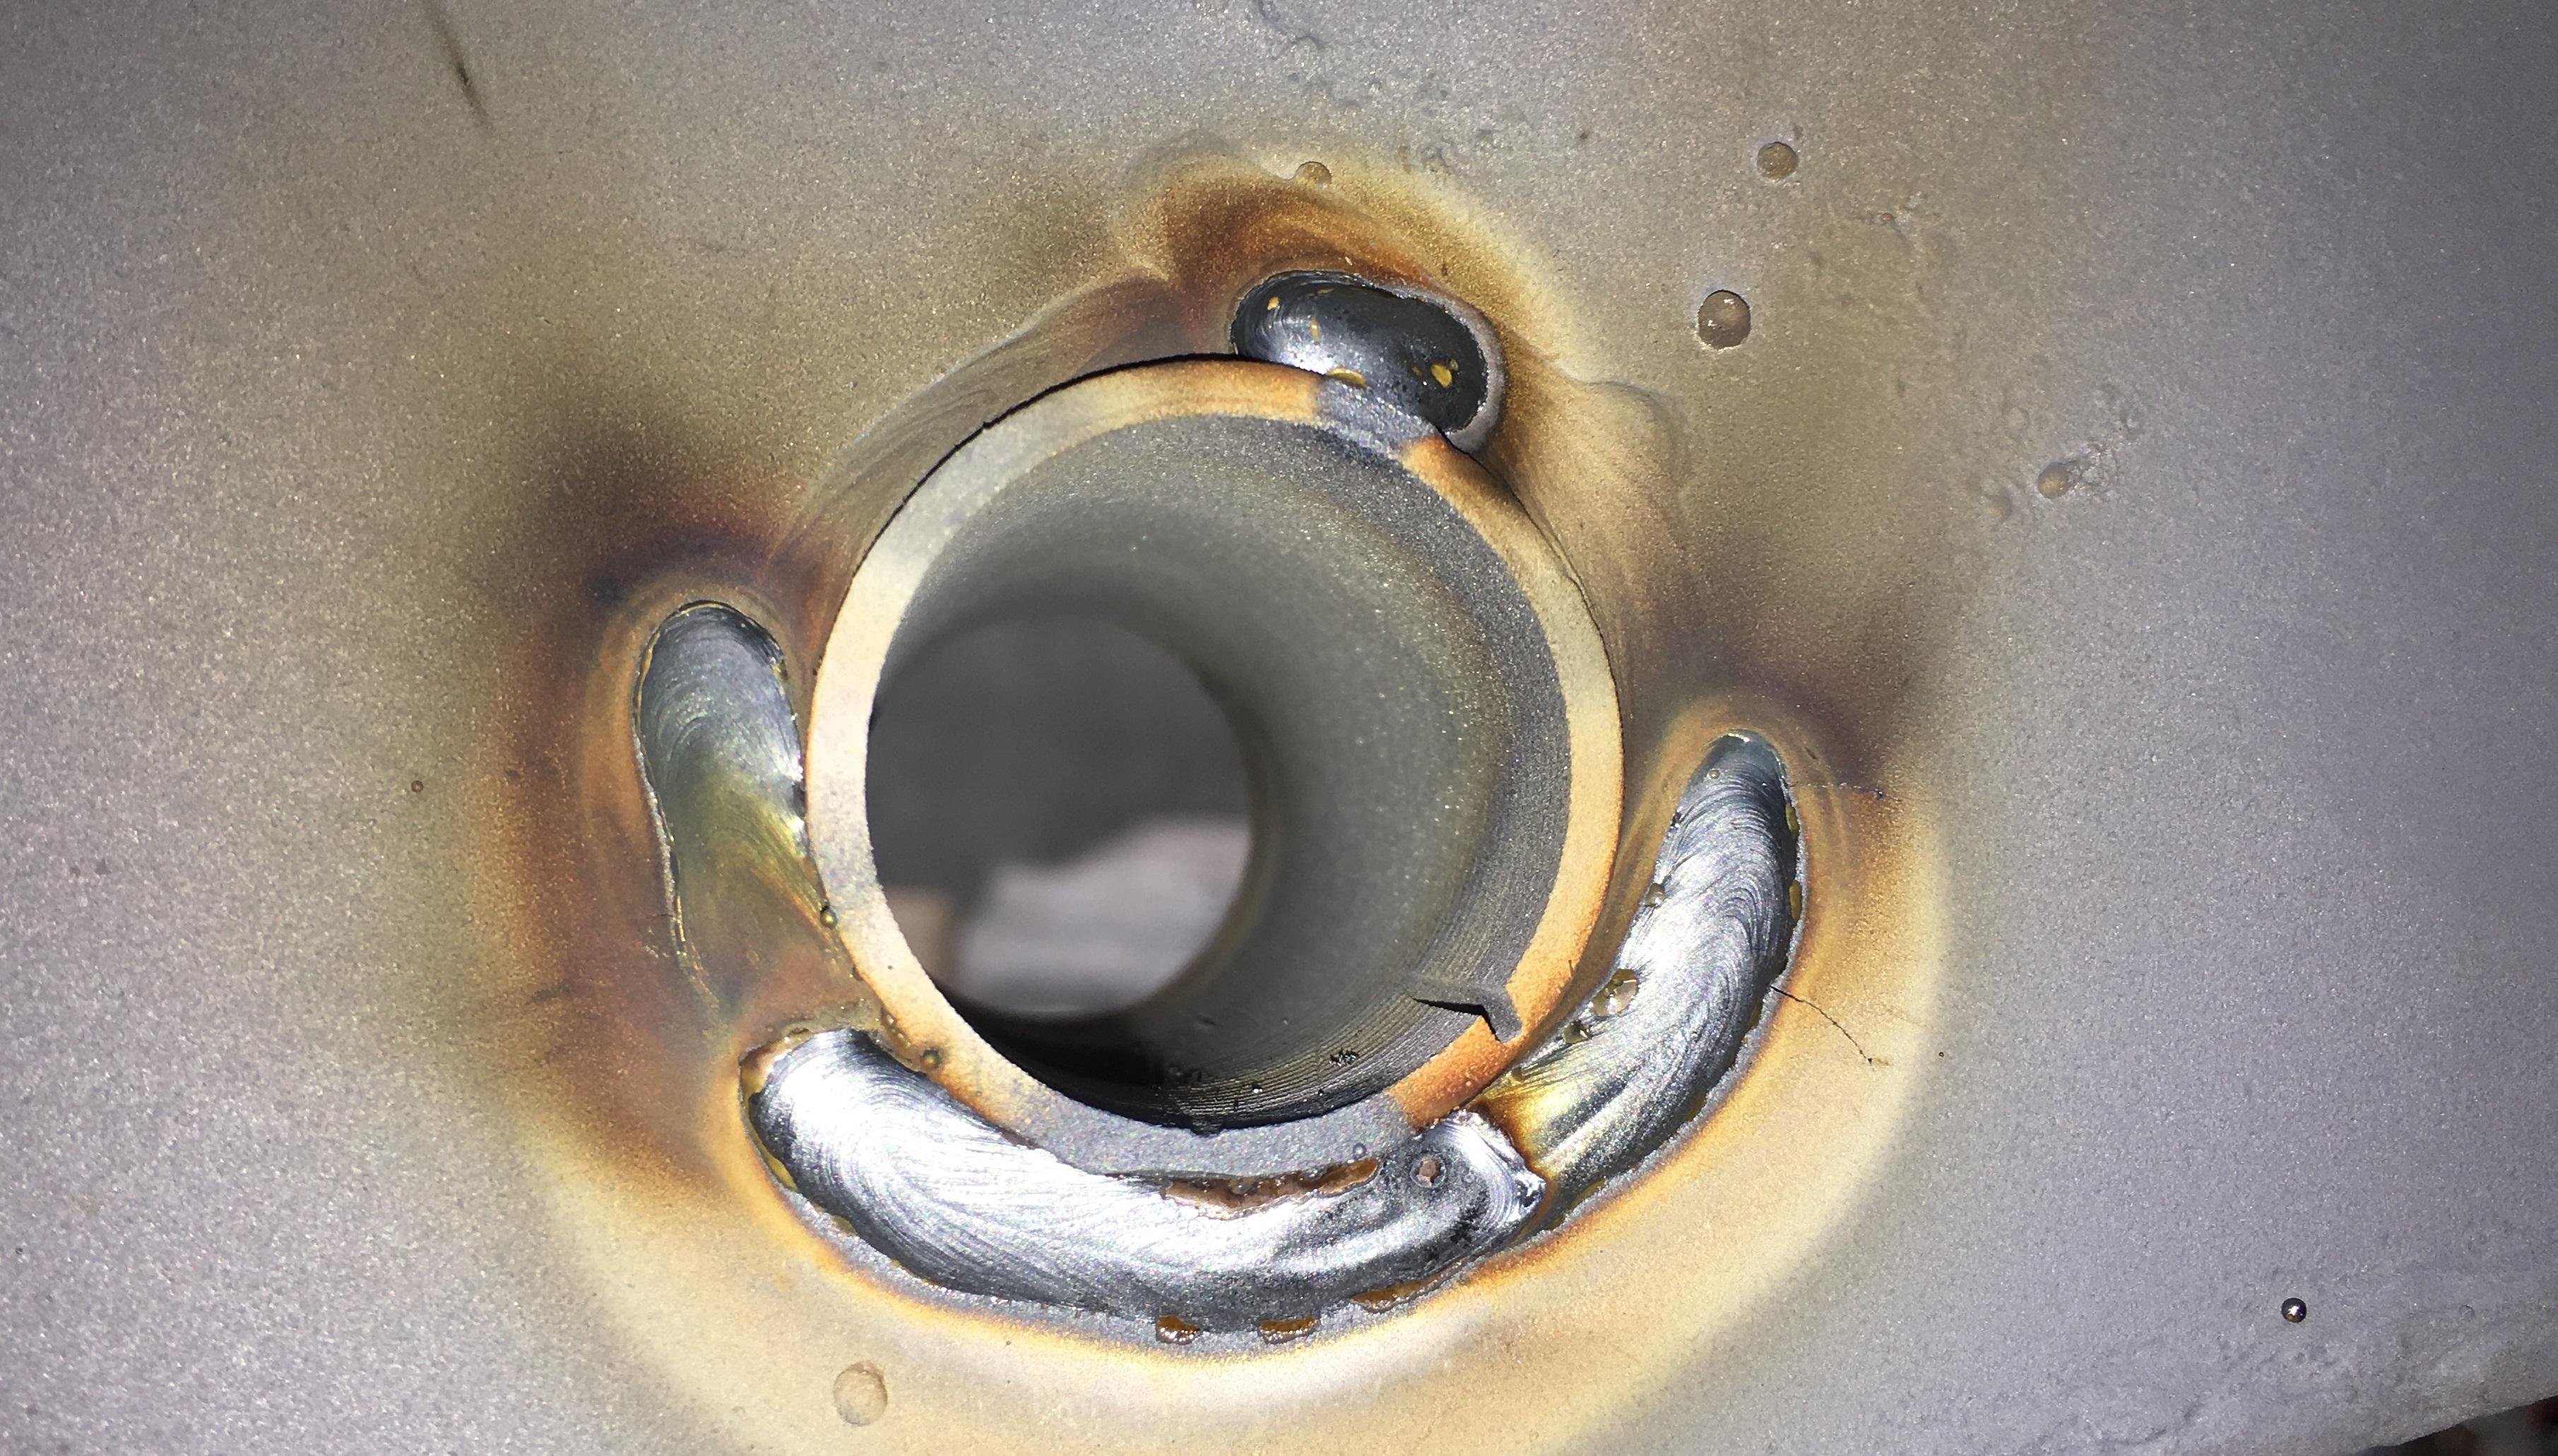
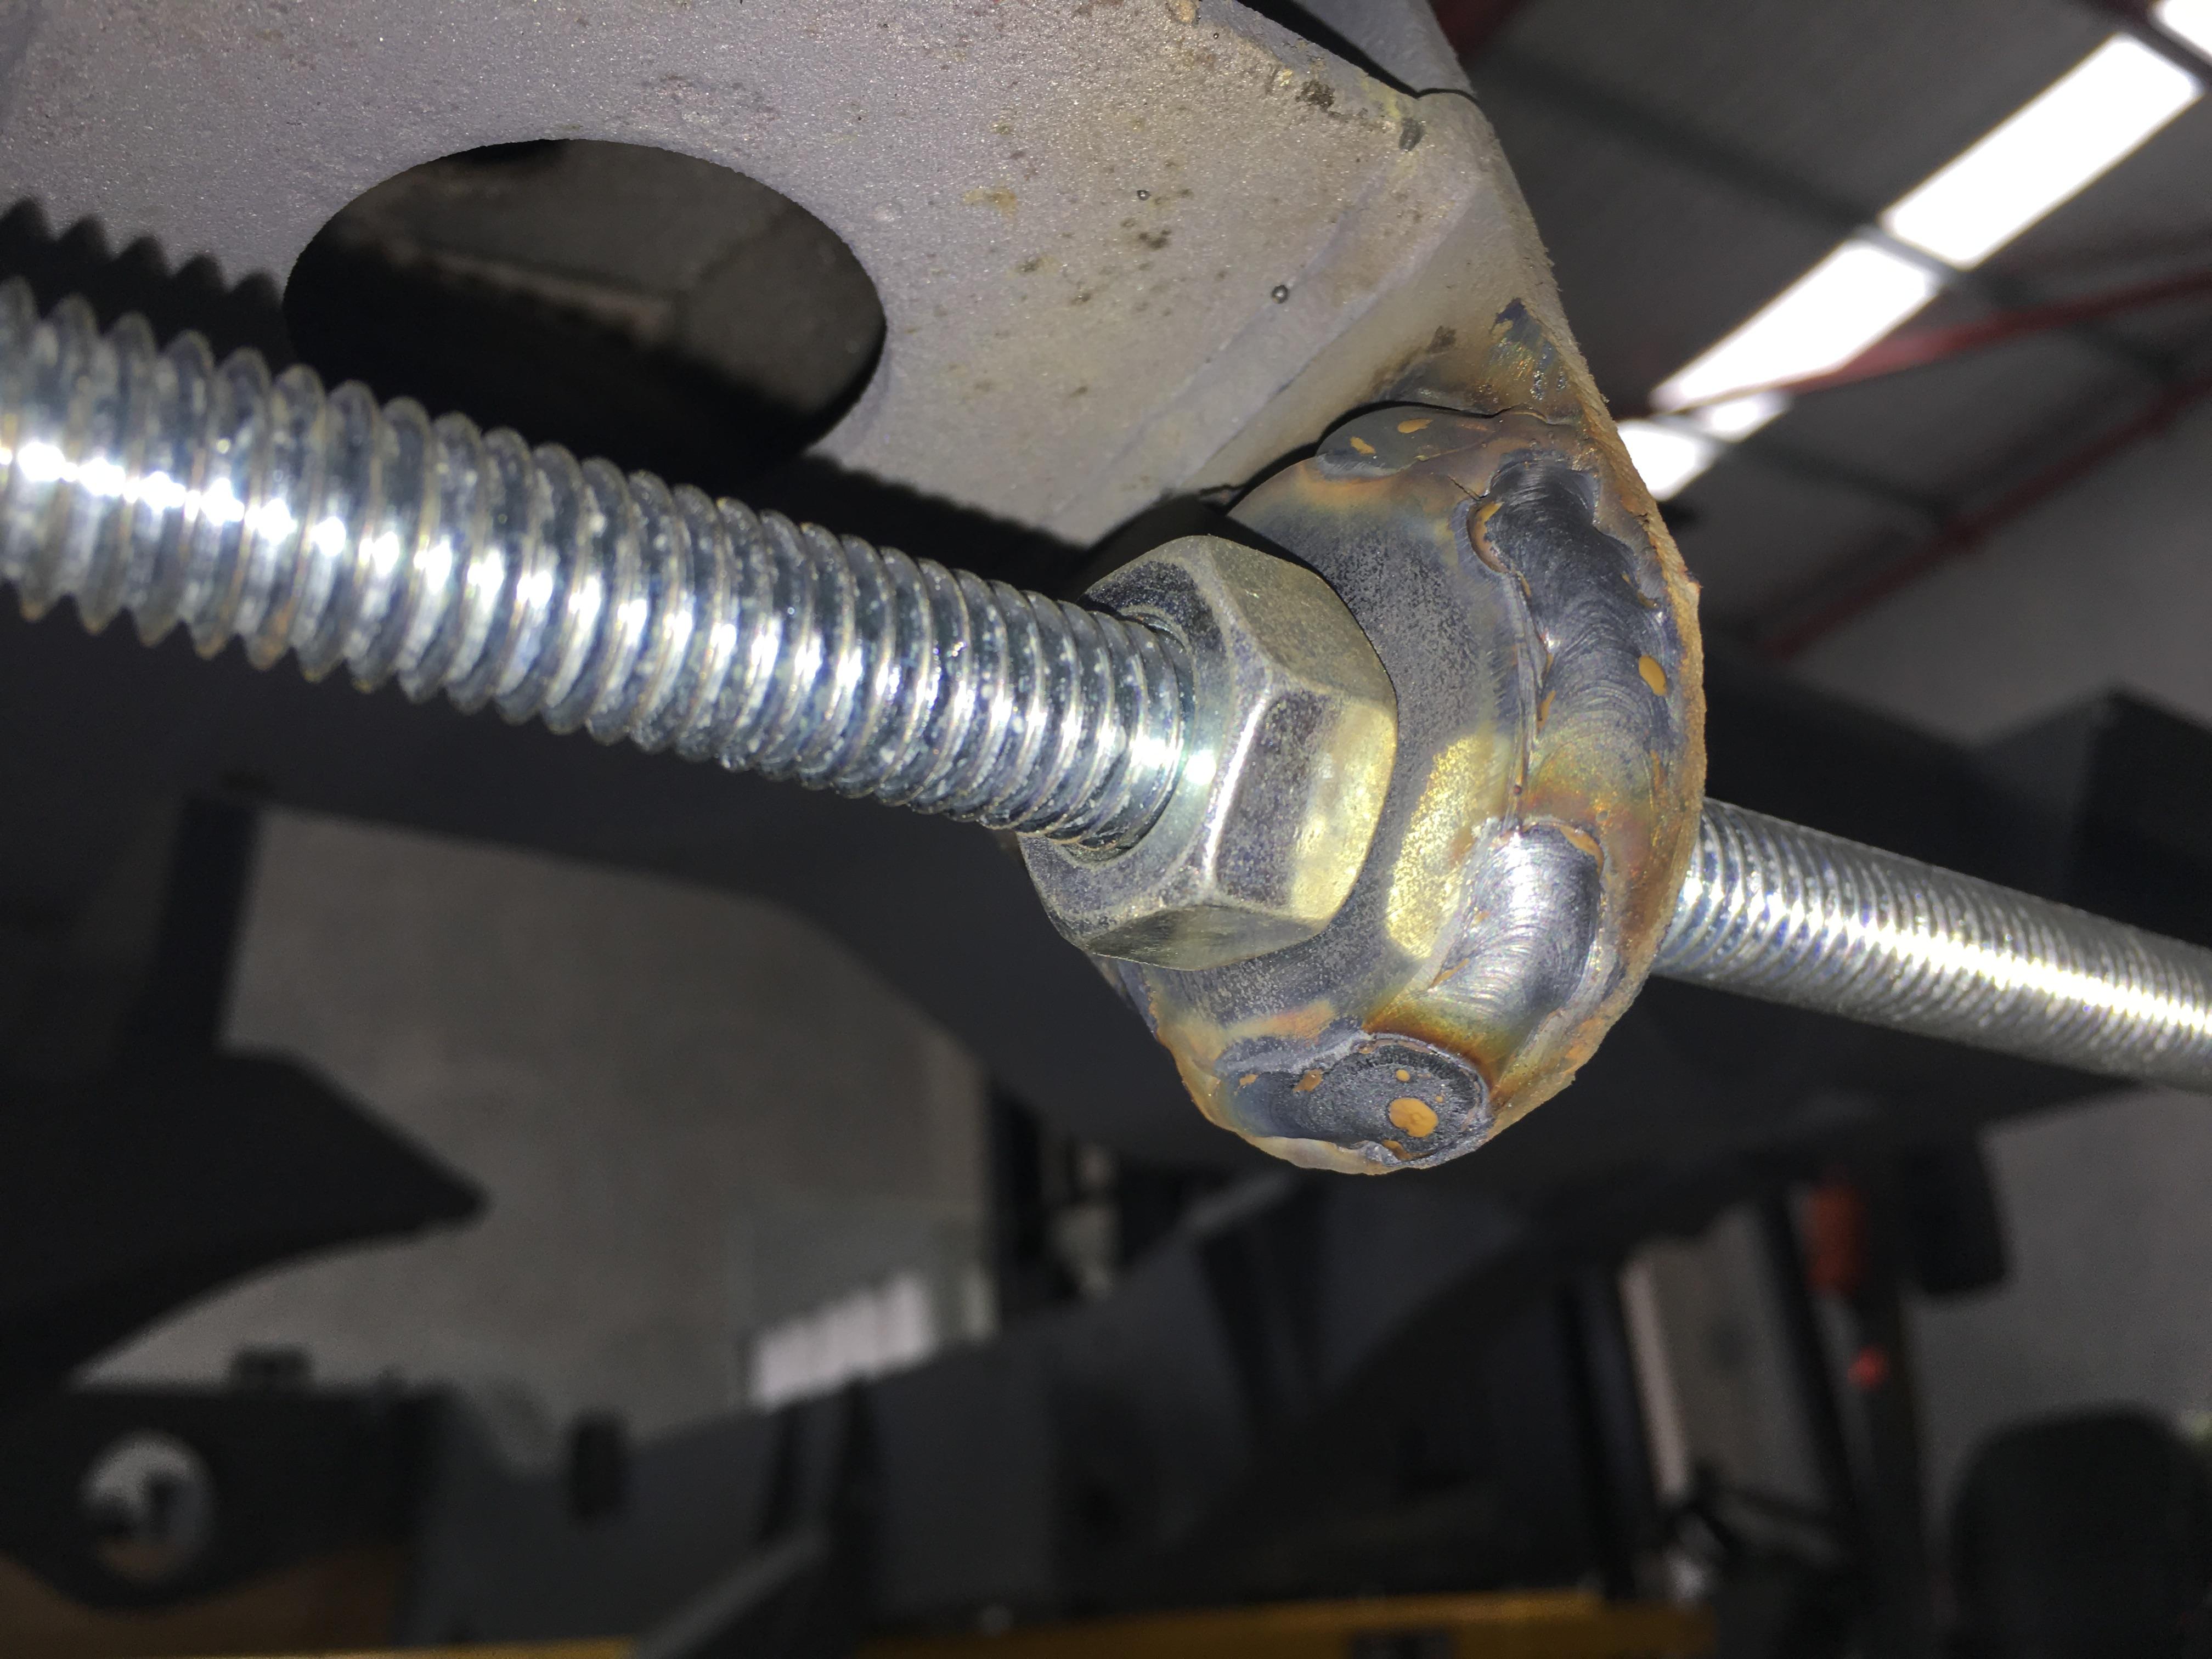
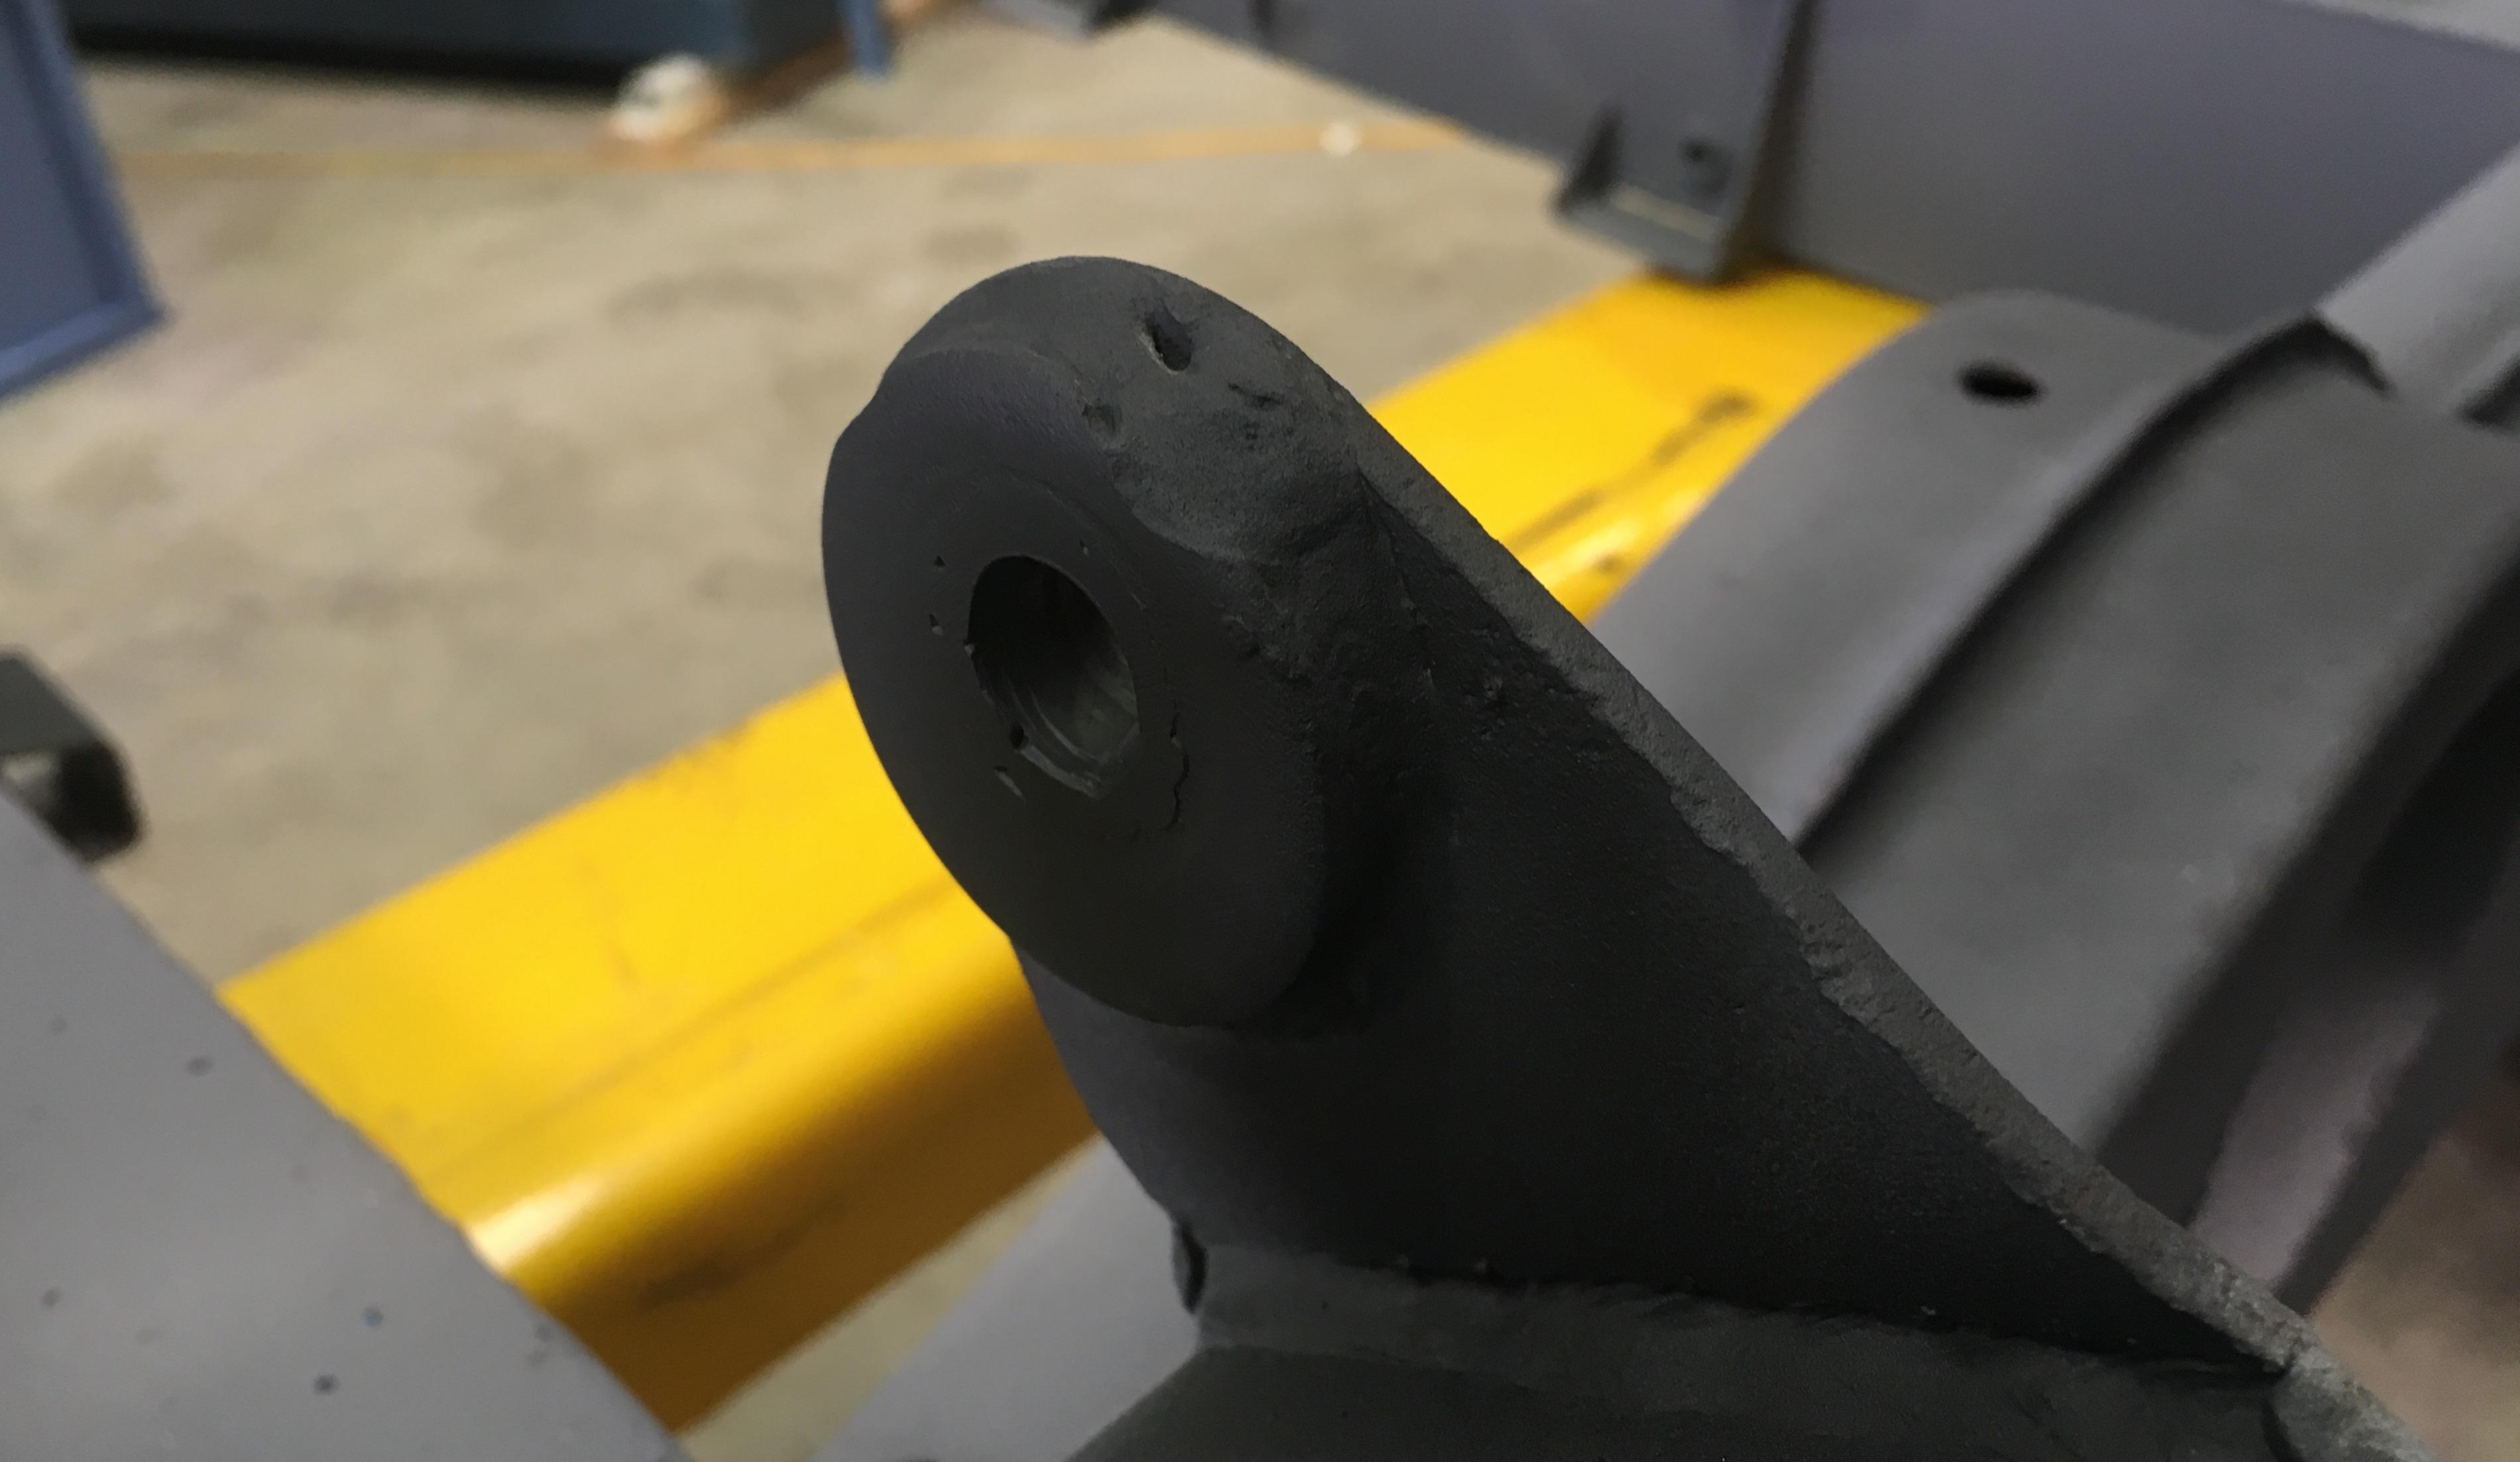
Other side done, (bit of an apprentice mark from when the bush was removed, however I don't think it was my doing??):
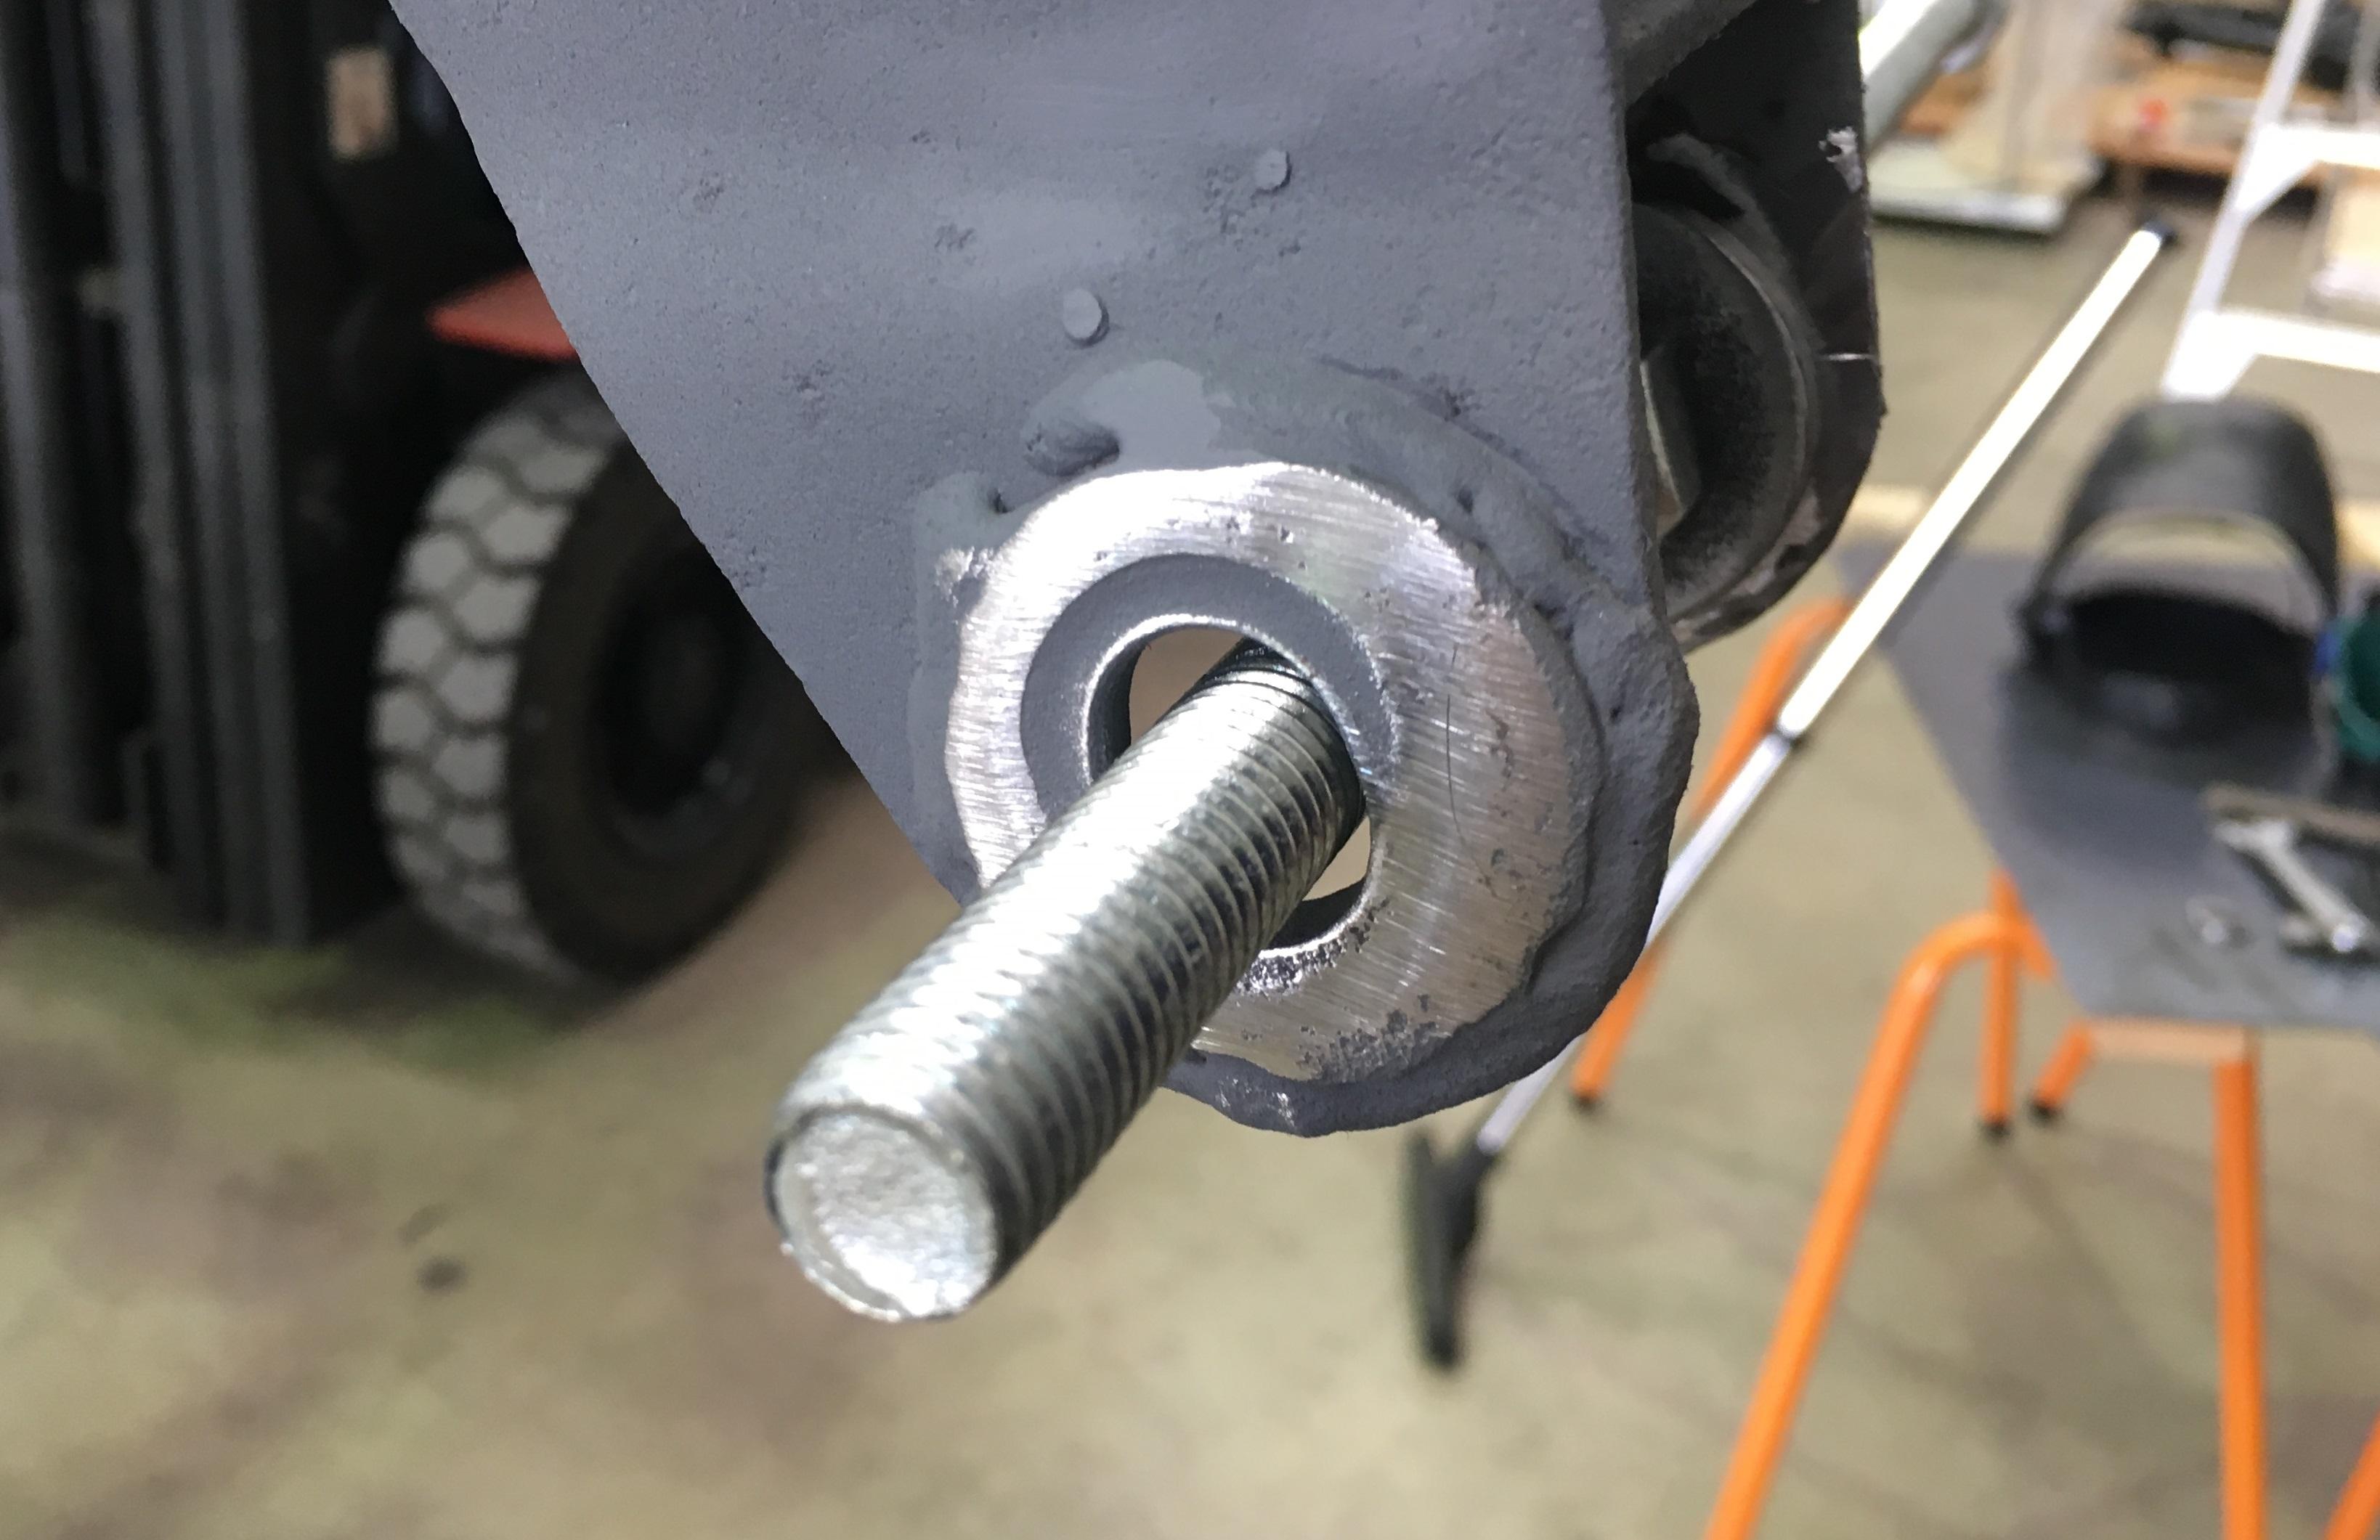
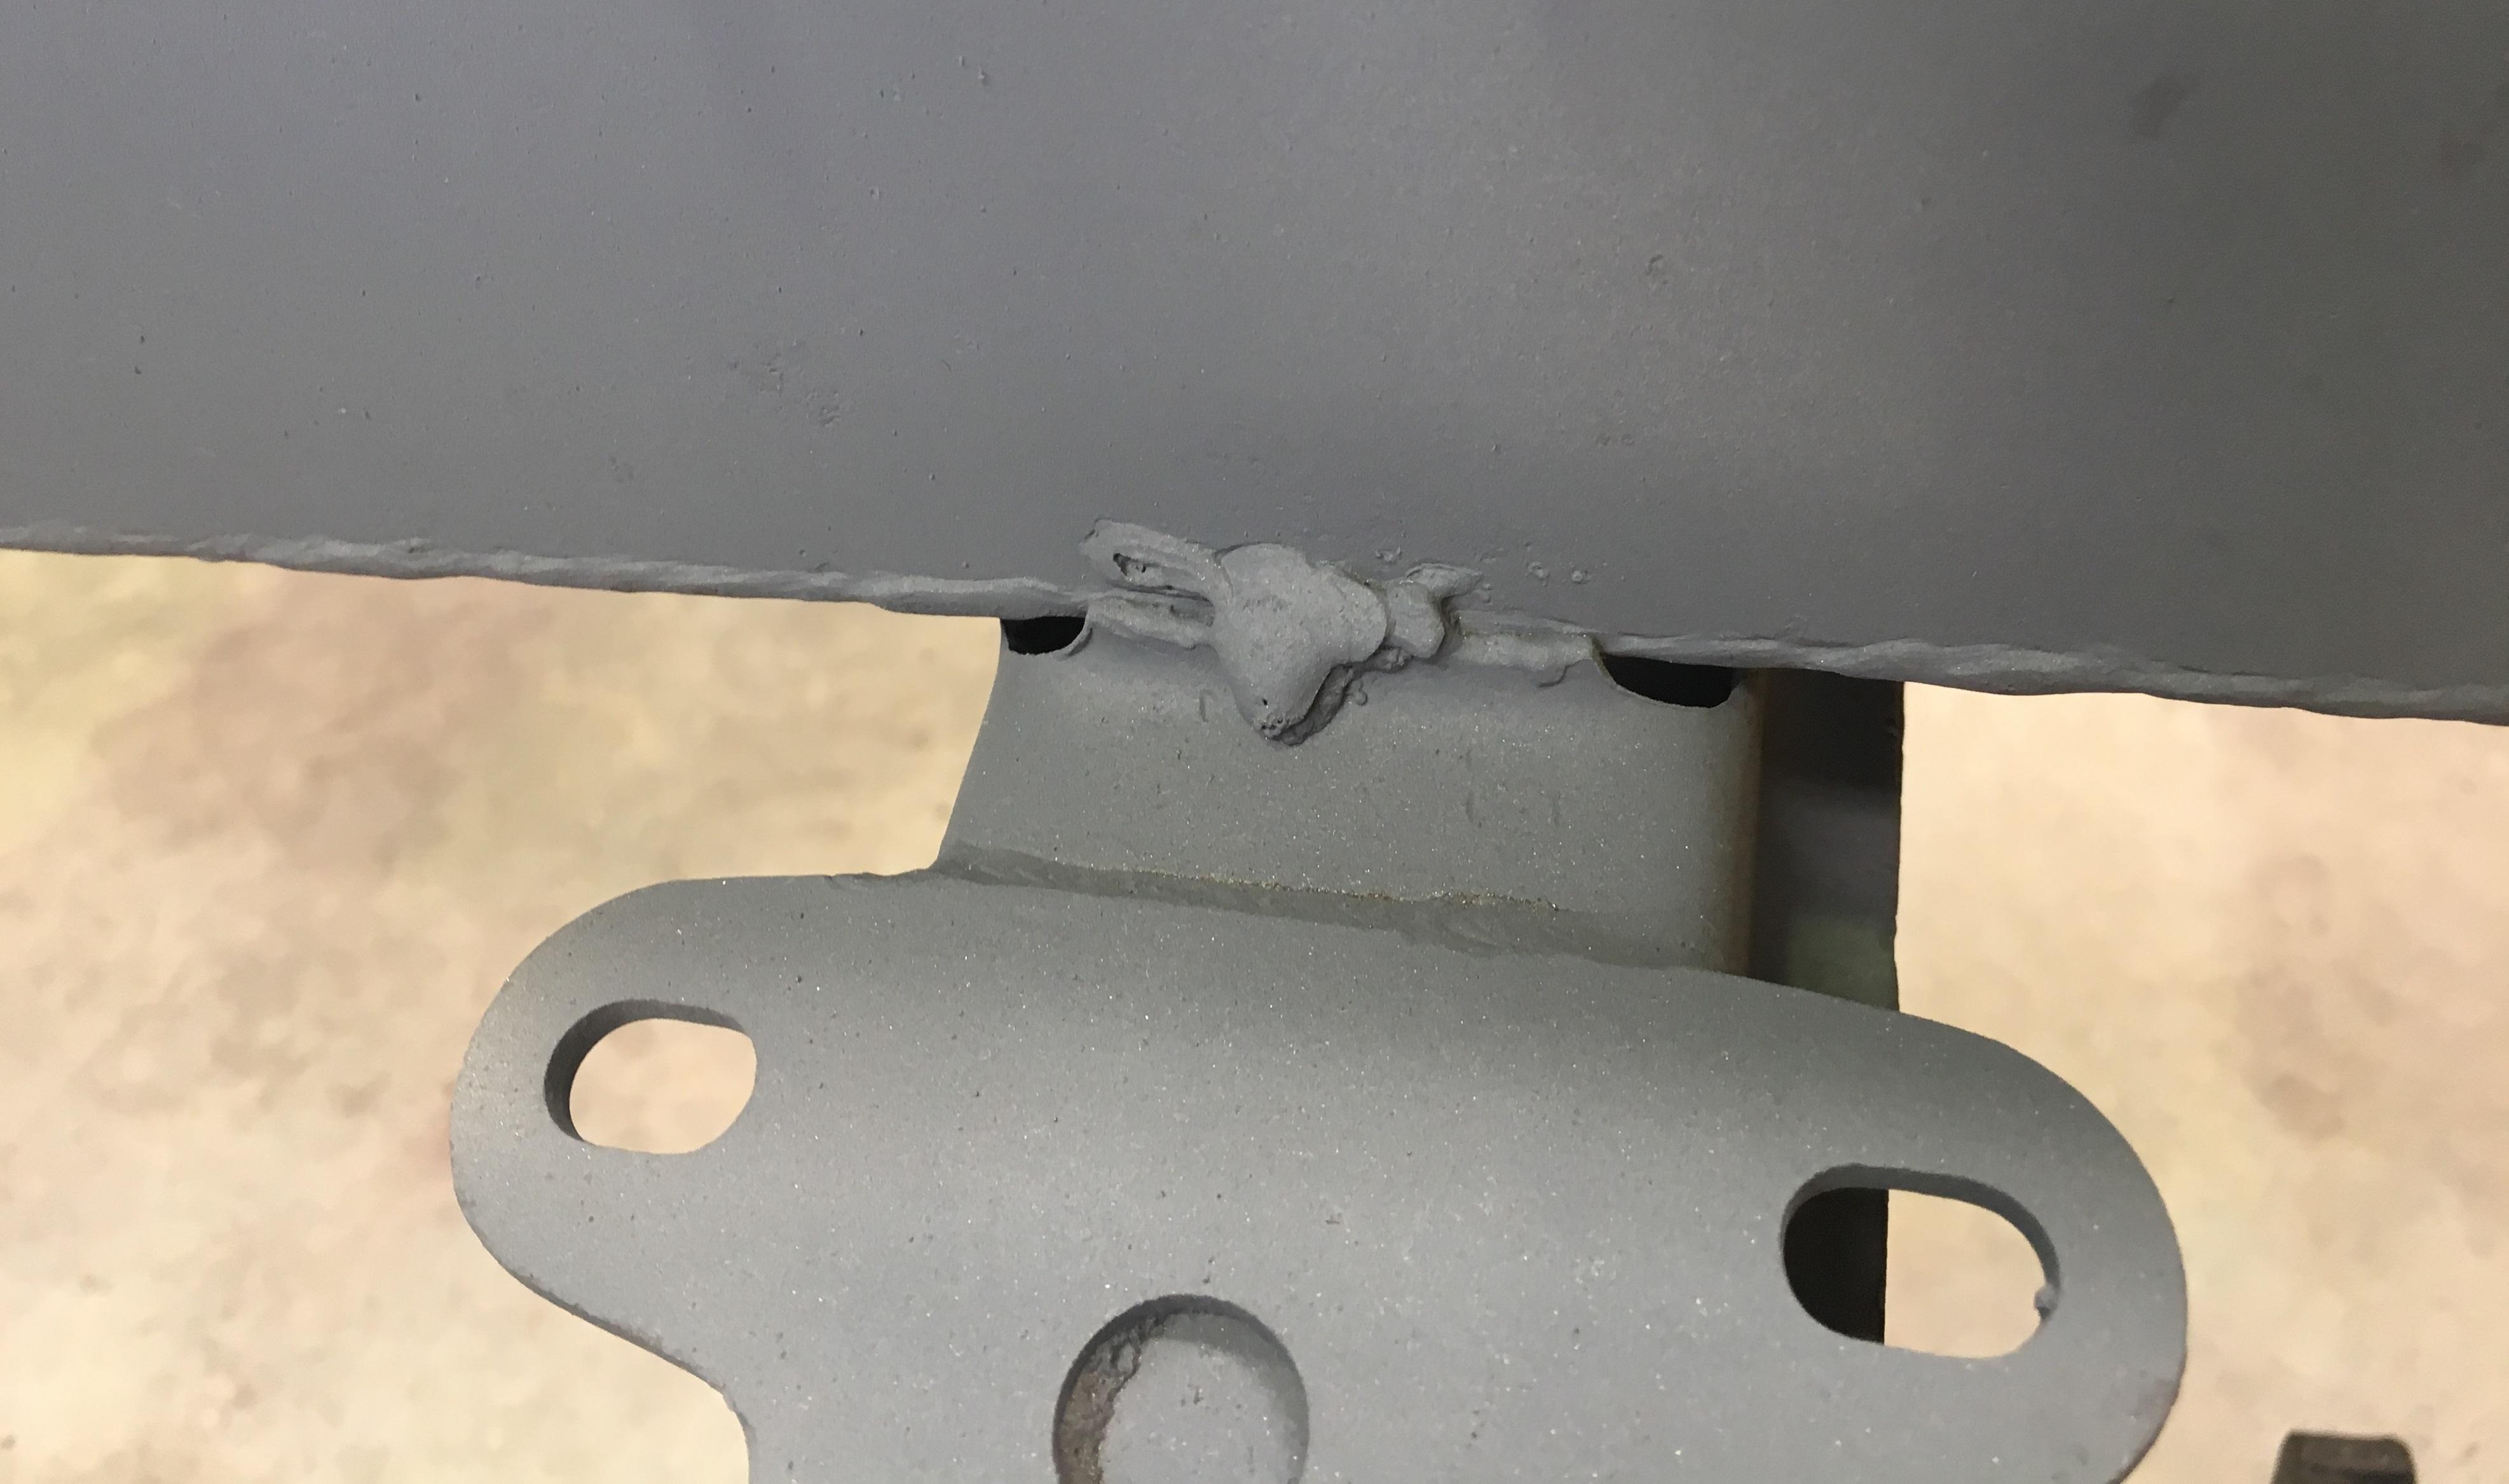
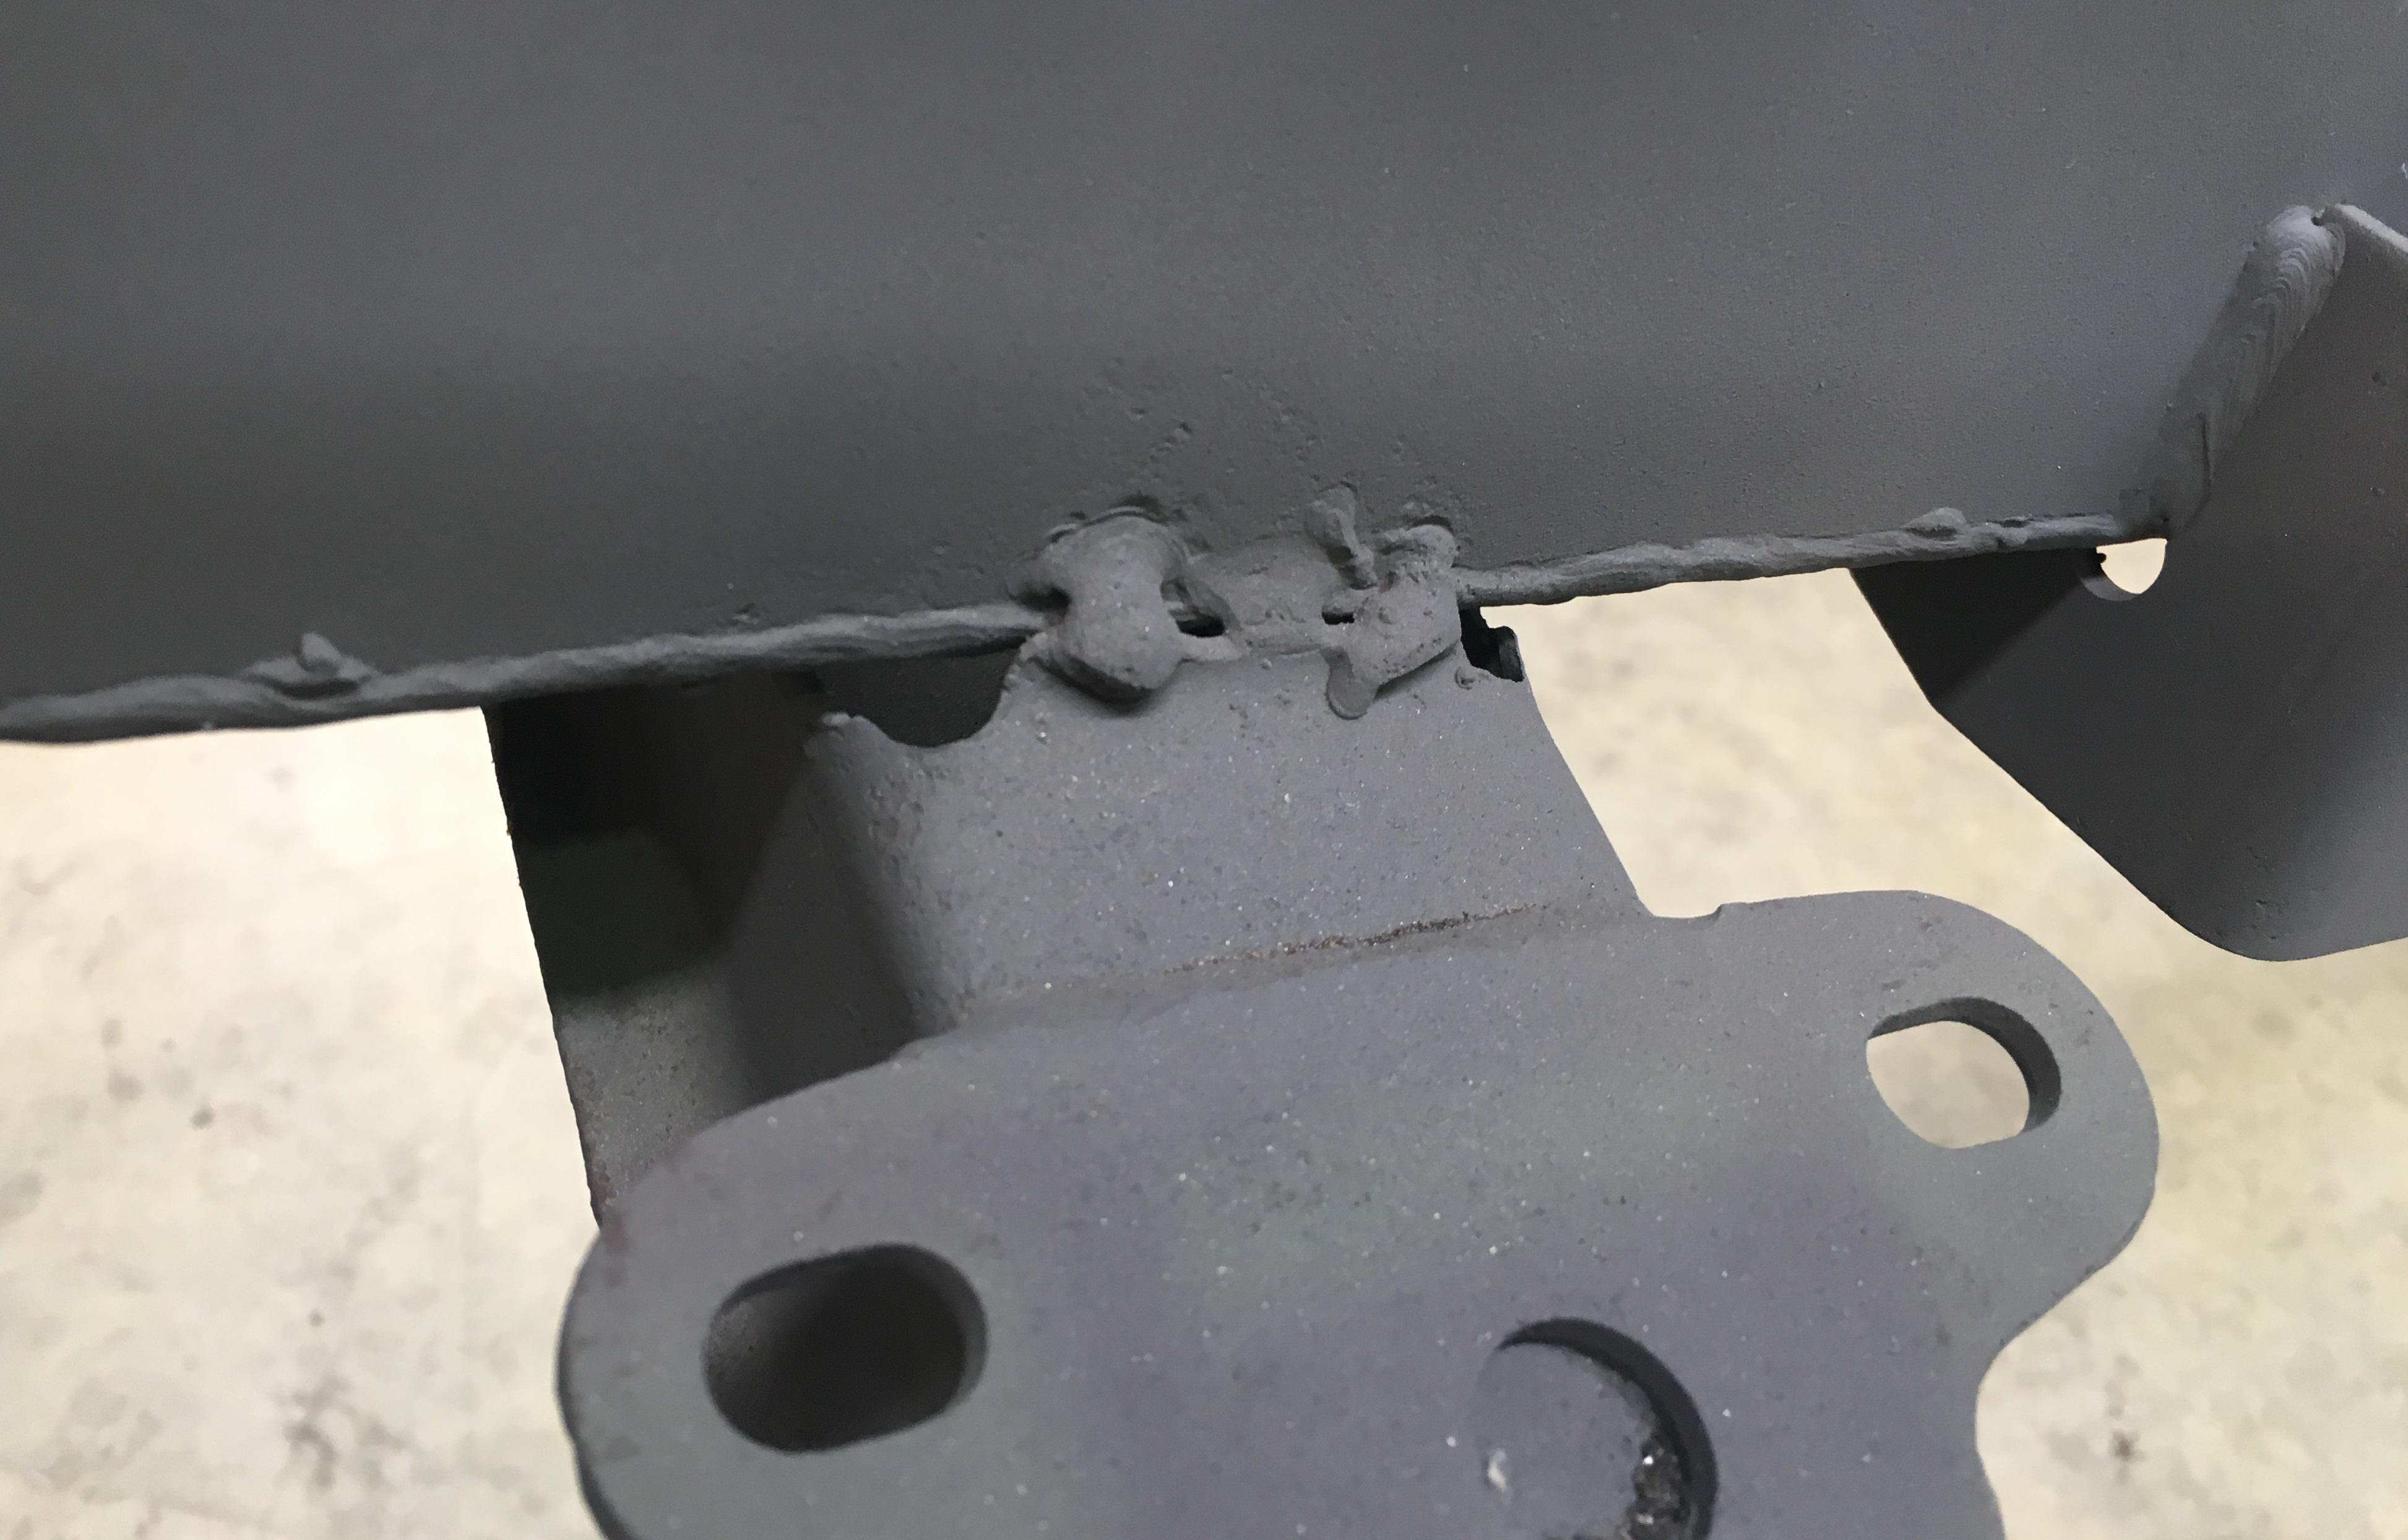
There is a crack on the bottom plate under on the outer side of the chassis that I'll attend to when the chassis is upside down:
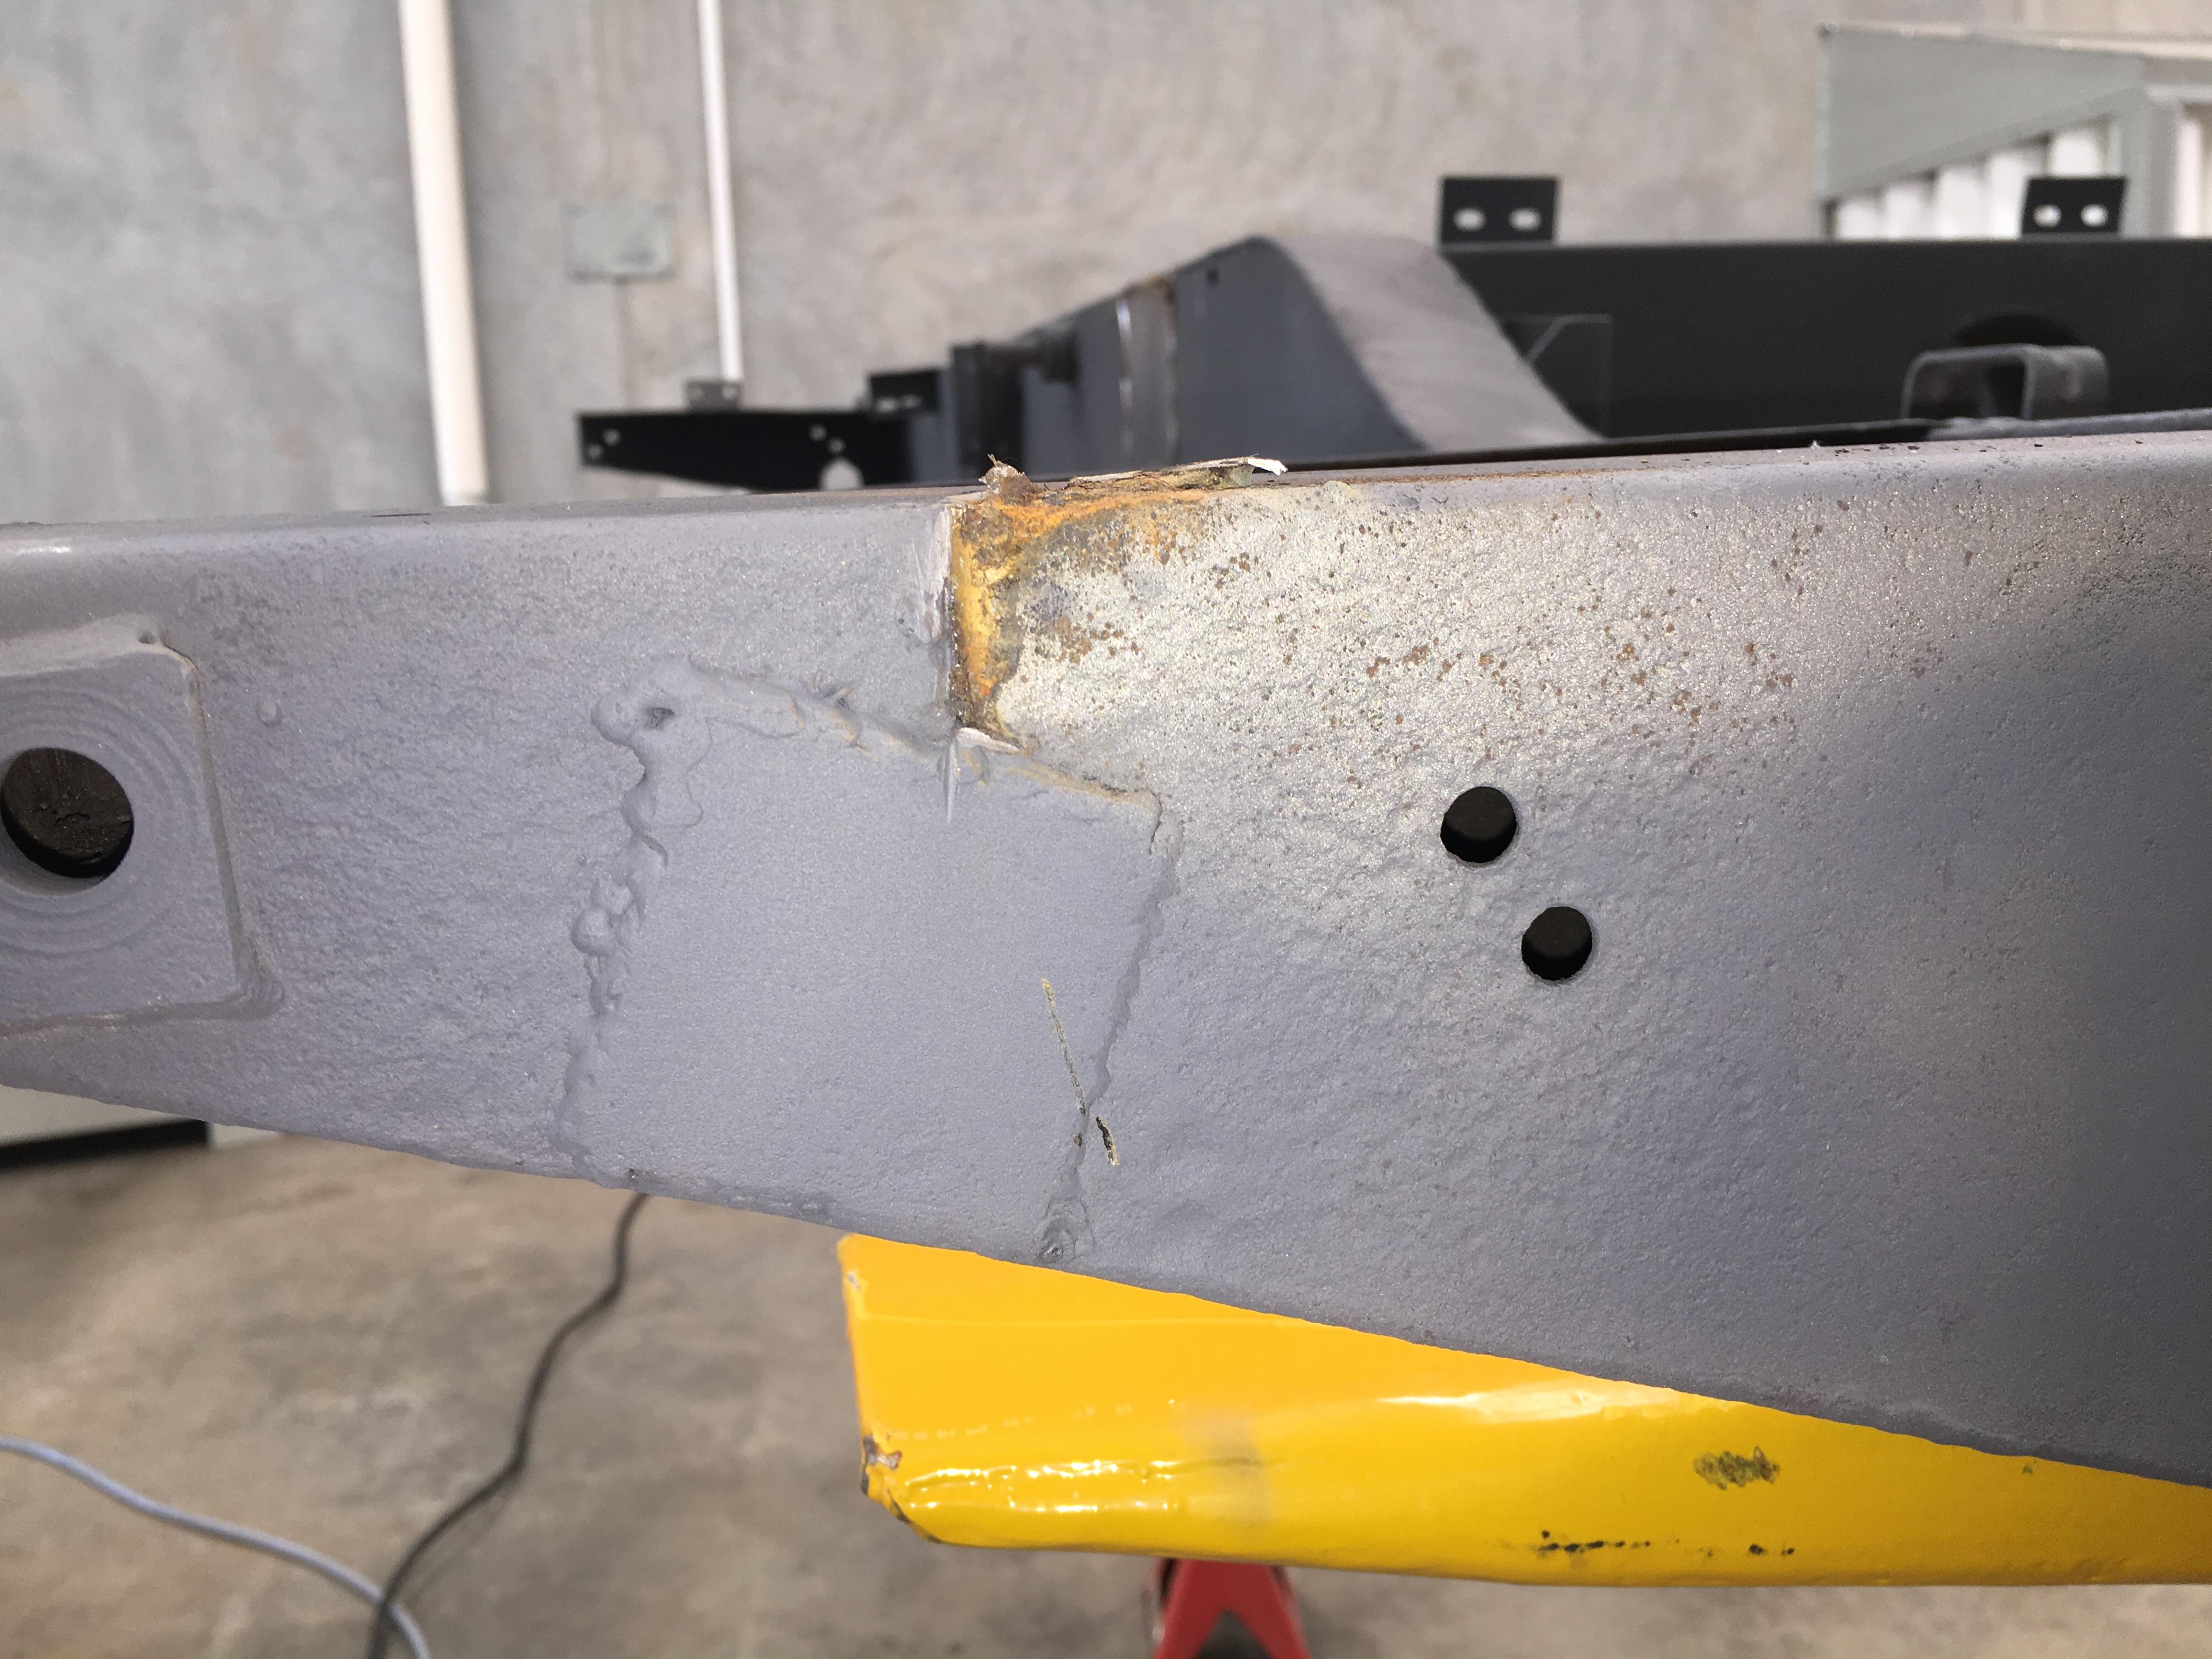
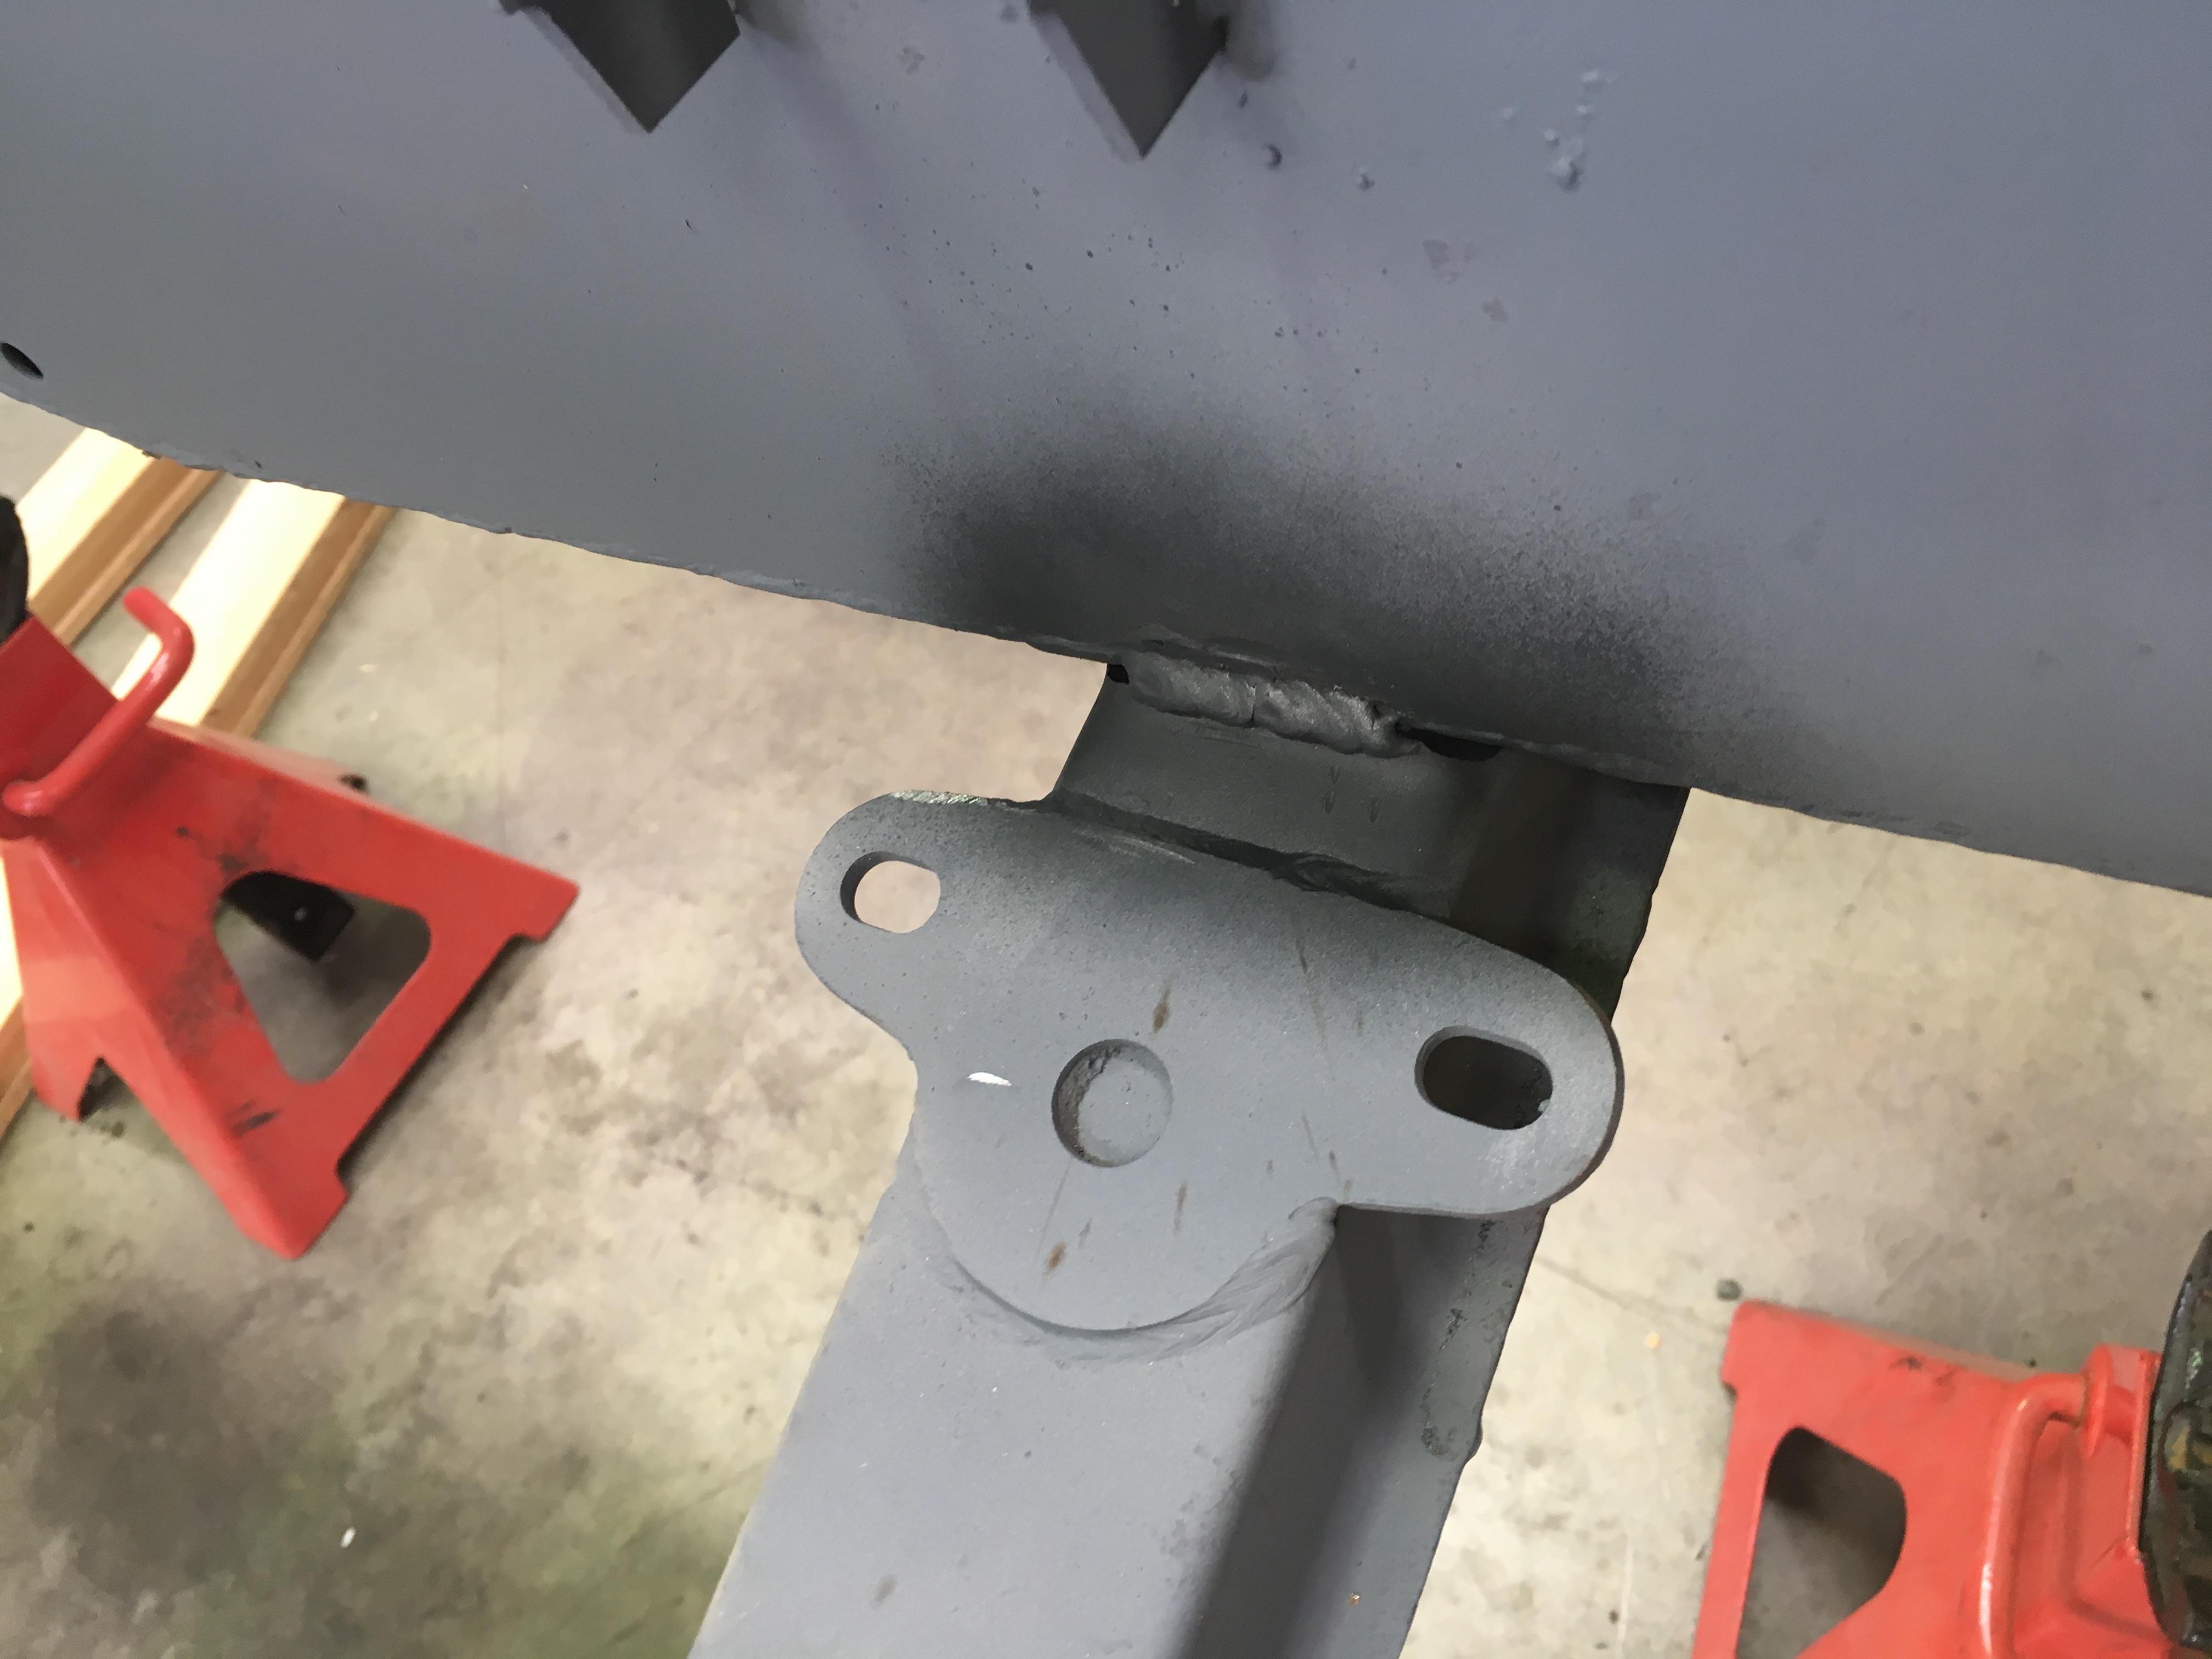
Previous rust repair, that is about to be re-repaired:
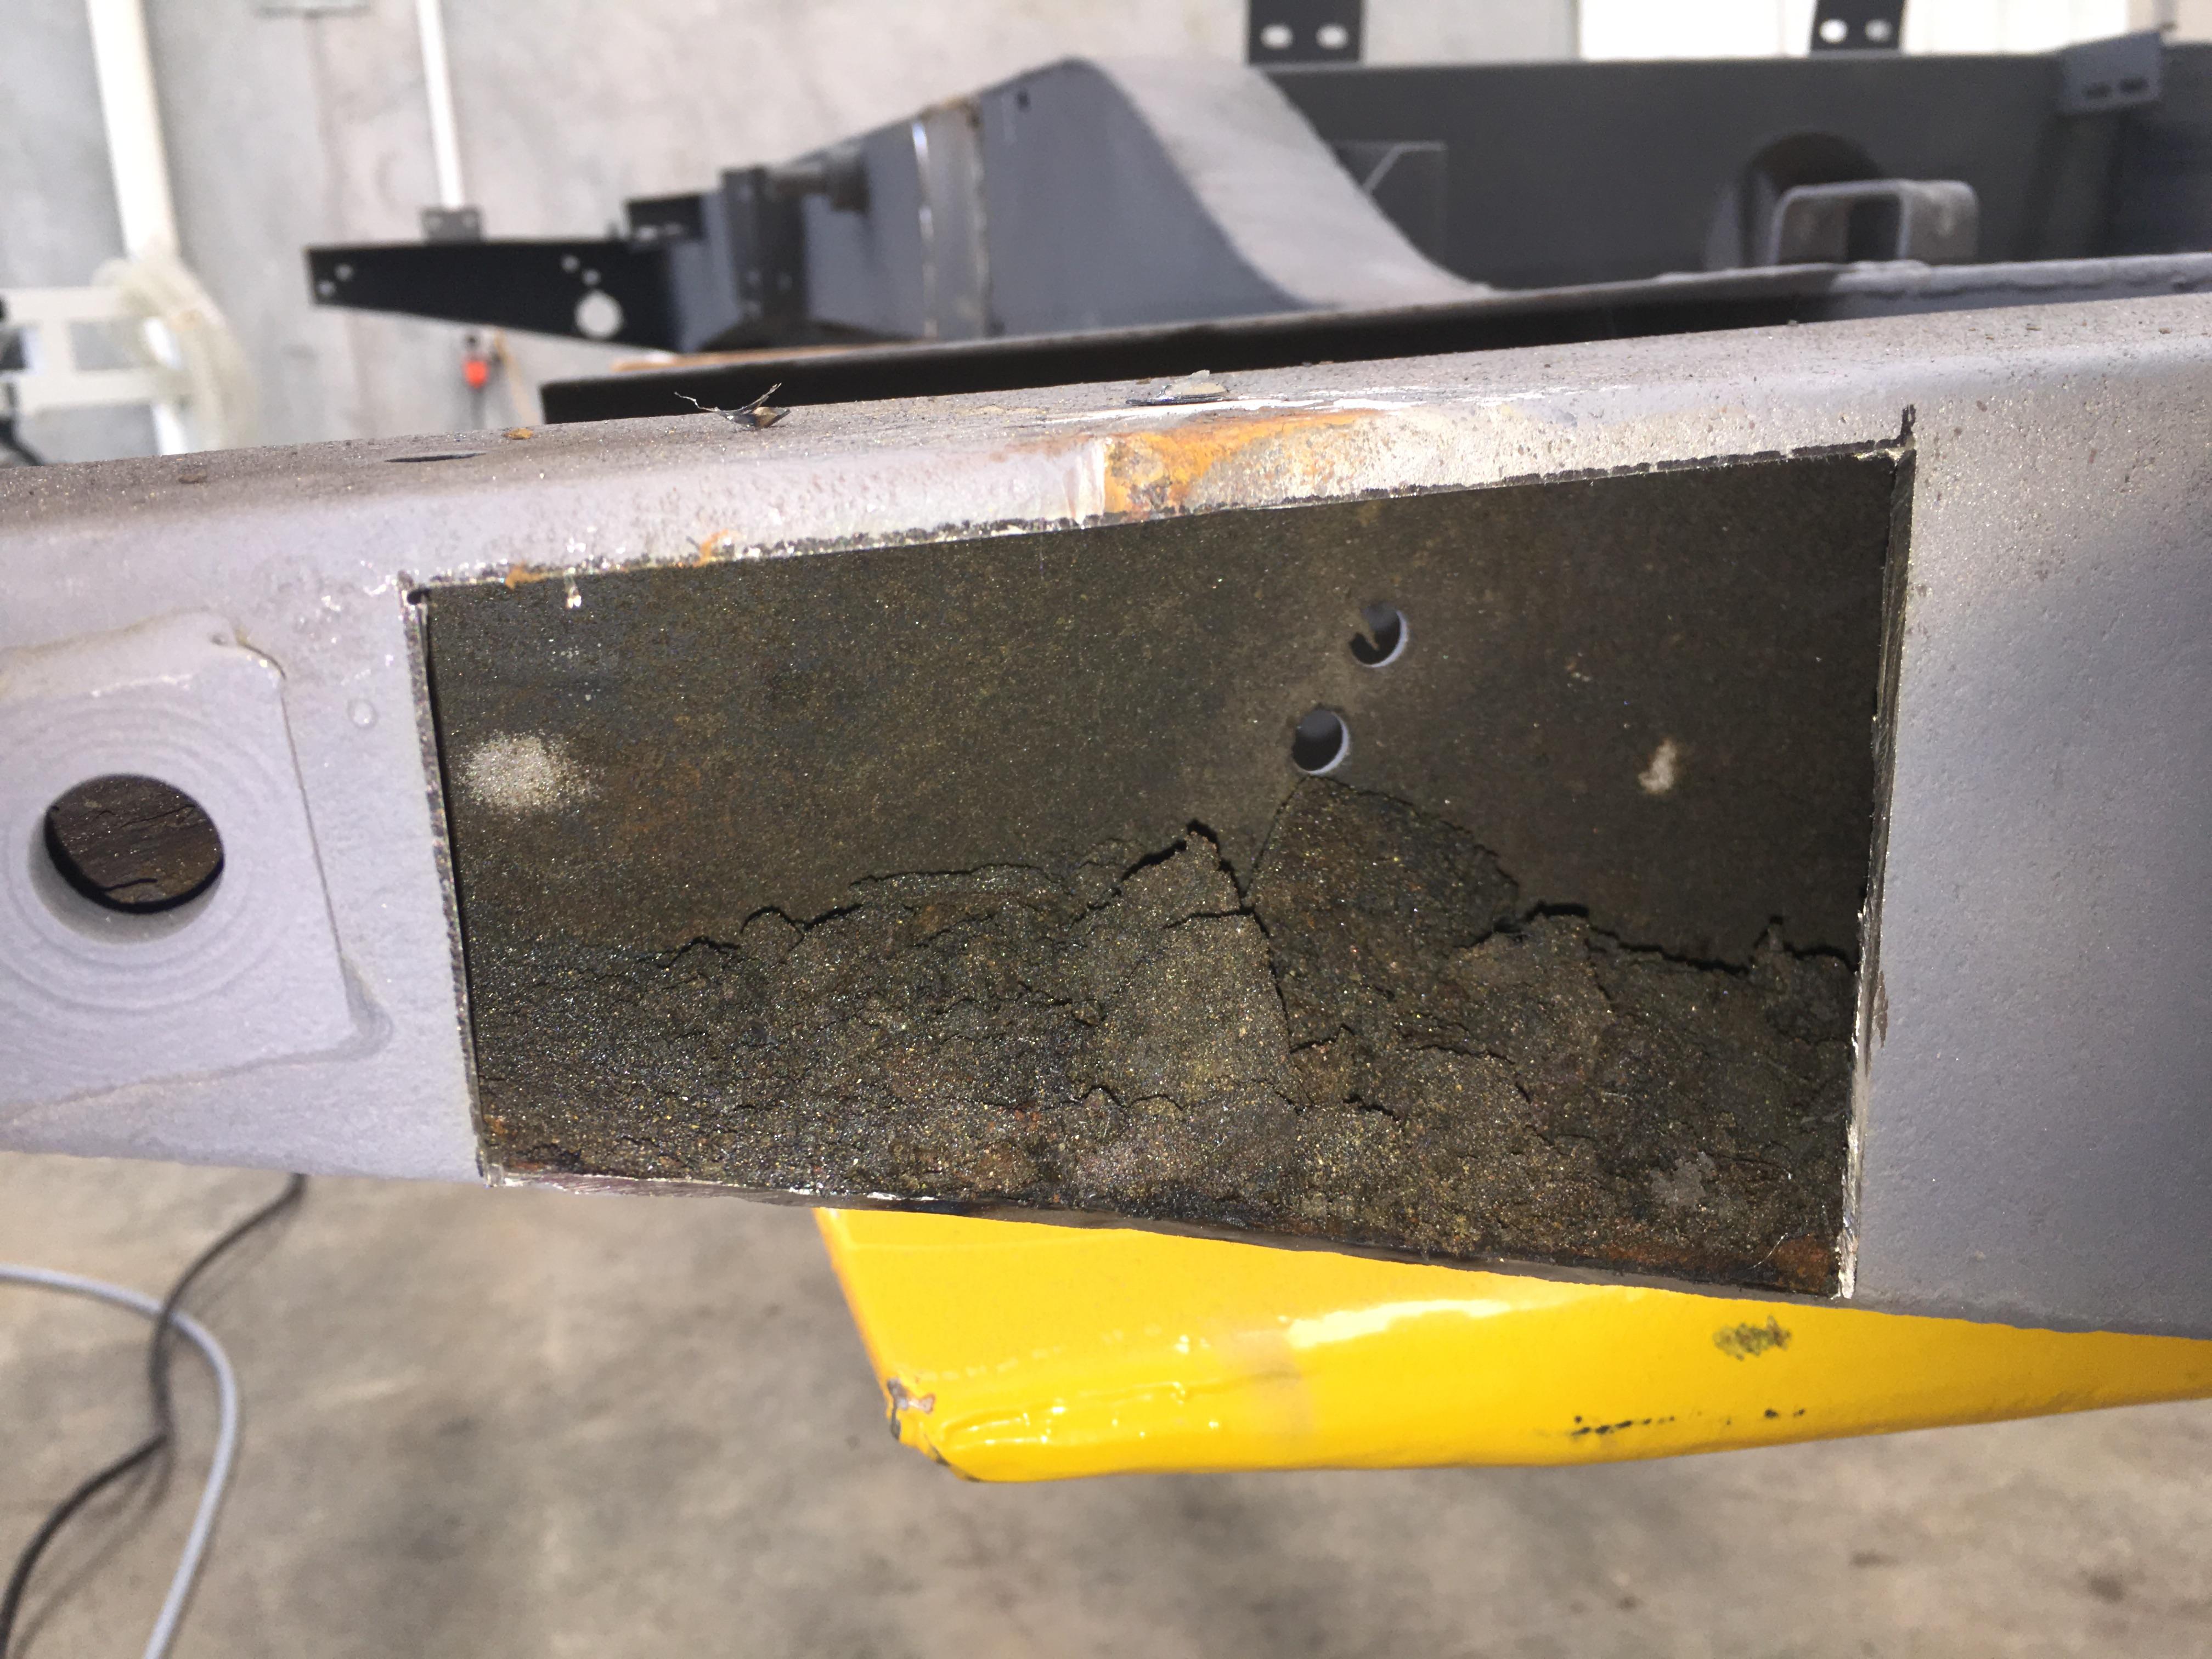
Piece cut out revealing some more contraband:
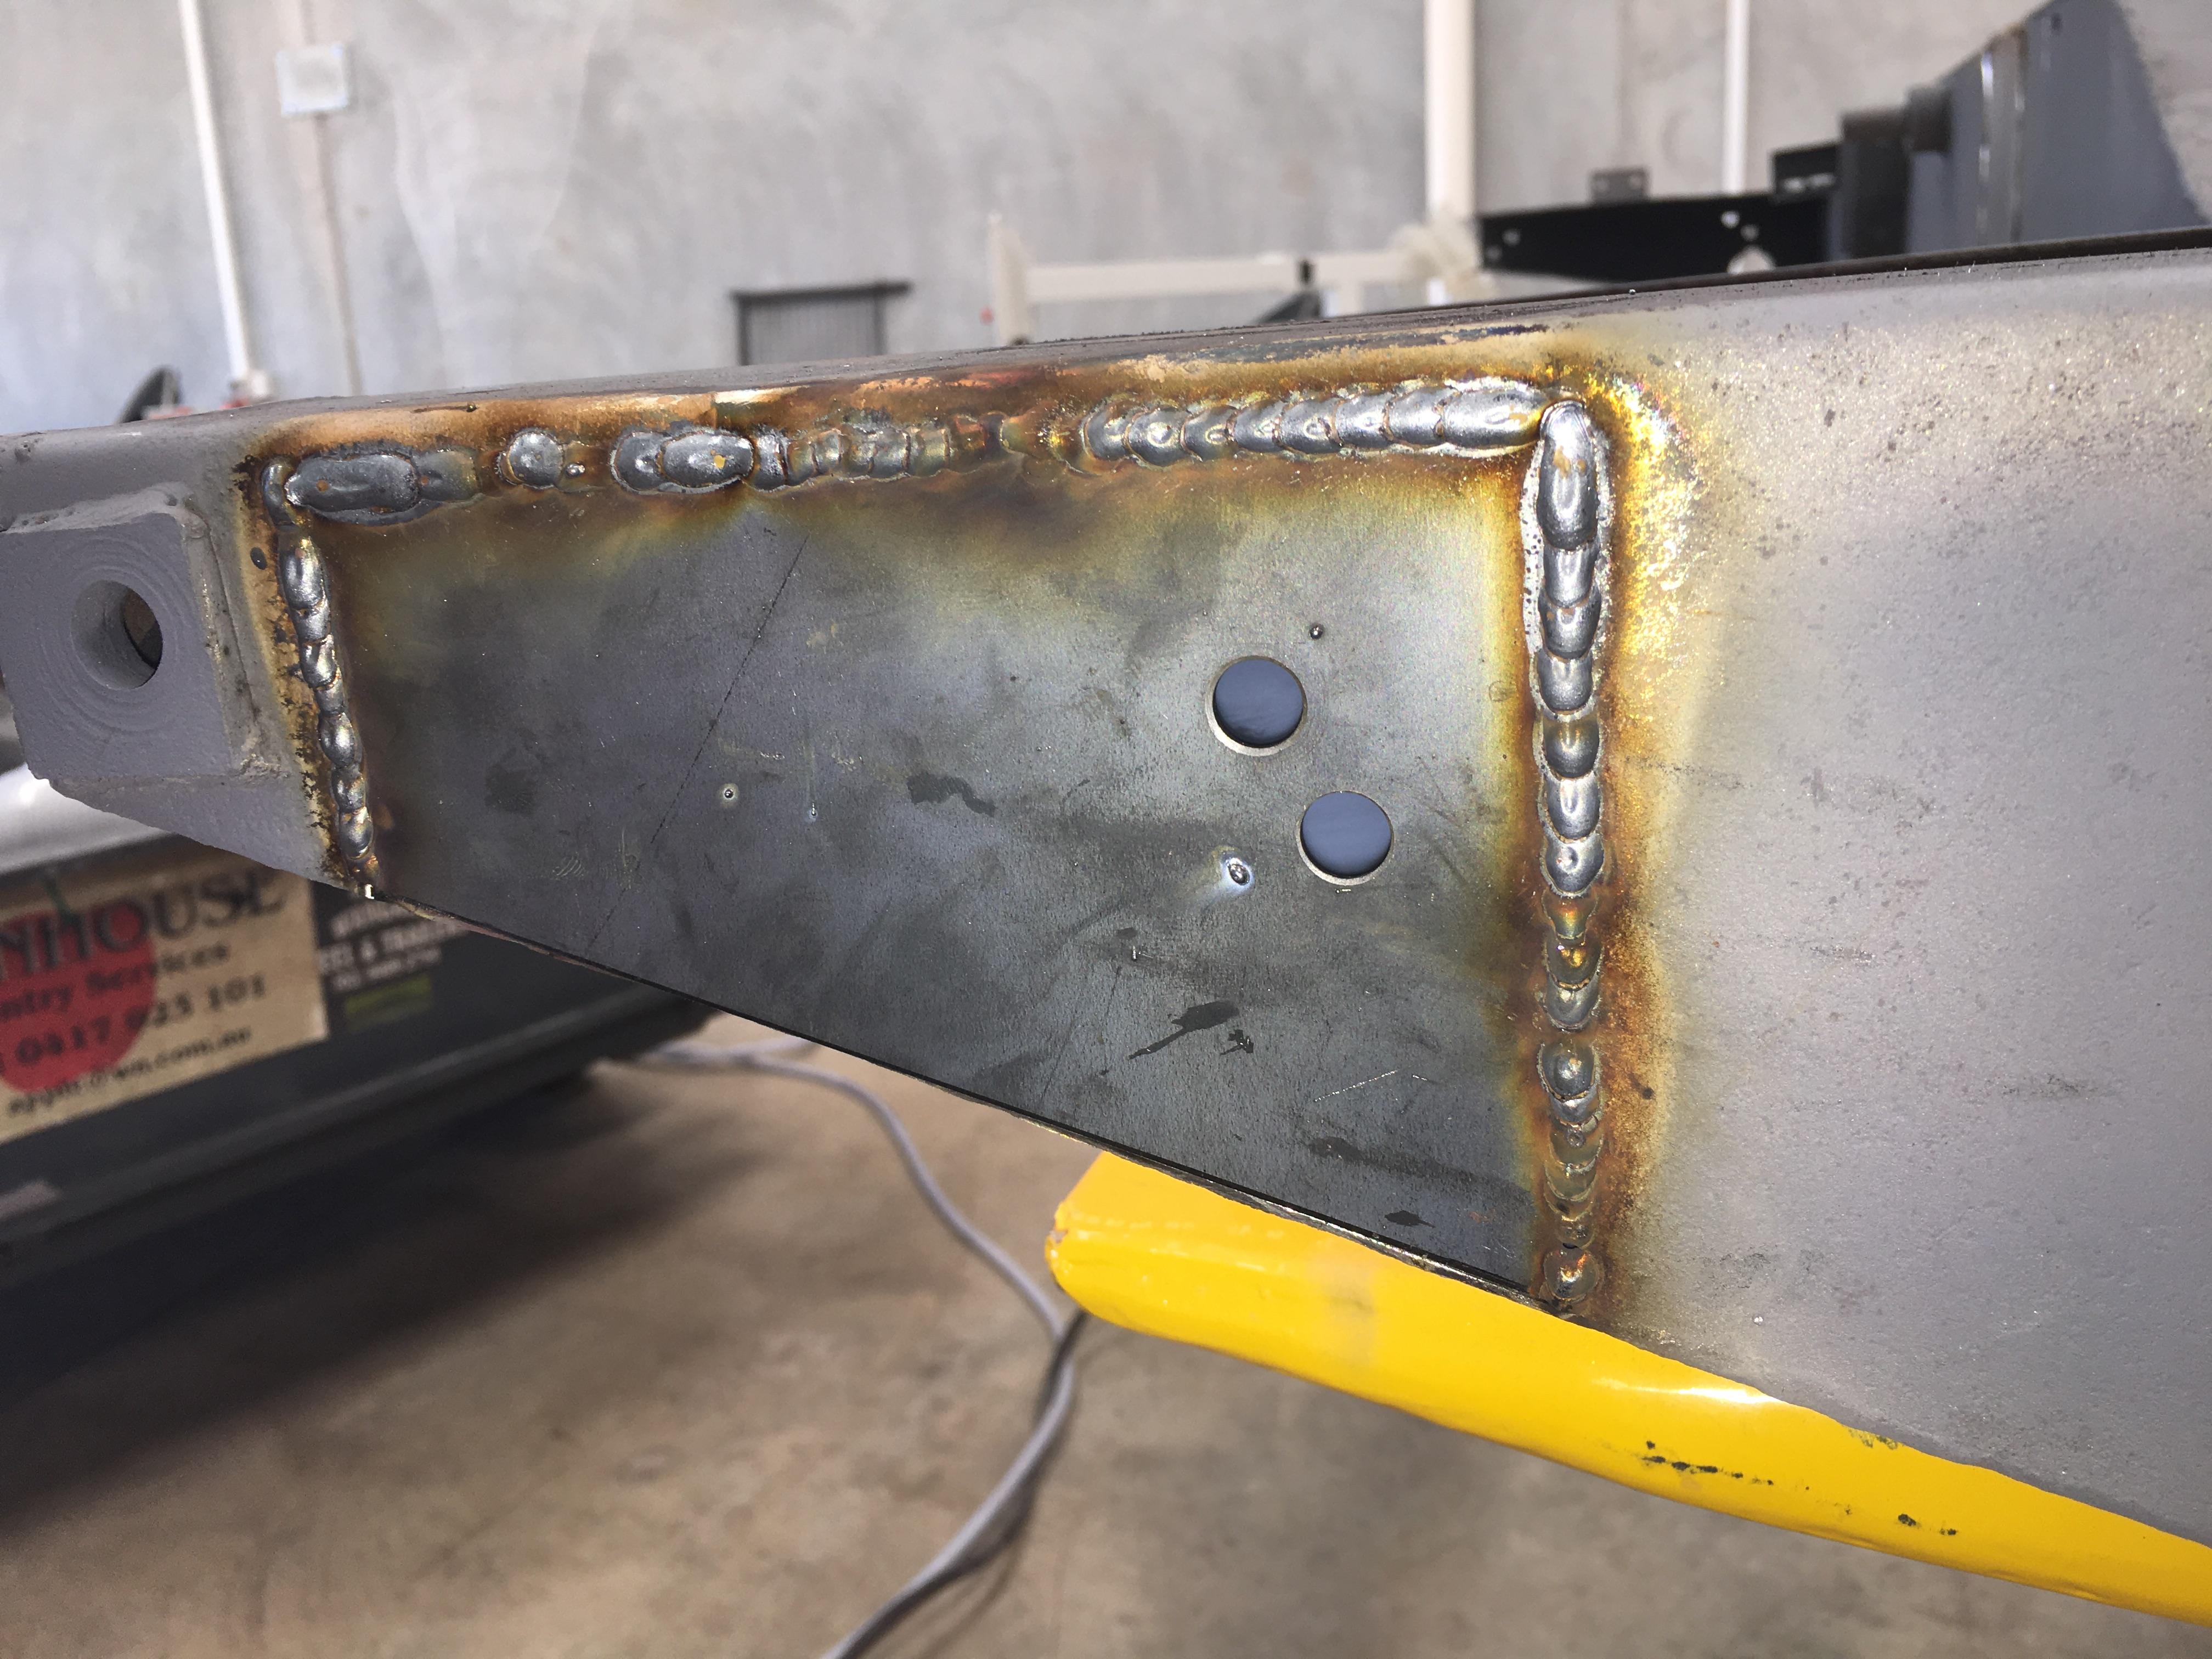
New bit welded in, (I'll do the bottom edge when the chassis is upside down):
And cleaned up and painted:
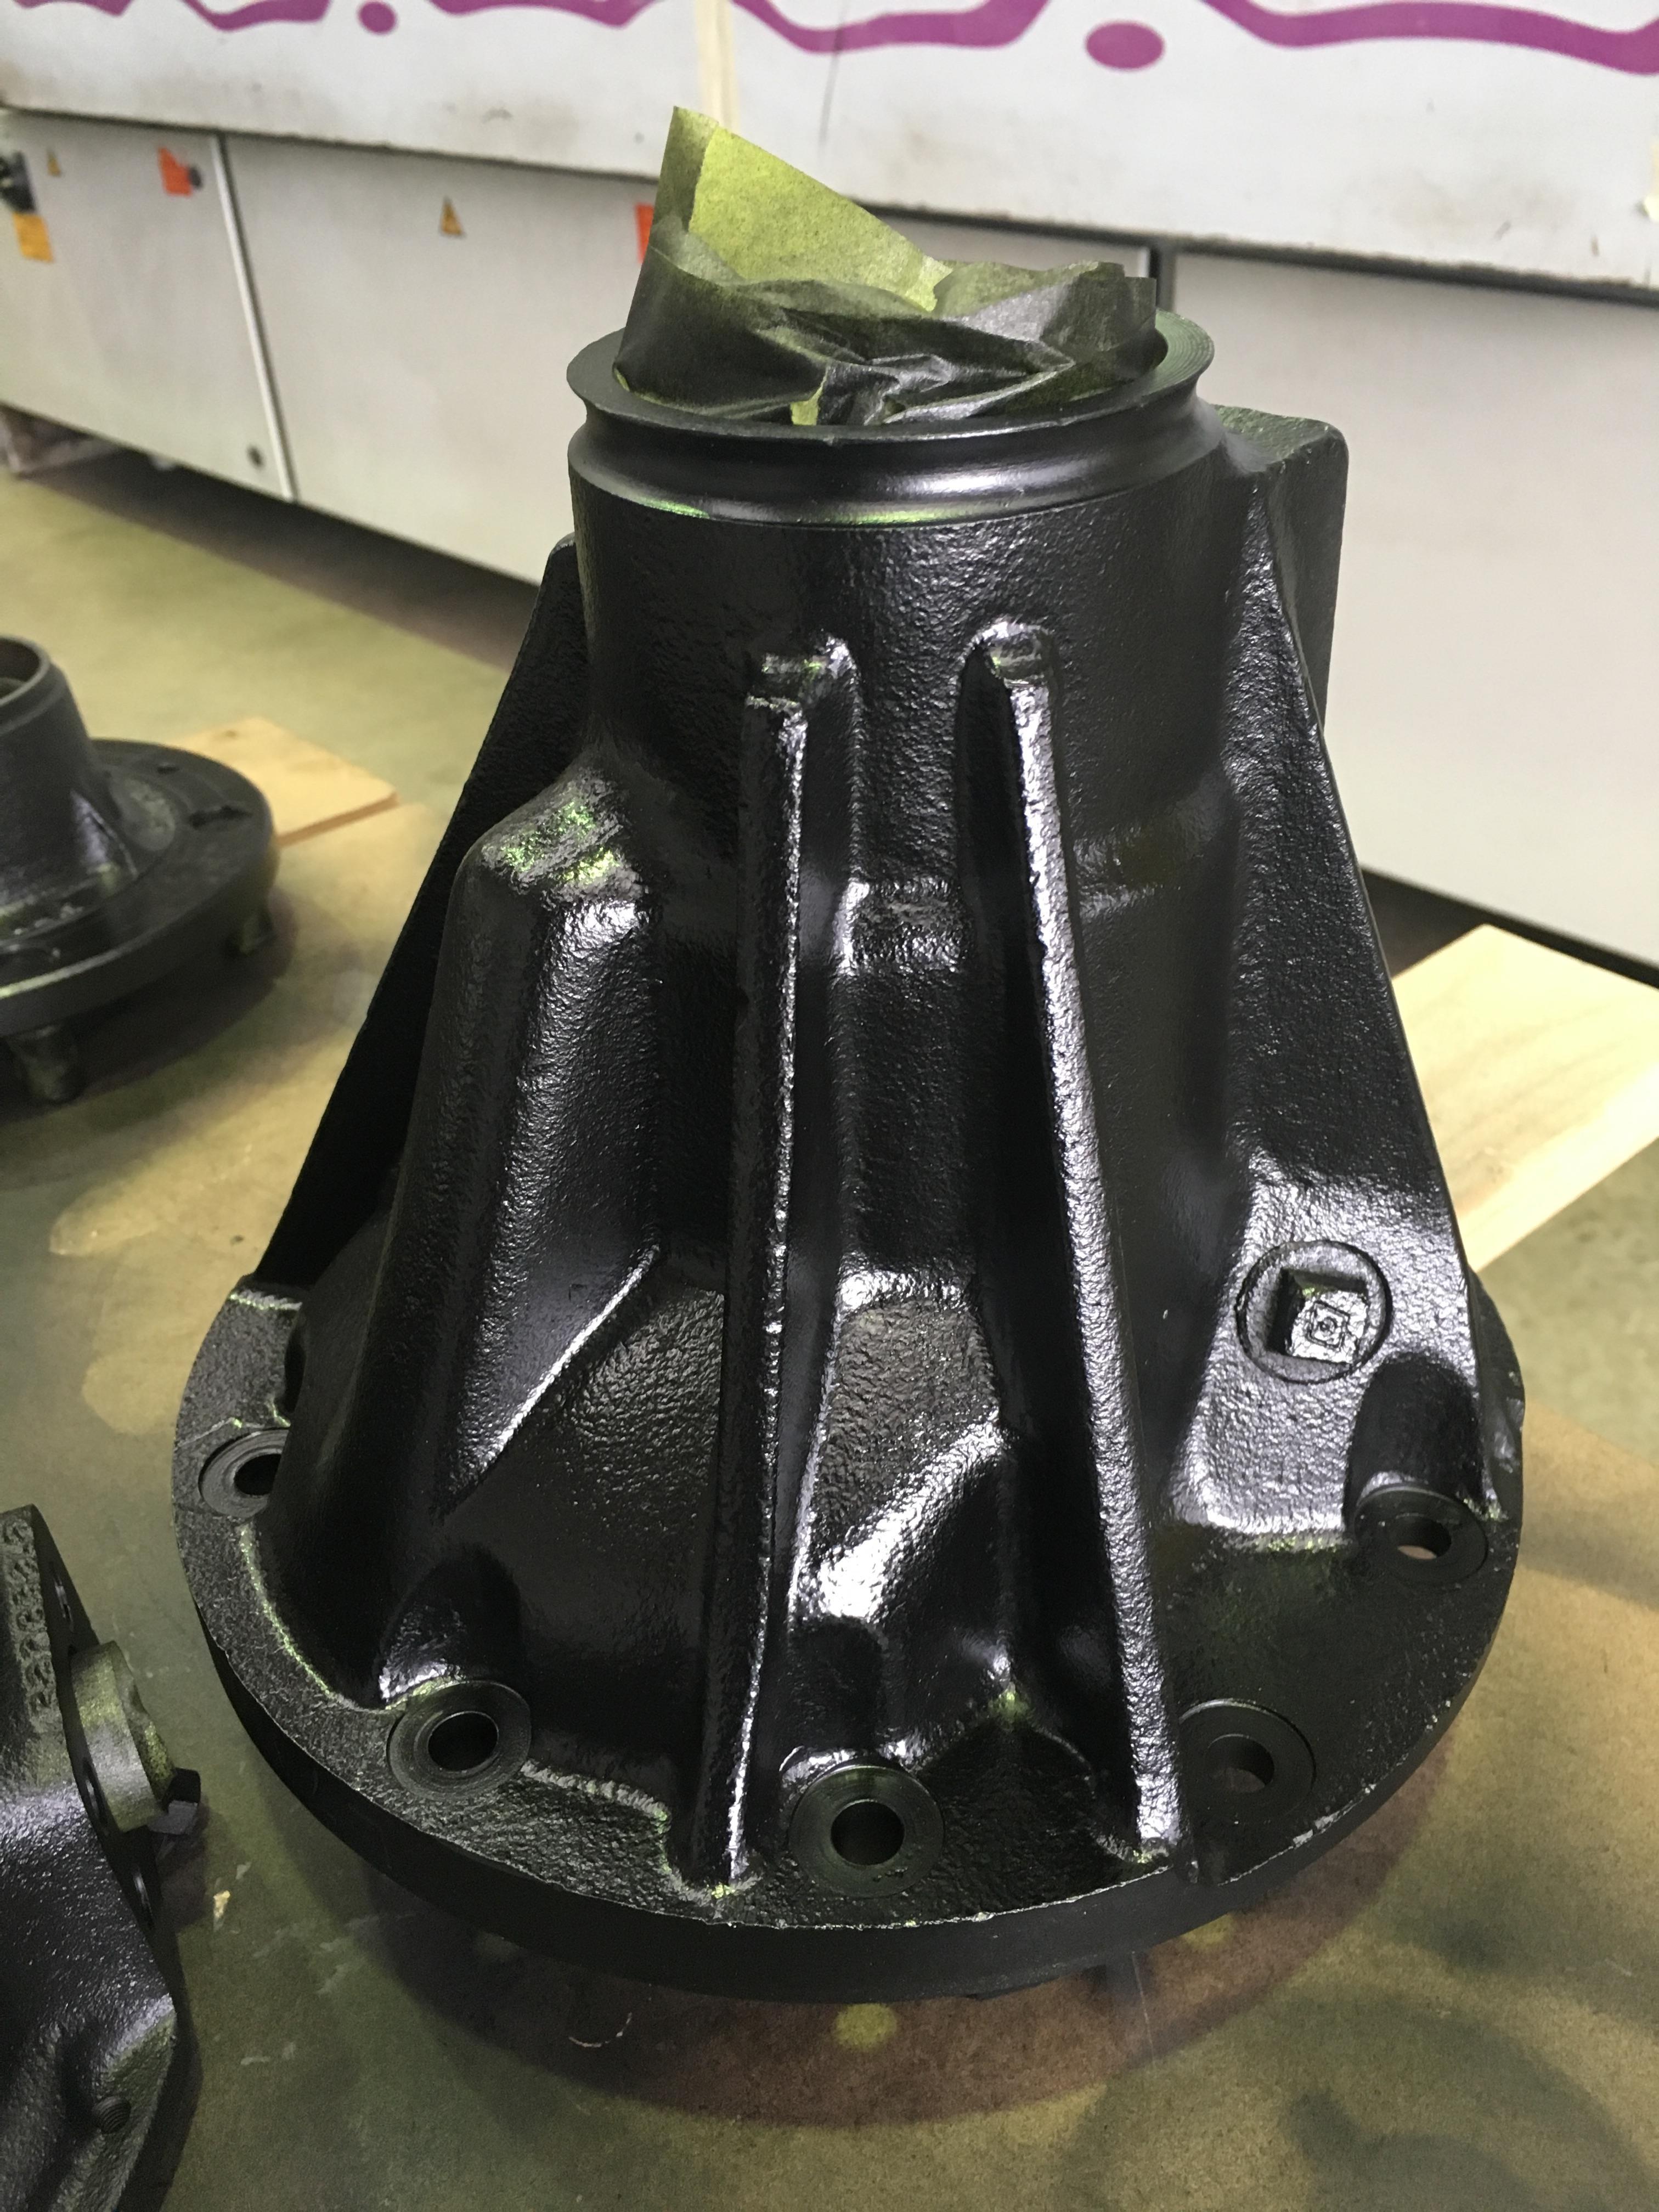
I got a couple of coats of KBS paint on during the day:
I'm really not happy with the finish I'm getting from the KBS paint, I can only dust it on really lightly or I get carbon bubbles. I may do a test tomorrow with a bit more thinner in it, but I think I will use it as a primer only, and top coat it with either the KBS top coat, or 2 pack satin black.
Cheers,

")


Bookmarks