

 Reply With Quote
Originally Posted by Shonky
Thanks - I'll take a look...

 TopicToaster
There isn't a gasket there from memory...
The flared end of the exhaust pipe is held into the cup of the manifold by the retainer, which is the the triangle-ish shaped thing that the studs go through.
Hard to see in that pic, but it looks like you might be missing a stud?
[B][I]Andrew[/I][/B]
[COLOR="YellowGreen"][U]1958 Series II SWB - "Gus"[/U][/COLOR]
[COLOR="DarkGreen"][U]1965 Series IIA Ambulance 113-896 - "Ambrose"[/U][/COLOR]
[COLOR="#DAA520"][U]1981 Mercedes 300D[/U][/COLOR]
[U]1995 Defender 110[/U]
[SIGPIC][/SIGPIC]
Master
Thanks - I'll take a look...
Master
I was told that the 2.25L Petrol valve seats are made of steel, not alloy, so it will run ULP without the additive just fine..
Wolf
LordRover
SubscriberMy thoughts..........
don't you love 60 years of land Rover Technology
Mrs hh
Series Landy Rescue
Parts, welding, finger folding, Storage, Painting, Fabrication, Restorations,
Our FB Page..
https://www.facebook.com/SeriesLR?ref=bookmarks
'51 80", Discovery 2, Defender 130, 101 FC + 20 other Land Rover vehicles
You may find a gasket in there, it usually become 'as one' with the top of the pipe or the bottom of the manifold, or gone altogether. It's a tapered ring that fits onto the join. I usually grab a tube of exhaust sealant, undo the 3 small fiddly nuts, (which should be brass by the way, brass doesn't have the ability to sieze up like steel. You will almost certainly break at least 1 stud off the manifold, resulting in removal of the manifold an the application of some direct heat from a gas torch and with some vice grips it should come out. I think that its about a 5/16UNF stud. This is the worst bit of engineering design on the whole car I reckon) Anyway once you have the 2 flanges seperated, get a good layer of the afore mentioned sealant into the join and tighten the bugger back up, EVENLY. Dont over do it with the spanners or you will have to repeat the whole proccess, ask me how I know! If you can get 2 or 3 long socket extensions and the wobbly bit that fits onto the end that the socket fits into, you can do it from underneath the car. The biggest problem is the danger of braking the studs off. 1 you may get away with, 2 its definatly a manifold off job. A bit of Copperslip on the studs does no harm either when you put it back together.just makes it easier to undo next if you have to.
Best of luck
Jack
Master
Picked up a rear diff last night, had a couple of questions...
(Thanks to Andrew for already answering a few!)
I have a few nuts that won't come off (Who would have thought - in a Land Rover?
Is there anything else I can try?
If I cut off the top nut on the diff, what do I need to do re. replacing the bolt and nut?
Thanks for any help...
PS. Sorry I haven't put up exciting pictures - they'll come soon I promise!
TopicToaster
I'm a tad confused as to which ones are giving you greif... Maybe circle the offenders in paint and then upload?
Why the strip down?
[B][I]Andrew[/I][/B]
[COLOR="YellowGreen"][U]1958 Series II SWB - "Gus"[/U][/COLOR]
[COLOR="DarkGreen"][U]1965 Series IIA Ambulance 113-896 - "Ambrose"[/U][/COLOR]
[COLOR="#DAA520"][U]1981 Mercedes 300D[/U][/COLOR]
[U]1995 Defender 110[/U]
[SIGPIC][/SIGPIC]
Master
SubscriberRe the nuts on the diff centre
Very carefully split them with a sharp chisel........
ForumSage
or
I've seen nut splitters at supercheap - never used one but looks like a simple device..
TFT Nut Splitter Set - 2 Piece, TF2227 - Supercheap Auto
Master
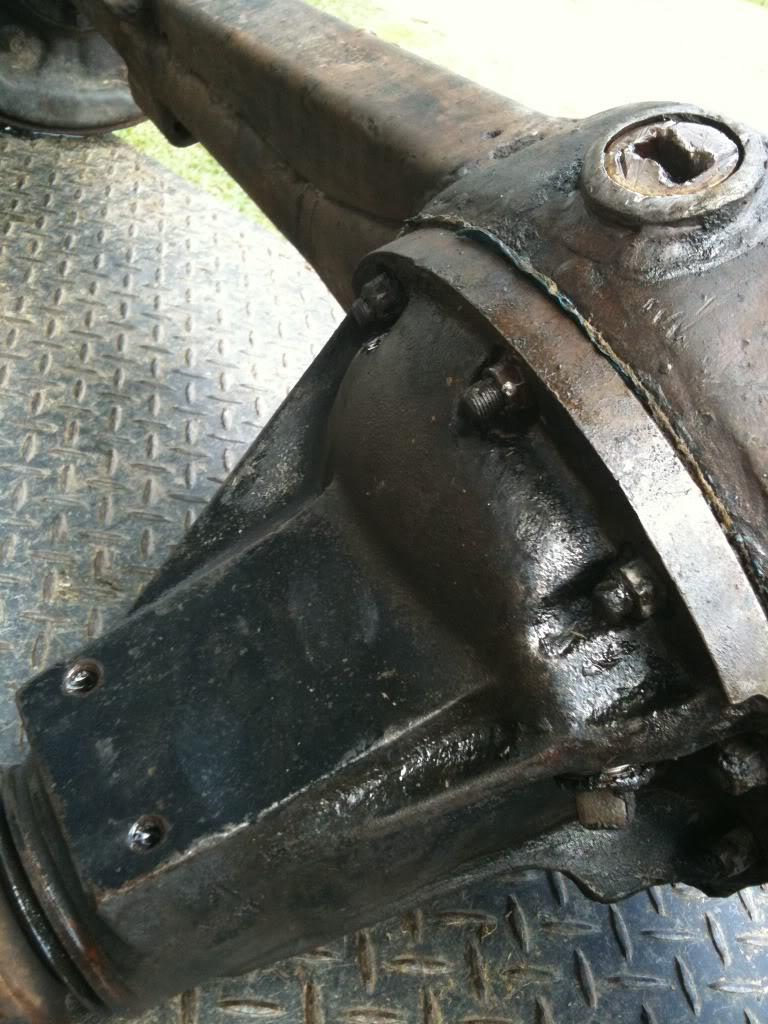
On the diff, it's the highest nut on the circle (on the diff - although it's obviously the bottom, next to the oil drain plug) if you were looking at it (i.e. not the highest in the picture).
Wow that was convoluted - no wonder I confused you
The other nut is the highest one on the thing that holds the half shaft in (i.e. directly above the castellated nut that has a split pin through it)...
I'm stripping it down to harden my knuckles and check that all my fingers bleed if I try hard enough
I want to know the condition of the half shafts (the one I've got out is perfect) and more importantly the diff itself, so that before I put it into Buttercup () it's all ready to go (I don't want to have to repair it for at least another 3 weeks - maybe 4 if I don't drive her
)...
Thanks for the ideas guys - nut splitting thing looks good, I'll have a look tomorrow...
 Posting Permissions
| Search AULRO.com ONLY! |
Search All the Web! |
|---|
|
|
|


")
Bookmarks