Page 1 of 2 12 LastLast
Results 1 to 10 of 13

Thread: How To - Installing an aftermarket sat nav & reversing camera into a D3

  1. #1
    sheerluck Guest

    How To - Installing an aftermarket sat nav & reversing camera into a D3

    This "how to" guide is about the installation of an aftermarket sat nav into the OE position in the dashboard of a D3. This may translate into an RRS or D4, but is written specifically for a D3 with lowline stereo.

    It is born from my total dislike of having stuff hanging off the windscreen. I like the sleek, integrated look, but dislike paying the OE price. The total cost of this install was only $150.

    What you will need:

    One cheapo 7" Chinese satnav (see satnav considerations to help you decide)
    A D4 satnav surround (part number LR013640)
    A cheapo D3 rear camera, integrated into rear number plate light

    A 5v USB converter

    A 3.5mm audio cable (top quality one. Soldering will be hard with a $1 eBay special)

    You may also need (depending on sat nav and options chosen)
    An AV to 2.5mm AV converter

    A momentary push button for powering on/off

    Expected time needed:
    Installing camera into rear numberplate position 2hours
    Feeding cable around to dash 1.5 hours
    Adapting/installing nav surround and nav into dash 2 hours

    Considerations in choosing an aftermarket sat nav
    A sat nav 7 inch screen will fit in that position. However the overall dimensions of the unit will need to be less than 174 x 114mm to fit inside the D4 surround
    Position of AV-in, audio port and power port need to be considered
    Position of power on/off button. If this is on an edge rather than on the front, then the unit will need to be adapted with an external button (available from Jaycar for about $4)
    Choice of operating systems and features (I chose an Android tablet - for ease of buying new apps and upgrading)
    An example of a unit that will fit for size http://www.dx.com/p/ipum7053av-7-led...6#.Uzz3264aySM

  2. #2
    sheerluck Guest
    Part 1 - installing camera

    The installation of a camera is covered in other threads, so I will go through this part quickly.

    1. Remove rear tailgate interior trim.

    2. Unbolt tailgate handle.
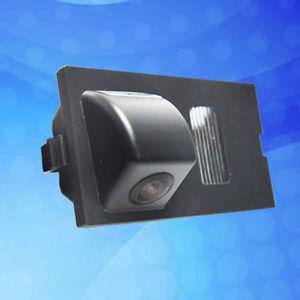
    3. Unplug and Remove right hand light unit from tailgate
    4. Replace with integrated camera/light unit.
    5. Feed cables through into the interior. Replace handle
    6. Secure cables to existing wiring around the left hand edge of the tailgate interior until you get to the rubber grommet at the top of the tailgate

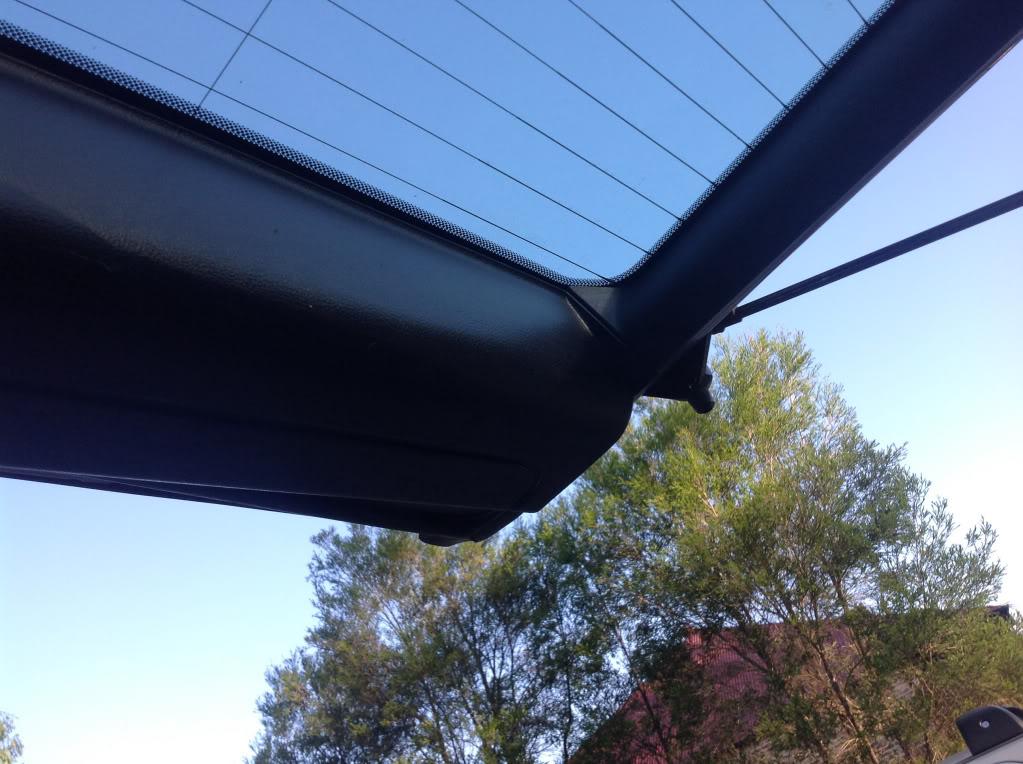
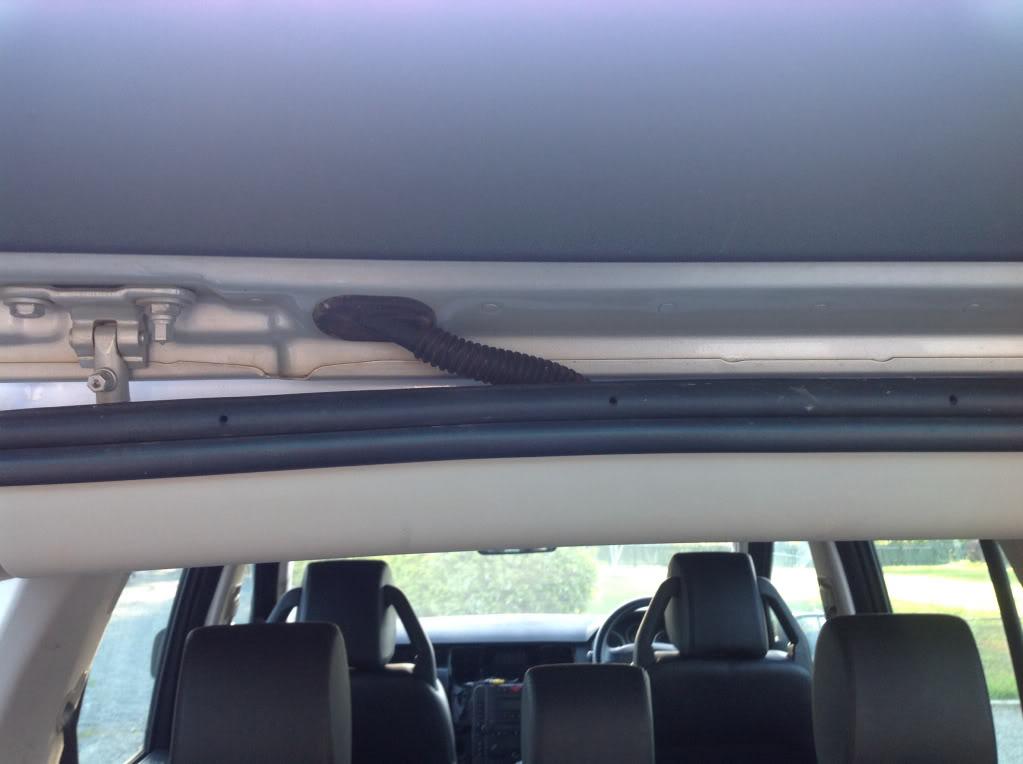
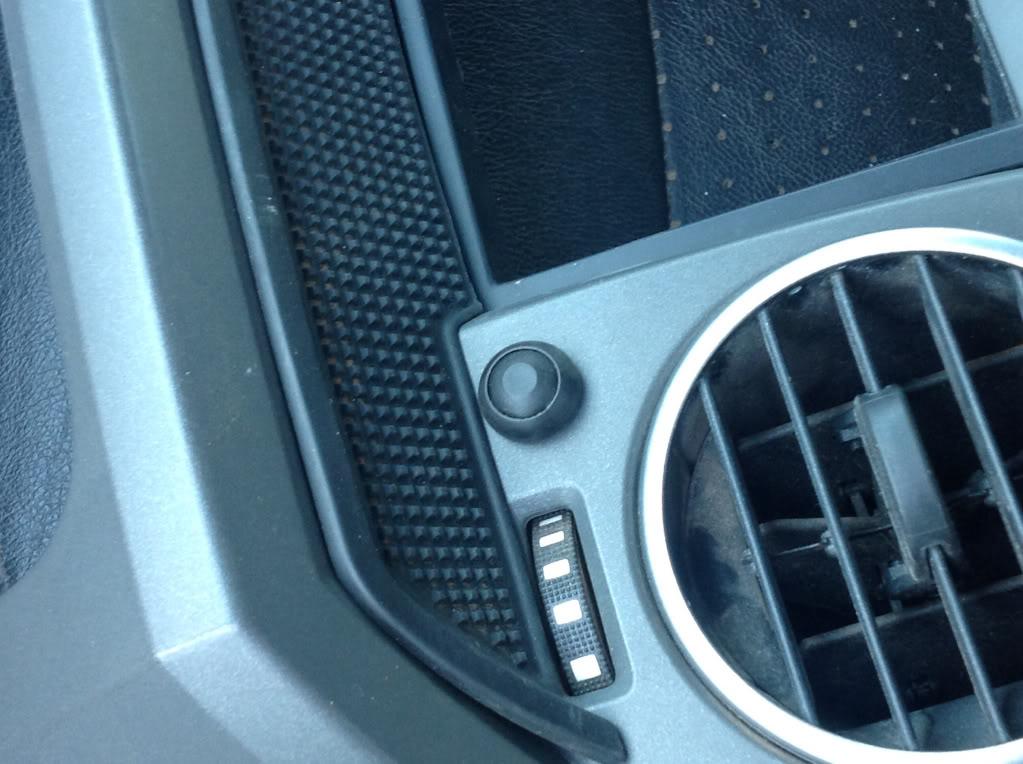
    7. Remove the trim at where the roof interior meets the tailgate
    8. Feed the cables through grommet (a bit of washing up liquid will make it easier)
    9. Feed the cables behind the trim to the left, into the space behind the left hand load space trim
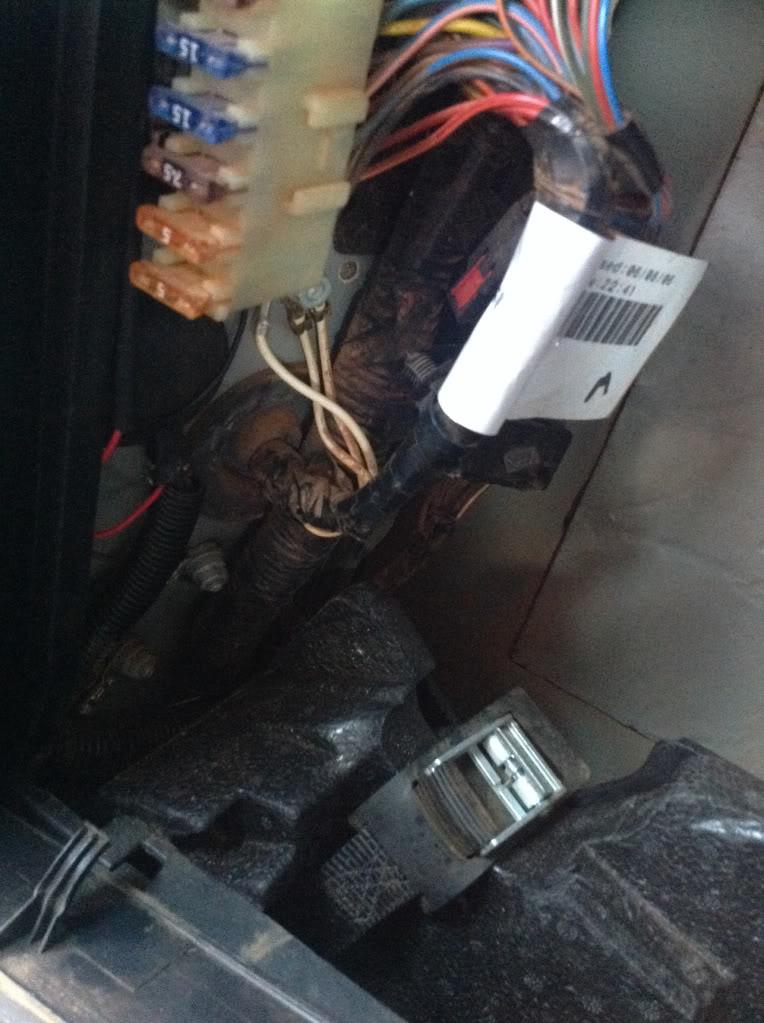
    10. Crimp a 5mm eye onto the negative cable, and attach to one of the several earth posts visible behind the cover

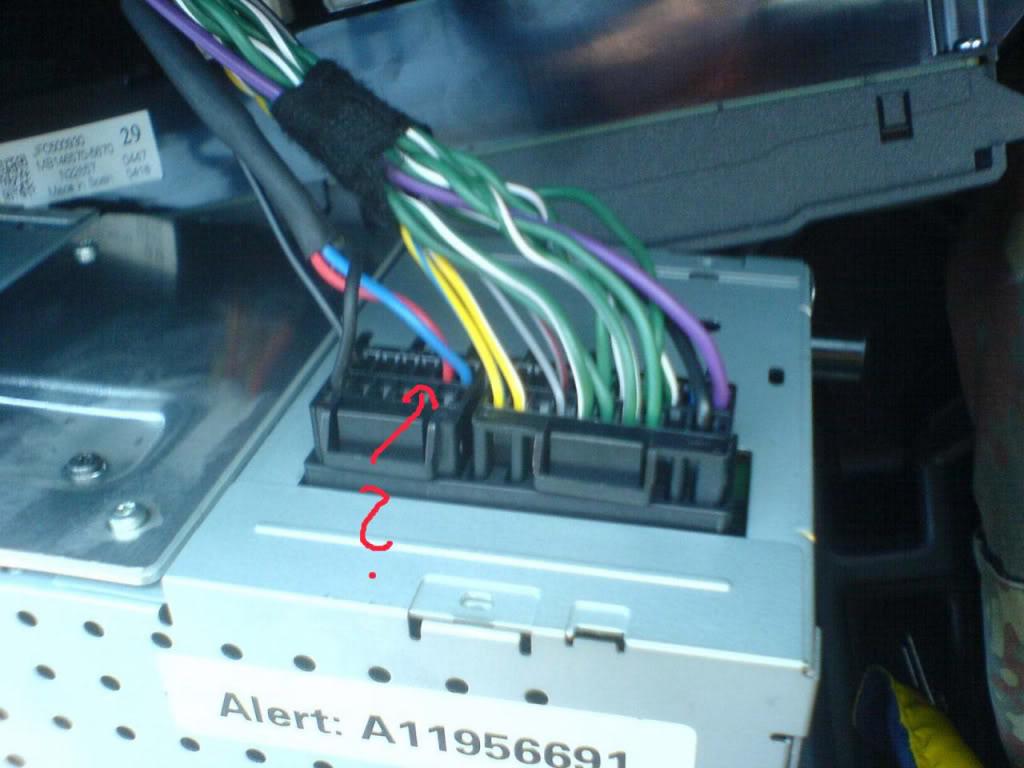
    11. I fed the positive cable through the grommet towards the wiring for the rear light clusters because I couldn't find the correct feed for the reverse light (green/brown cable) and spliced in.

    12. Feed the AV cable to the front of the load space trims. Snap the trim up where the floor and door meet. Feed the AV cable underneath both door trims
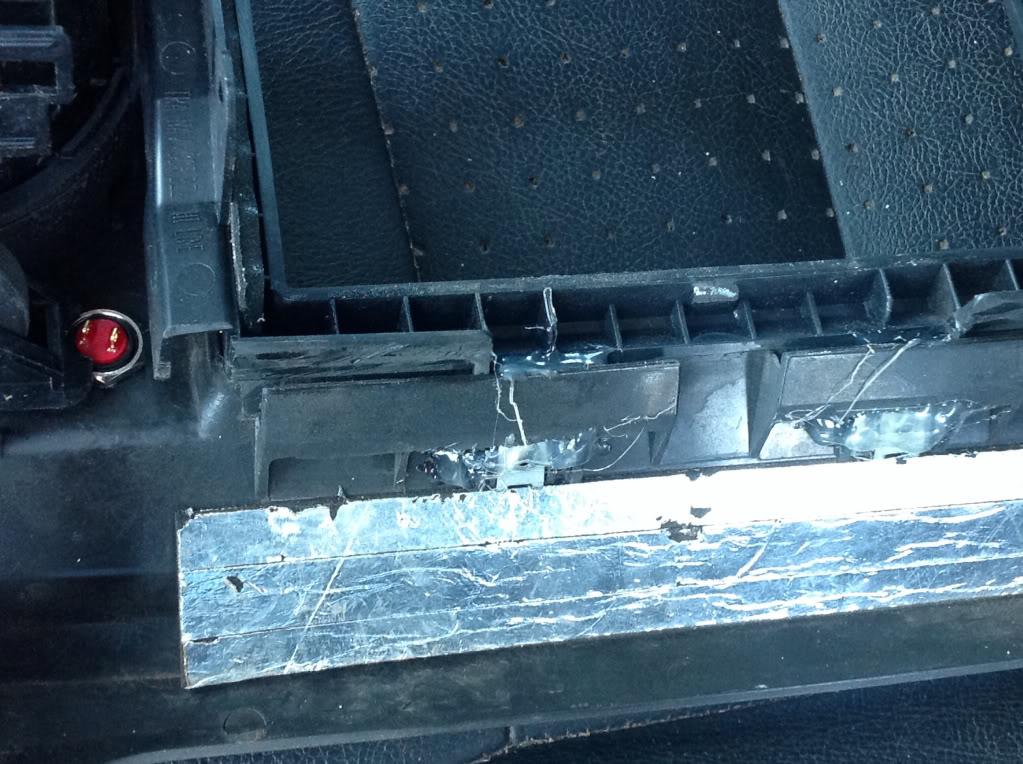
    13. Remove the trim in the passenger footwell. Feed the AV cable up, and underneath the lower glovebox
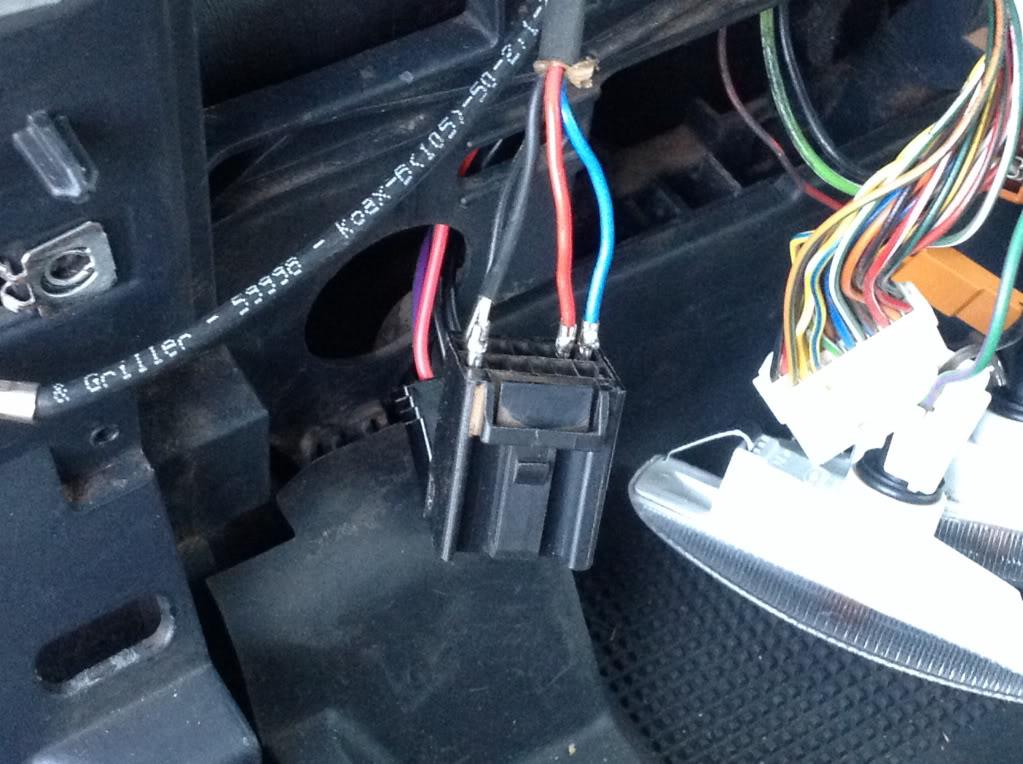
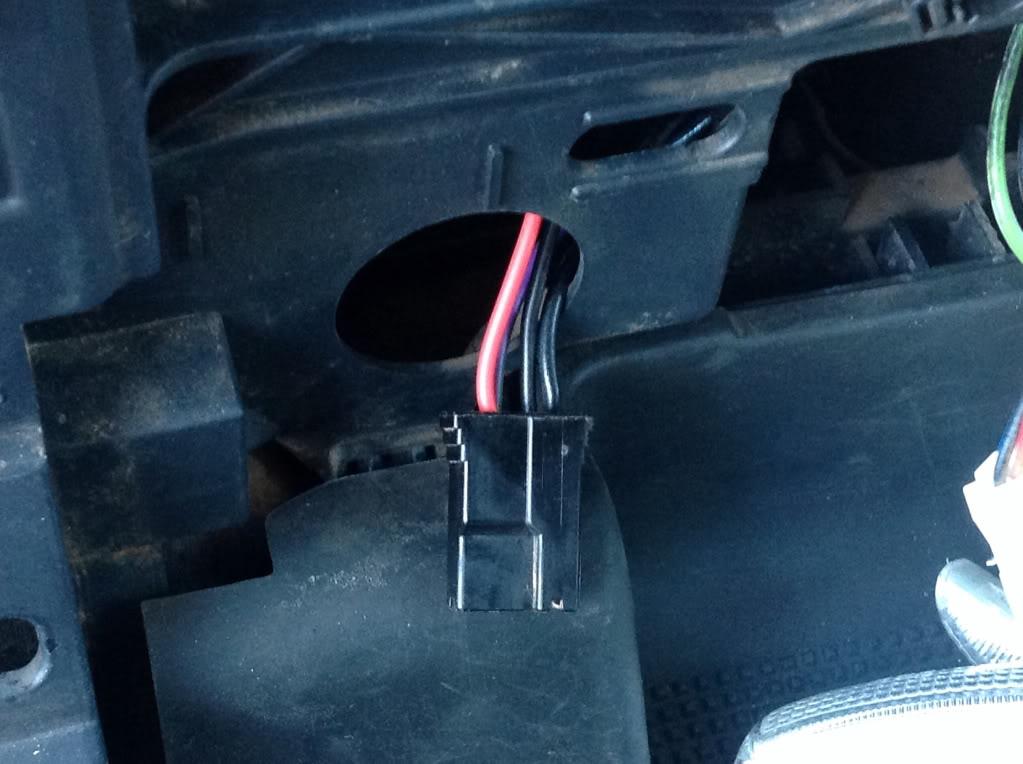
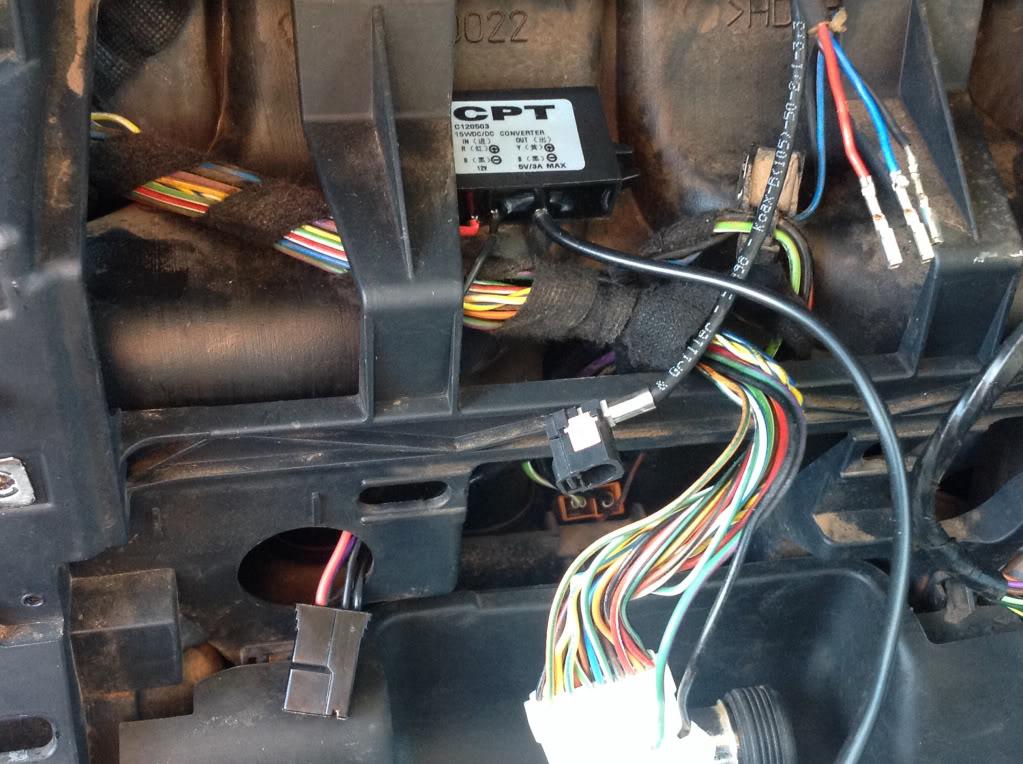
    14. Remove the H-trim. Feed the AV cable up to the top

    Replace all removed trim.

    Camera installation done! Get yourself a beer.

  3. #3
    sheerluck Guest
    Part 2 - adaptation of H-trim and D4 nav surround

    The D4 surround needs adapting to fit inside the H-trim.

    The two tabs you can see at the top of the trim need to be cut off so that they are level, and the same with the tabs on either side.
    There are 5 tabs along the bottom of the surround. Remove the first, third and fifth tabs, leaving the two that point at an angle towards the front (these two tabs will slot into a hole underneath the front of H-trim)

    This is then hot glued in at the bottom as in the picture above.
    Screw through the top of the frame to the H-trim to secure at the top.
    I added the push button at this point as the nav unit I choose had the power button on the edge of the frame.

    This was the trial fit (without button installed) so you can see how the surround fits inside the H-trim


    Next steps, wiring and adaptation of nav unit.

  4. #4
    sheerluck Guest
    Part 3 - wiring of power supply and audio cable

  5. #5
    sheerluck Guest
    Second section updated above

  6. #6
    Ean Austral Guest
    Gday Sheerluck,


    The glue part is not real clear, I assume the glue is either side of the 2 tabs that are left from the cutting? Also you say the top part is screwed in to the H piece, but haven't you cut those tags off ?


    Maybe I need to see the surround then can understand, but the 2nd picture is hard to work out.


    Cheers Ean

  7. #7
    sheerluck Guest
    No problem Ean, I'll take a couple more photos from a different angle today to try and make things clearer.

  8. #8
    sheerluck Guest
    Quote Originally Posted by Ean Austral View Post
    Gday Sheerluck,


    The glue part is not real clear, I assume the glue is either side of the 2 tabs that are left from the cutting? Also you say the top part is screwed in to the H piece, but haven't you cut those tags off ?


    Maybe I need to see the surround then can understand, but the 2nd picture is hard to work out.


    Cheers Ean
    Ean,

    As discussed, some further pictures of the rear of the frame:


    And how it is fixed to the H


    (That's a small screw going from the frame into the H piece)

  9. #9
    sheerluck Guest
    Now the visitors have gone (after nearly a month) I can finally finish this off.

    Onto the next part, the wiring mods for the car.

    Wiring an auxiliary connector into the rear of the lowline stereo.


    It's the connector circled (picture borrowed from Disco3 as I forgot to take one, and I'm not going to dismantle the dash again).

    I dismantled the connector itself and soldered the wires from the 3.5mm audio cable (get a good quality one, as it will make the soldering job easier). My cable had a red cable and a white cable. Red was soldered to the red, and white to the blue, with the bare shielding cable soldered to the black ground.


    For the power connection (using the usb adapter shown above) I have soldered the cables into the wiring for the left hand power plug at the bottom of the dash


    And the USB transformer hidden at the base of the dash, and stuck in place with some strong double sided tape

  10. #10
    sheerluck Guest
    Last post to come - modification of the sat nav unit to add an external power button.

Page 1 of 2 12 LastLast

Bookmarks

Bookmarks

Posting Permissions

  • You may not post new threads
  • You may not post replies
  • You may not post attachments
  • You may not edit your posts
  •  
Search AULRO.com ONLY!
Search All the Web!