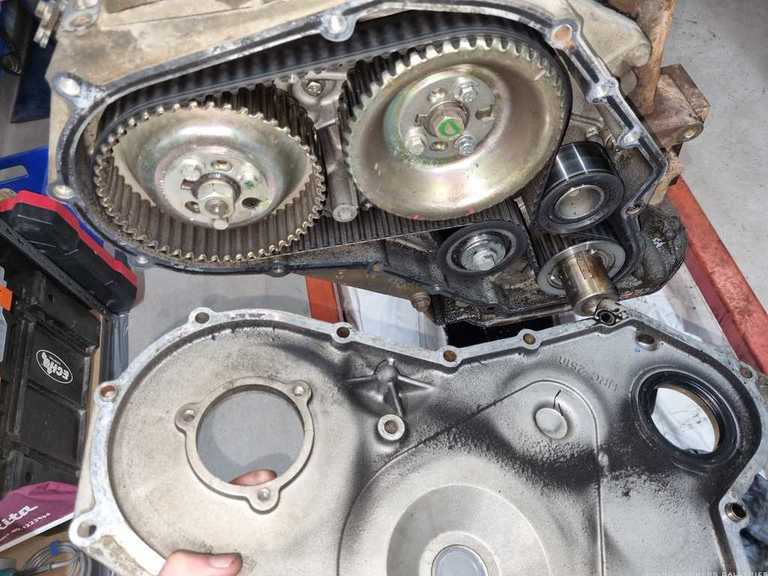
 Rebuilding my 300Tdi
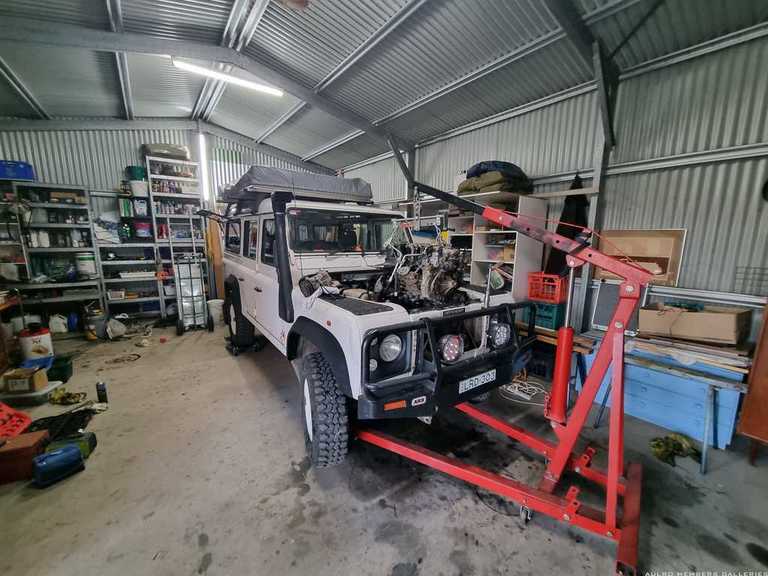
This month, my Defender and I will click over 12 years together. In that time, we have moved house no fewer than 14 times, travelled much of eastern Australia, had two iterations of camping fit-out, failed to proceed only once (my fault - check your swivel oils, people) and travelled just over 200,000kms.
For the most part, it has been a trouble-free daily driver and adventure machine. We'll gloss over the constant and intensive maintenance that makes that possible and consider it part of the experience.
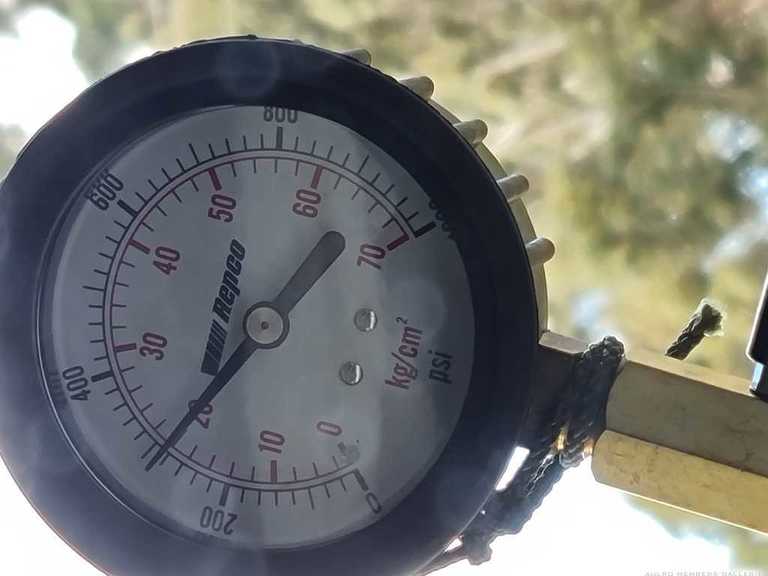
There's no denying, however, that the old bus is showing her age these days. It still presents well - I keep it tidy - but the last convoy to Tassie saw me relegated to tail-end-Charlie so as my companions could see where they were going and avoid smoke inhalation. Sometime after returning home, a stern letter from the EPA rubbed salt into the wound. Unsurprisingly, there has been an inverse correlation with the amount of smoke produced and the amount of power produced. It could probably pull the skin off a rice-pudding, but only a small one.
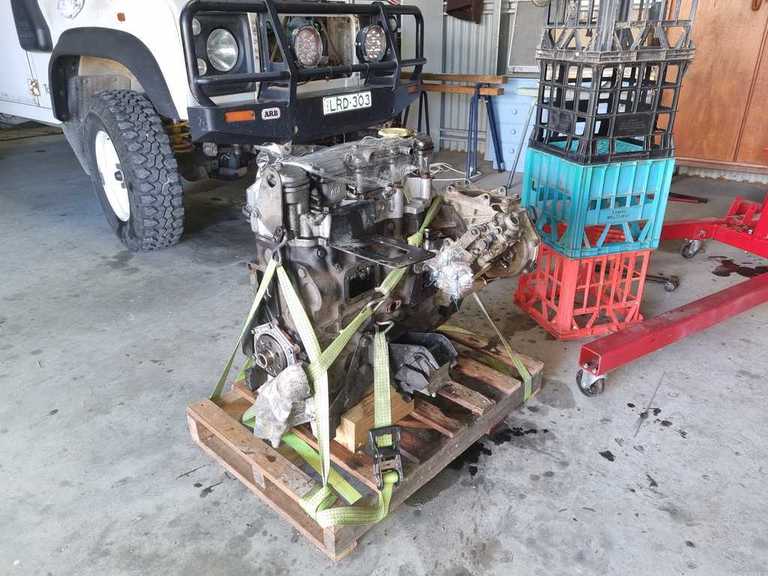
To put it simply, after 375,748kms across three owners over 27 years and 10 months of life, it needs some love.

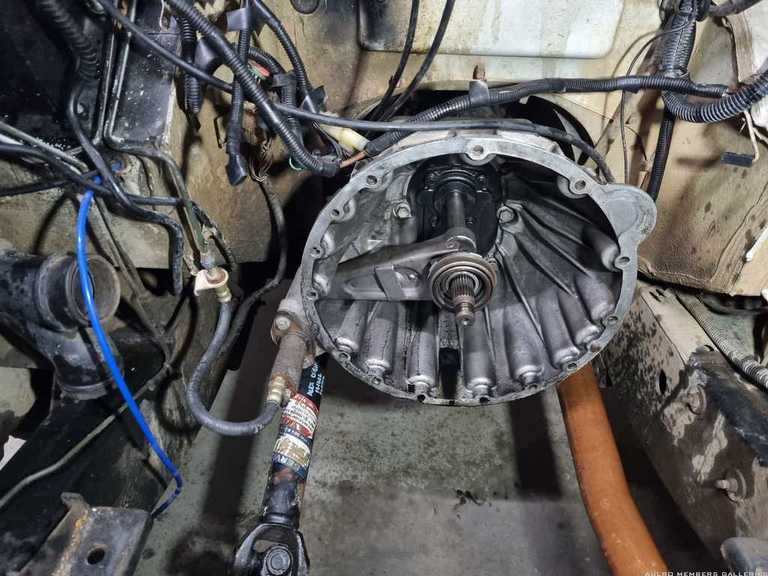
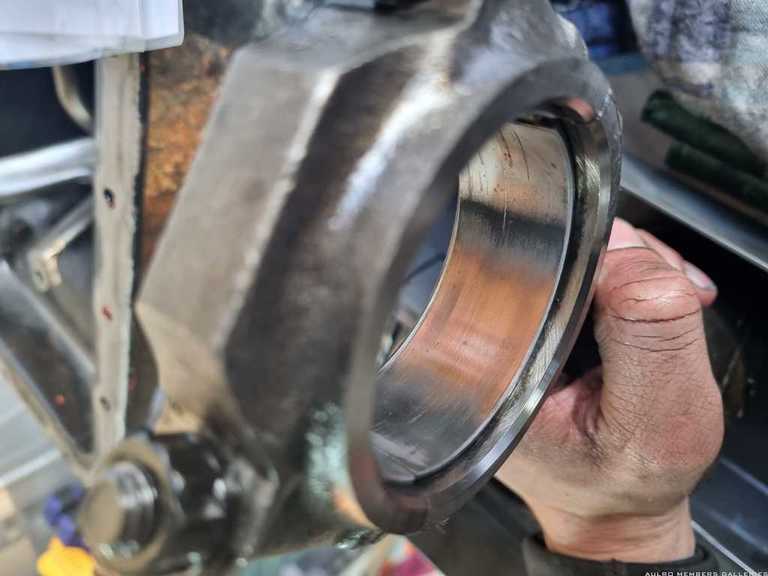
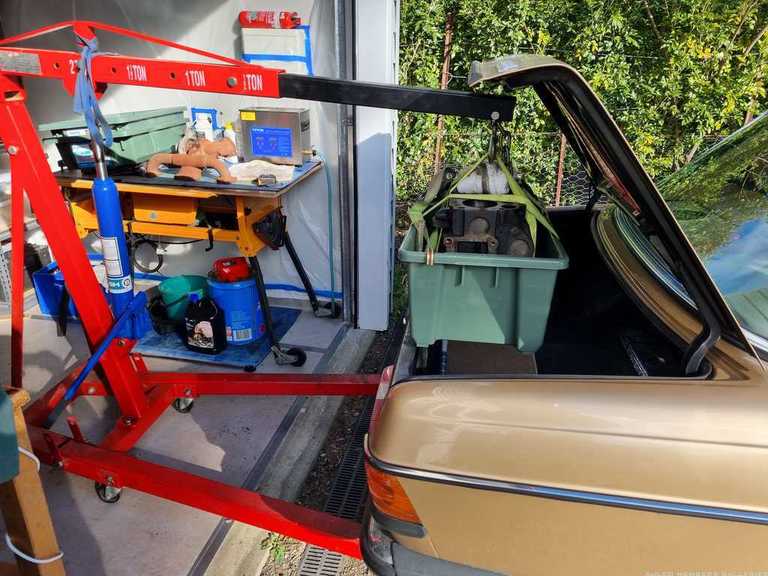
It is worth noting that there are other intercurrent issues (cracked exhaust manifold, for example) which are heavily contributing to the problem, but various trustworthy sources suggest that the big-end bearings are likely at end of life by now anyway, and I am at a brief juncture of my life where the Venn-diagram of space/time/money has converged temporarily and given me a window to do this myself.
Additionally, when I replaced the head in 2016 I learned a few lessons the hard way:
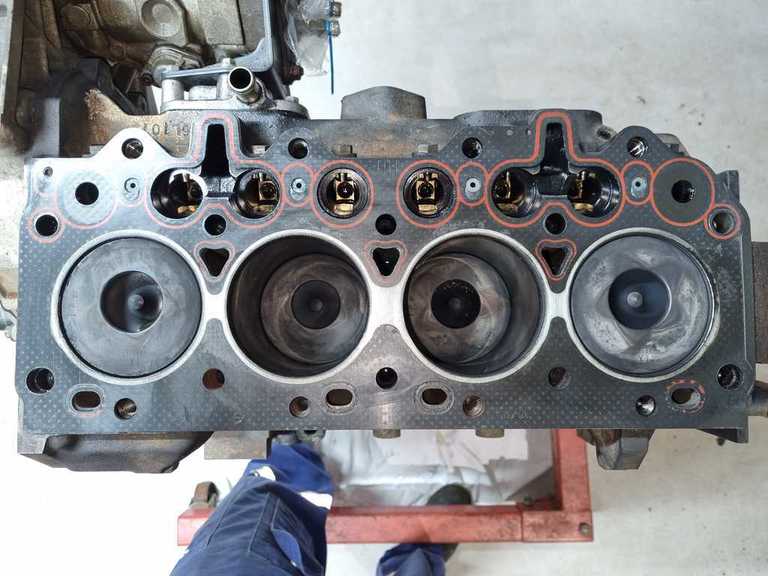
Firstly, if you're removing the head; don't forget the coolant drain plug on the left side of the block otherwise you'll dump a bunch of coolant into your decapitated engine when you lift the head off.
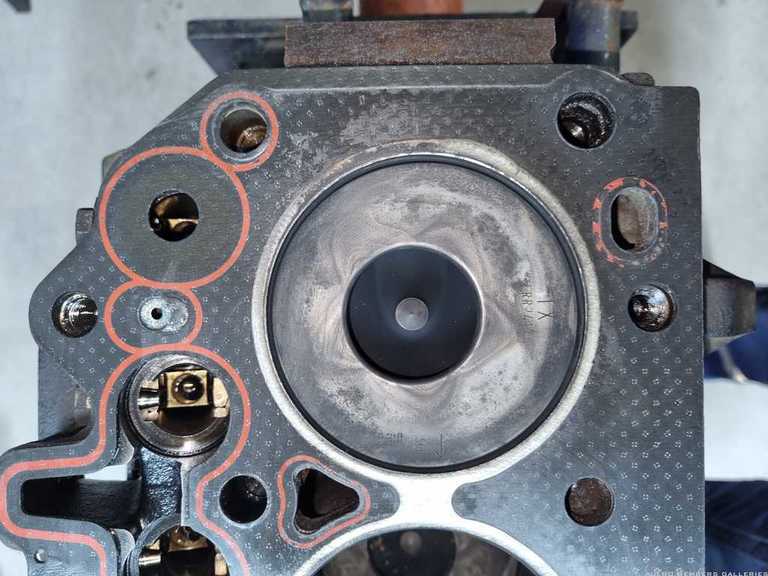
Secondly, if this happens, no amount of paper towels will get all the coolant out of the bores and the remnants will settle around the rings and after 3 weeks of sitting, will have corroded spots on the cylinder walls. If I had my time again, a good dousing with WD40 to displace the moisture would have probably been an idea...

Is this significant? I don't know. But I've always wondered if this might be a factor, despite my best efforts at cleaning up the surface corrosion on the bores and the lack of any acute changes after this event. This will give me an opportunity to resolve it and stop wondering.
So, the time is now.
I thought I'd keep a bit of a thread going as I progress, as it may help someone else down the line and I'm sure I'll be needing some advice from the brains trust as we go.
I like to think I'm a little more savvy than 6 years ago when I last had the head off, and indeed at that time I was more-so than 6 years prior to that when I bought it. There's still much to learn though and I think it is worth adding the disclaimer that I am no expert, and that I haven't rebuilt an engine before. This is not a "how-to". Replicate my inevitable mistakes at your peril.
[B][I]Andrew[/I][/B]
[COLOR="YellowGreen"][U]1958 Series II SWB - "Gus"[/U][/COLOR]
[COLOR="DarkGreen"][U]1965 Series IIA Ambulance 113-896 - "Ambrose"[/U][/COLOR]
[COLOR="#DAA520"][U]1981 Mercedes 300D[/U][/COLOR]
[U]1995 Defender 110[/U]
[SIGPIC][/SIGPIC]


 Reply With Quote


 )
)


Bookmarks