


 Reply With Quote
Did you do the fuel pump drive belt?

 ChatterBox
Pedro, because you asked most succinctly....
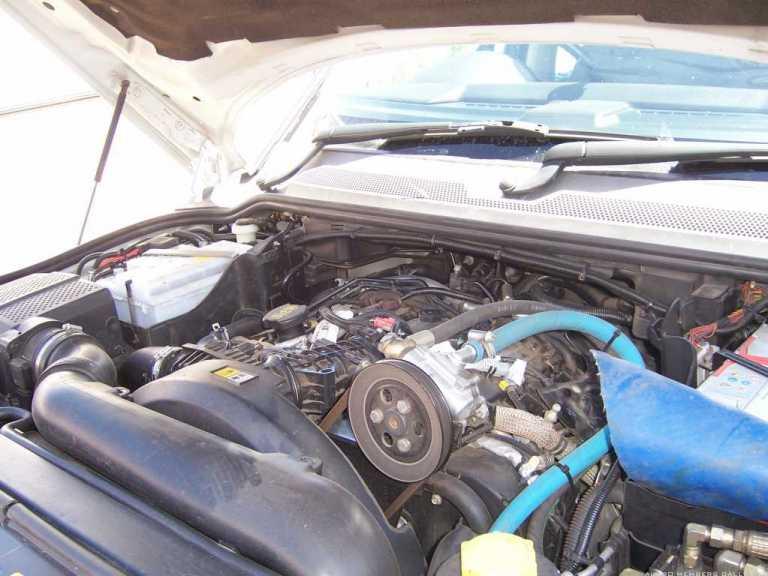
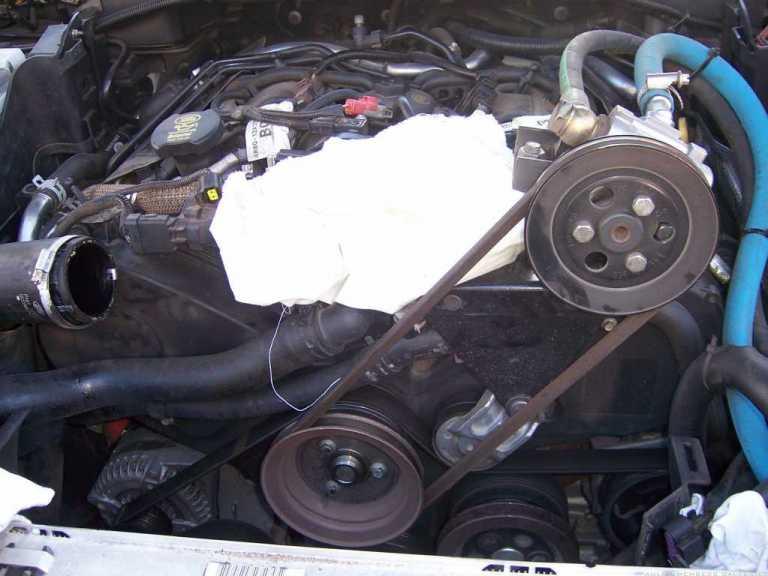
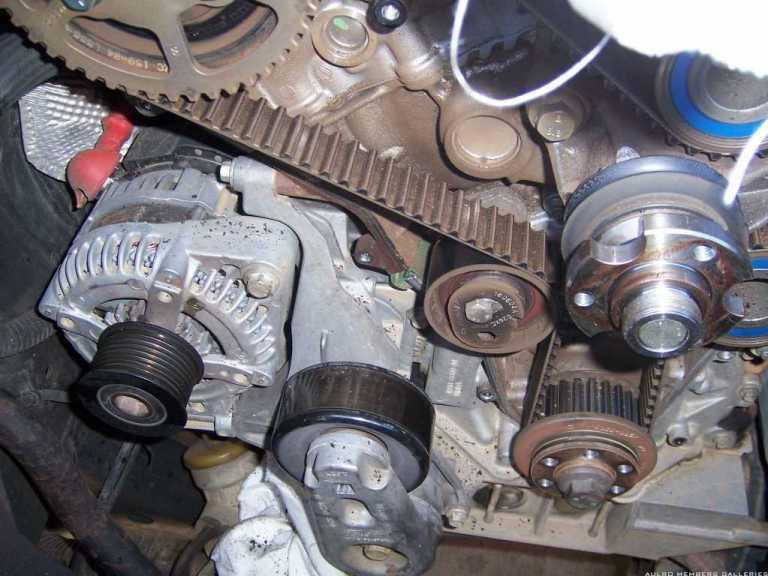
With cover off
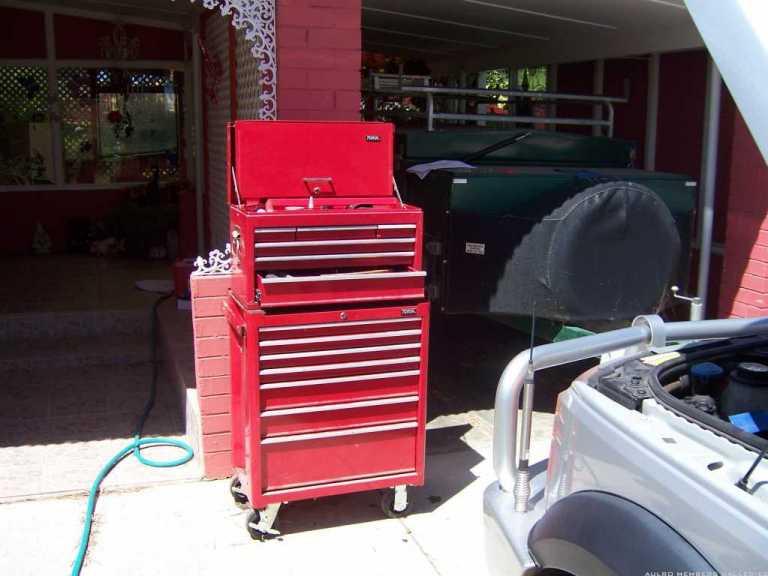
Tool kit ready
Seriously
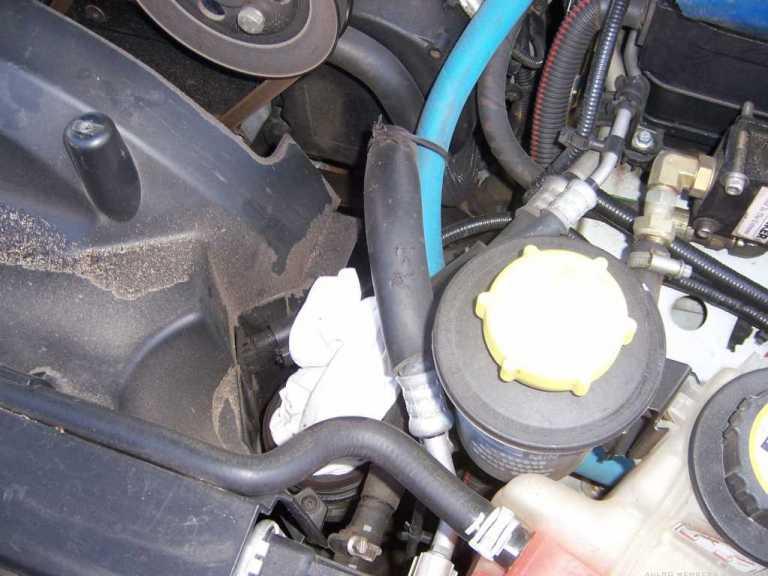
Don't forget to protect turbo inlet from foreign matter
thermatic fan off
EGR throttle inlet removed
There's the belt
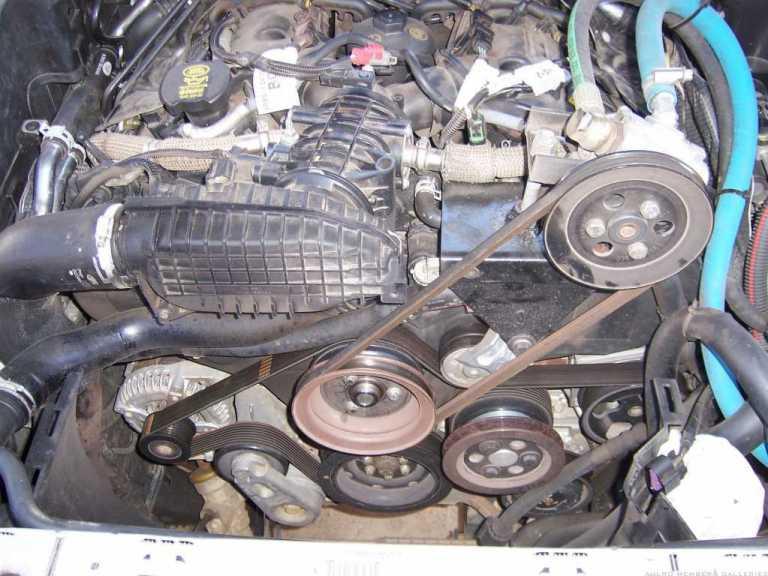
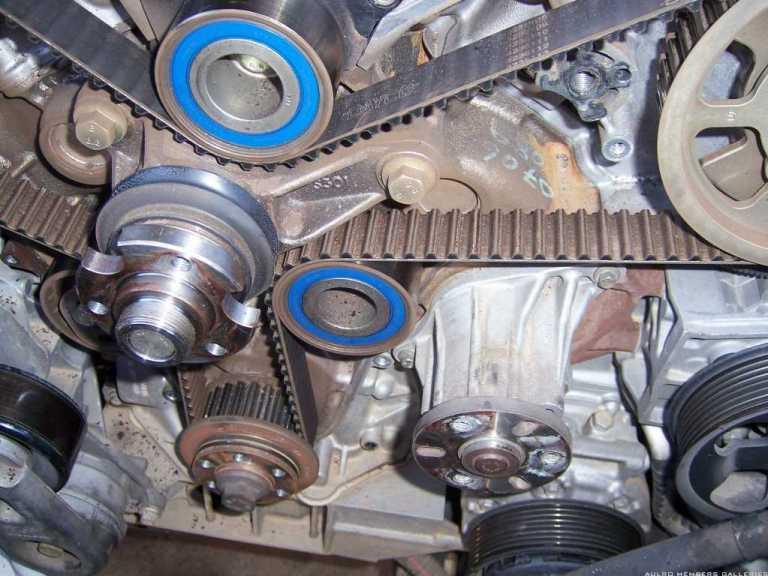
The two idler pulleys, note the rubber crumbs, I assume they came from the belt but no obvious signs where
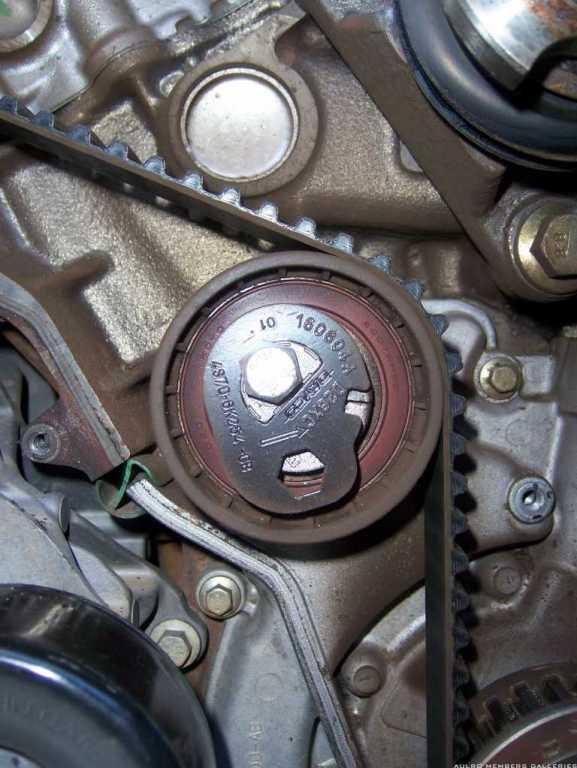
The tensioner pulley
Close up of tensioner
LH camshaft sprocket
Ooooppppps, some lamp work jewelery SWMBO makes
RichardK
Series IV Matrix Offroad Camper following our Discovery 3 with E Diff, BAS Remap, Mitch Hitch, Uniden UHF, Codan NGT HF, Masten TPMS, Proquip Compressor Guard, ARB Winch Bar, Milemarker Hydraulic Winch, 4x4 Intelligence Rear Wheel Carrier, VMS GPS with Rear Camera,
ForumSage
Did you do the fuel pump drive belt?
ChatterBox
No, I have the kit and will do that in the next two weeks
RichardK
Series IV Matrix Offroad Camper following our Discovery 3 with E Diff, BAS Remap, Mitch Hitch, Uniden UHF, Codan NGT HF, Masten TPMS, Proquip Compressor Guard, ARB Winch Bar, Milemarker Hydraulic Winch, 4x4 Intelligence Rear Wheel Carrier, VMS GPS with Rear Camera,
YarnMaster
A picture is worth a thousand words.
BTW - Those rubber crumbs probably appeared when you broke the sean on the timing cover.
M
Master
Subscriberthat looks scary.....the engine looks easy though.....nah seriously, well done, looks scary to do!!!!
Dave.
Hi.
96 Disco 1 V8.
99 Disco 2 TD5.
LROCV.
Master
Excellent photographs Richard.
Thanks for posting them")
ChatterBox
Hi Mark,Originally Posted by camel_landy

I don't think they were from the timing cover seal, that seems more like a PVC compound and the bits were more rubber compound
RichardK
Series IV Matrix Offroad Camper following our Discovery 3 with E Diff, BAS Remap, Mitch Hitch, Uniden UHF, Codan NGT HF, Masten TPMS, Proquip Compressor Guard, ARB Winch Bar, Milemarker Hydraulic Winch, 4x4 Intelligence Rear Wheel Carrier, VMS GPS with Rear Camera,
Hi Richardk
Do you have the photo's of changing the HP fuel pump?
Thank you
ChatterBox
Hi hzwart,
No, I didn't do it before I traded it for a new D3, I do have a complete set of instructions though, if you PM me I will send them if you want them
Cheers
RichardK
Series IV Matrix Offroad Camper following our Discovery 3 with E Diff, BAS Remap, Mitch Hitch, Uniden UHF, Codan NGT HF, Masten TPMS, Proquip Compressor Guard, ARB Winch Bar, Milemarker Hydraulic Winch, 4x4 Intelligence Rear Wheel Carrier, VMS GPS with Rear Camera,
RoverLord
those rubber bits are from the sides of the teeth on the belt.
you can quite clearly see the roughing of the edges in the pic of the idler and the cam gear. this happens because of the rubber hardening and then trying to flex.
Its a bit like the cracking that can turn up in suspension bushes or on the edges of the tread blocks of an old unused tyre that gets pressed into servive.
Dave
"In a Landrover the other vehicle is your crumple zone."
For spelling call Rogets, for mechanicing call me.
Fozzy, 2.25D SIII Ex DCA Ute
TdiautoManual d1 (gave it to the Mupion)
Archaeoptersix 1990 6x6 dual cab(This things staying)
If you've benefited from one or more of my posts please remember, your taxes paid for my skill sets, I'm just trying to make sure you get your monies worth.
If you think you're in front on the deal, pay it forwards.
 Posting Permissions
| Search AULRO.com ONLY! |
Search All the Web! |
|---|
|
|
|

Bookmarks