


 Reply With Quote
Very nice write up Def90.
East steps good photo's
Well done")

 Master
G'day Guys,
On the same day that I completed the steering wheel Audio control upgrade I thought I would sort out the Ipod issue.
For starters, I have a Belkin unit that plugs into the Ciggy Lighter. This allows the Ipod to be charged and has the dual options of tuning into a radio frequency OR has a 3.5mm socket to plug into.
The set up I wanted was to be able to play from my Ipod through the AUX switch either by directly plugging into the Ipod OR into the Belkin unit. The job took me about 30 mins and the results were great! Here is how I did it (again thanks to the UK D3 website for help.)
Tools/stuff required:
- Side cutters
- pliers
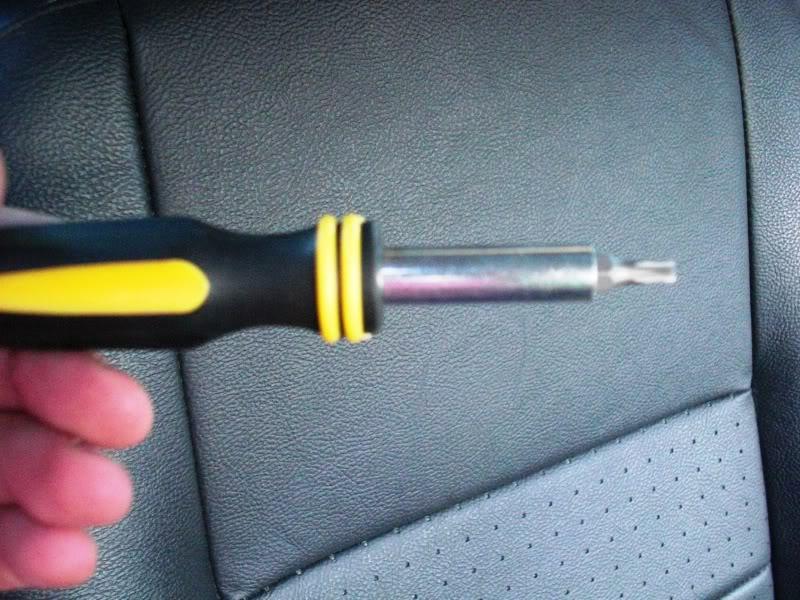
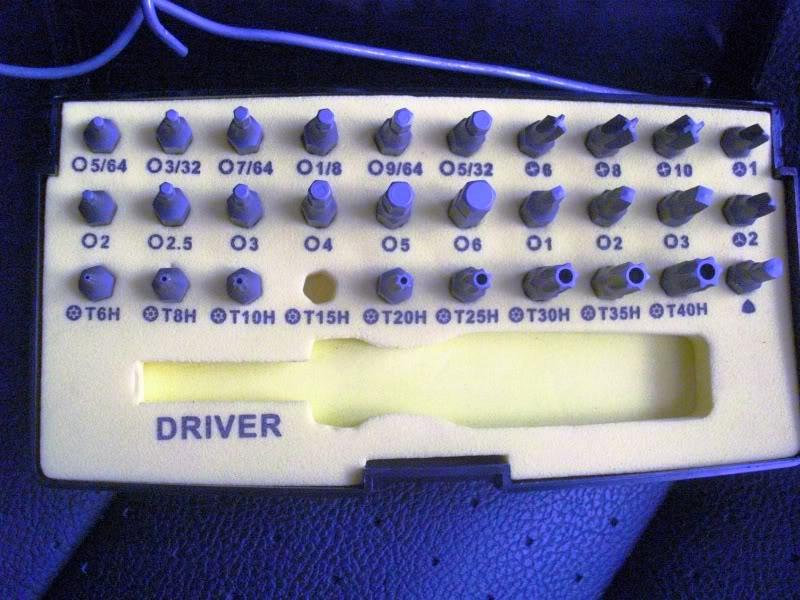
- Tamperproof screw driver kit (bought from Bunnings for about $20)
- Some wire and fishing line (just what I used)
- 1 X 2m-3m long cable with a 3.5mm headphone jack on one end (I bought a headphone extension lead which was Male/Female and cut off the female end) Cost $6.95, buy from any electronics shop.
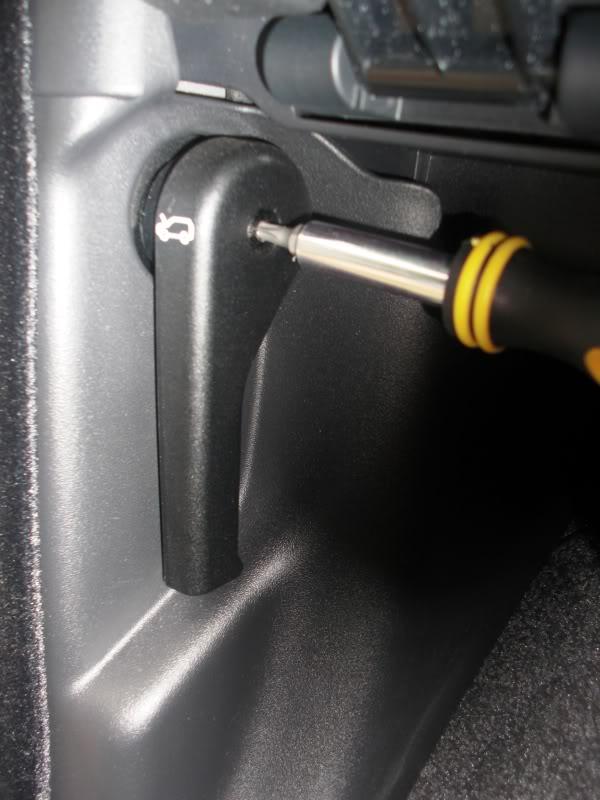
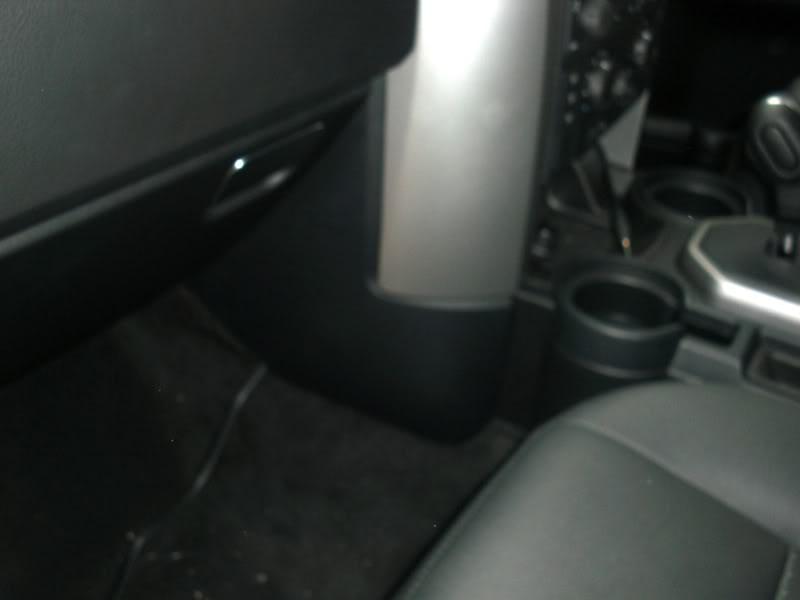
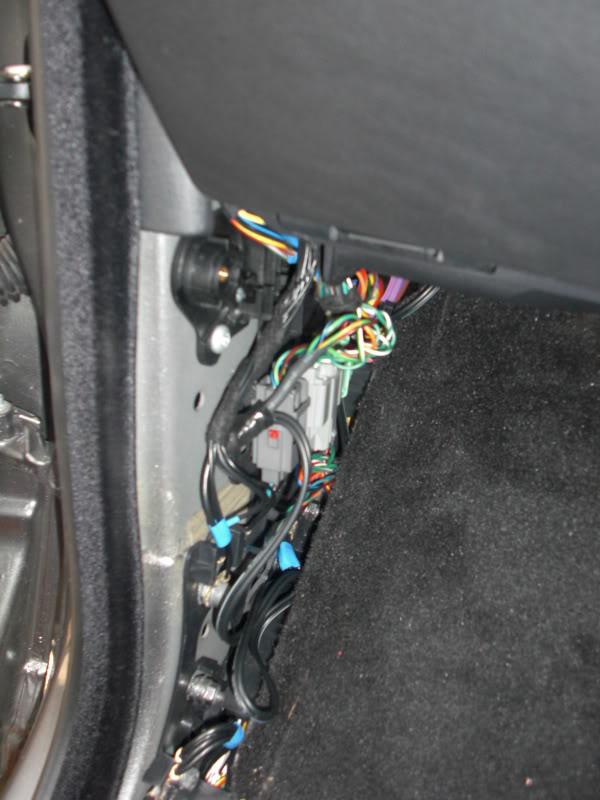
Step 1 - use appropriate tamperproof screw driver to remove bonnet release in the footwell of the front passenger side seat. Once the screw is removed, the handle comes straight off.
Step 2 - remove the kick panel located behind the bonnet latch. This requires some enthusiasm and force. keep the clips if they fall off.
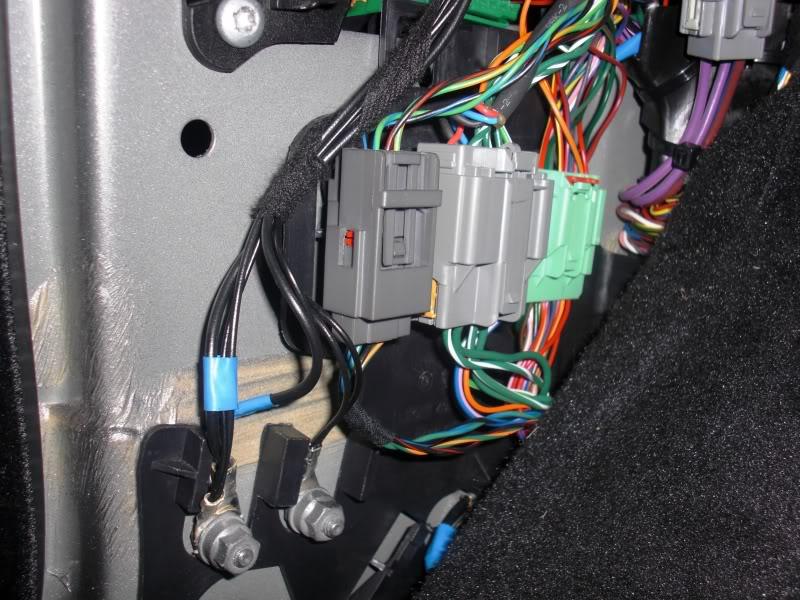
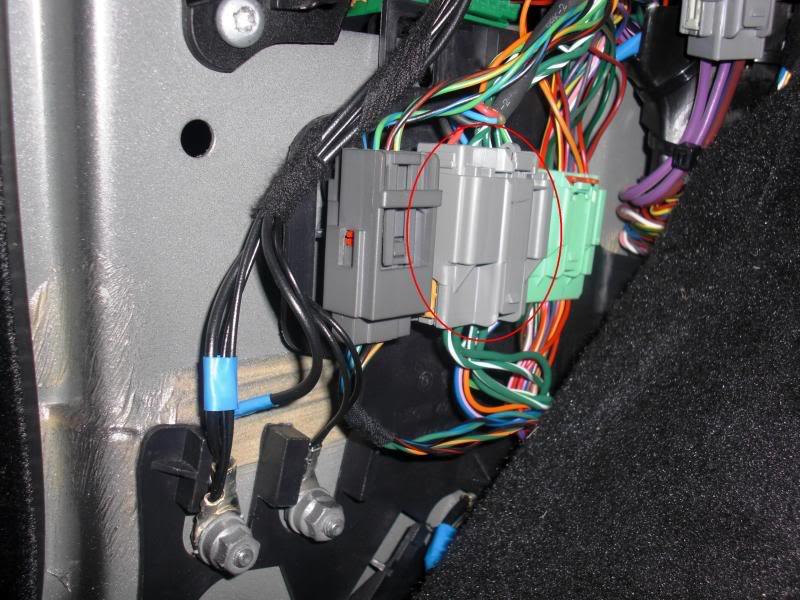
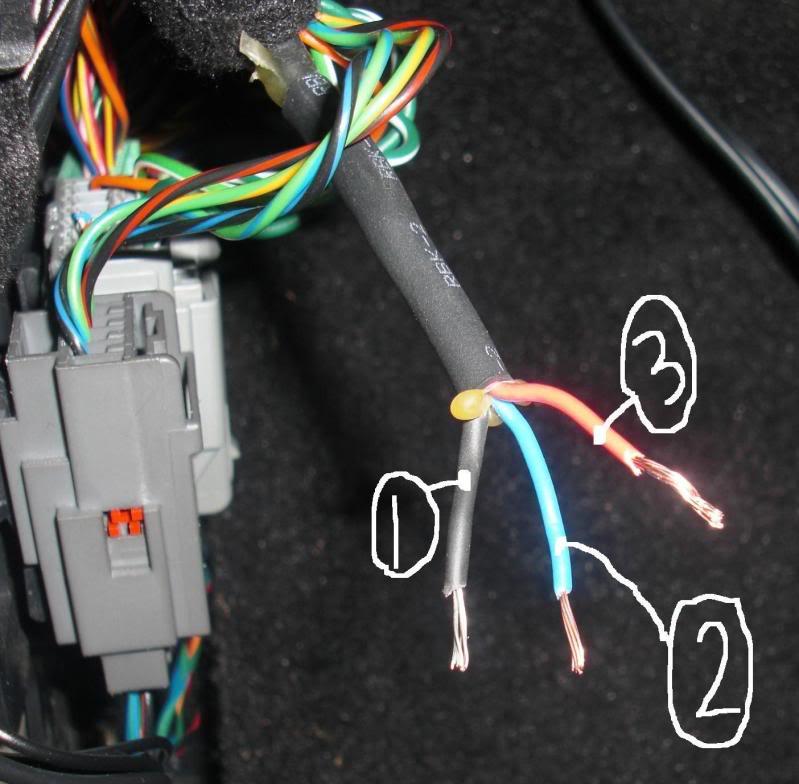
Step 3 - Locate the middle wire bank. You will see blue, black and red wires entering from the top of this unit. You can either cut these wires here or remove the bank itself and then remove the 3 wires.
Once you remove the wires, trim back the plastic sheath to expose the wire itself in preparation for joiing with your headphone lead.
Note that the wires being cut/removed from the block here terminate at this location and are not used if you have the base level stereo. These wires are the direct connection to the AUX setting on the stereo.
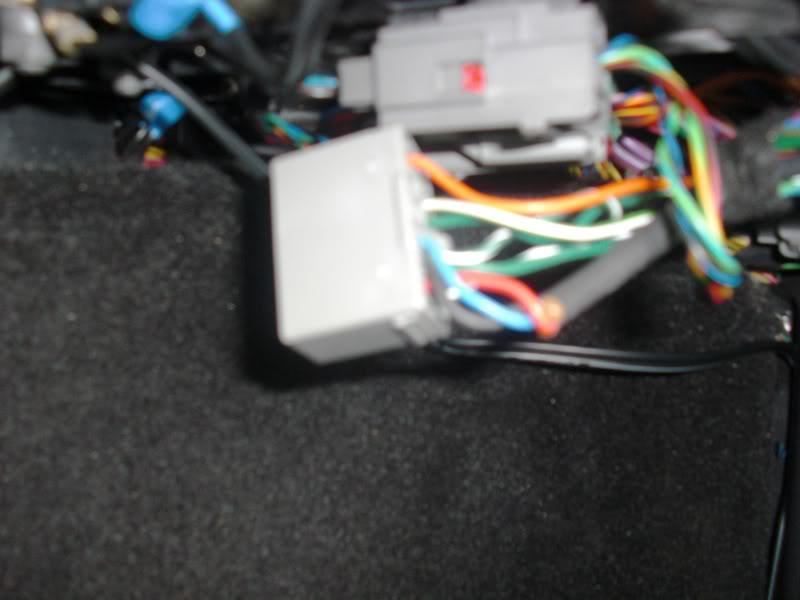
Once the wires are removed, replace the block in the original location.
Step 4 - Preparing and locating the lead.
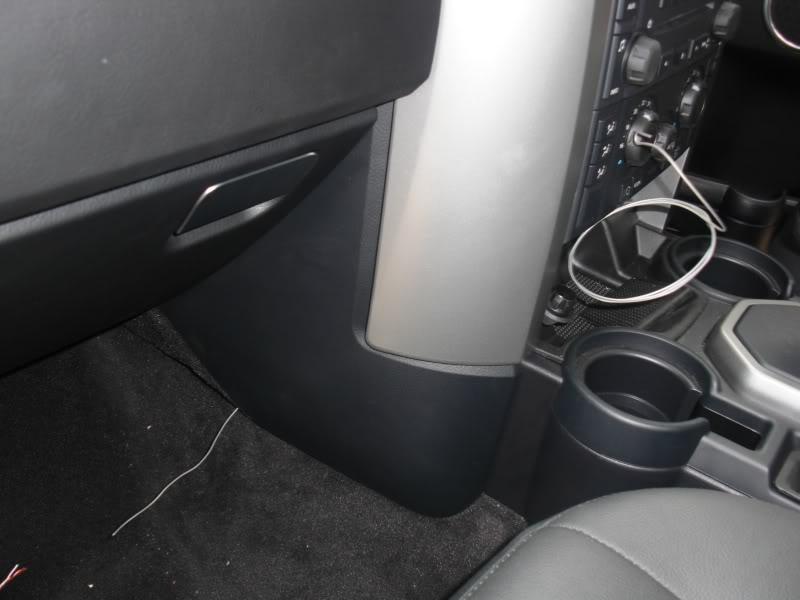
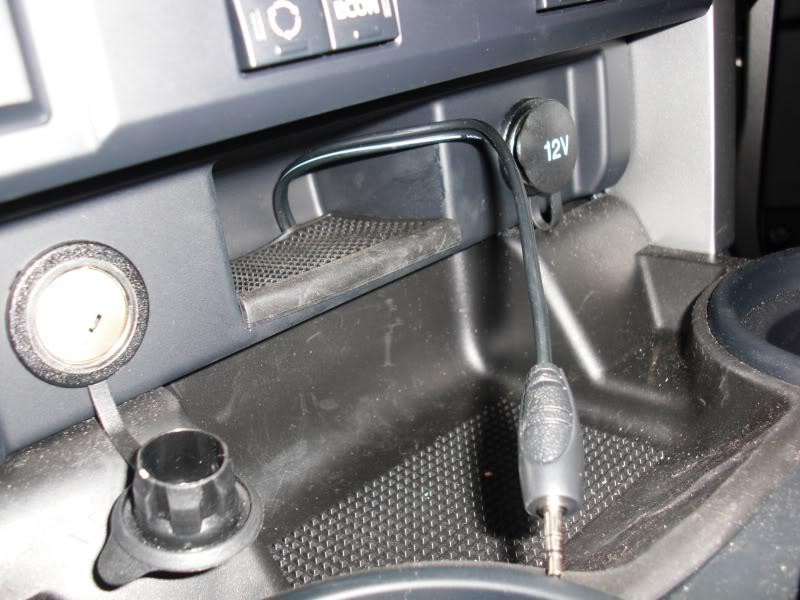
I wanted the option of having my ipod resting in the center front low console or cradled in the Belkin unit I had. That meant I needed the lead to be located around this area. I could either hide the wire behind the carpets, and then have it run up over one side of the center console which would be OK OR I could run it through the center console somewhere and conceal the wire completely. Later was the preferred option.
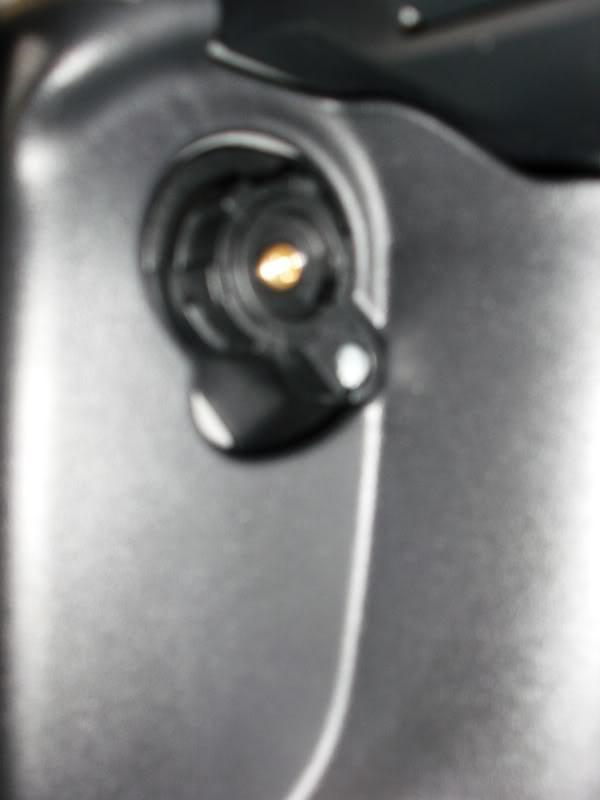
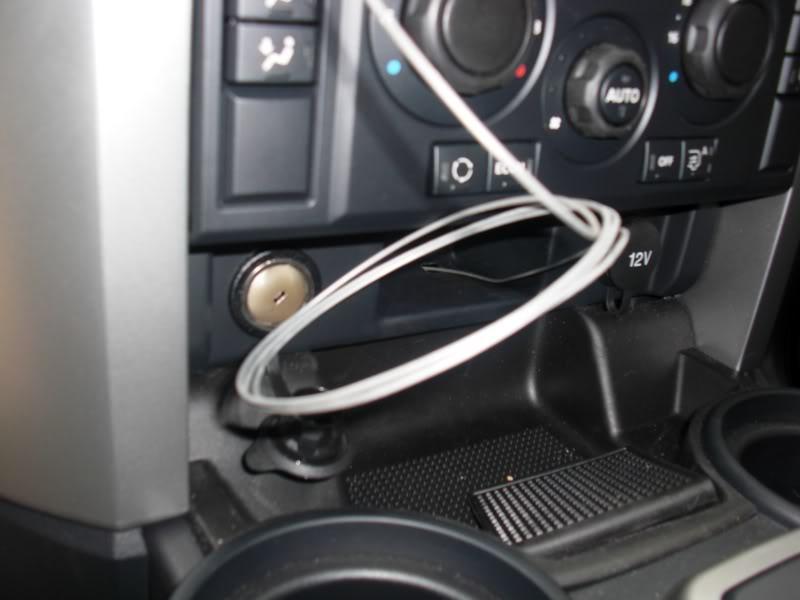
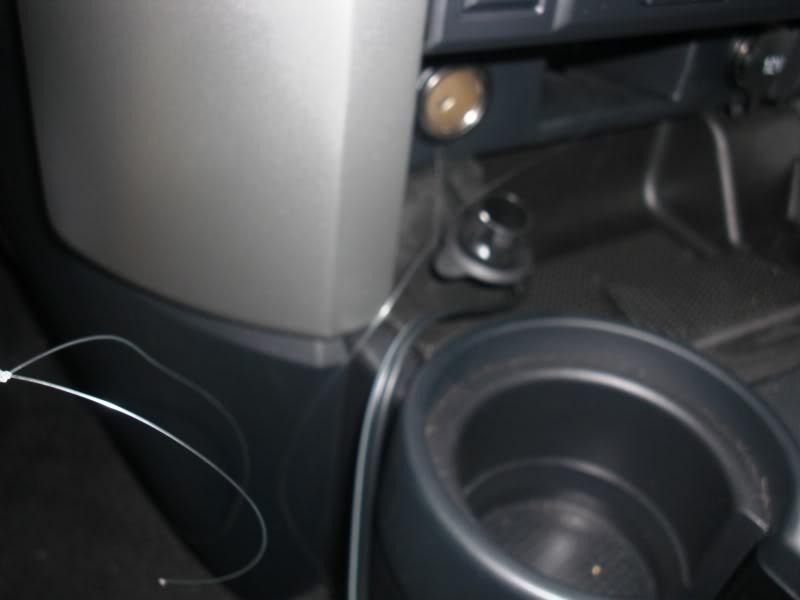
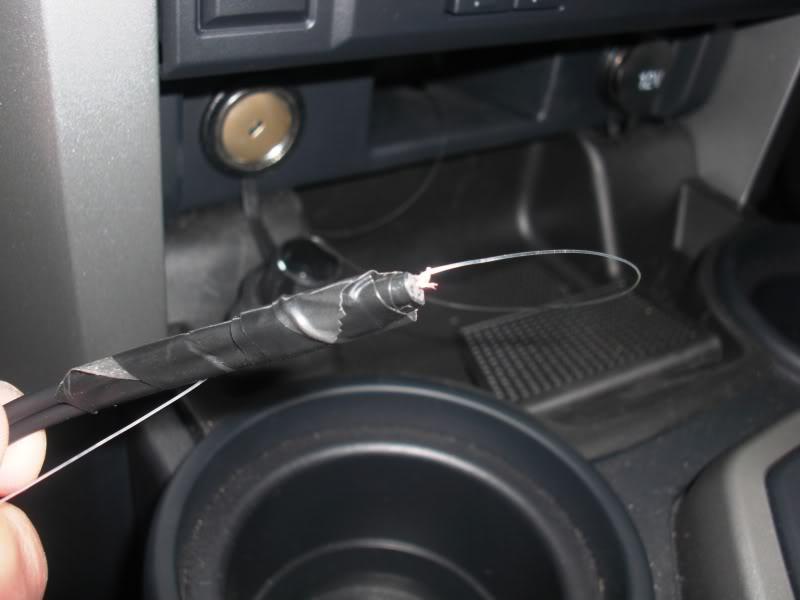
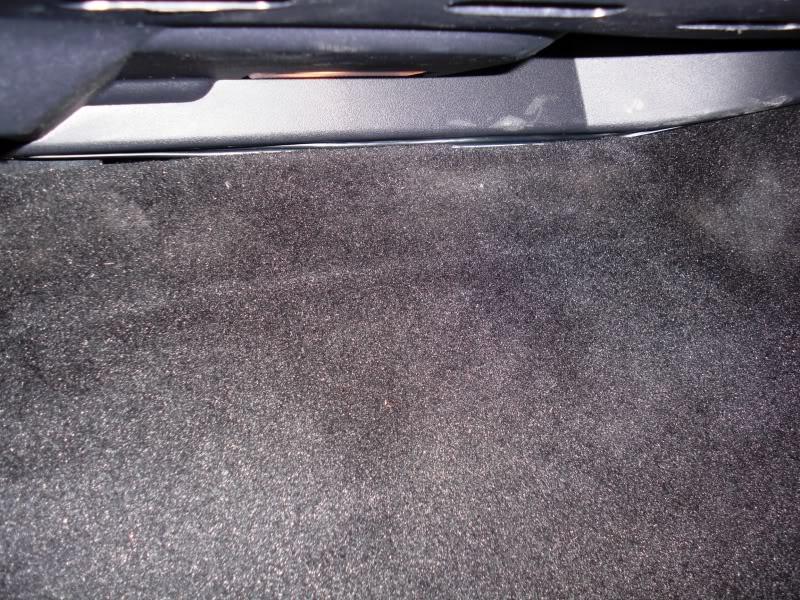
Anyway, I found a hole already in the small space above the Cig lighters, underneath the small rubber mat. See pic. Problem however would be how to pass a flexible wire from this point, to a location I could grab it and then run back to the kick panel.
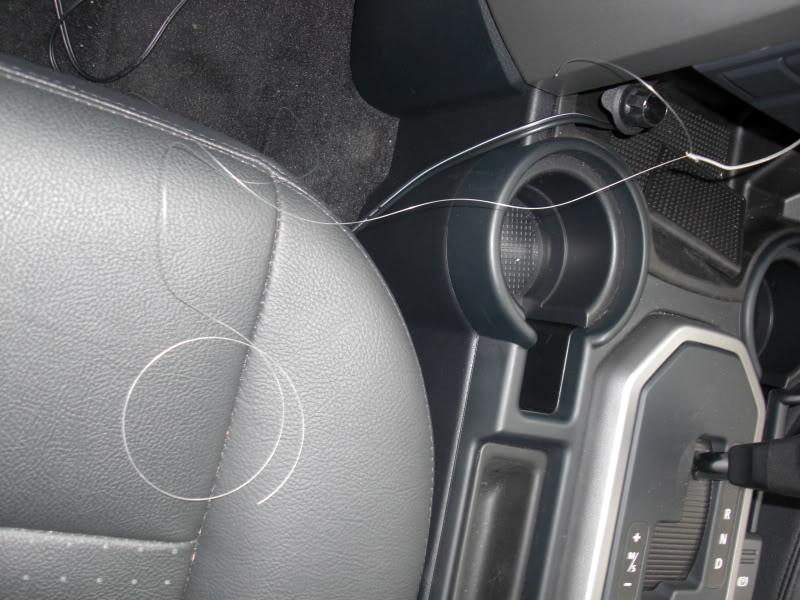
Solution was I gathered some fishing line and some wire (not as tough as coat hanger but similar) and used the rigid wire to locate a path from console to passenger side foot well. I tied the fishing line to the end of the rigid wire to give a strong but very flexible pulling point to locate the wire exactly where I wanted it. I tied the fishing line to my headphone lead and pulled it through - Perfect!!
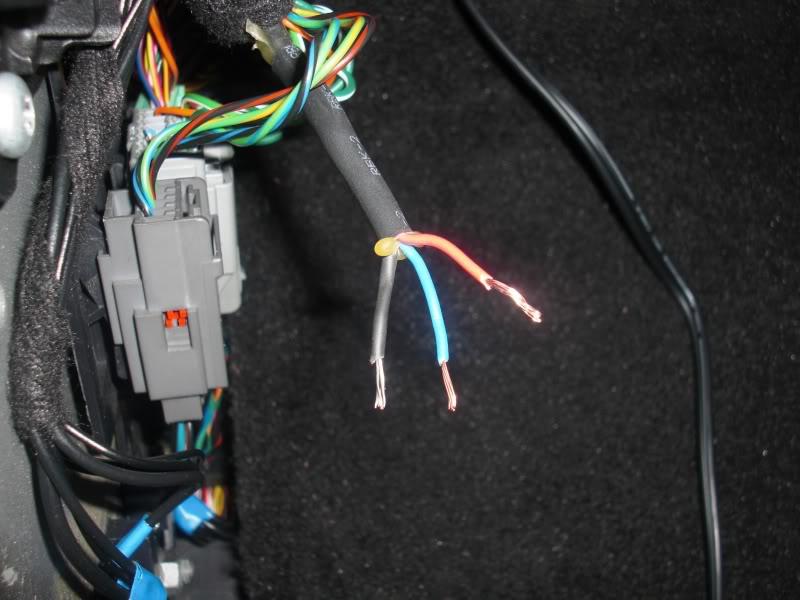
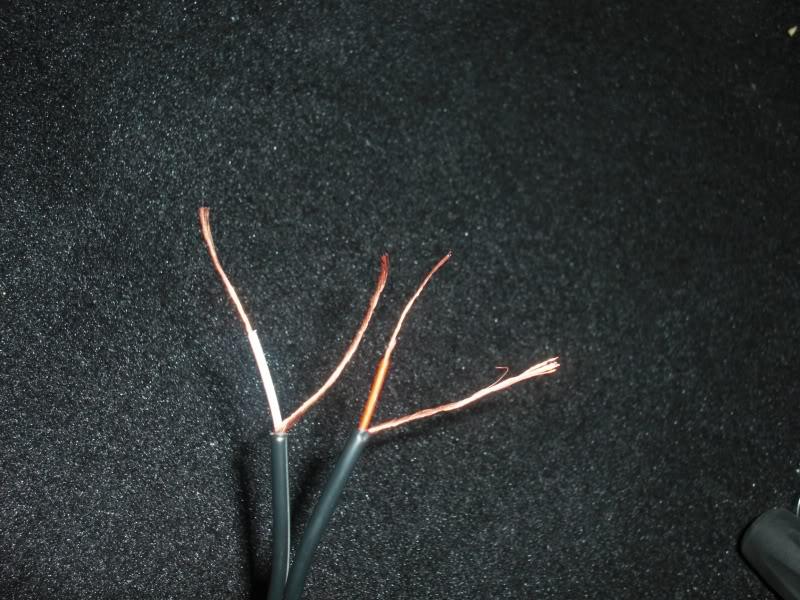
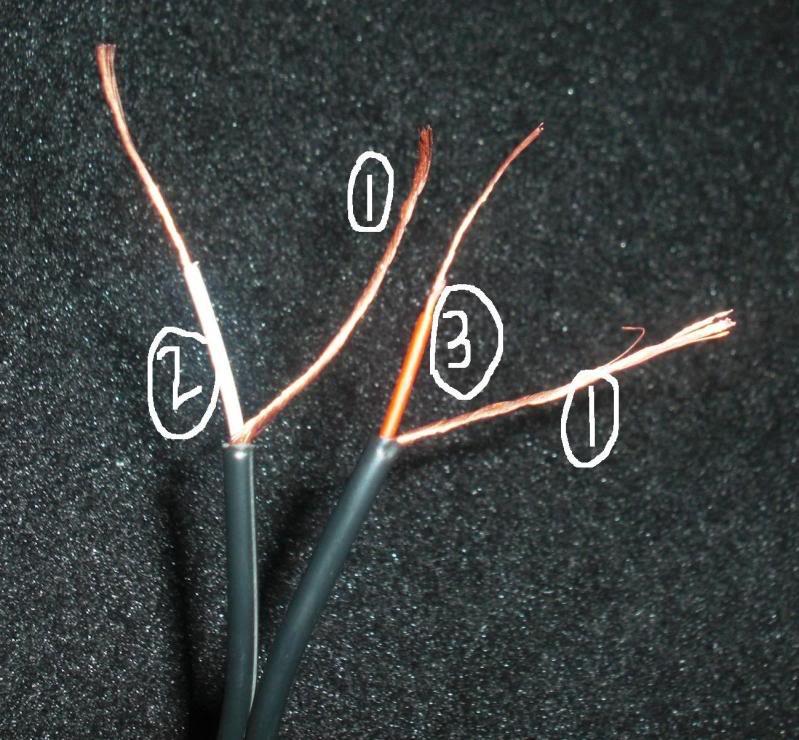
Step 5 - Once the lead is located through the small gap and into the footwell, its time to strip back the plastic to reveal outer and inner wires. The headphone wire should have 2 main wires that each split into 2 inner and outer wires. The outer wire would be your 'black' and these can be joined together. the Red and white wires (in my case) represent the L and R channels for the speakers and should be spliced and soldered with the red and blue wires in the footwell. The 'black' wires on your headphone lead should be spliced and joined with the black wire in the footwell. Soldering is recommended.
Use the following diagram to determine which wires to join together. Join the 1 with 1, 2 with 2 and 3 with 3.
Step 6 - After all wires are joined, use electrical tape to seal the joins. Now 'hide' or loact the wires in the gaps between carpet and plastic console in the footwell.
Step 7 - replace the footwell kick panel (this requires some precision and muscle) and then the bonnet release.
Step 8 - Test and enjoy!!
Hope this helps....
ChatterBox
Very nice write up Def90.
East steps good photo's
Well done
Master
Thanks, after getting so much from the website over the years, thought it was time I tried to give back a bit...
Fossicker
SupporterAs a new member I was browsing the forum and stumbled on your post. We were about to pay to get the I-Pod connected. Thanks heaps for the instructions. Just have to check that our radio can switch to aux. function.
Ian
ChatterBox
If it has AUX on the front it will.
Fossicker
Fitted the Aux socket today for less the $10 in parts. I had looked at this button before thinking there must be an easy way other than pulling out the entire radio and dash.
Thanks you thank you thank you.
Even get the bonus of a in built carphone if your music player is a phone of some description.
Master
SupporterI did this mod soon after getting my D3. I ran the cable into the glove box instead of the dash as the co-pilot is in charge of the music
Wizard
forgive me this is probably a stupid question, I just plug my iPod into the auxillary jack on the rear of the centre console beside the power jack.
Didn't the D3's all come with this jack?
Master
NO.Originally Posted by AnD3rew

My MY2009 "S" (with air suspension) did NOT :-)
I have a MY08 TDV6 S (with air suspension), and it does not have the jack. That and the fact that the CD player does not play MP3 CDs has been a frustration. I will be making this mod the first weekend I have time. Great.
Cheers, Matt.
 Posting Permissions
| Search AULRO.com ONLY! |
Search All the Web! |
|---|
|
|
|
Bookmarks