Even though the mule is off the road with a buggered intercooler hose, the itch to tinker is still there.
Today I decided to remove the disc brake stone shields and get a stiffy. On the shields, that is.
I'm neither here nor there on the disc brake stone shields. But since I ordered a set of nugget's 'stiffies' one night after one too many bourbons with my visa cars within reach, logic dictates that a mod should be done for the sake of a mod.
I've had a few times offroad where a stick, a rock, or something else gets stuck in the disc brake shields. Usually it clears itself, once or twice, I've needed to intervene and pull the offending twig out of there. I put a bit of a thread up >here< to gather the general consensus of whether these stone shields are all they're cracked up to be, and I think the jury is still out.
As with anything, I tend to fall back to the 'I'm not as smart as I think I am' rule, and keep in mind that the LR tooling, manufacture, installation and engineering that went into this humble part, probably shows that they believe it was necessary, and worth investing in for the sake of the vehicle. That being said, they designed them so they might crack over time... so I'm taking that with a grain of salt. In any case, the mod will go on!
Nugget supplies some nifty instructions with the kit. What it omits however, is how to get them off the vehicle.
I'll outline this below.
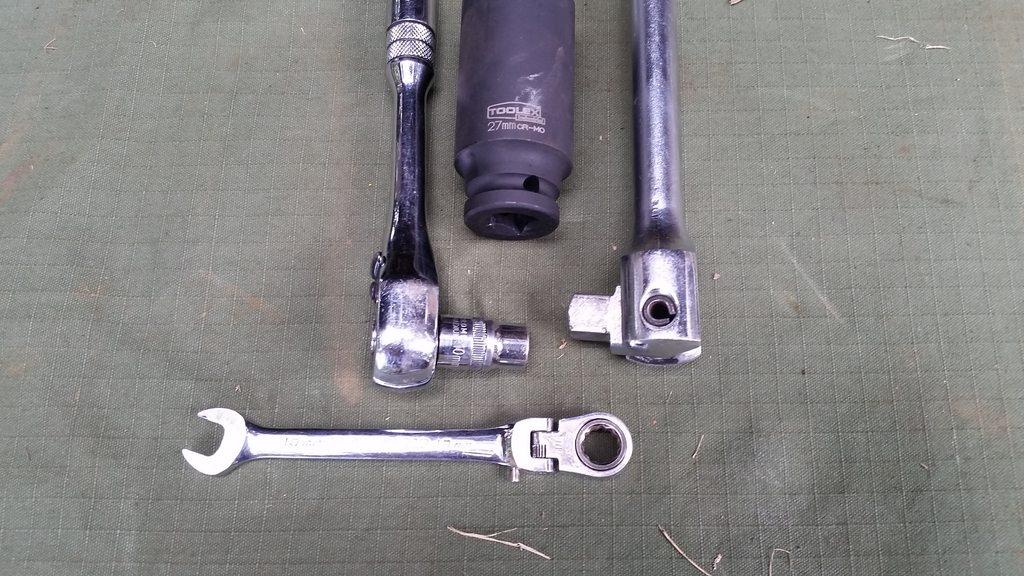
Gather your tools- for removal, a 10mm spanner and a 27mm socket for the wheel nuts are all that is needed.
Prepare your workspace.
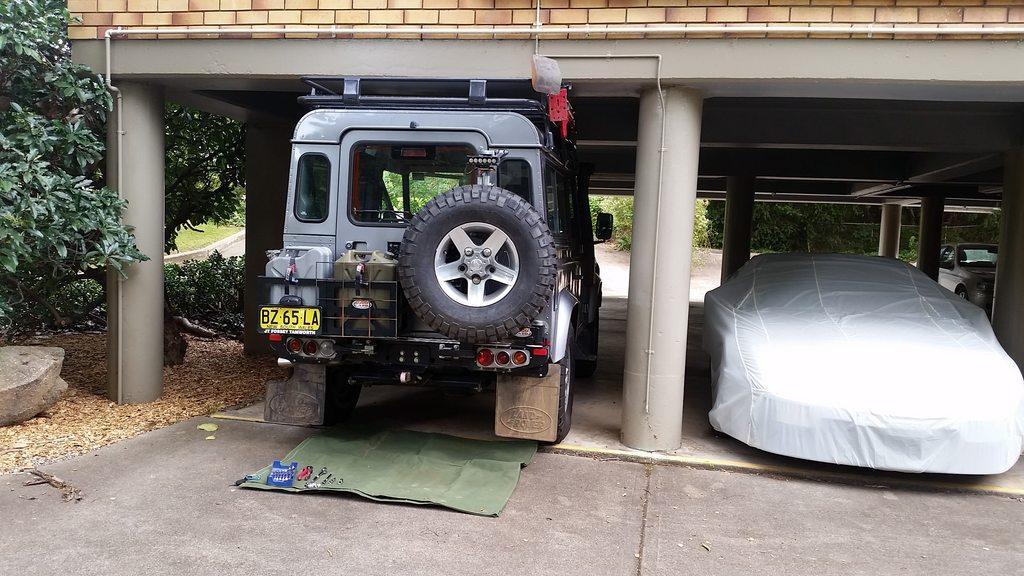
Today I'm working in the car port of the apartment block where I reside. I will have an epic shed one day...
My 300zx is living beside the landy now. Being majestic AF. I need to do some more work on the power steering pump on this, probably a rebuild, as it's a bit whiney. Also need to do a timing belt on it for it's second 100,000km interval. These works will probably happen together, as the PS pump is easiest done with the radiator and all intercooling pipes out of the way (there is a lot of these, as its a V6 twin turbo). That job might make its way into this thread down the track. But I digress.
1) jack up the vehicle
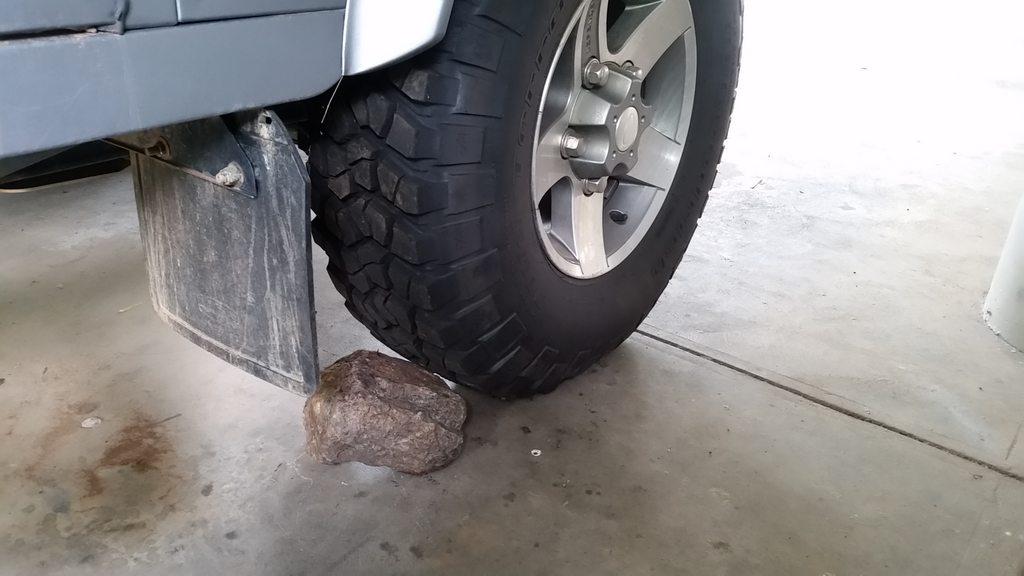
Chock a wheel fo' safety etc, and don your safety squints.
Convenient rock, is convenient.
Crack the wheel nuts (27mm / or 1-1/16 for you imperial types), and jack the vehicle. Use axle stands. Or if you are expecially hardcore, don't.
Remove both rear wheels for easy access.
-intermission-
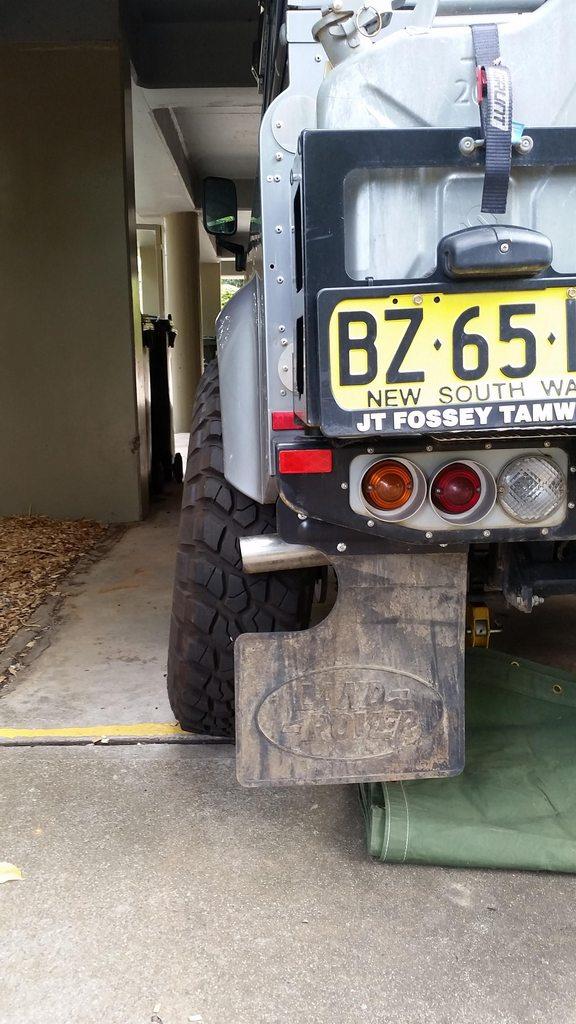
Bonus points for hella flush stance!
2) Undo bolts retaining stone guard shield
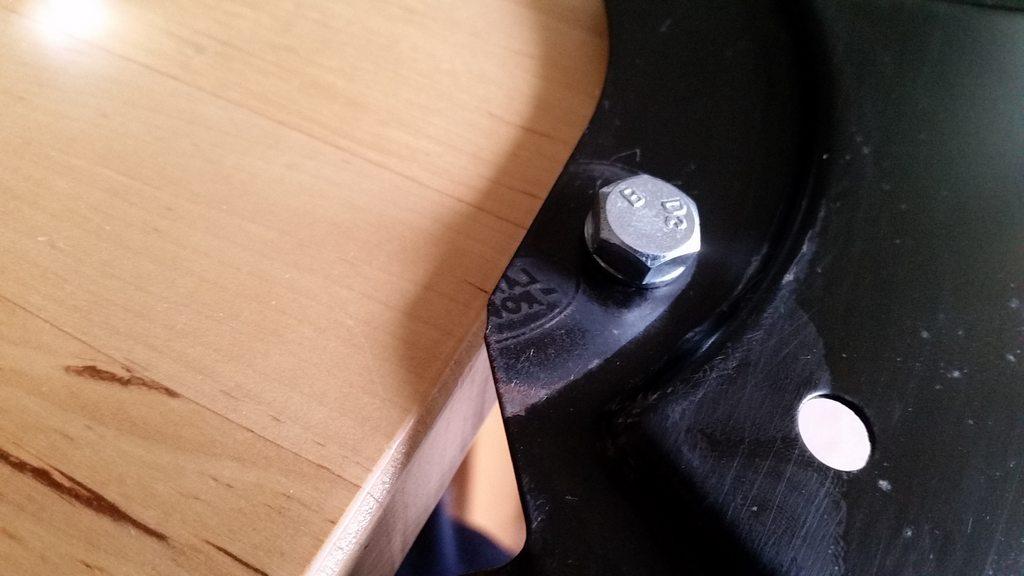
There is 3x 10mm hex bolts holding the disc brake stone gaurd in place. They are at approx 5 o'clock, 8 o'clock and 12 o'clock positions as you look at them from the diff, back towards the LHS stone shield.
The 5 o'clock bolt is behind the shock bracket, and is not accessible with a socket.
I used a 10mm flex head ratchet spanner, which was a walk in the park. You could get away with a socket and a normal spanner if you wished, and had more patience than me.
12o'clock:
5o'clock:
...and 8 o'clock is staring in your face. If you can't work it out, sell your rover, there is no hope for you!
3) Remove the stone shields.
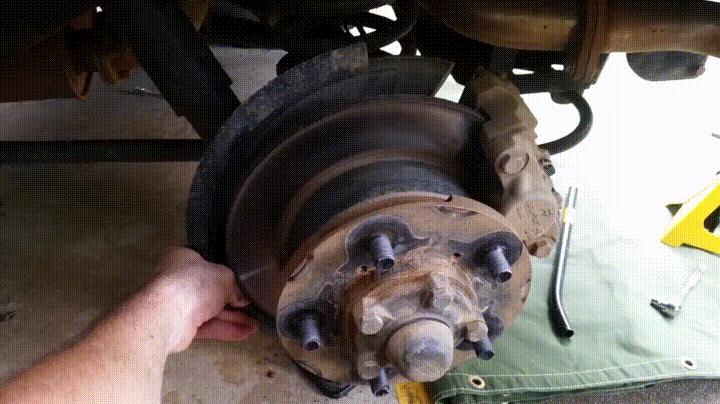
These are easy. I didn't have any luck removing them with the wheels on (the astute amongst you would have noticed the above pics were with the wheels on), so I think it's best to remove the wheels.
There is a bit of fiddle-farting to get these off, but this should show the general gist of it:
Up to this above point, including jacking / chocking and removing the wheels, took about 15 minutes. Bank on another 20 or so to mark out the holes, drill and secure the stiffies, bringing the whole job in under an hour from go to woe.
From this point on, you can follow nugget's supplied instructions, but please, feel free to read on for my own little OC adventure.
4) Inspection of removed parts.
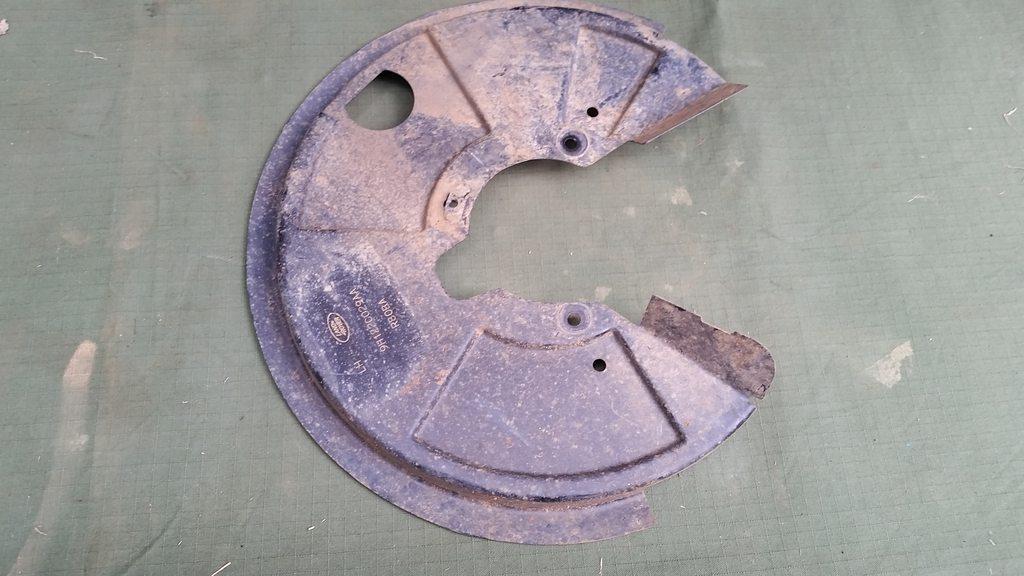
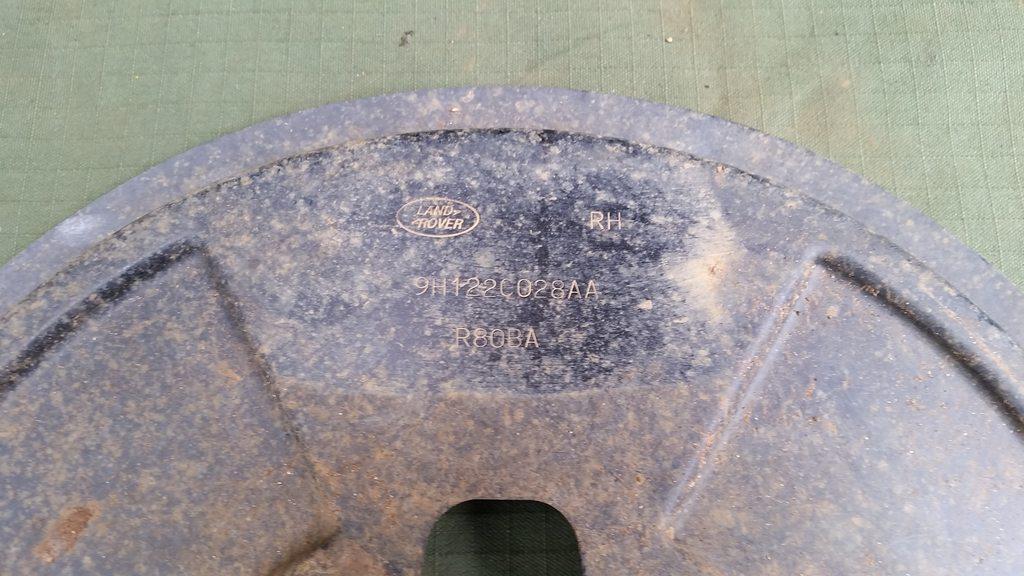
The disc brake stone shields are not identical, marked as a Left and right unit. They are notched to sit around the disc brake calipers, which sit on the upper rear of the axle tube.
The parts are labelled as LH and RH as seen below:
My vehicle has just over 40,000km on it, and about 4.5 years of use (was sold to the PO sept '12). The previous owner was a farmer from Quirindi way, and from what I can gather, did a fair bit of farm driving, dirt roads at speed, and some 4 wheeling. Most of what I've done with the vehicle has been offroad, with the bitumen to get to the tracks.
Looking at the shields, there was not a lot of mud and crud behind them, however I had recently high pressure cleaned the car after a particularly muddy 4x4 trip.
There were some 'minor' stone chips in the paint, but nothing that would bother a 15mm thick piece of cast steel, like a disc brake (Or even a cast aluminium caliper, for that matter).
The outside, stone chips:
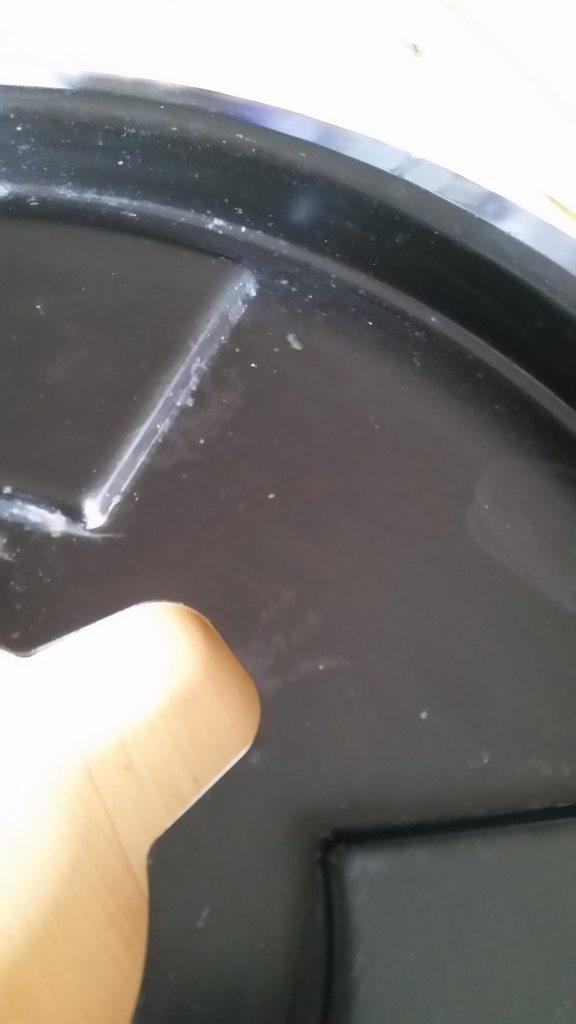
Compared to the inside:
Cool LR imprint on the stone shield from the part it was mounted to:
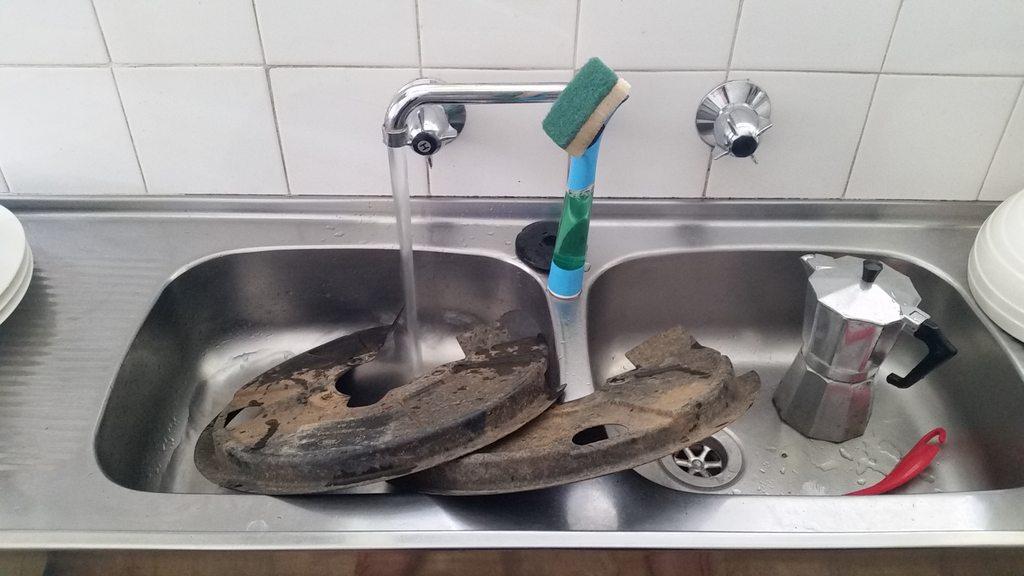
Washing the parts:
Missus is away. Kitchen sink is fair game.
Time to drill.... but first...
It's time for another...
TOOL REVIEW
Sutton tools 'Supa Bit' Impact drill set
Bought these at one of those bunnings warehouse trips where all I wanted was a sausage sanga... somehow, these followed me home.
So I gave these a whirl on this job.
There is only a few sizes, but they work really well with an impact driver. The hex shank works well and makes bit changes a breeze. As the drill bit bites, the impact motion of the driver comes into play and powers thru the material.
They might be a bit gimmicky, but for anyone who has battled (and I mean, battled) with changing out drill bits for stepping up thru the sizes, you will know the pain and toll it takes on getting a quick job done. It's even worse if you have a keyed chuck like my old makita drill which is enough to drive a bloke insane.
It's time to end today's sponsored content, and get back to the actual job at hand:
5mm holes were drilled and counter sunk with this nifty little step drill.
The trick (as per instructions supplied with the stiffies), is to line it up on the convex face of the stone shield, bolt it into place, and mark your holes.
I used a scribe and a centre punch to the centre.
Parts were in decent condition, but not top notch.
You can see the pocking of the finish, and some exposed metal where the shield mounts to the axle assembly. The bare metal was beginning to rust, so I thought it prudent to give it a bit of a birthday with some paint.
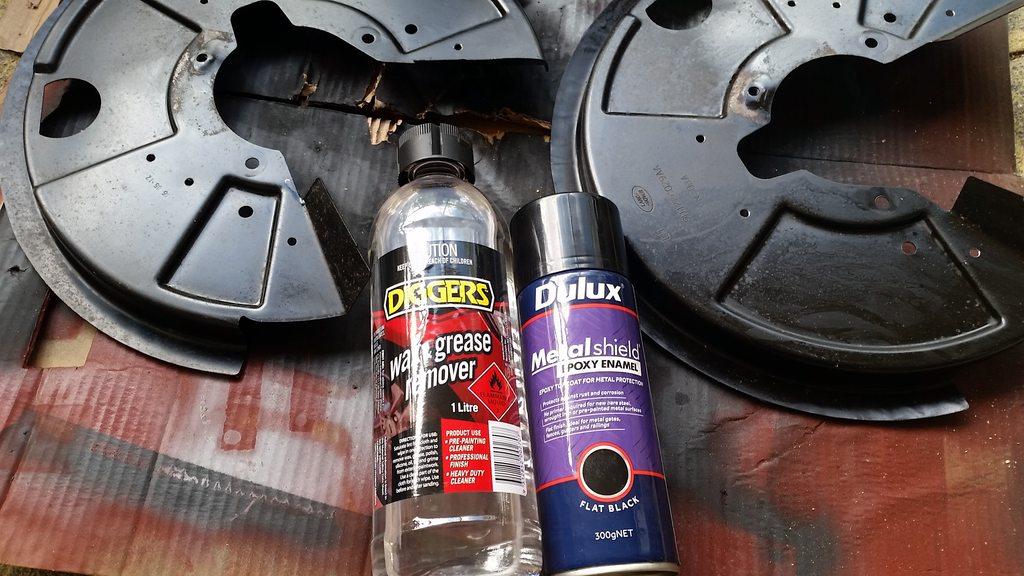
Prep:
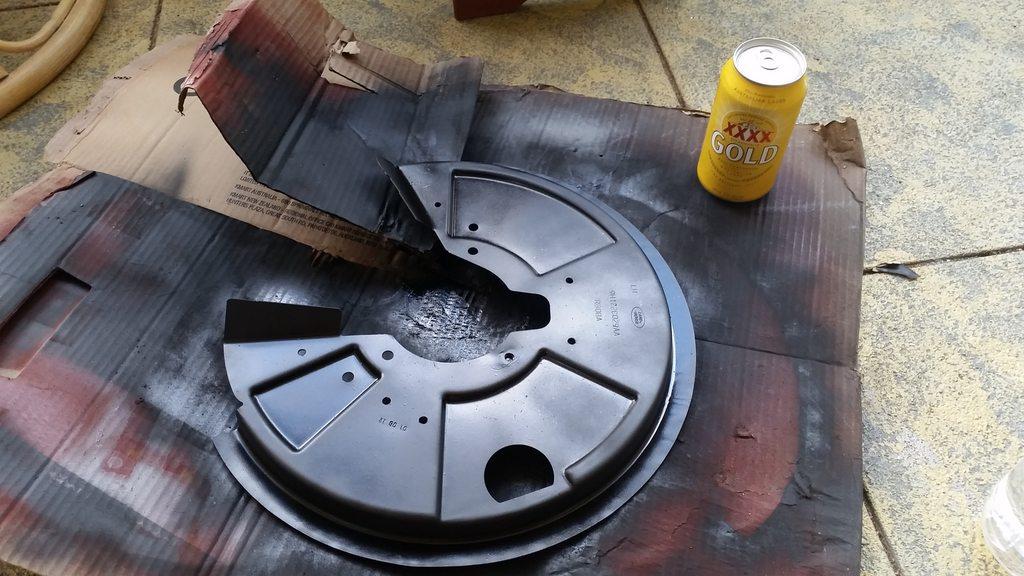
Paint:
Booze Revooz time!
Since I don't like watching paint dry, I had to occupy myself in other ways.
XXXX gold to the rescue. For a mob that needs to use X's because they cannot spell 'BEER', it's not too bad.
Plus, hard liquor at 11am is not a good look.
My arm was twisted, and I had 2 hrs to kill, so managed approx 2 coats per side.
I've been using Dulux metalshield flat black epoxy enamel for a few painting tasks (winch solenoid bracket in the engine bay, and winch rebuild), and have been impressed with its quality. Nobody has time for crap paint.
This one dries hard, and seems to be pretty hard wearing. Plus it's available in many colours, but most of what I need is black.
Getting a stiffy
Ahhh... this joke will never get old.
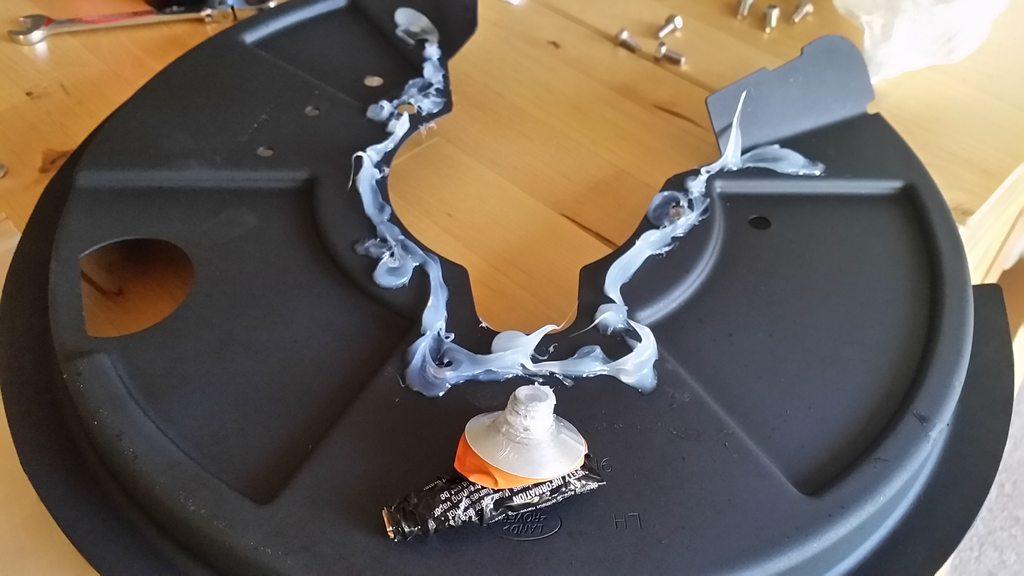
This is where the stiffy mates with the stone shield.
Sort of looks like a movie I watched once
Squeezing every last drop of silicone outta that toob. Had just enough for the job!
I was going to use some sikaflex 291 marine sealant I had in the fridge, but it had dried up.
You know youre a car guy when your egg tray in the fridge door is full of loctite, silicone andgasket goo
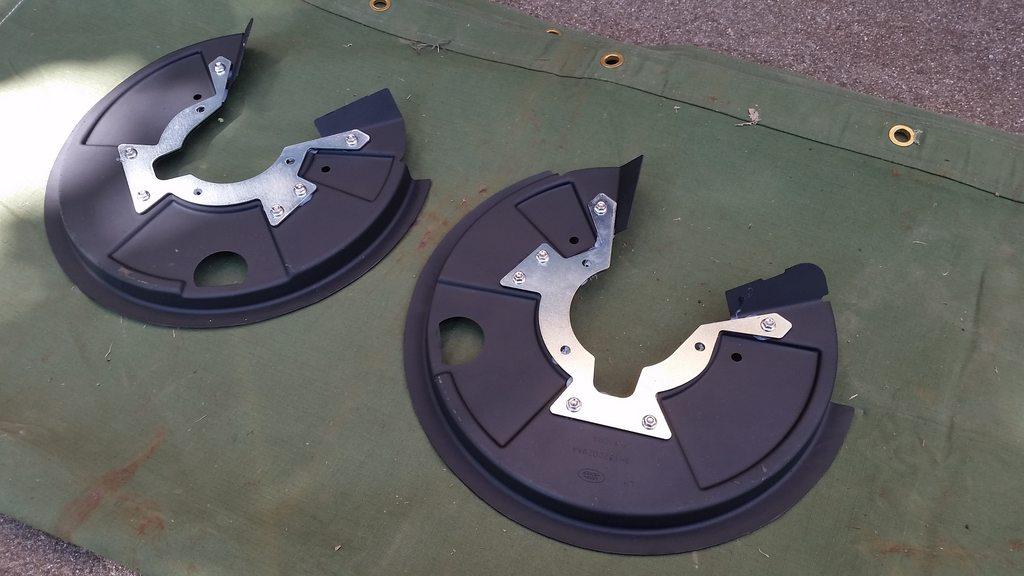
All buttoned up
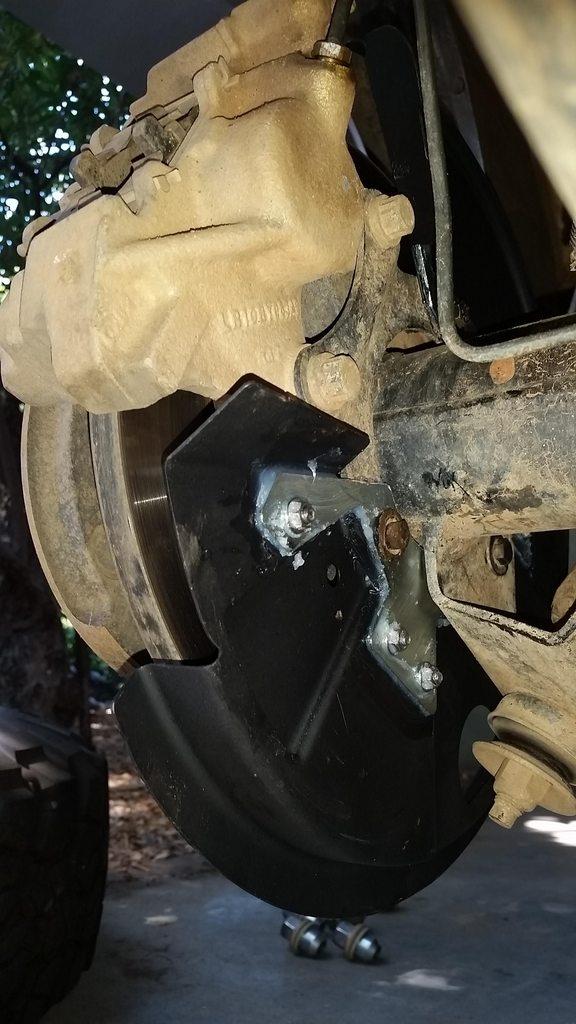
All installed.
I did have a bit of an issue lining up one of the bolts on the RHS shield.
The added thickness of the stiffy means the shield needs to bend around the lower shock mount. this leads to a bit more interference and alignment bothers (not a big issue) when lining it up.
To get around this, I found that getting the bolt at 5 o'clock started first, then getting the others started was the best course of action. The 5o'clock bolt is the furthest from the opening of the shield, and is least able to bend and adapt to any alignment variances with the shield.
Interesting design points
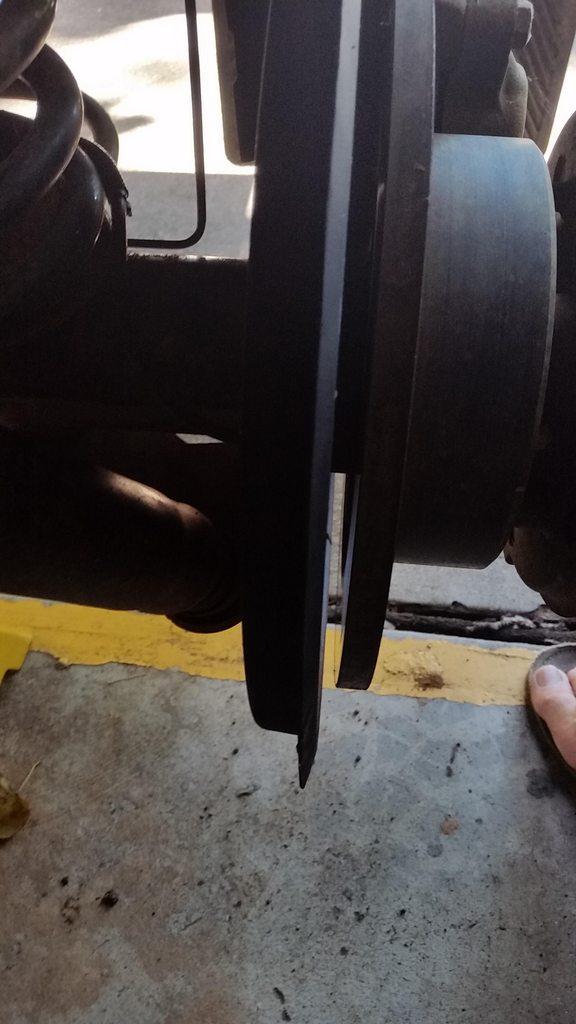
The stone shields do not sit around the disc brake, in fact, they sit proud of it
The shield has flares to keep debris away from the brake lines and caliper body.
Overall it's a pretty weak bit of sheet metal, so will be pretzel'd if it meets with a decent rock or log.
I gave the paint about 4 hours dry time, I did suffer a few dings and dongs while installing them, plus I need to work on my silicone application skills... but it should be a solid finish once it fully dries.
If I have any future issues with the shields, I'll probably just remove them and run without. But what I did today should extend their life until they meet a bitter end.


 Reply With Quote














 Keeping it simple is complicated.

Bookmarks