

 Reply With Quote
Yes please If anything when I read these sorts of tutorials just helps me understand the parts and the workings of them")

 YarnMaster
Subscriber
YarnMaster
SubscriberIs there any intrests here for me to do a "How to" Tutotrial on Brake caliper servicing , I'm about to pull my rangie Brake callipers off the vehicle for servicing , I know a lot of you are very mechanically mided so this would be more suitable for the not so mechanically minded.
Admin
Yes please If anything when I read these sorts of tutorials just helps me understand the parts and the workings of them
Our Land Rover does not leak oil! it just marks its territory.......
Swaggie
SubscriberSure - post away (and make sure you put in a few photos if you've got a camera - makes it sooo much easier to see what is going on).
YarnMaster
Subscriberno problems.
I was planning on taking plenty of Pics , infact I go thru great lengths to make sure the photos I take are good quality for ease of Viewing of the intended audience.
Please don't think I'm taking away your glory....Here's a link to caliper rebuild from LR4x4 Forum.... there is a great Tech section with all sorts of stuff with photos and tutorials
http://forums.lr4x4.com/index.php'showtopic=2851
Moderator
Please do, and I'll add it to our existing thread about brake calipers in The Good Oil -
http://www.aulro.com/afvb/good-oil/5...tml#post819651
Simon
YarnMaster
SubscriberOriginally Posted by It'sNotWorthComplaining!

I just read thru that whole Tutorial and you're not wrong it is a very good tutorialhe explain things really well, even went thru the trouble of cleaning them with wire disc and resprayed them , they came up like new

Thanks , that's just given me some ideas
The MOD Father
No Pressure
"How long since you've visited The Good Oil?"
'93 V8 Rossi
'97 to '07. sold.
'01 V8 D2
'06 to 10. written off.
'03 4.6 V8 HSE D2a with Tornado ECM
'10 to '21
'16.5 RRS SDV8
'21 to Infinity and Beyond!
1988 Isuzu Bus. V10 15L NA Diesel
Home is where you park it..
[IMG][/IMG]
YarnMaster
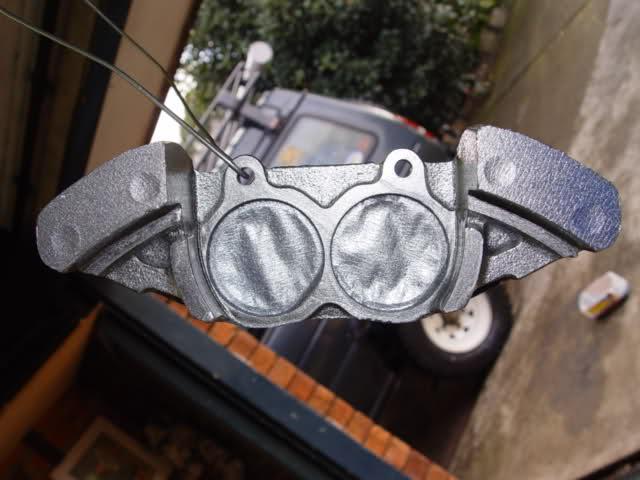
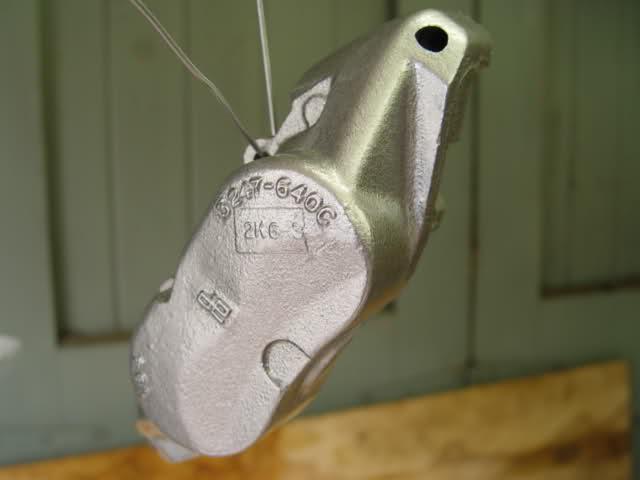
SubscriberJust to wet your appetite a bit Pedro , some pics of the LHS Calipers FinishedI've been away for 3 days and haven't had a chance to "type" the tutorial up.
sprayed with cast alloy silver
New set of pistons and seals.
Brake caliper spacers "yet" to be sprayed and we're nearly done.
YarnMaster
SubscriberSpecifications
Torque wrench settings
------------------------
Brake Caliper mounting bolts................82 NM ............ 60 lbf ft
Brake Disc bolts................................73 NM ............ 54 lbf ft
Removal
1. Apply the handbrake,Jack up one side of the car , I started off with the front , once jacked up I place a chassis stand underneath. and remove the wheel for ease of access.
2. place a tub underneath caliper to catch all the brake fluid and then Clean the area around the caliper brake hose union nut(s), undo the union nut(s) and disconnect the brake pipe(s) from the calipers. if you wish not to loose any brake fluid you can plug the ends of the hoses.
I didn't bother and placed a tray underneath to completely bleed out all the old fluid out of the system.
Slacken off and remove the 2 retaining bolts and remove the caliper assembly from the vehicle.
NOTE . Prior to dismantelling the Brake calipers I had already
orderd the service kits for Brake calipers.
Anyone want part numbers , I'll post them up.
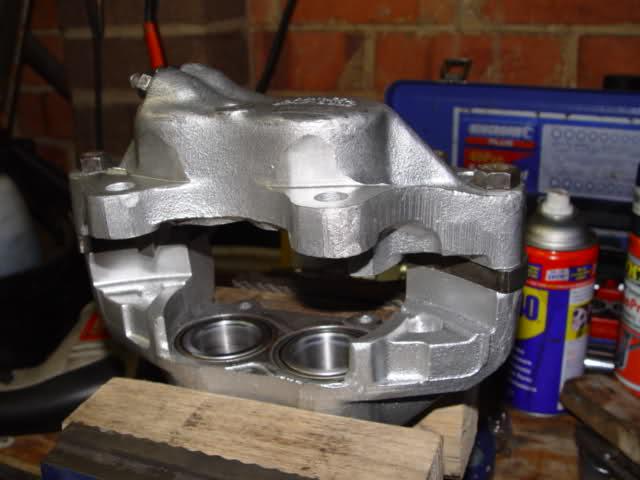
place the caliper on the bench and wipe away all the dust and dirt and oil.
3. remove the split pins from the pad retaining pins with the aid of a small long nose pliers and then withdraw the retaining pin and the anti-rattle spring.
one method of removing the pistons is to place the tip of the air gun to the relevant brake hose union hole , pull the trigger and the piston pops out.
only low pressure is required.
But also another way to remove the pistons is to push both the pistons on one side of the calliper fully into the caliper bore and hold them in place with a suitable G-clamp , then withdraw both partially ejected pistons from the opposite side of the caliper body by hand.
I found the easiest way was to split the caliper halves and then work on taking out the pistons with compressed air.
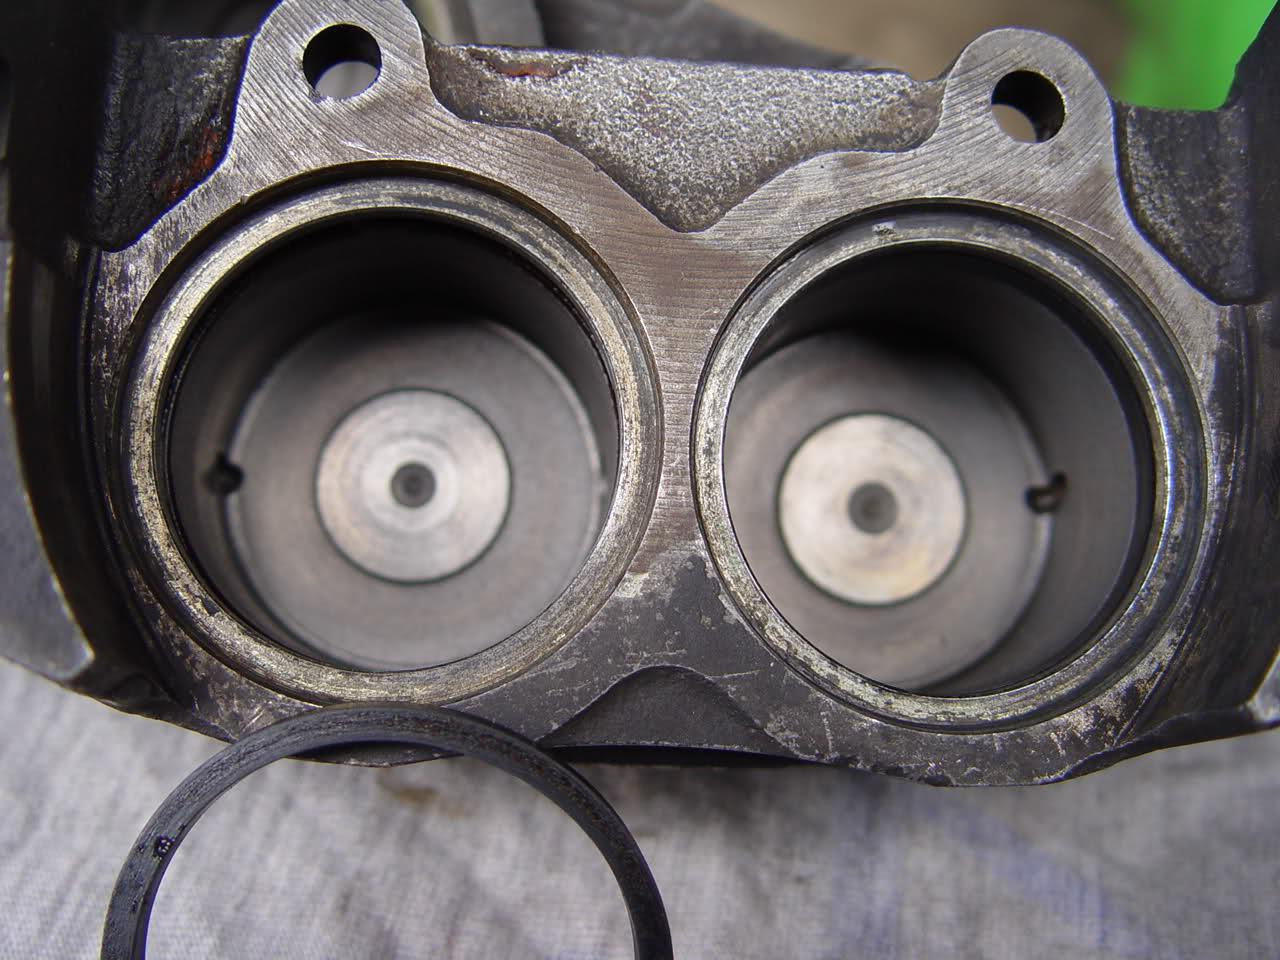
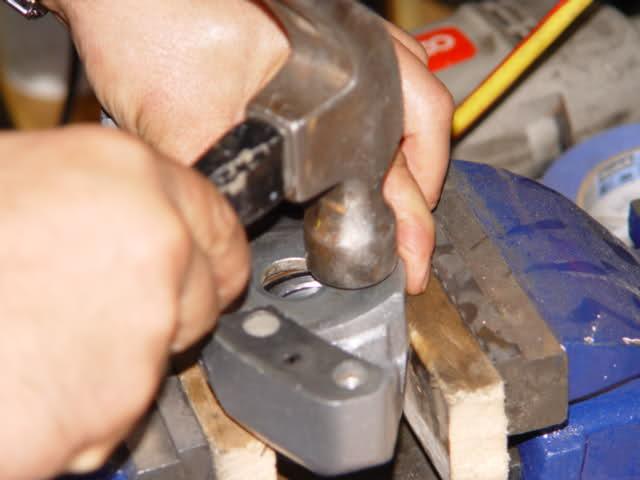
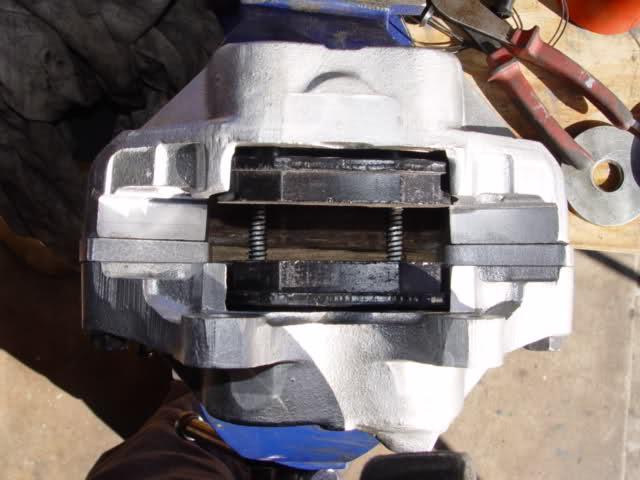
splitting the calipers halves
----------------------
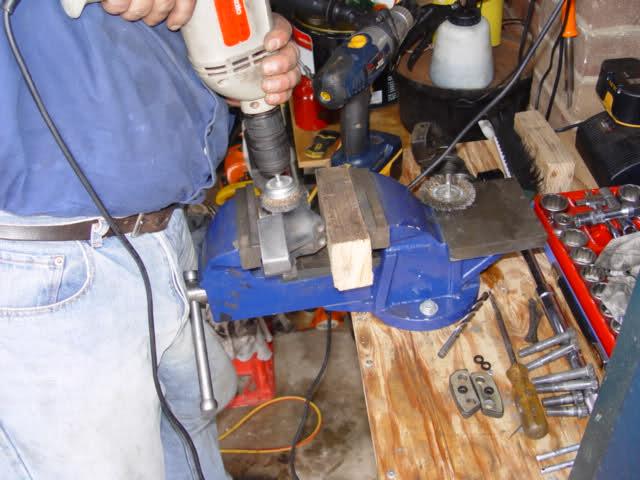
I placed the caliper assembly inside the bench vice as seen with 2 blocks of wood on either side and with help of the correct socket and an extn with a Breaker bar I cracked the bolts , and undid them with a ratchet .
they were pretty tight.
using a small screw driver carefully remove the wiper seal retainer from the caliper , remove the wiper seal and
piston ( fluid ) seal in the same way.
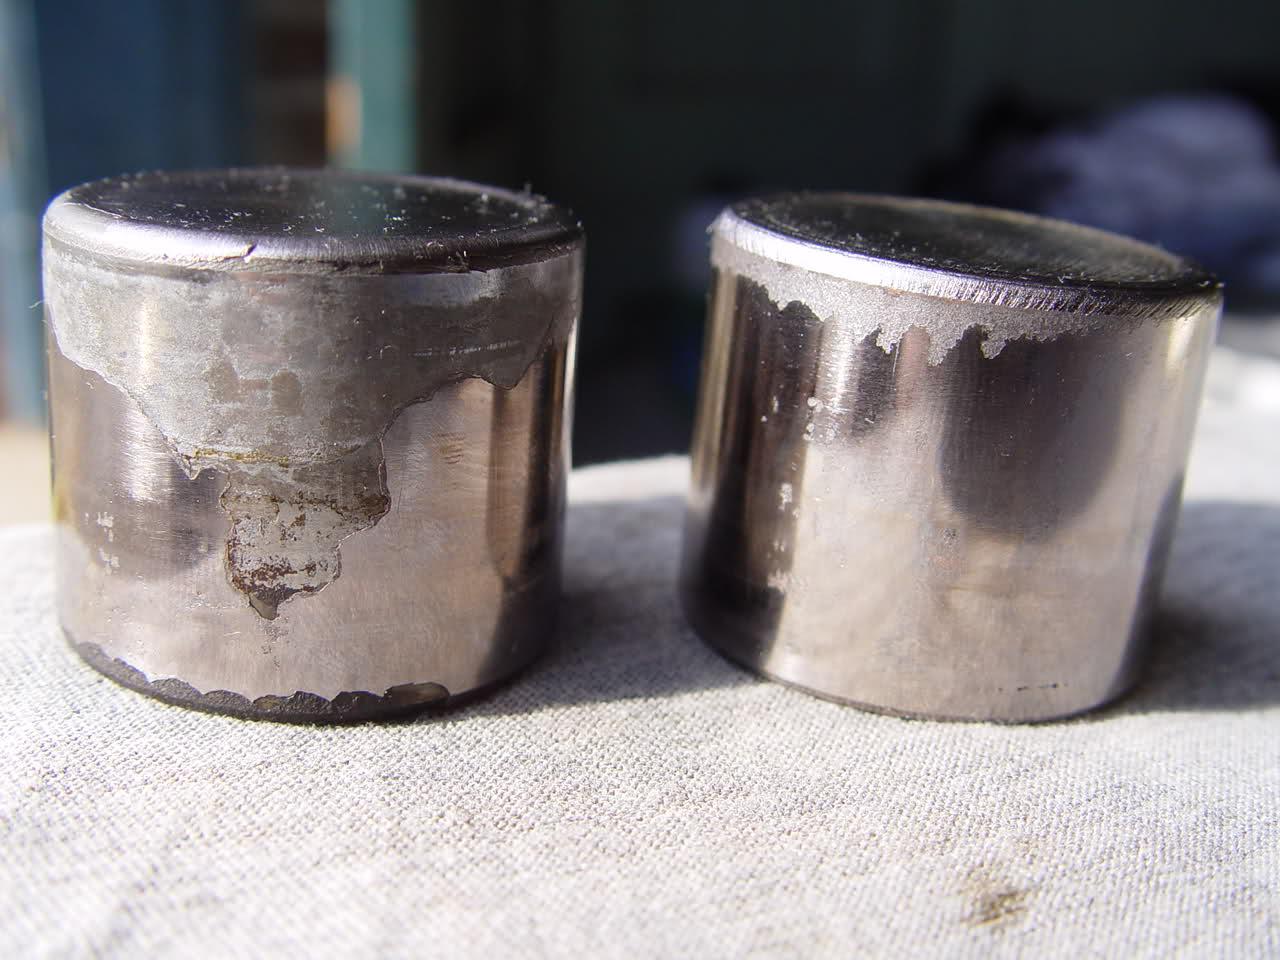
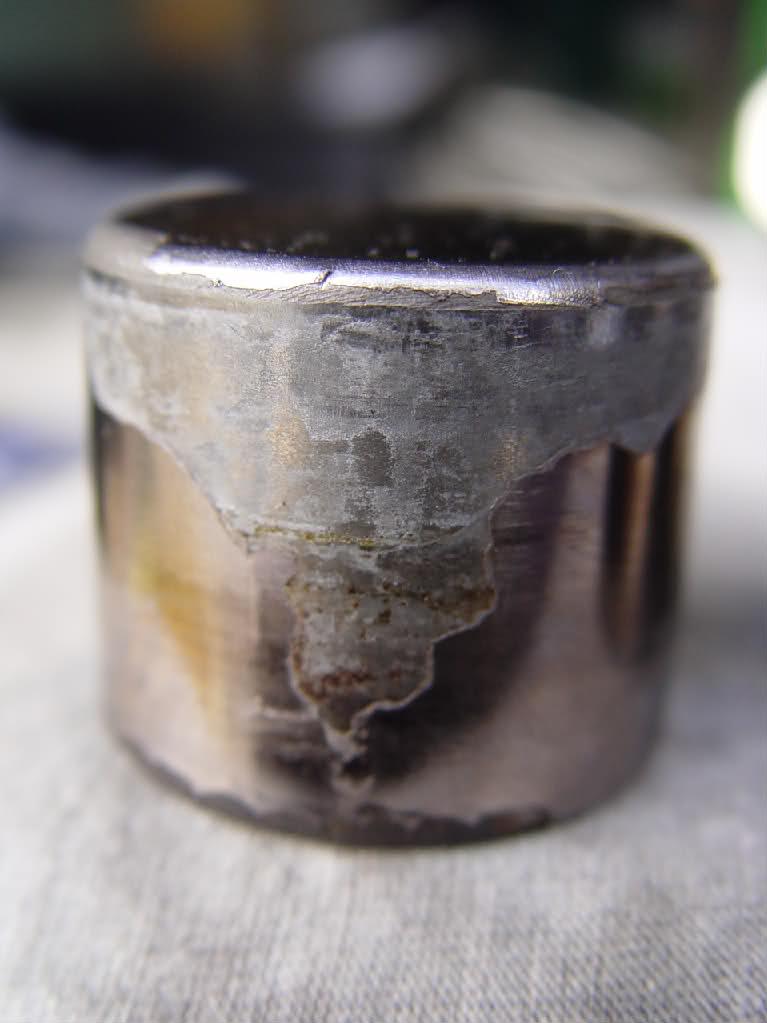
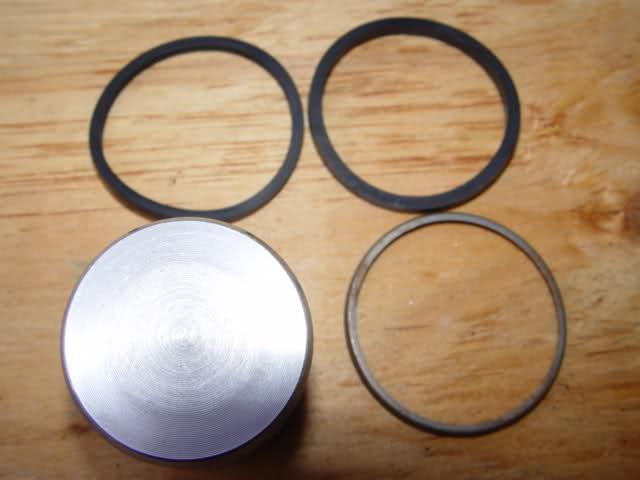
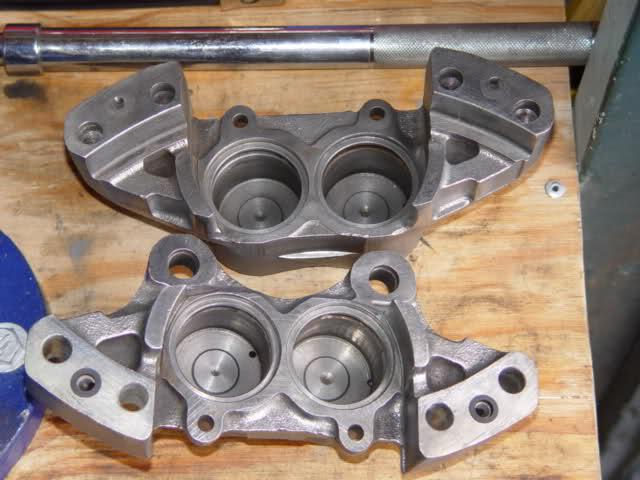
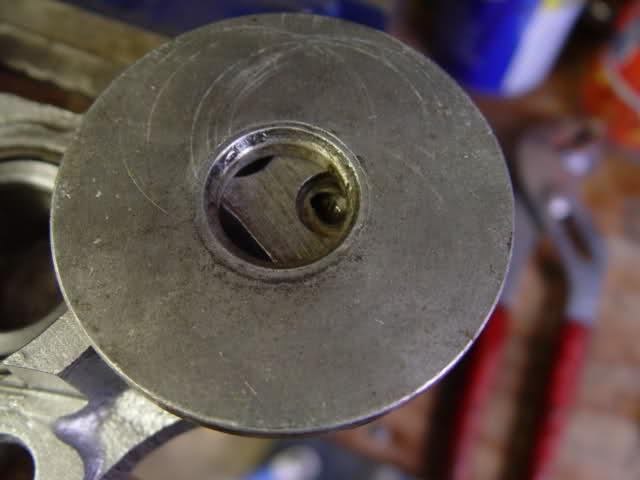
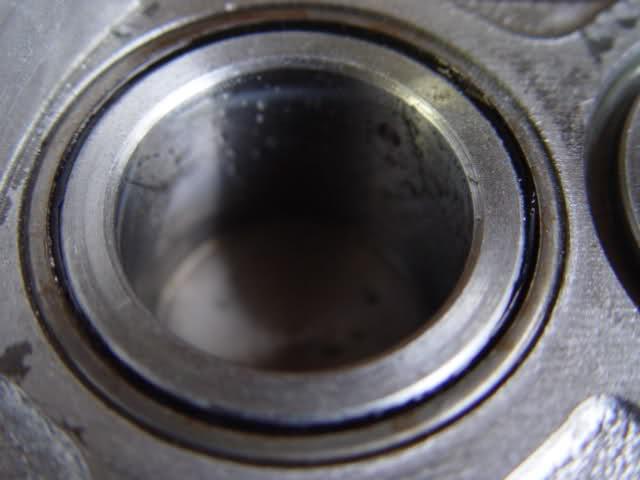
the old pistons
----------------
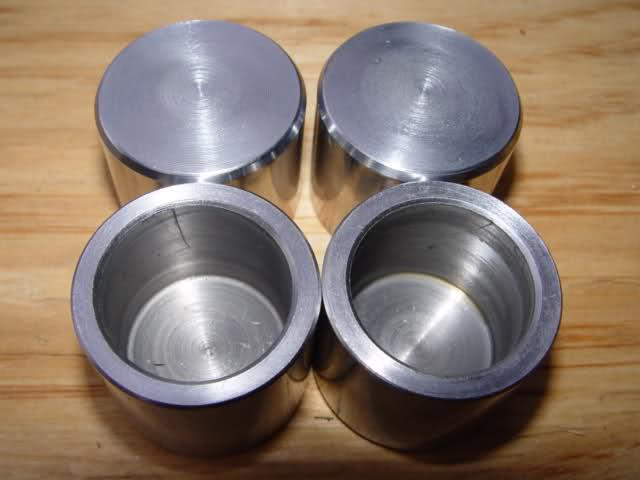
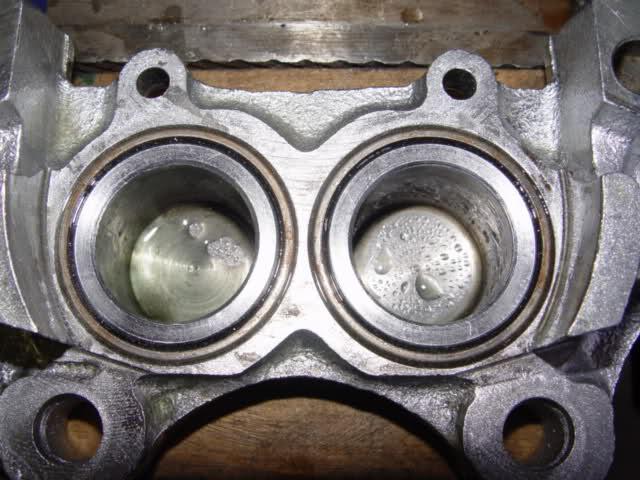
new pistons and seals
-----------------------
Cleaning the calipers
----------------------
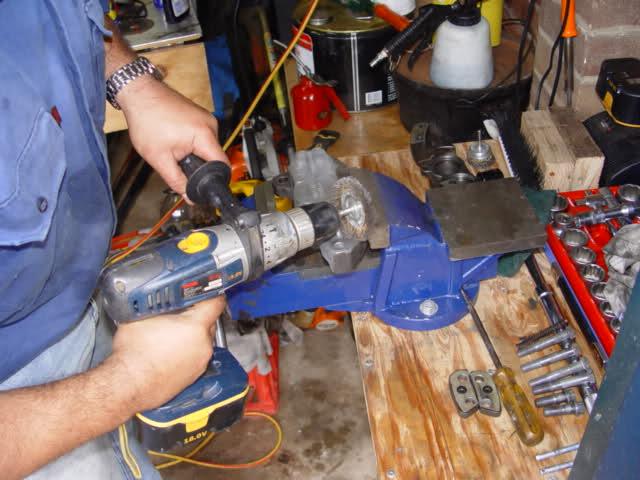
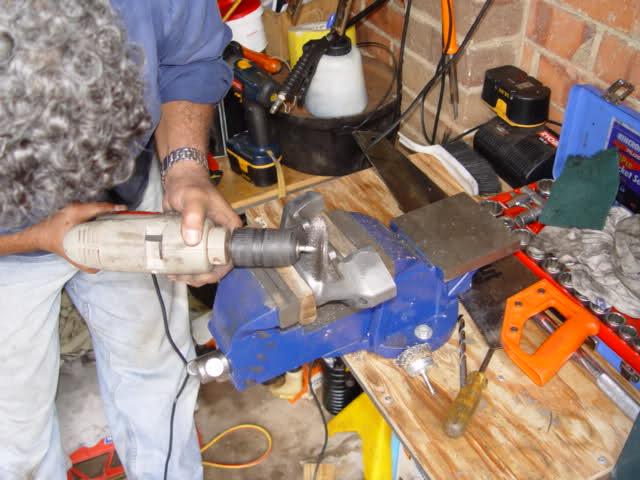
using acircular wire disc and flat wire disc inside the cordless drill I cleaned the calipers to get them ready for paint.
you only have to follow this step if you're planning on re-spraying your calipers.
before cleaning
----------------
Then my cordless batteries died
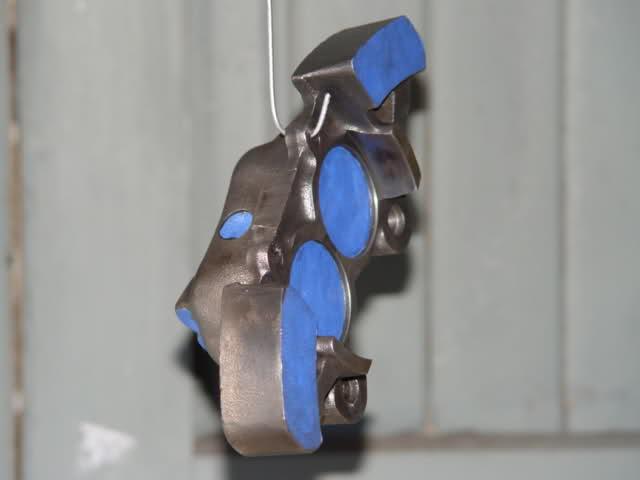
masking up the calipers
------
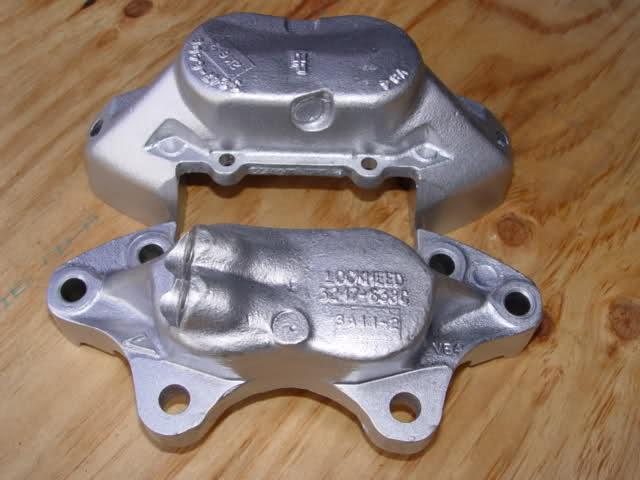
caliper resprayed with Cast Alloy Silver
---------------------------------------
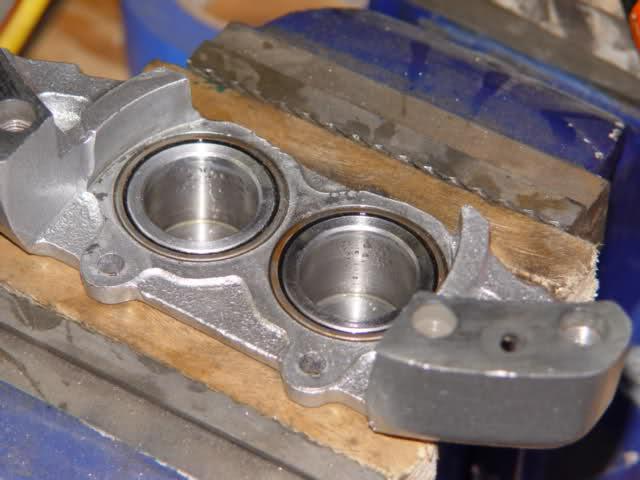
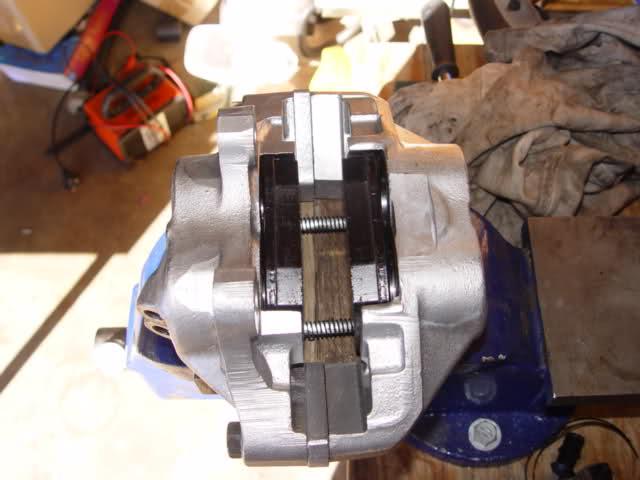
Ready for Assembly
---------
Place one of caliper halves inside the vice and do them up.
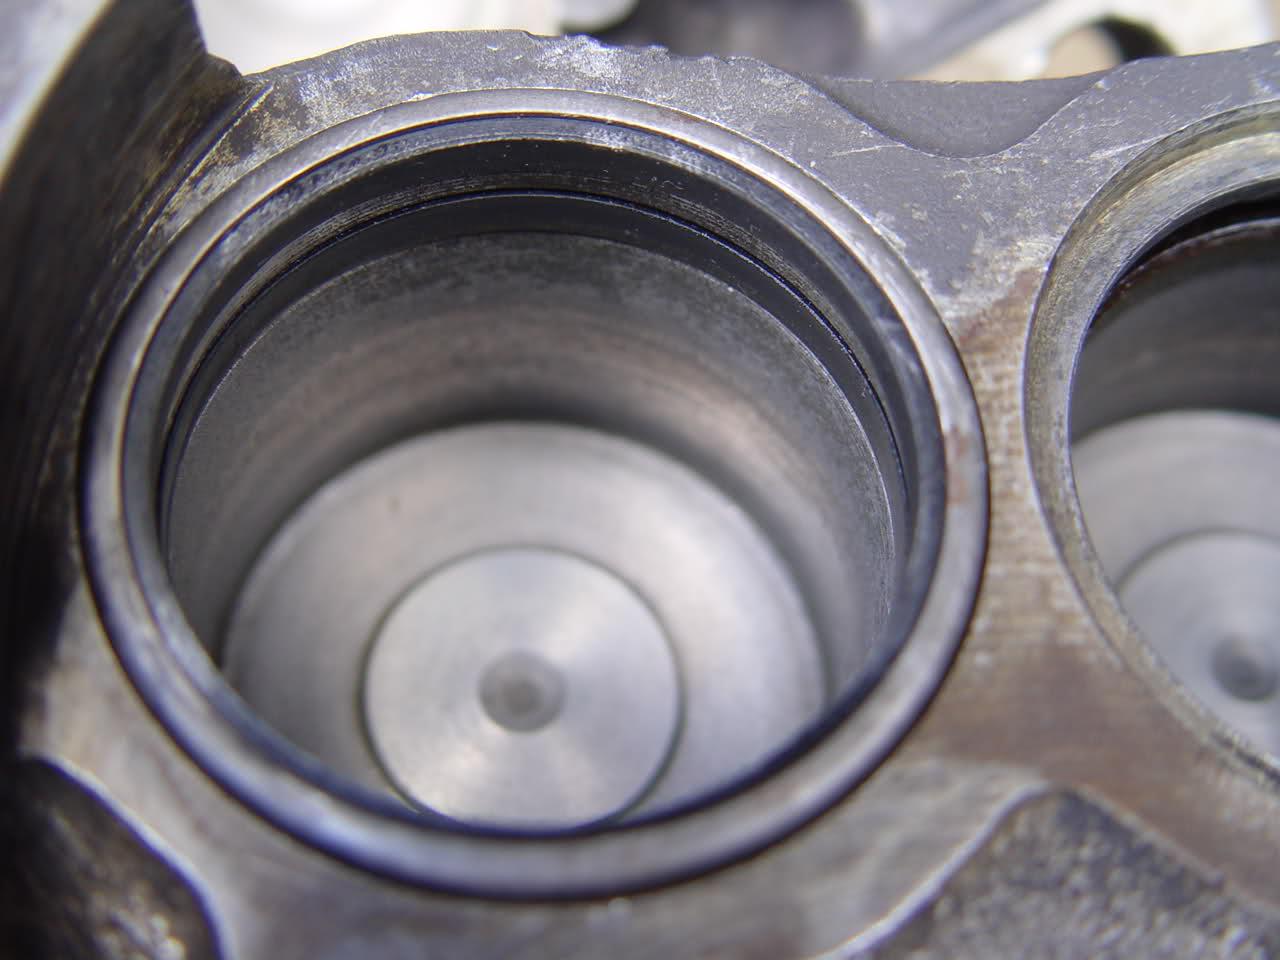
ensure the bores are clean and apply a thin film of clean brake fuild inside the bores.
Lightly coat the fluid seal with brake fluid and insert it inside the bore seating.place the wiper seal on top and place the wiper seal retainer over the top of wiper seal.
I found it really really easy to push the wiper seal retainer in with the aid of a Trailing arm washer , it was perfect for the job. and few gentle taps of the hammer . I had a 100% success rate with this.
Note! on removal of the old wiper seal retainers,I kept them all incase I bent one of the new ones . but didn't.
place the big washer over the top of the retainer and gentle taps of hammer and it will go all the way in
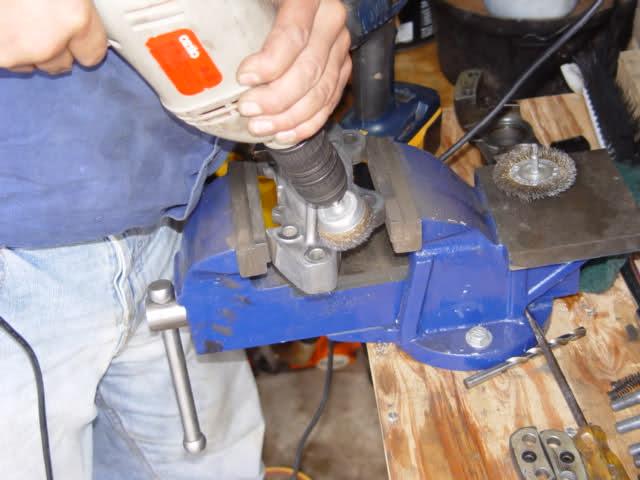
I used the following method to clean all the bolts , placed the Cordless Drill inside the Vice and gently tighten the vice so you don't crush the batterywith the flat circular wire disc inside the Chuck.
placed the bolt threads underneath the wire disc and pull the trigger , and cleaned off the remains of the loctite that was used on fitament.
The bolts threads came up really clean and shiny.
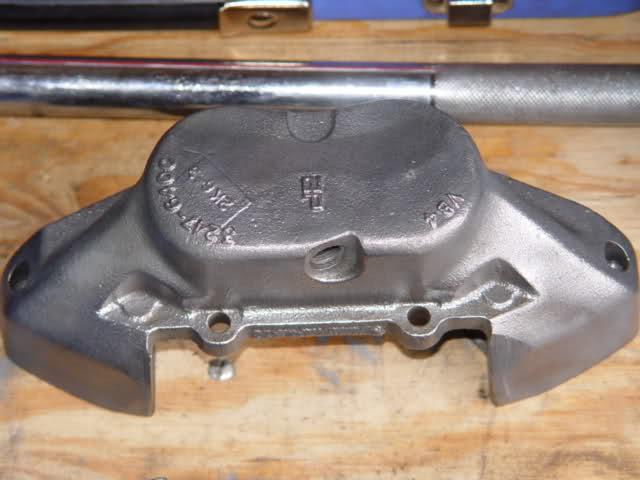
Note the O-ring between the Caliper halves , my calipers have a spacer
inbetween as they are for vented rotors hence the have to offset further due to thickness of the rotors.
but I found I could reuse the old O-rings ,the caliper bolts are Torqued down to 60 lbf ft of Torque ( 82 NM )
so they are very tight , I doubt the old O-rings will leak.
They haven't as yet and it's been a week since the fitament.
ready for fitament
------------------
Note ! as said in the other thread , You must take great care when repairing any part of the braking system, as your life and life of others depends on it.
 Posting Permissions
| Search AULRO.com ONLY! |
Search All the Web! |
|---|
|
|
|


Bookmarks