Page 3 of 11 FirstFirst 12345 ... LastLast
Results 21 to 30 of 108

Thread: ARB DIFF LOCK

  1. #21
    Join Date
    Jan 2008
    Location
    Nowra NSW
    Posts
    3,906
    Total Downloaded
    0
    the above pics I have new brake shoes, Cv joint seals, hub oil seals, hub caps,wheel bearing lock tabs, wheel cylinders and the locker .
    I think every thing is covered.
    I am a motor mechanic by trade and have a fairly well equipt garage at home .
    I have never fitted a ARB locker before, or pulled apart the CVs of a 101 before.
    This will be new for me to do.
    This is much harder than the Detroit Locker I fitted to the rear of the 101.
    which only took a few hours to do.
    I think the first step will be to check to see if the 101 conversion gears fit the axle splines and then see if the conversion gears fit correctly in to the ARB locker( most of which can be done in my warm garage in night time hours).
    The ARB locker kit has every thing I need to do this.
    The only thing I see would be missing for most people is the dash board switches and air supply( I have this all currently fitted )
    I will Keep you posted
    Ron

  2. #22
    Join Date
    Jan 1970
    Location
    Canberra
    Posts
    18,616
    Total Downloaded
    0
    Ron,

    You are lucky that you even have a carport - working on my 101 is done outside out in the weather on a sloping front drive. Plus the weather is a whole lot better in Nowra than it is in Canberra - particularly in Autumn, Winter and Spring.

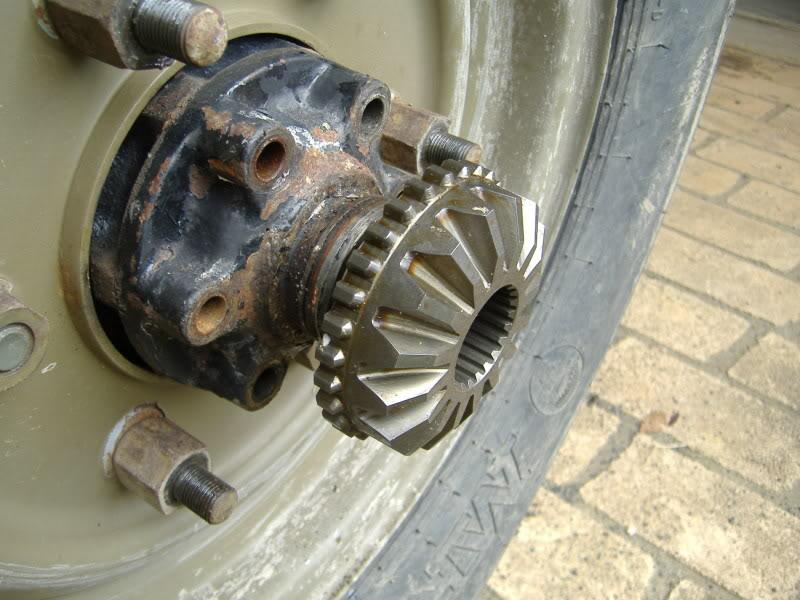
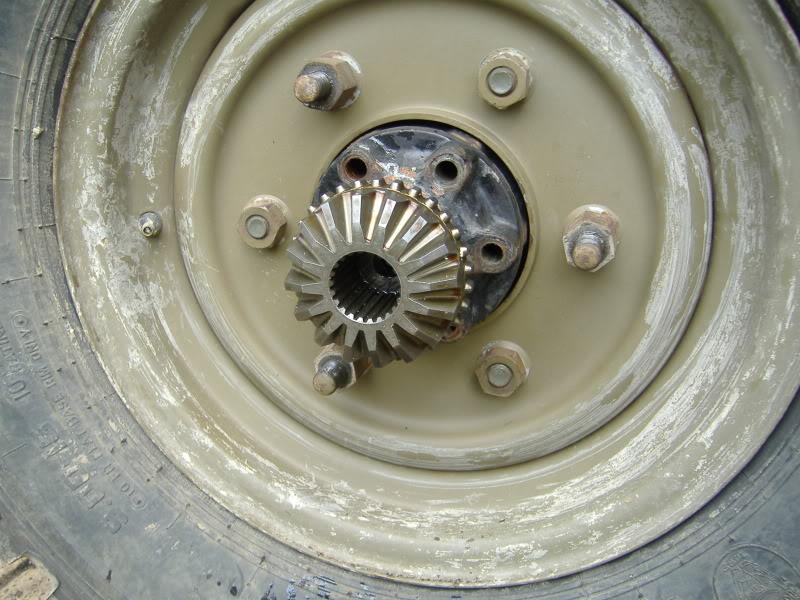
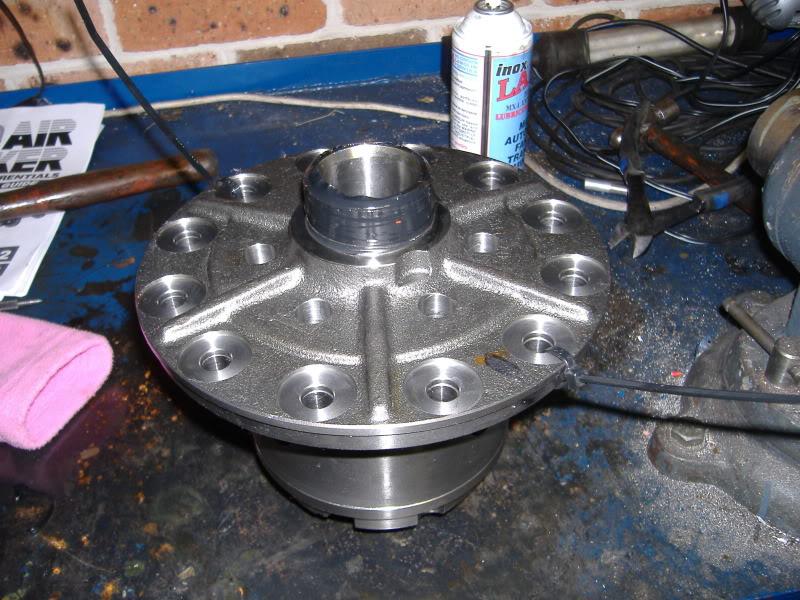
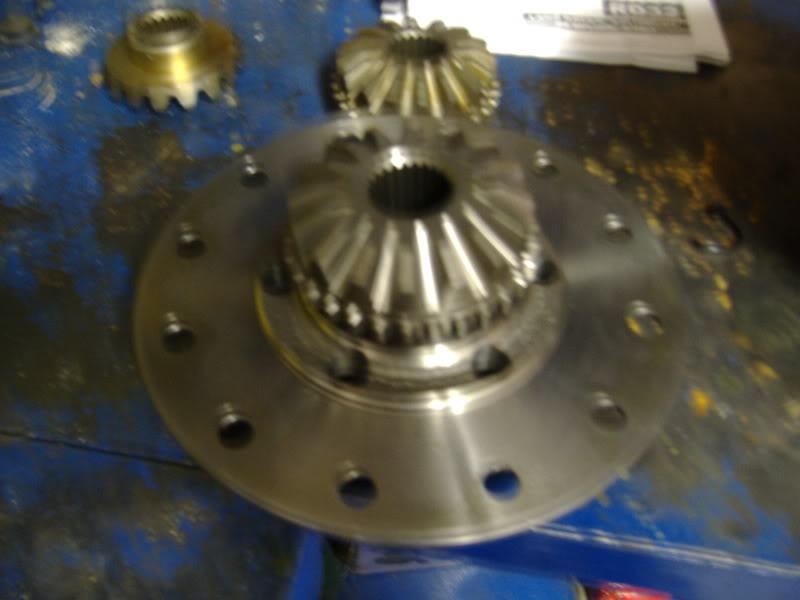
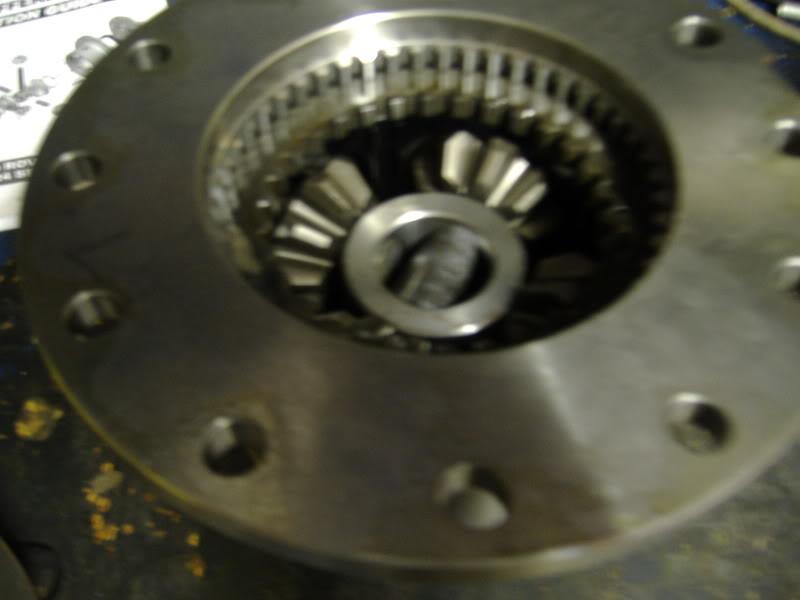
    I looking to see how well you go with the ARB locker because as you said it will be a bit more complex than the rear locker.

    My 101 is coming along - LPG has been tested and all back in - I had to buy a new clutch master cylinder yesterday as mine has started leaking - so I will put that in today if the weather holds up - it is really cold and windy.

    Just sorting the electrics now - my main worry is that I have no indication of oil pressure - the gauge is not working, nor is the dash light - not happy driving without some indication - the dash is coming out this weekend so I hope to fix it.

    After that it is put the heater back in - as bought it was in the air tunnel acting as a supplementary cooling radiator - then adjust the steering and then remove the tin roof and put on the canvas.

    The problem I have is that everyone I know thinks I have time to do things for them. When I say I need to work on my truck - the usual response is I can do that anytime. I have to go to my Mum's next week to paint her house.

    So should be on the road - even if only with a drive permit by the end of June. All systems should be go.

    Garry
    REMLR 243

    2007 Range Rover Sport TDV6
    1977 FC 101
    1976 Jaguar XJ12C
    1973 Haflinger AP700
    1971 Jaguar V12 E-Type Series 3 Roadster
    1957 Series 1 88"
    1957 Series 1 88" Station Wagon

  3. #23
    Join Date
    Jan 2008
    Location
    Nowra NSW
    Posts
    3,906
    Total Downloaded
    0
    Nothing worse than a sloping drive way and working under a vehicle.
    The creeper board only works one way and watching your aerosol cans ,sockets and screw drivers roll away down the the street causing a few well choosen words...... while hitting your head on the chassis.
    Might be a good thing to vid and post on you tube......

  4. #24
    Join Date
    Jan 1970
    Location
    Canberra
    Posts
    18,616
    Total Downloaded
    0
    Put the new clutch master cylinder in - what a PITA - and just have to bleed it tomorrow.

    Also took the front winch fitting off - was surprised to see how small the bolts are that hold on the front Xmember/bumper.

    The winch area is OK as it doesn't actually take the weight of the 101 but I would be concerned when the winch cable doubles back to the nato hitch. When I get this thing back on the road I will put on the list of nice things to do later - reinforce the front area for recoveries.

    Car ramps make everything nice and level but is a bit hard to climb up and down. It will go on jack stands or the jack but I need to be careful.

    Garry
    REMLR 243

    2007 Range Rover Sport TDV6
    1977 FC 101
    1976 Jaguar XJ12C
    1973 Haflinger AP700
    1971 Jaguar V12 E-Type Series 3 Roadster
    1957 Series 1 88"
    1957 Series 1 88" Station Wagon

  5. #25
    Join Date
    Jan 2008
    Location
    Nowra NSW
    Posts
    3,906
    Total Downloaded
    0
    Testing to see if conversion gears are correct size and spline pattern by trying it on the drive axle whisle axle is still fitted to vehicle.
    It was found to be a tap on fit with a.small copper hammer.


  6. #26
    Join Date
    Jan 2008
    Location
    Nowra NSW
    Posts
    3,906
    Total Downloaded
    0
    The locker as supplied has its crown wheel side cover loose and held together with cable ties as in service the crown wheel bolts hold the side cover on.
    Cut cable ties and the series three side gear will be accessed when the cover is tapped off gently with a copper hammer.
    dont loose the shim behind the side gearside gear and refit together with the 101 side gear as found.


    Install new cable ties to hold the whole thing back together again.
    Note insulation tape has been wrapped around the carrier bearing and seal journals to protect them whisle working on the locker.

  7. #27
    Join Date
    Jan 2008
    Location
    Nowra NSW
    Posts
    3,906
    Total Downloaded
    0
    When ever removing anything from the locker or diff centre punch mark everything so you know how it exactly goes back together and what way around.
    This photo shows the difference in size in the centres of the series side gear and the 101 side gear.
    Note the side gear shim still on the series three side gear and yet to be fitted to the 101 side gear.( first two pics)


    Dont forget to wash off the anti rust coating from the 101 side gears and give them a bit of lube before they go in.

  8. #28
    Join Date
    Jan 2008
    Location
    Nowra NSW
    Posts
    3,906
    Total Downloaded
    0
    Turn the locker up the other way and remove the side cover plate.
    Note the 8mm long series double hex socket which must be used.
    The socket will be at maximum effort to remove the bolts which are a compact double hex design.
    To stop stripping of the bolt and socket , I ground the socket down a bit lenght wise so it was working on new unworn part of the socket.
    The bolts have a special locking washer arrangement with loctited threads.

  9. #29
    Join Date
    Jan 2008
    Location
    Nowra NSW
    Posts
    3,906
    Total Downloaded
    0
    Side cover including the air piston removed showing the series three side gear and plastic cage set up which works the dog clutch on the other side of the locker.


    The series side gear needs to be carefully worked past the pastic cage as the side gear is very slightly larger OD.
    Fit in 101 side gear the same way and remember the the shim behind it.

  10. #30
    Join Date
    Jan 2008
    Location
    Nowra NSW
    Posts
    3,906
    Total Downloaded
    0
    Refit side cover and air piston adding new loctite to threads.
    Tighten the special bolts untill the the limit of the the drive you can get on the special bolts with the socket without slipping.
    bolts must be done evenly.
    The locker is now converted for use on a 101 landrover.
    The next stage is to put my 101 off the road which I am not quite ready to do yet.
    The next pics show a rough diff housing spreader I made when fitting the Detroit locker in the rear diff.
    A hydraulic jack goes in the top of the frame to spread it apart and the lugs engage on the casting on the diff housing.
    The Detroit install was simple and used the existing carrier and bearings etc so it did the job for that.
    The ARB is alot of work and requires the locker to be removed and refitted many times to check things.
    A better one will needed to be made before I go any further.
    The conversion side gears are of the best size and quality and I cannot say where they were made.
    I expect no problems with fitting them with the same shims as the series three side gears.
    That cannot be checked untill the crown wheel is bolted onto the locker.

Page 3 of 11 FirstFirst 12345 ... LastLast

Bookmarks

Bookmarks

Posting Permissions

  • You may not post new threads
  • You may not post replies
  • You may not post attachments
  • You may not edit your posts
  •  
Search AULRO.com ONLY!
Search All the Web!