Todays adventure was installing Nugget's sealed airbox kit.
My vehicle has a safari snorkel which was fitted at ARB by the previous owner. Upon investigation, it was actually installed fairly well, as there was traces of silicone at all the joins in the intake tract.
Some pics:
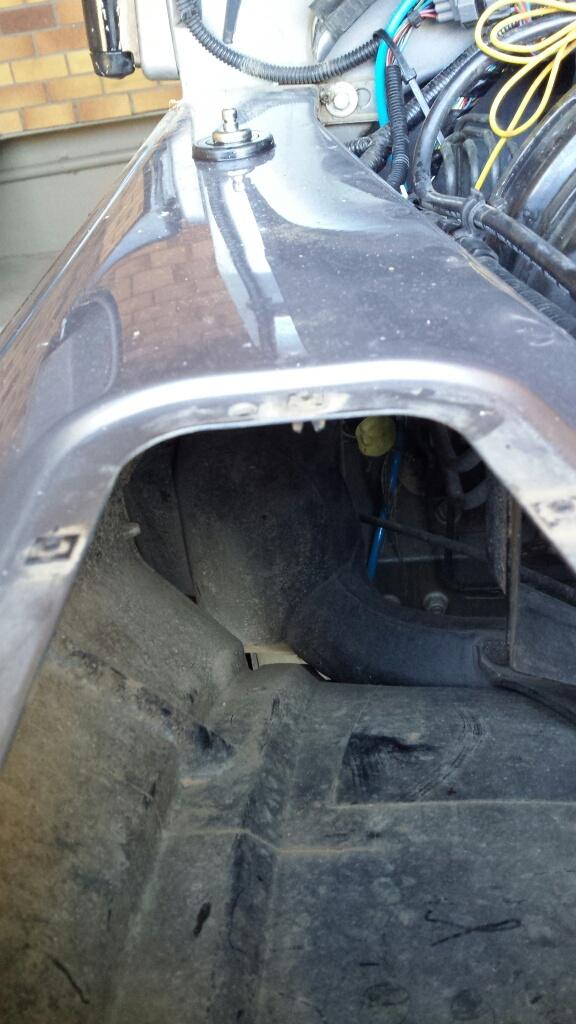
Inner wheel arch liner removed
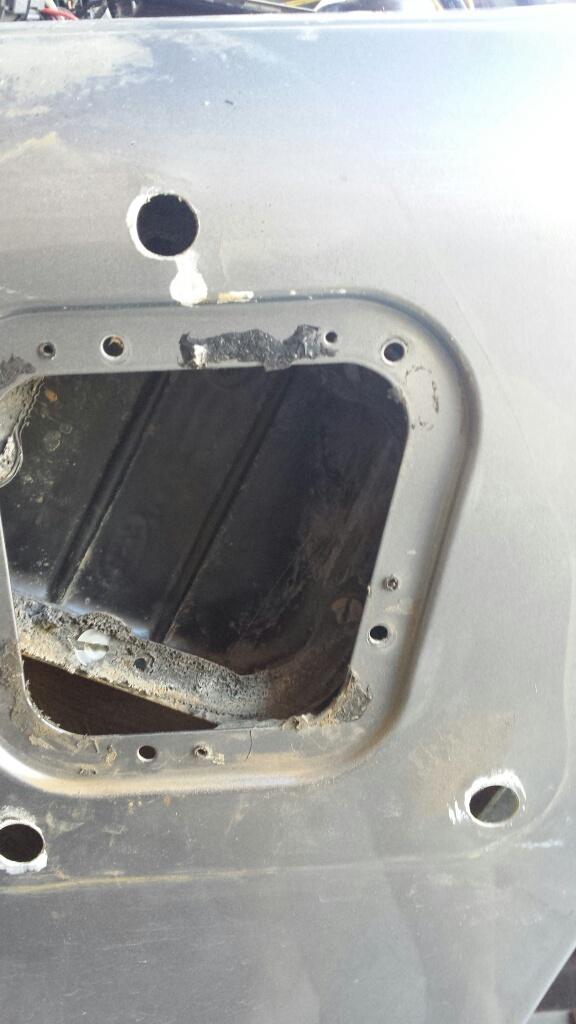
Stock airbox configuration
Air intake with snorkel removed
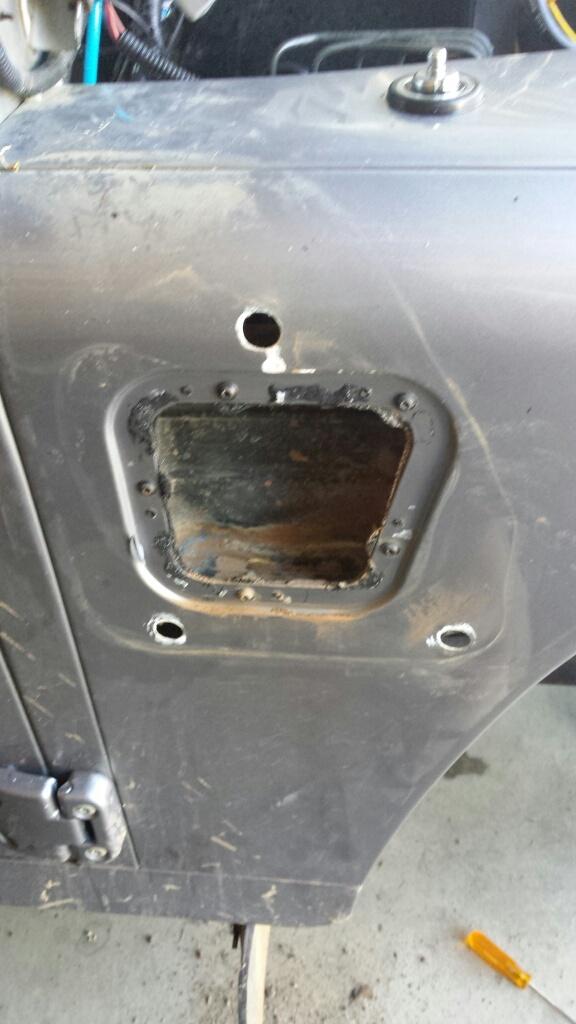
S. Much. Silicone.
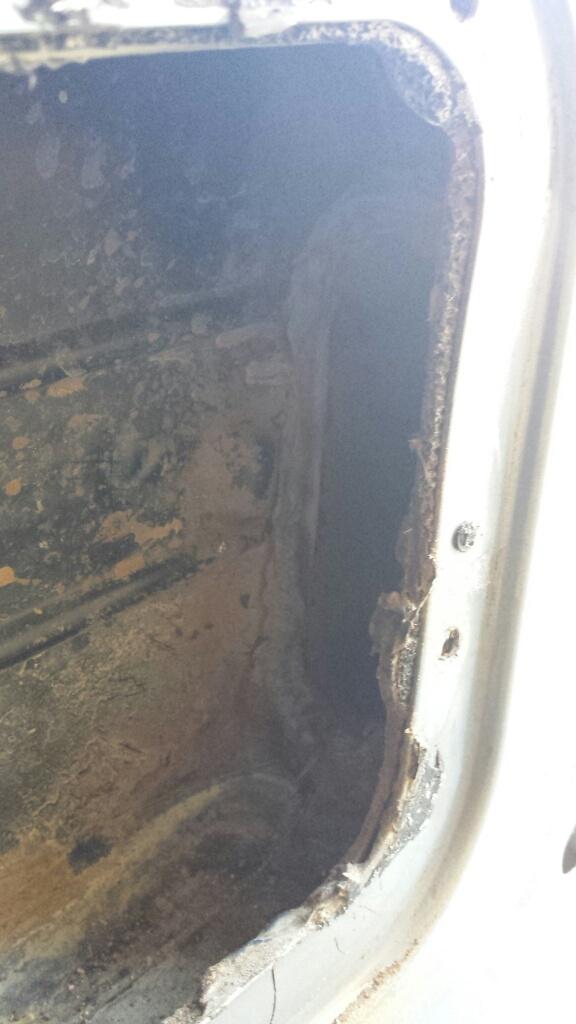
Removing the old intake ducts
I persevered trying to remove the factory ducting without cutting it. I was able to prise the press fit long duct tube apart from the air intake box pictured below. From there I was able to spin it in situ, then slide it out the wheel arch.
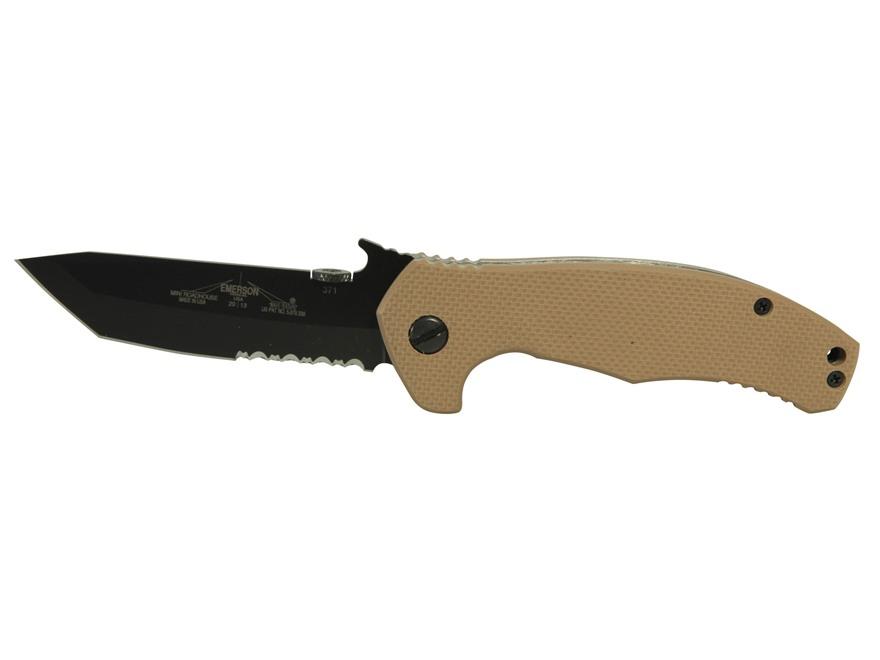
Removing the long air duct tube to the airbox would be possible, but would involve removing the wheel arch proper. I opted for a small hack saw and a bit of help from Mr Emerson to get the rest of the job done.
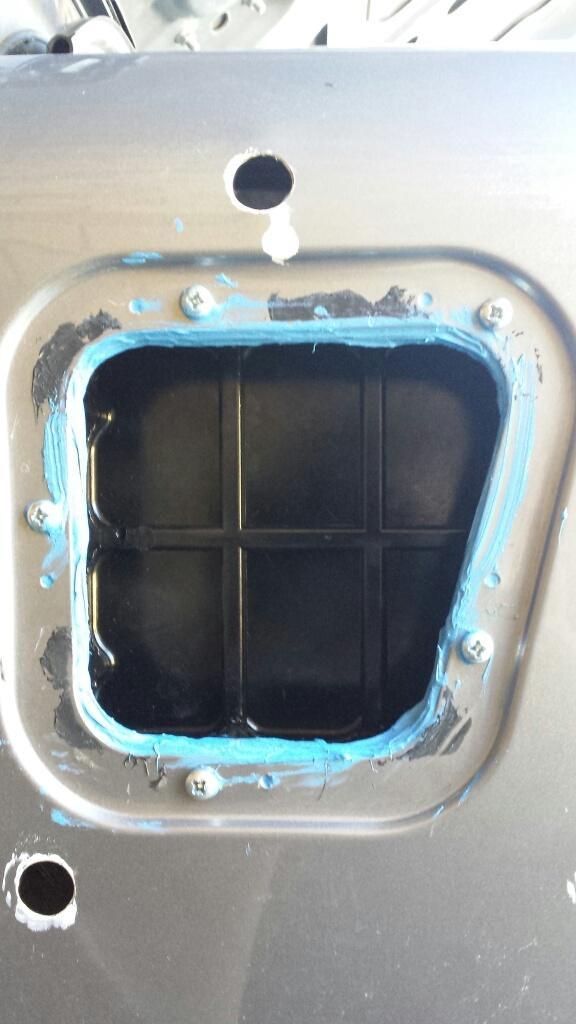
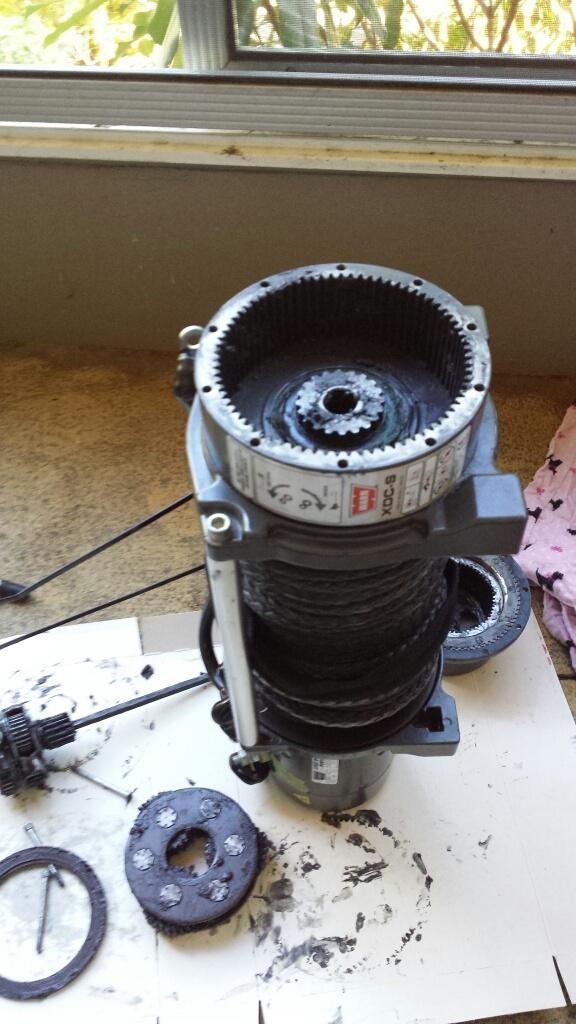
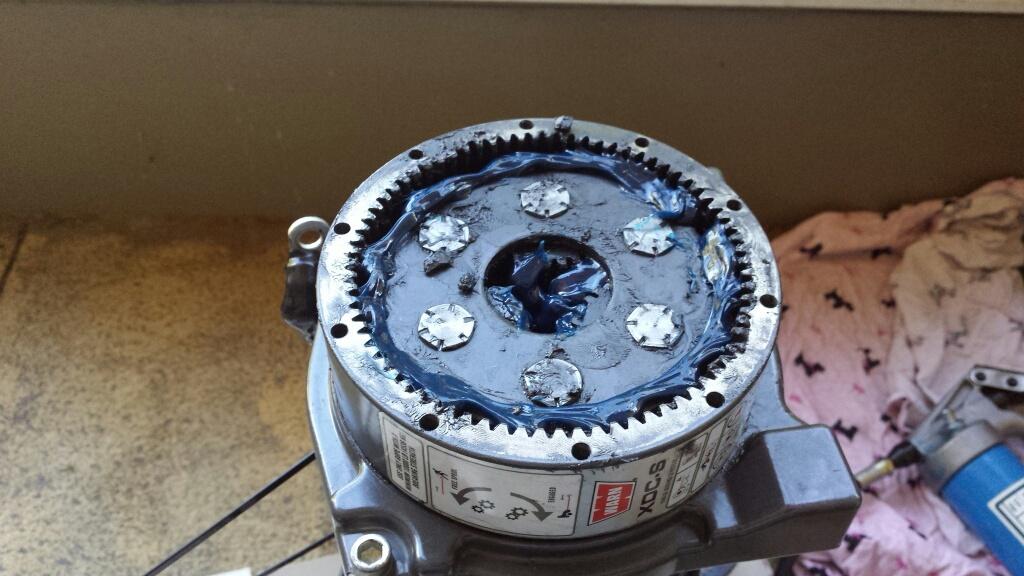
Smurf Murder
Sealed the crap out of the airbox with the supplied liquid gasket goo. By the time I was done, I looked like I'd murdered a smurf.
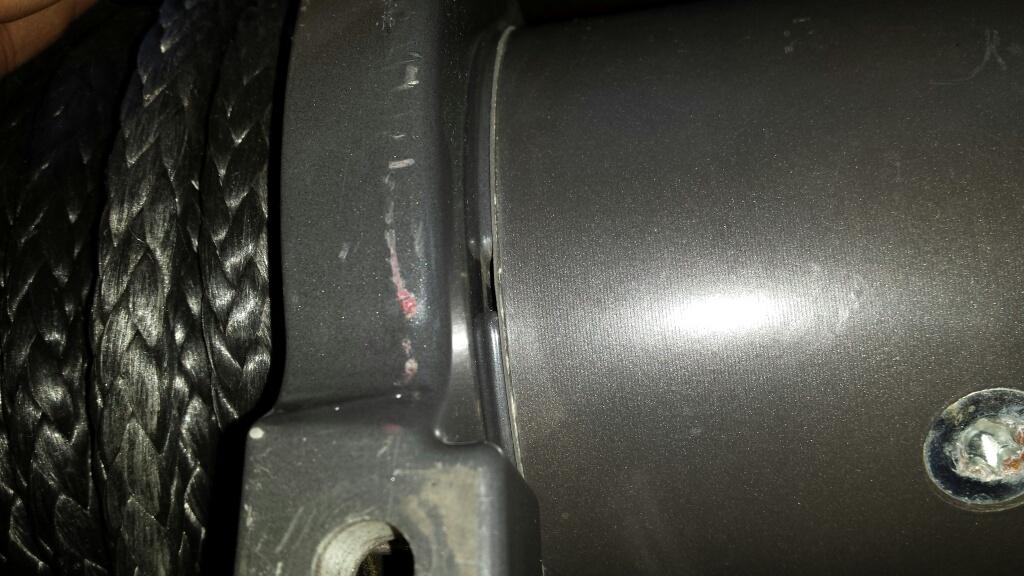
After the deed was done, I wiped it all up, and cleaned the outside mating surface. The remains of the sealant from the snorkel install were still on the vehicle.
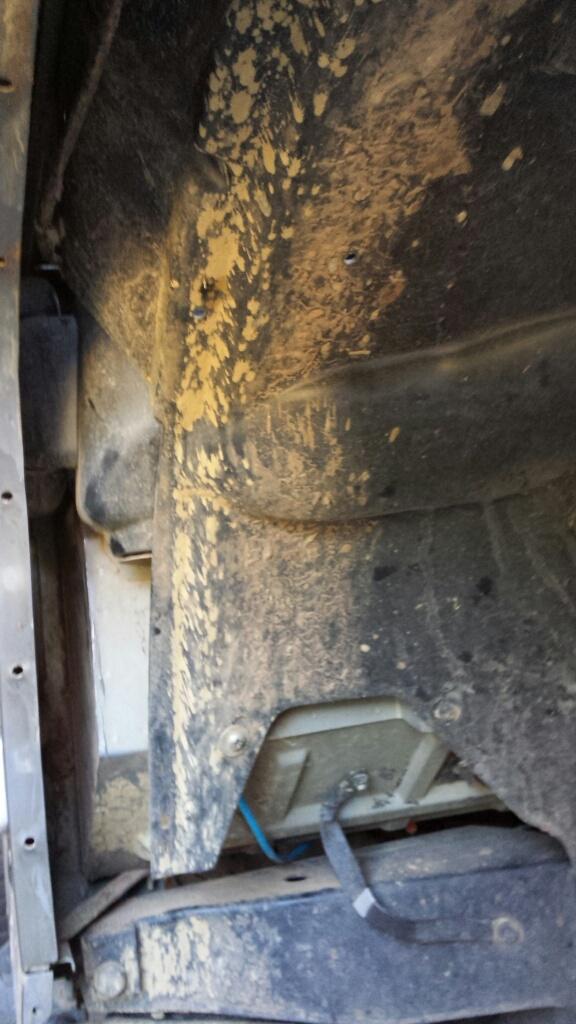
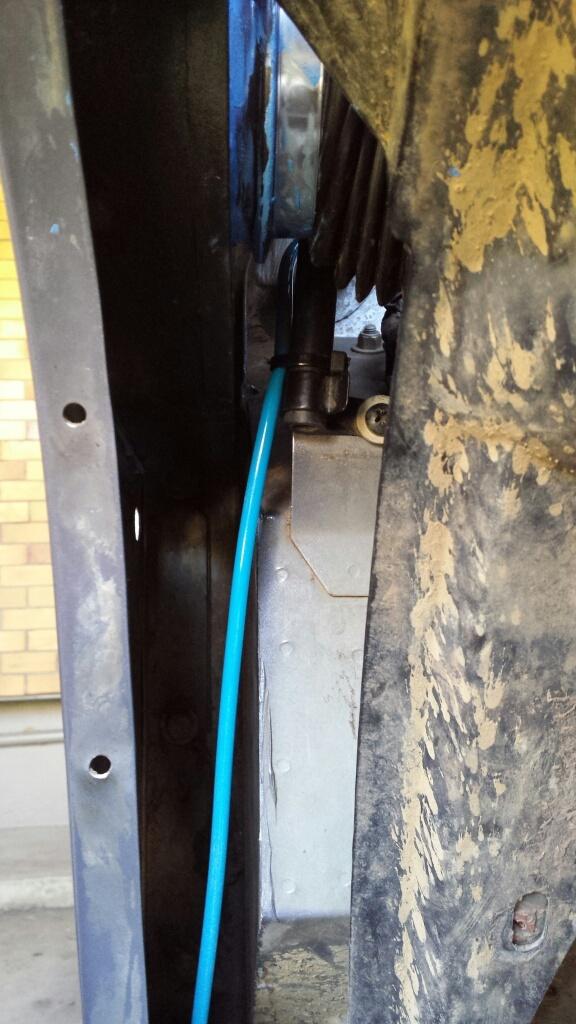
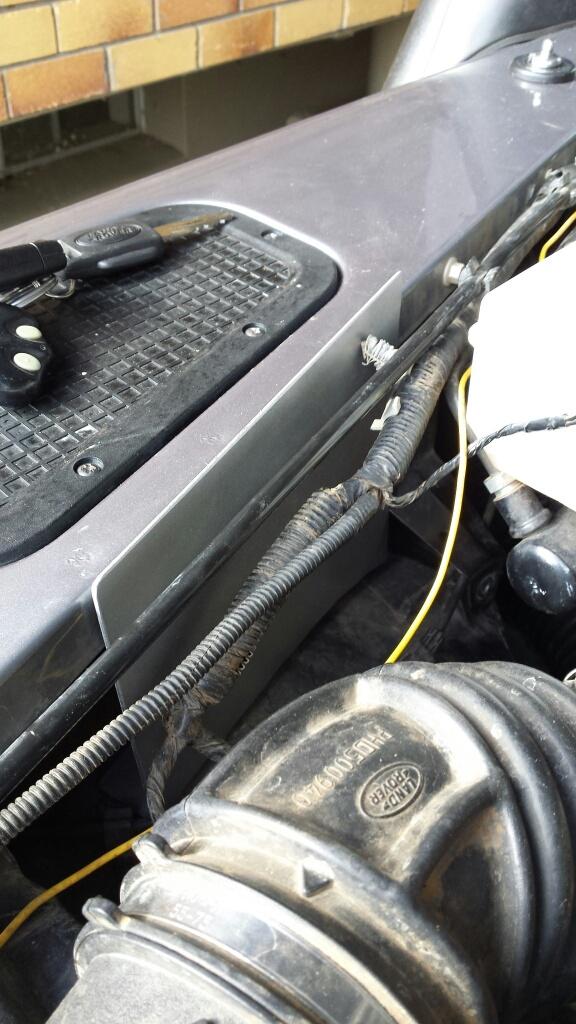
Diesel tank breather tube relocation
I moved the diesel tank breather tube to a more protected spot. It is cable tied to the chassis outrigger, then up to the aerial, then cable tied to a wiring loom in the engine bay.
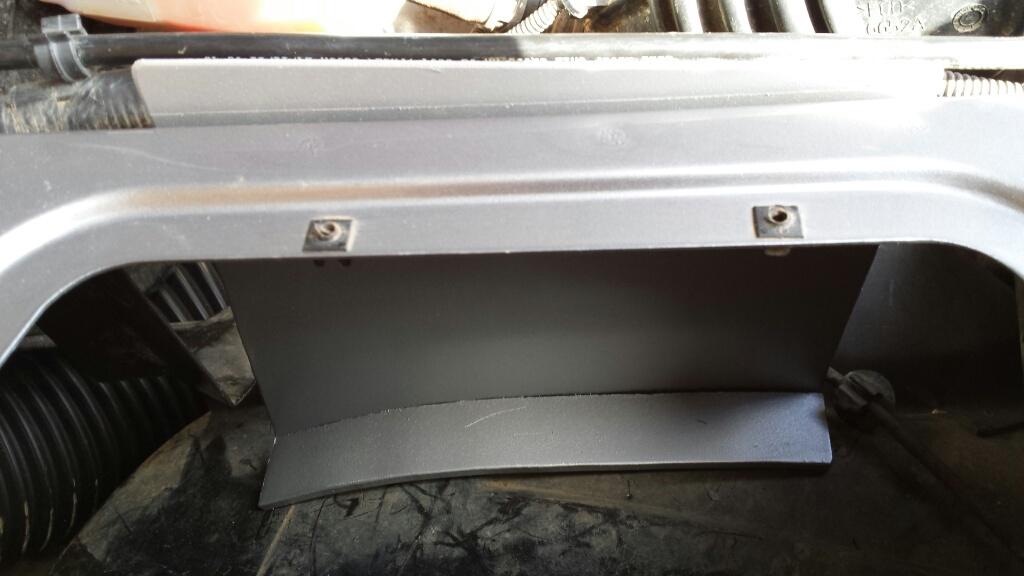
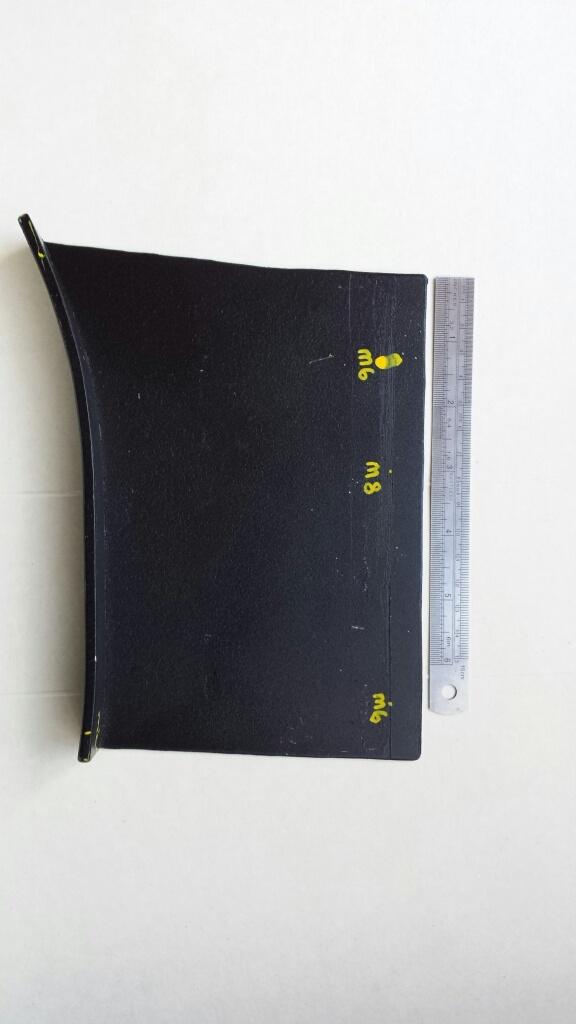
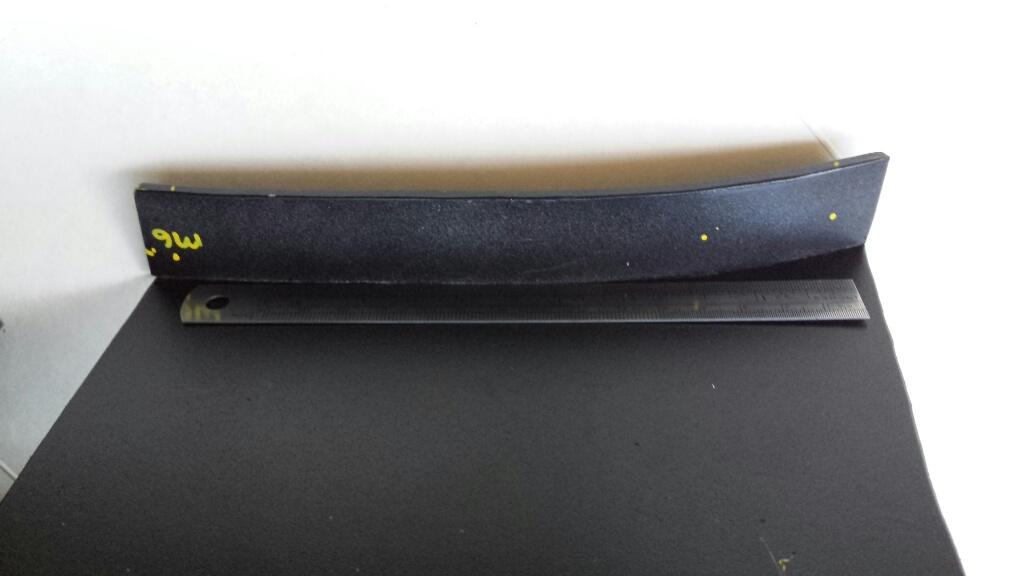
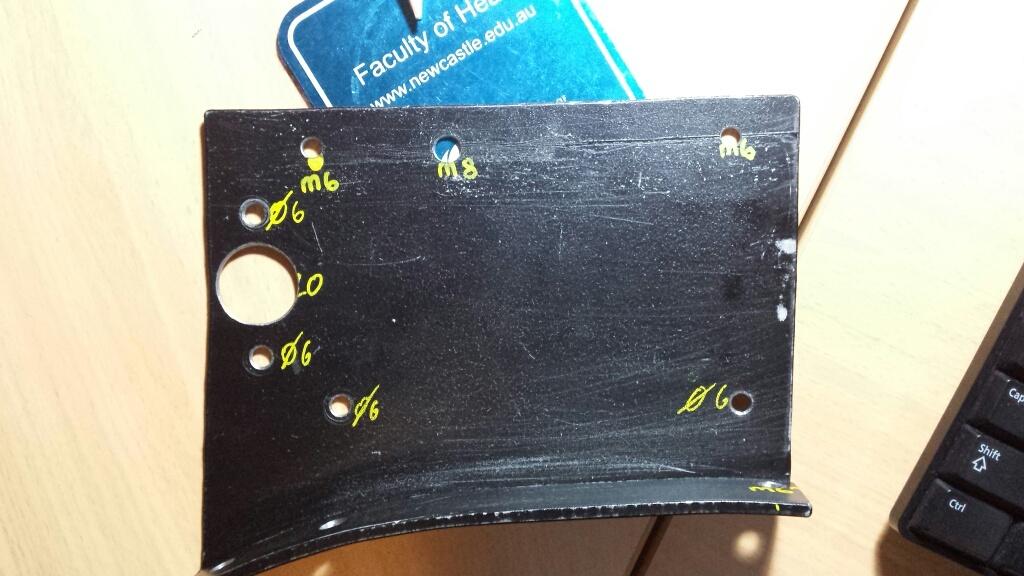
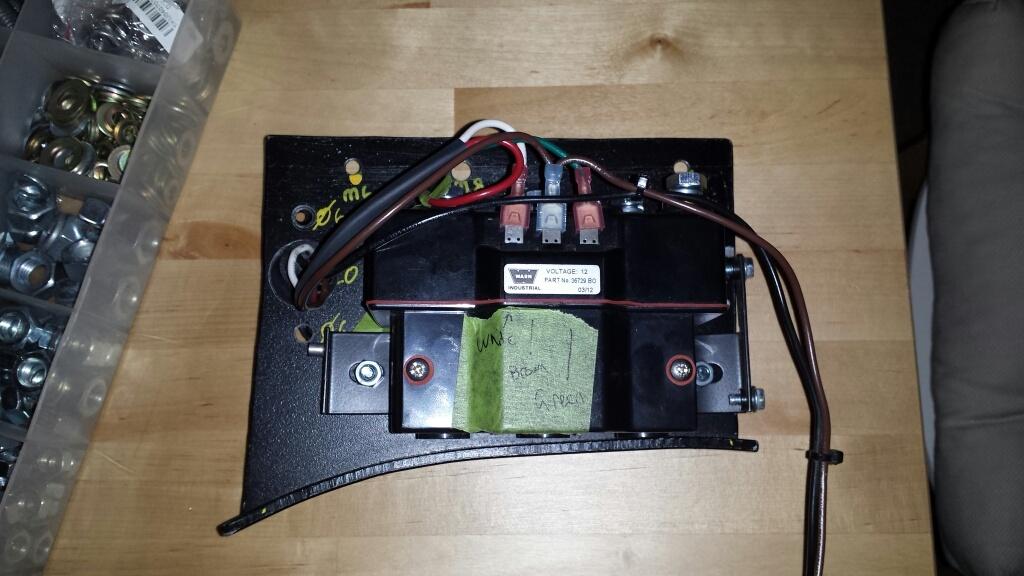
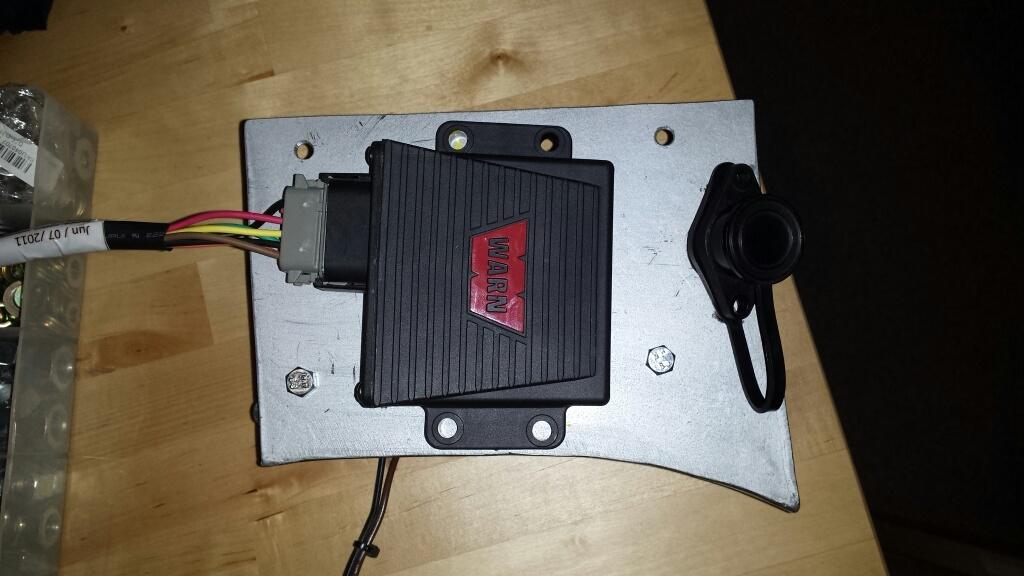
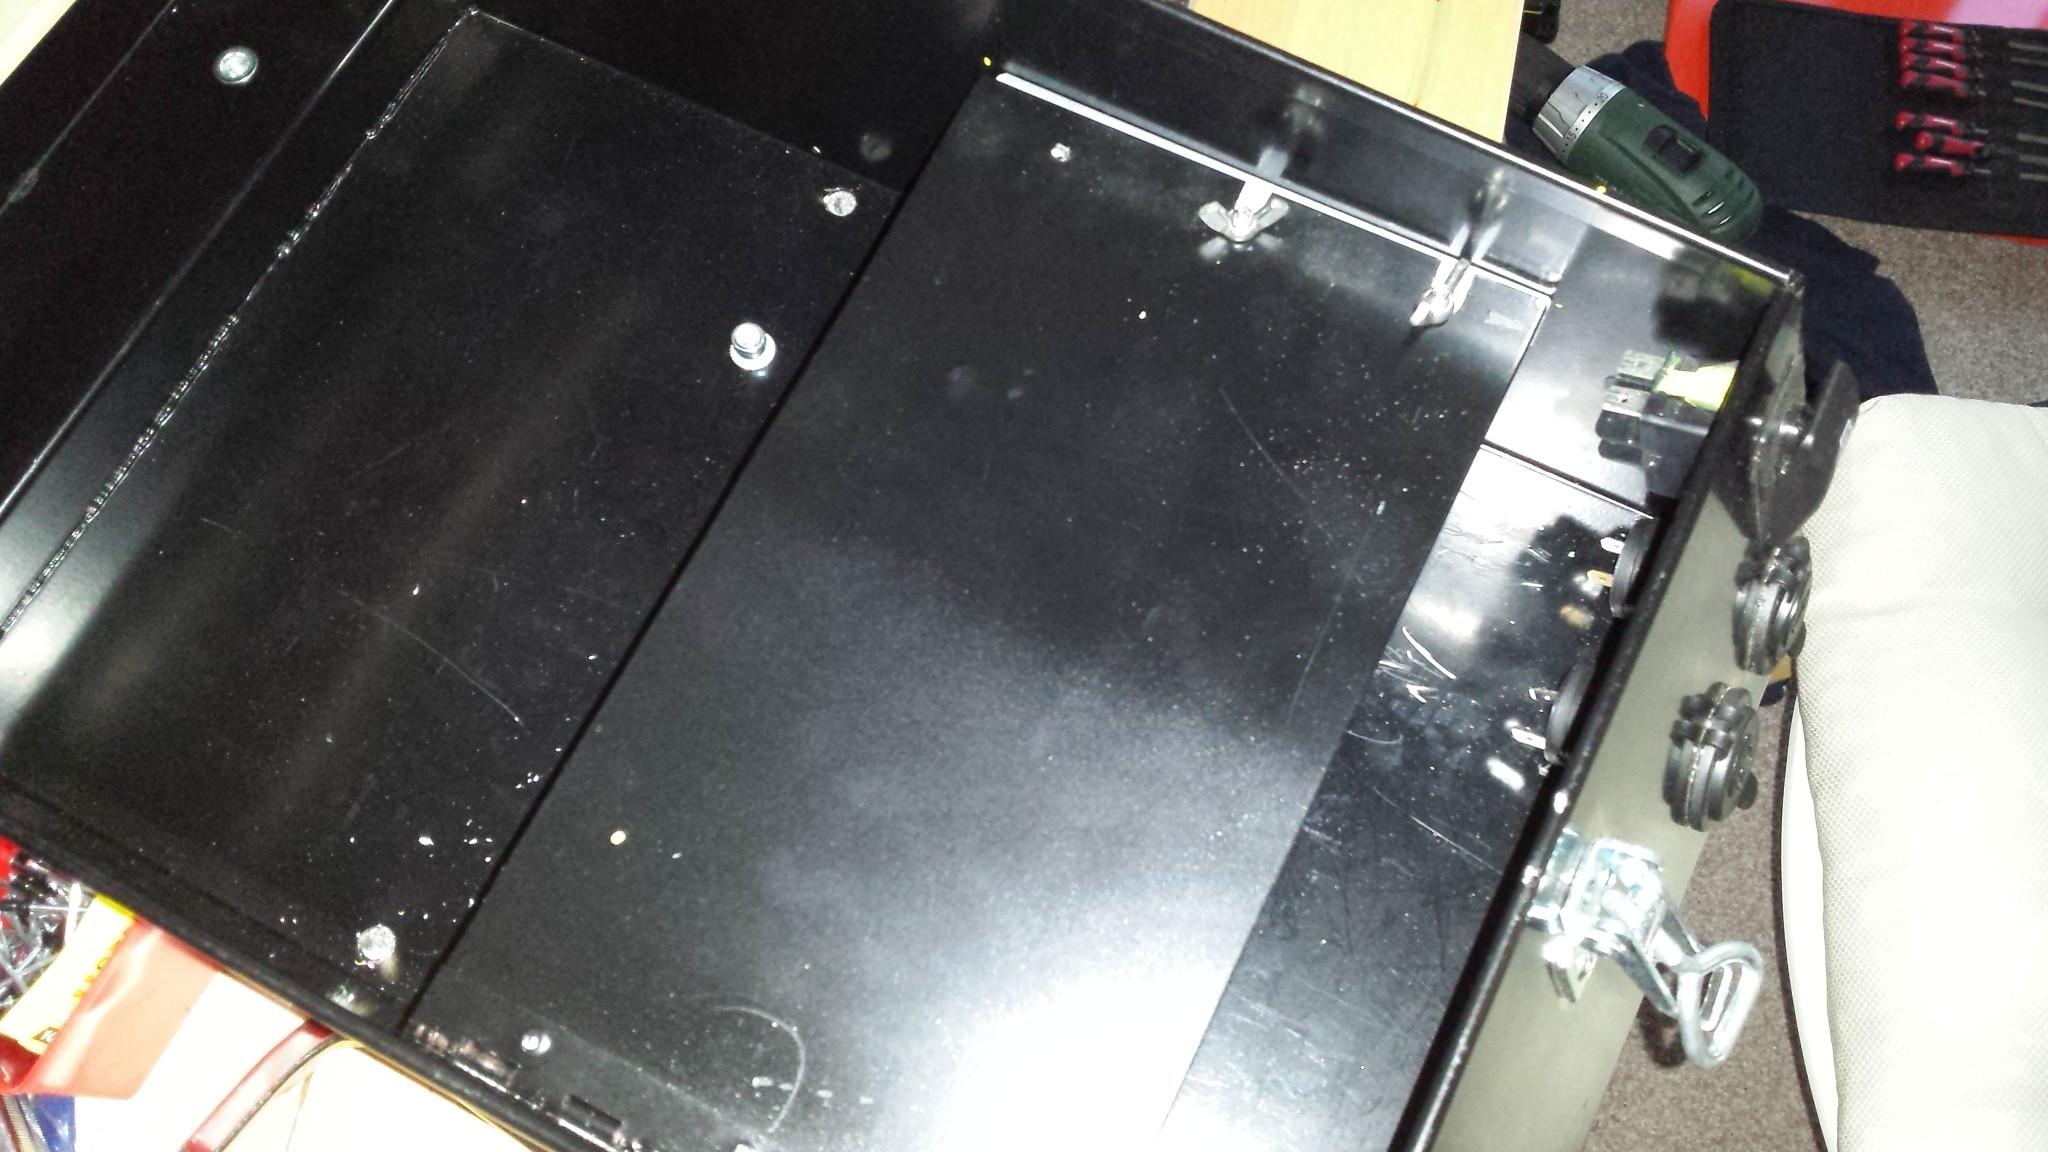
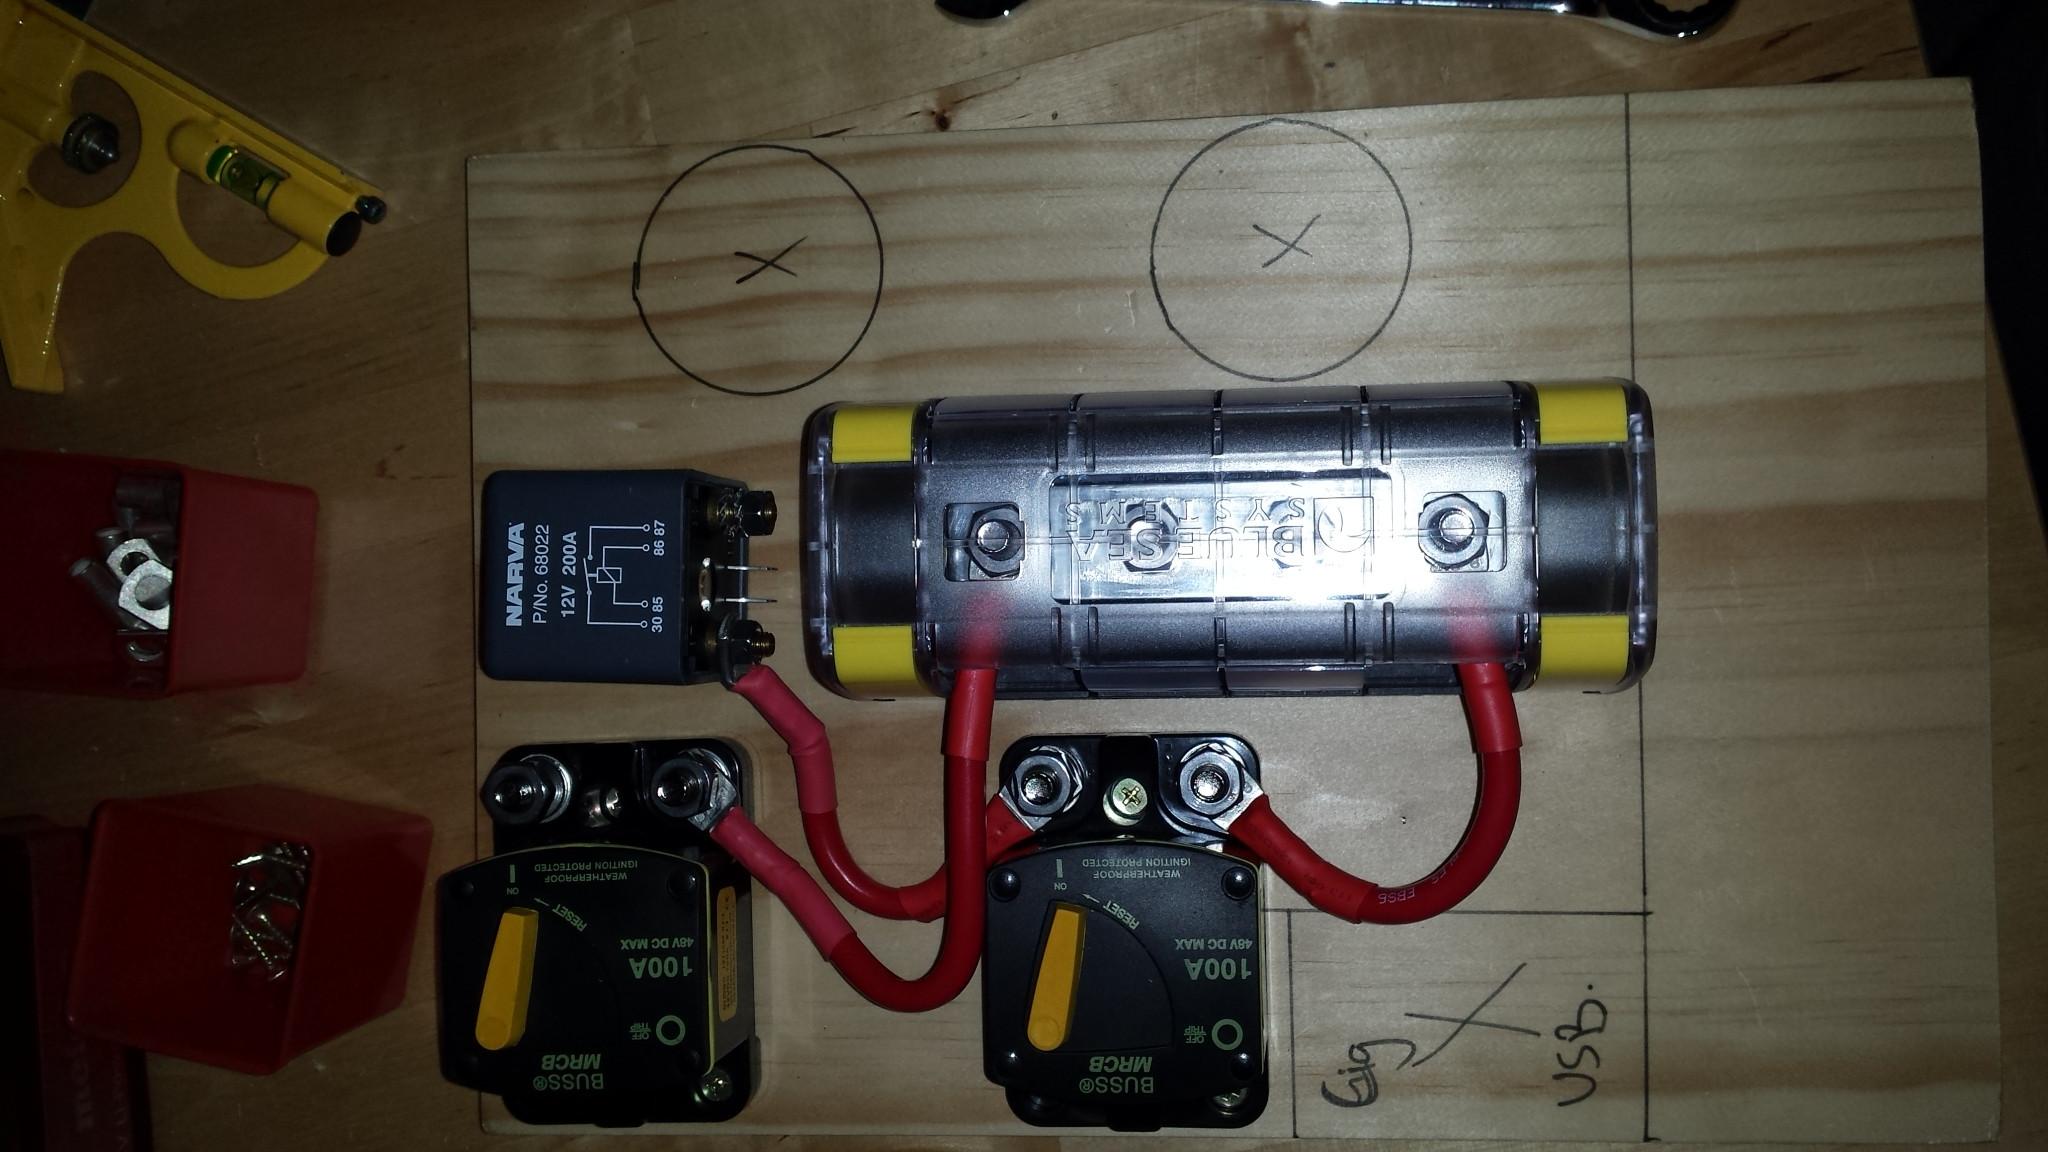
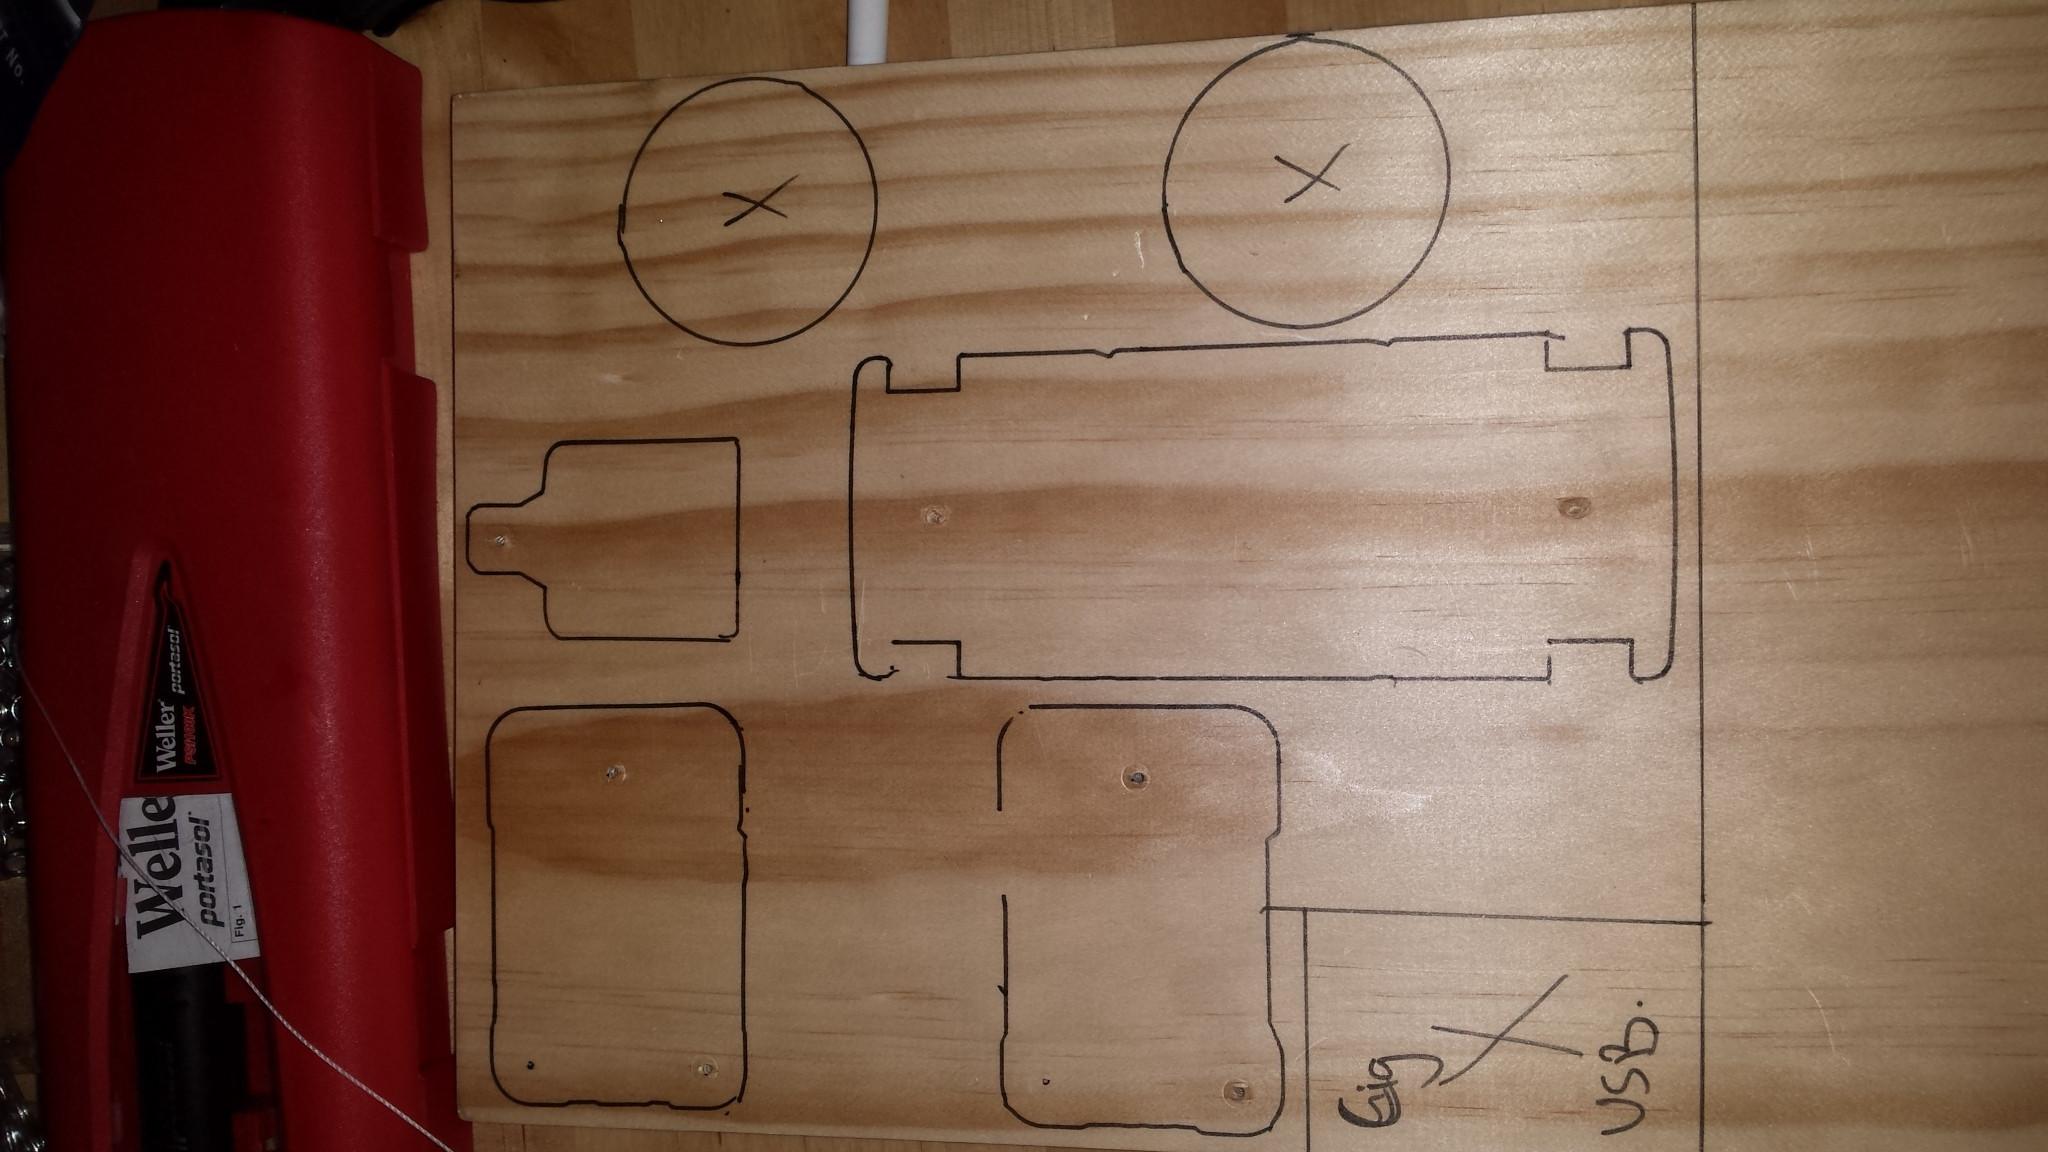
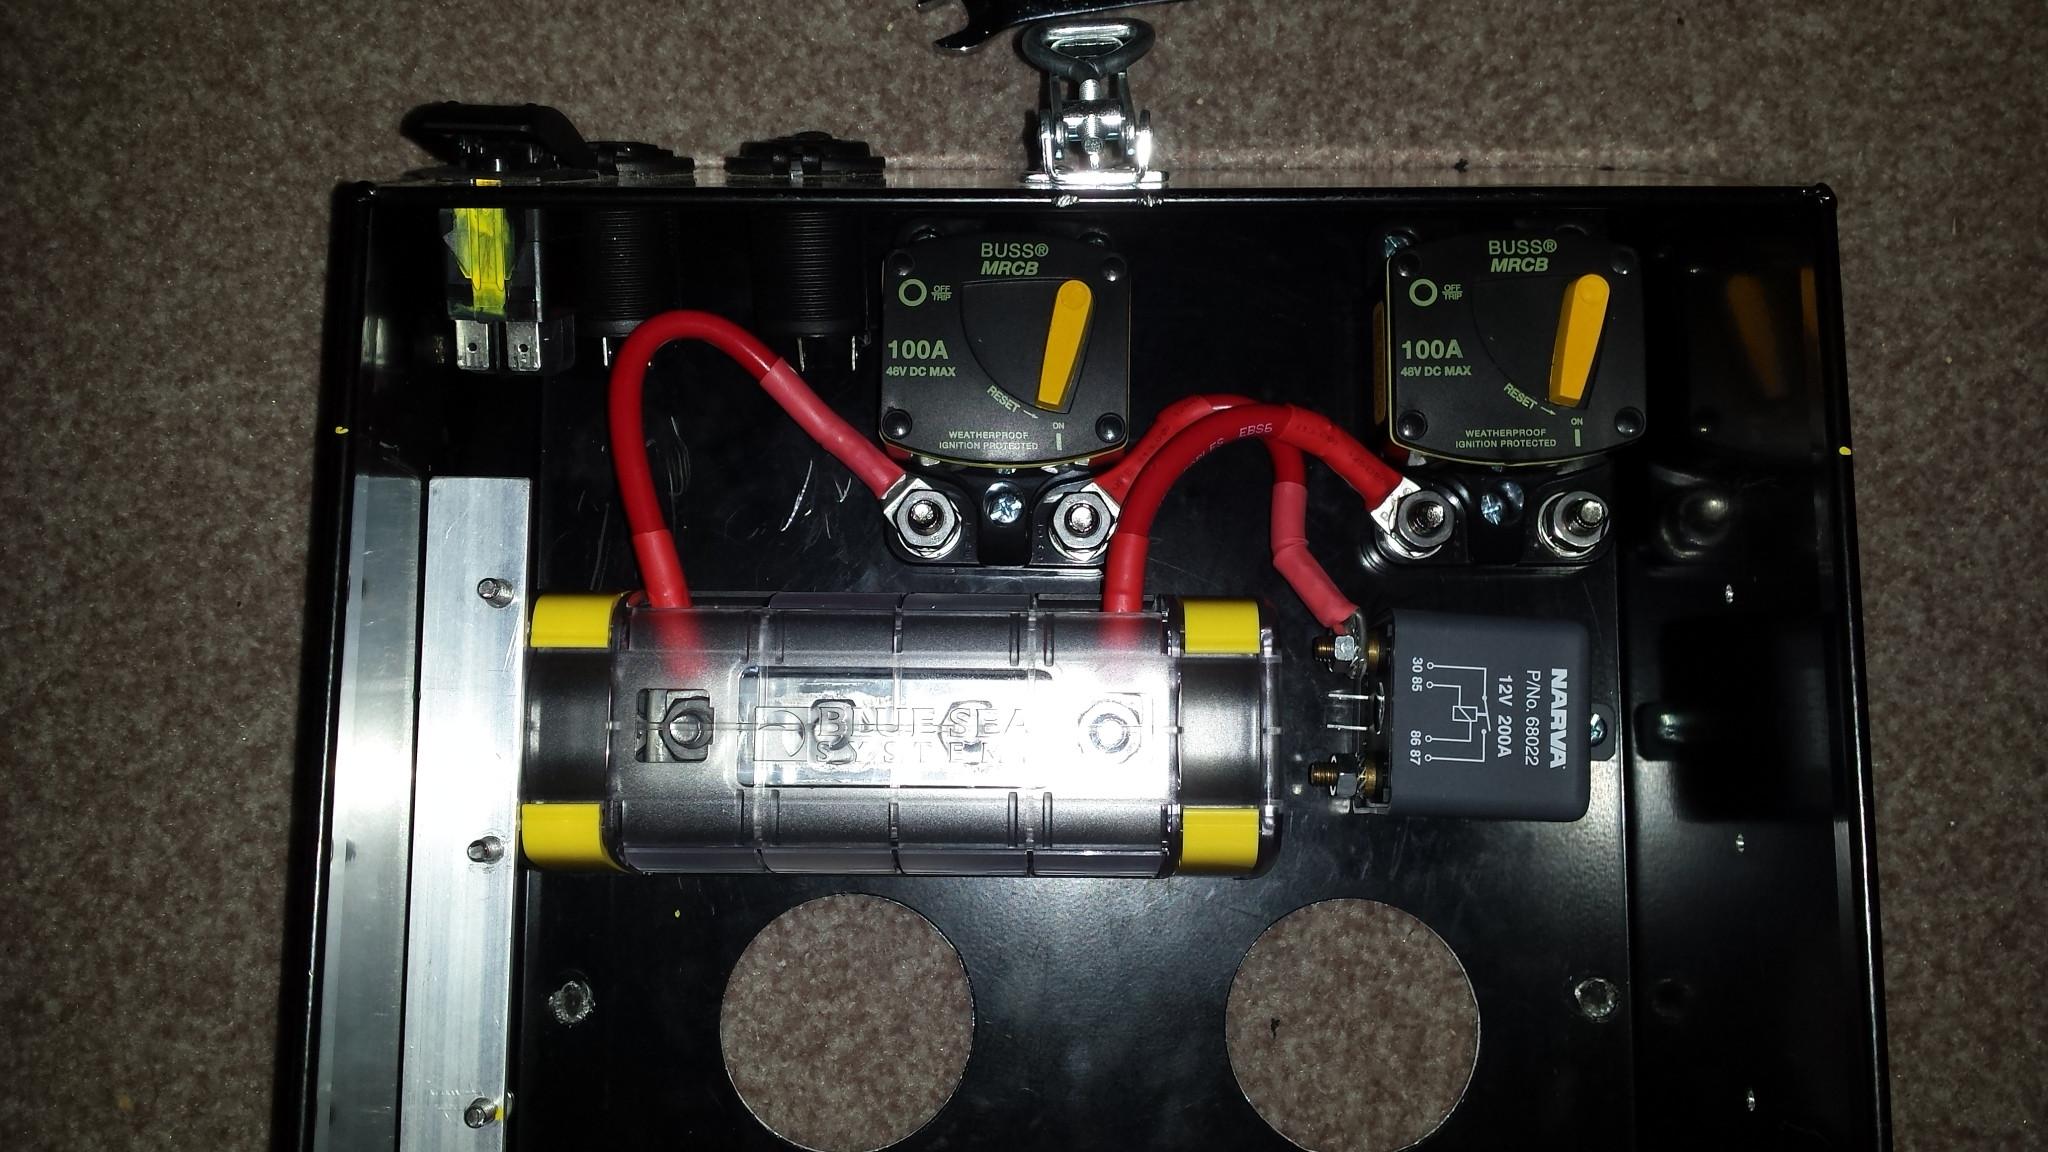
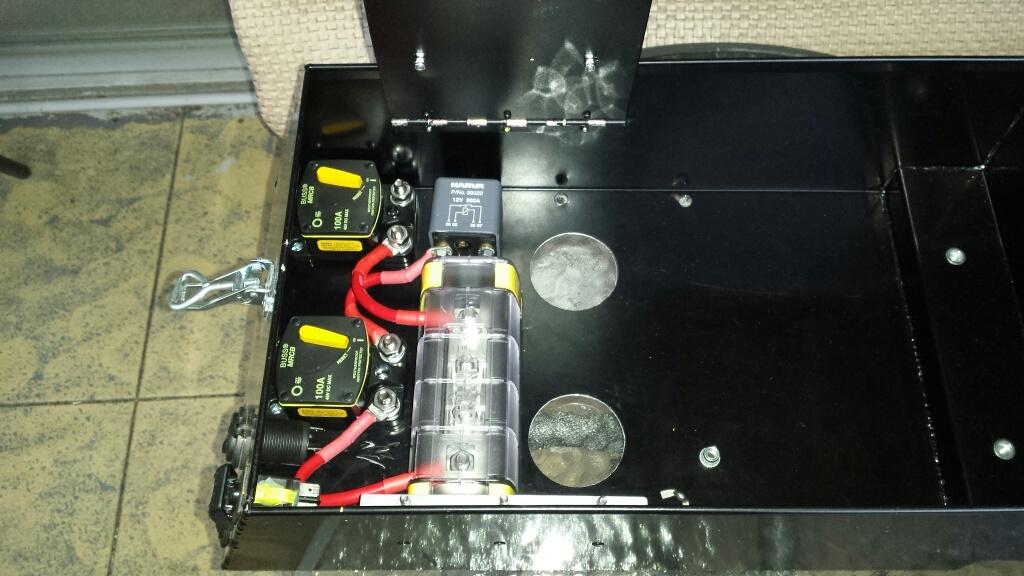
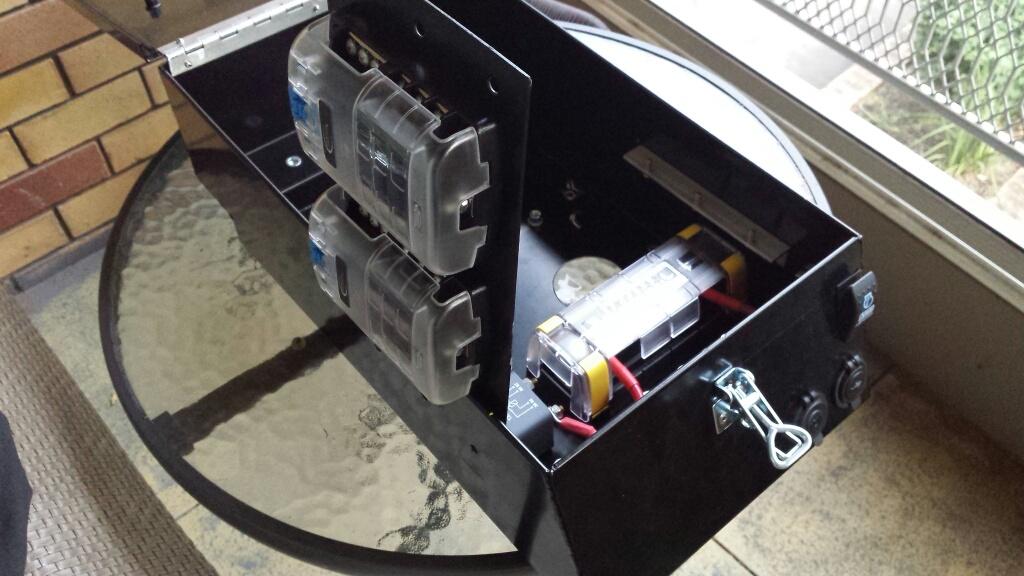
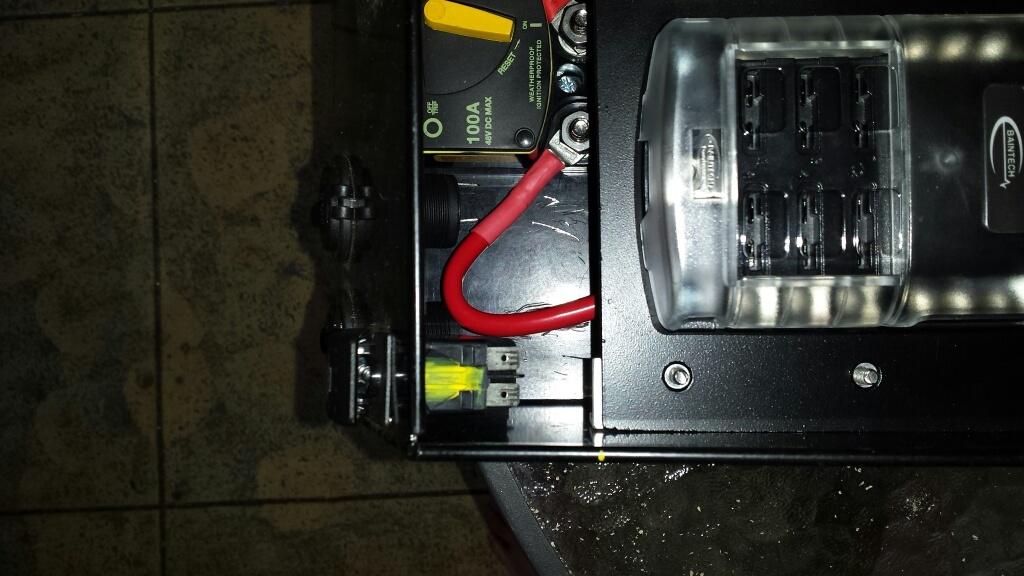
Next project- Mounting the winch solenoid box
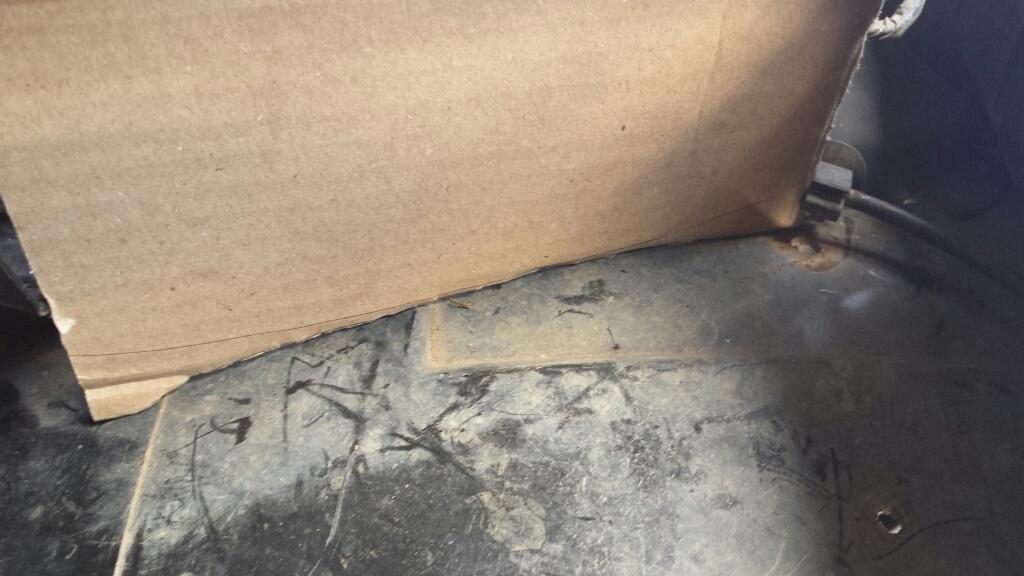
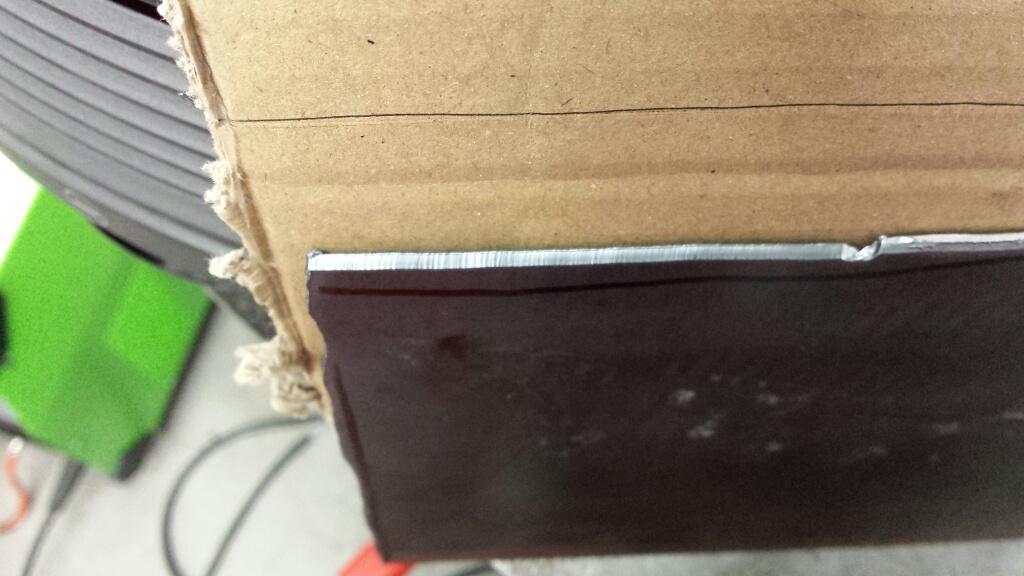
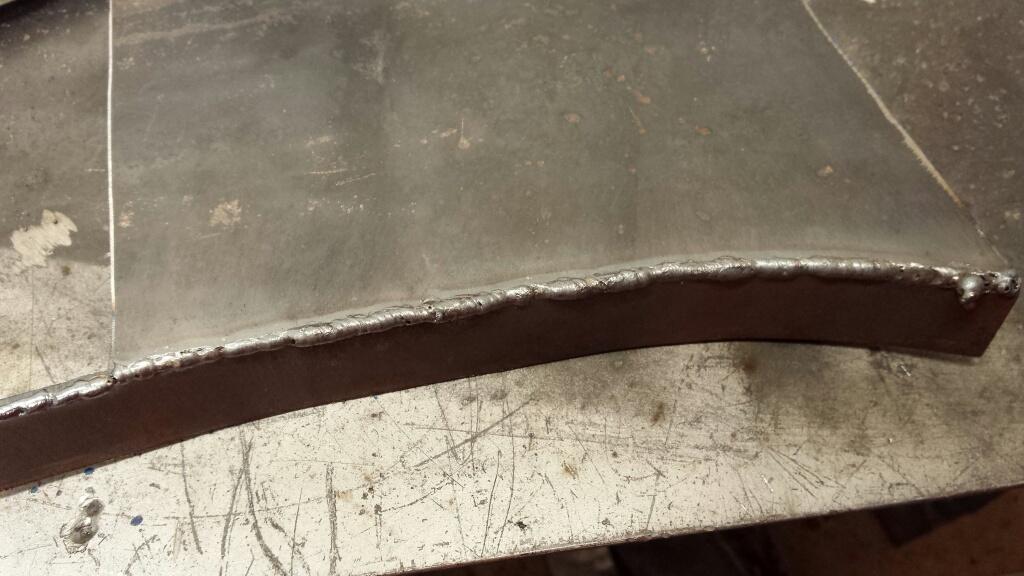
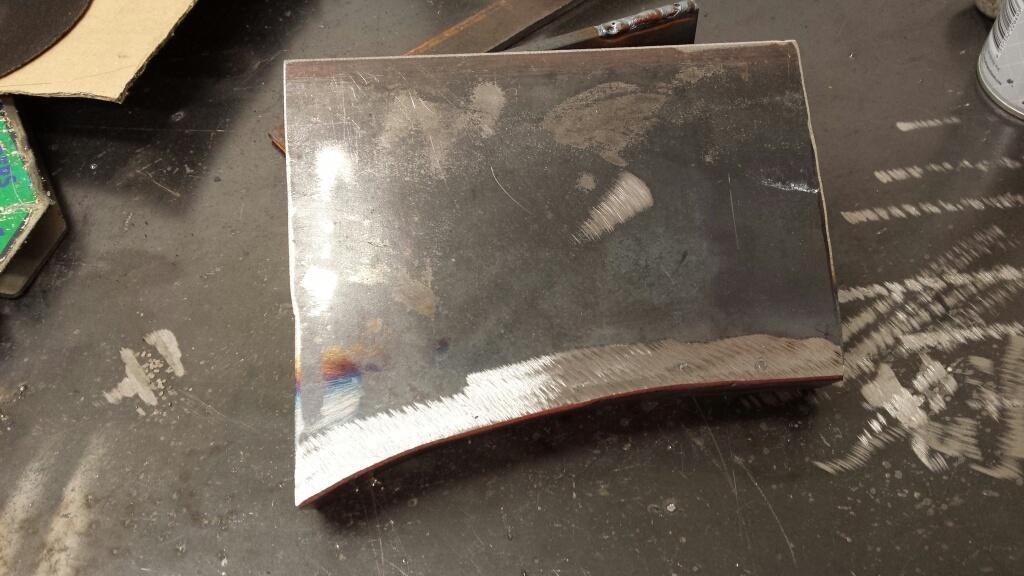
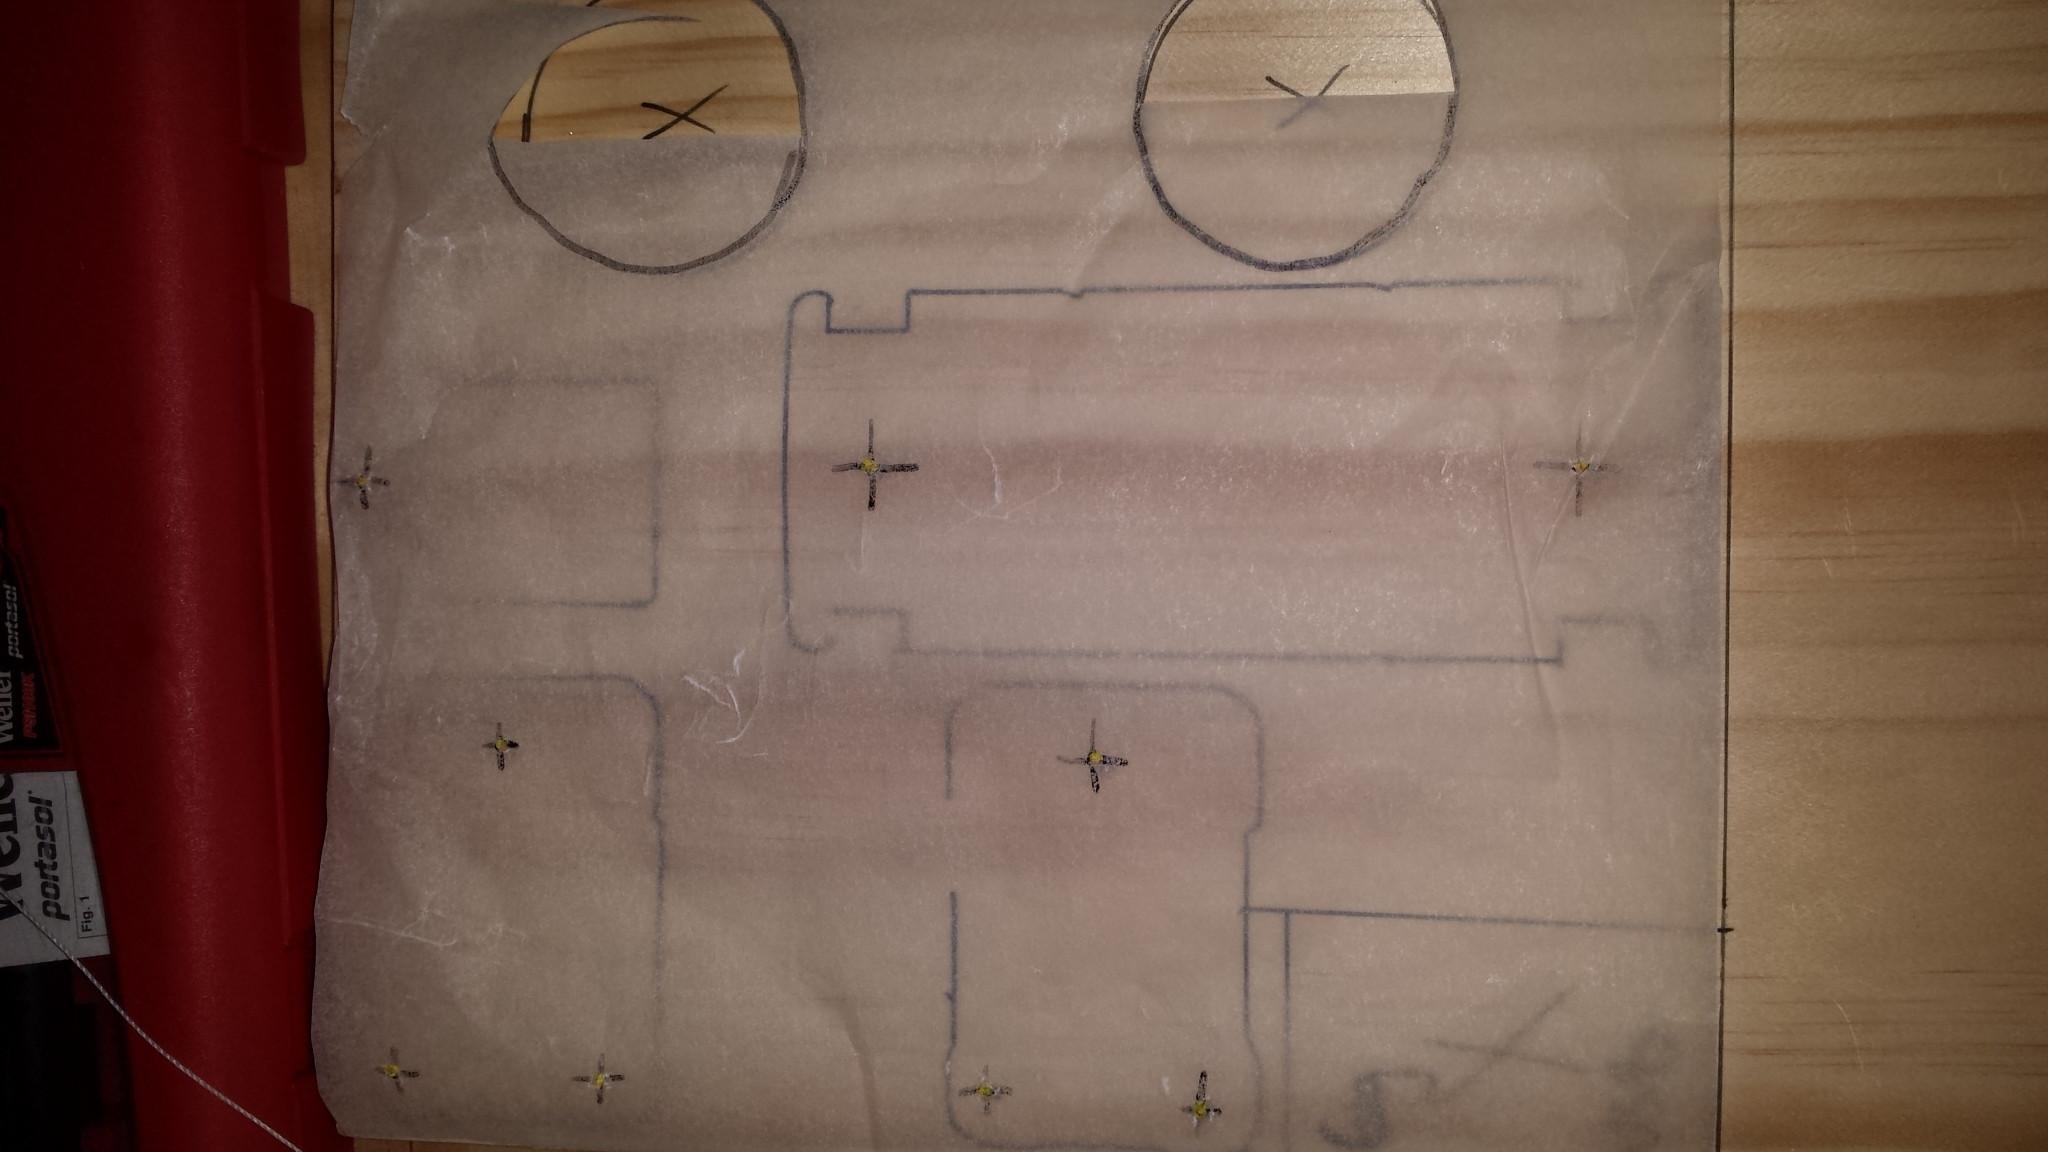
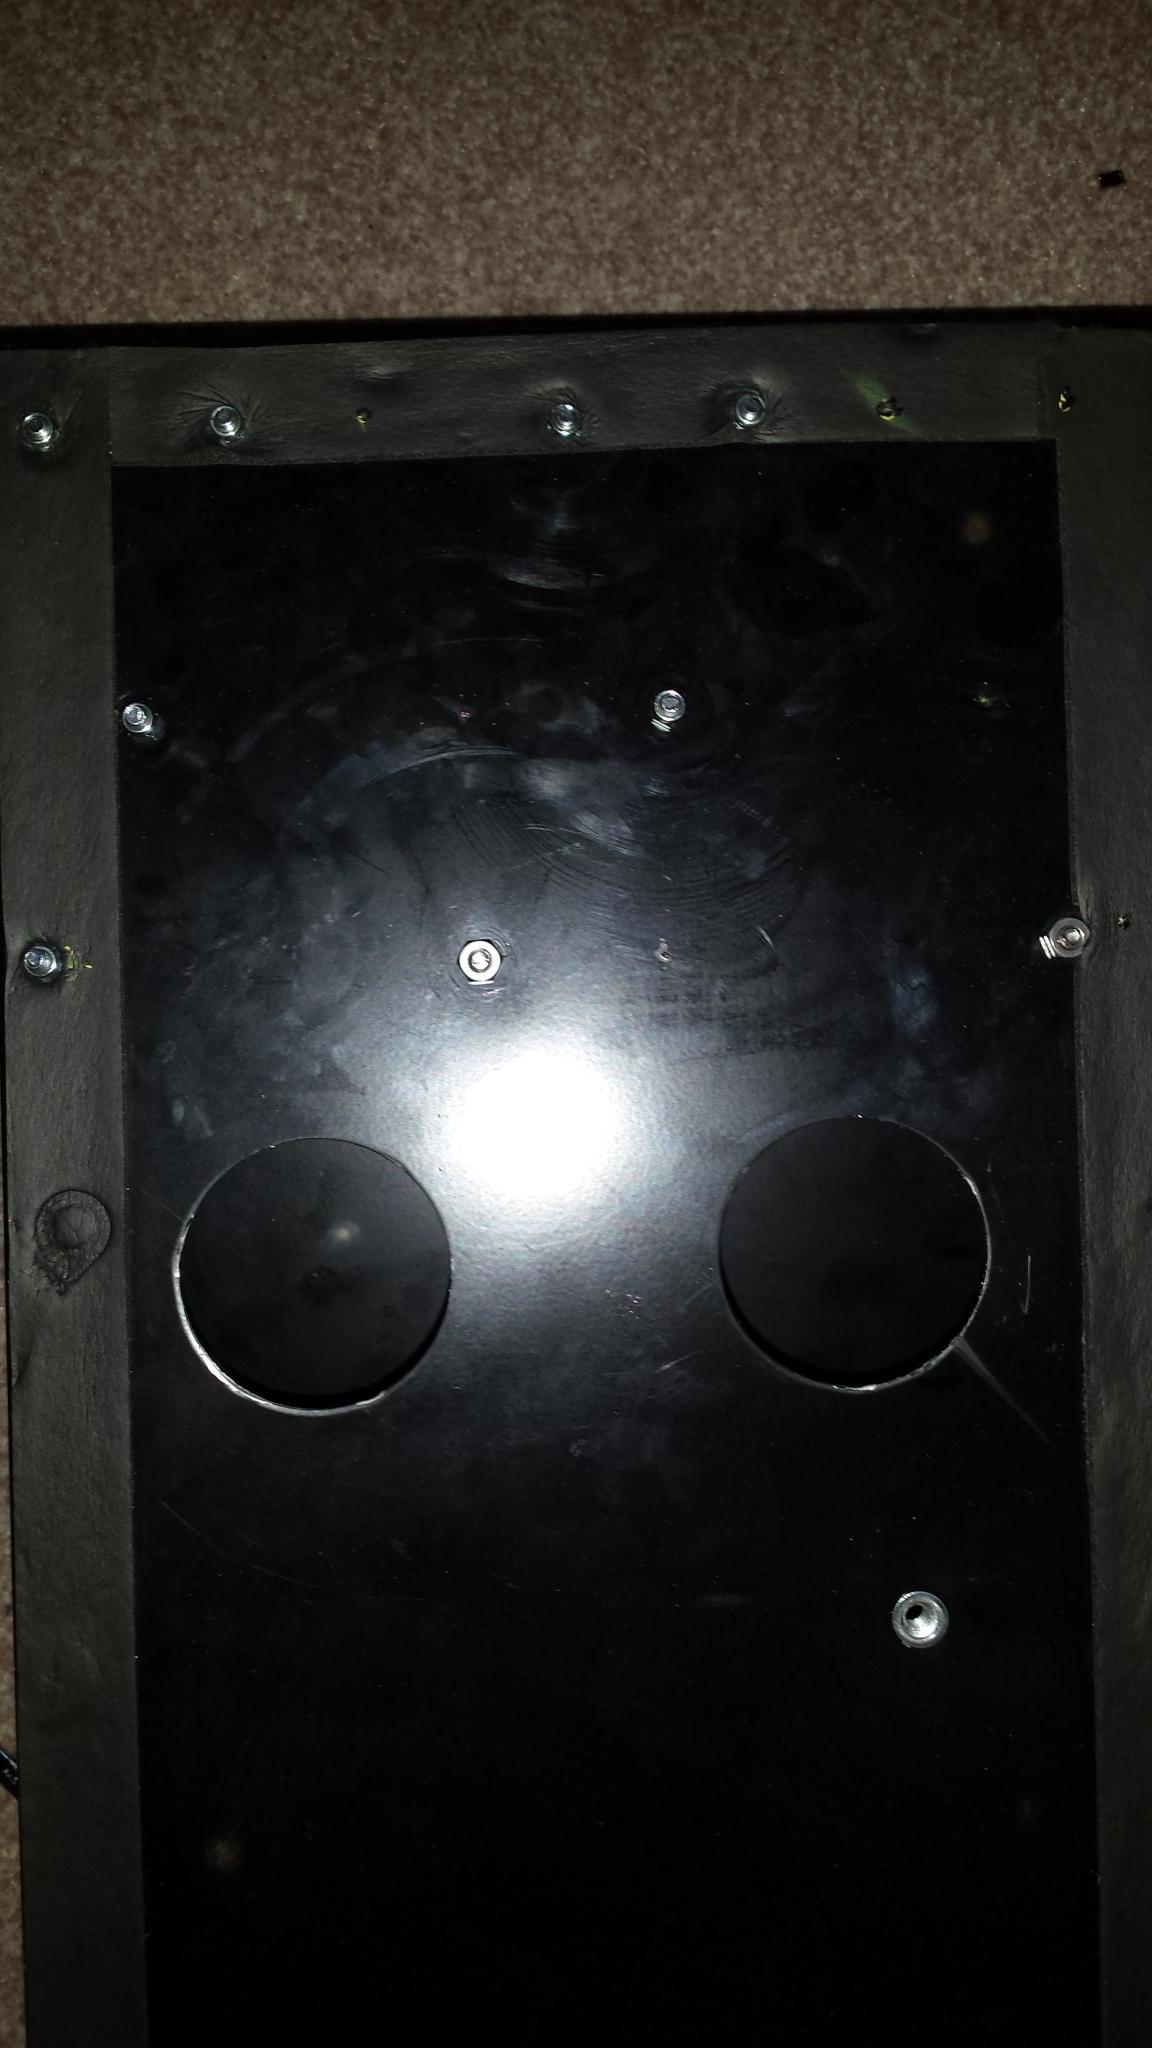
I'm going to make up a bracket to hold the winch solenoid box within the wheel arch. While it was all apart, I made up a template to cut on some sheet steel. I've got some 2mm sheet at work i can plasma cut to shape, and I'll probably bend up a piece of 3mm Bar to match the radius of the wheel arch. It should be pretty easy to tig it up, give it a lick of paint, and she'll be apples.
I'm not sure if this is the norm (compared to previous model defenders), but the puma wheel arch liner is a hard plastic, So I'm apprehensive to have a solenoid pack mounted on the wheel arch alone. The bracket I have in mind will mount both to the wing and the wheel arch via some fasteners accessed from below. In any case, it will allow a point to mount the remote control radio pack for the winch, and the wired remote plug.
-Mitch
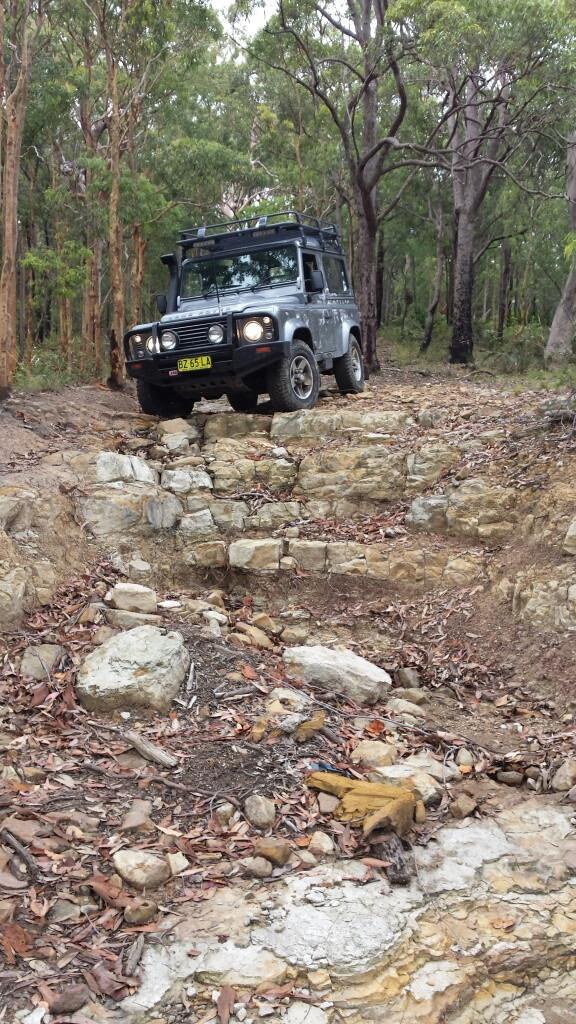
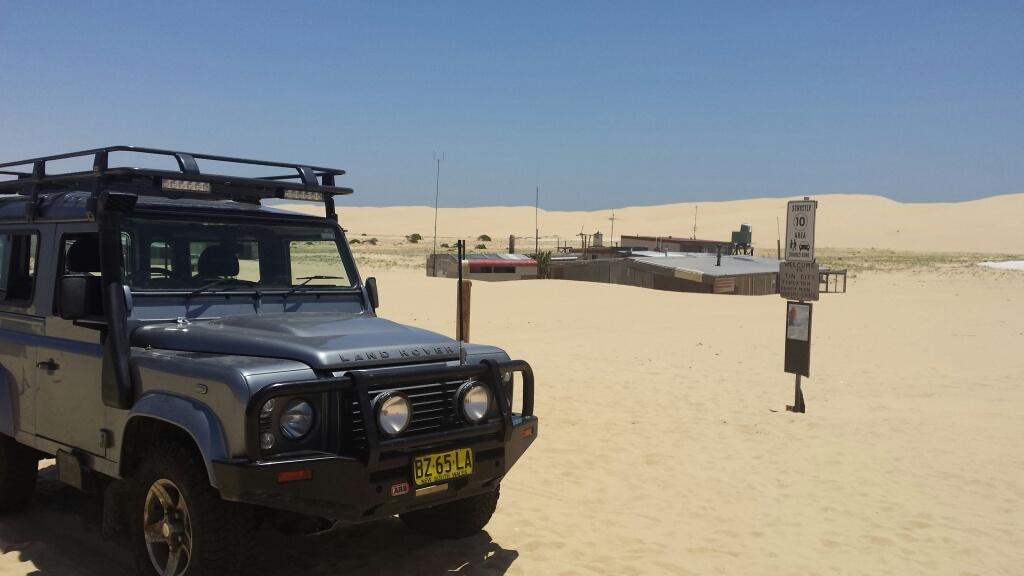
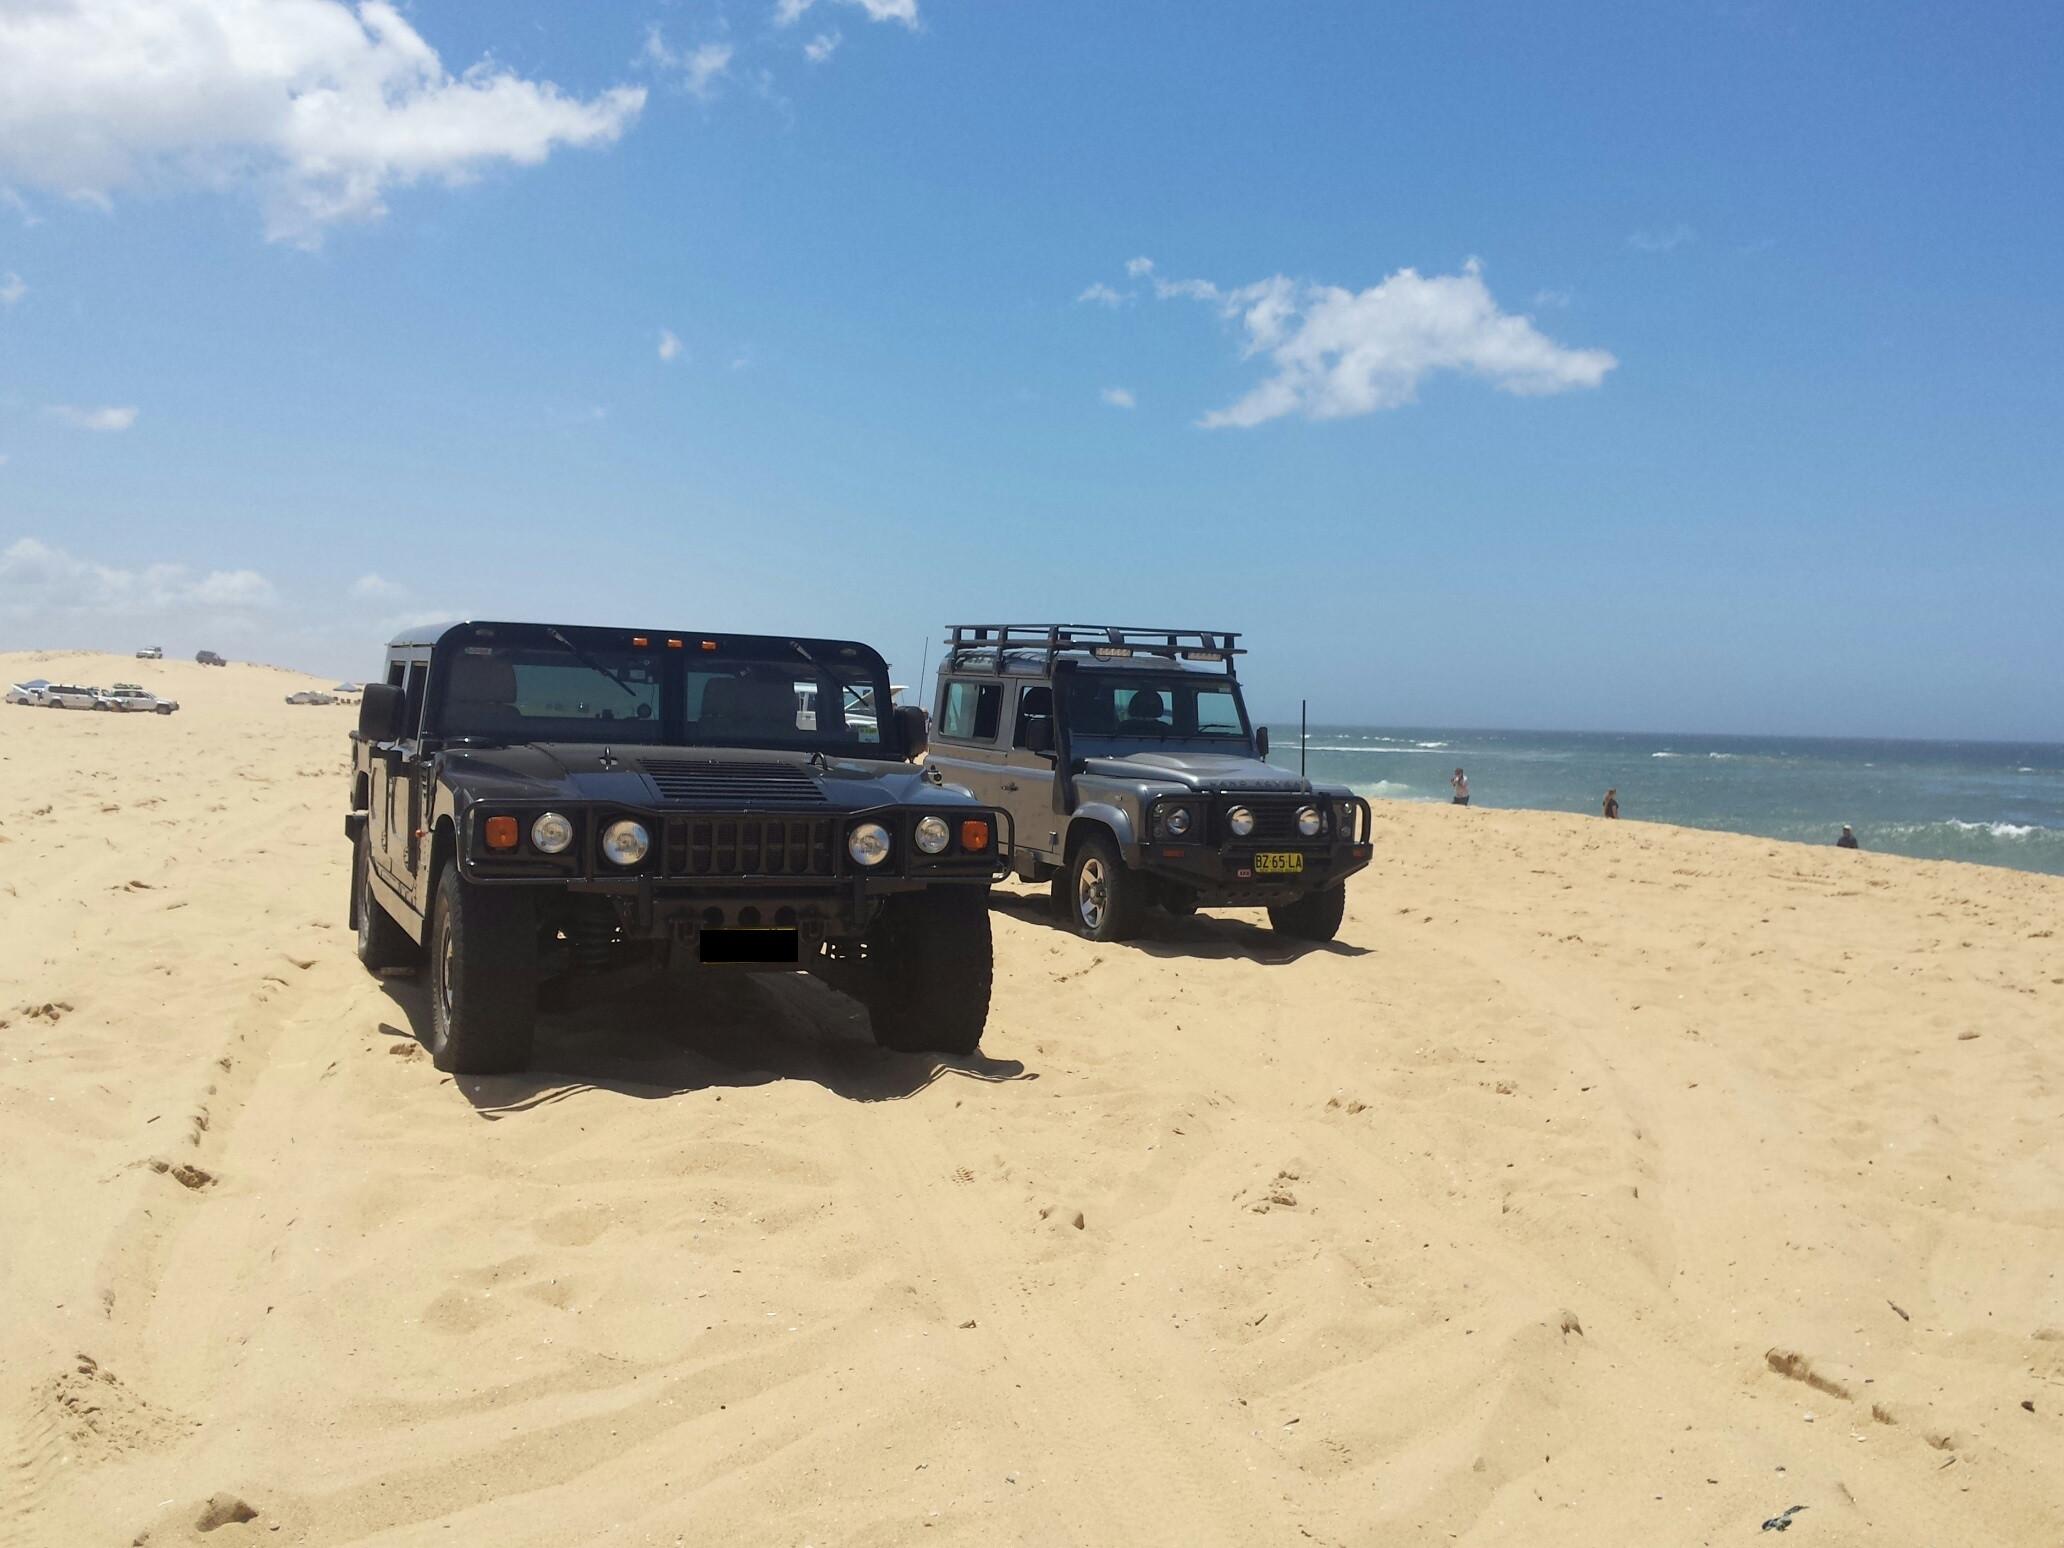
'El Burro' 2012 Defender 90.


 Reply With Quote


Bookmarks