Page 3 of 6 FirstFirst 12345 ... LastLast
Results 21 to 30 of 54

Thread: Poida4x4's Disco 1

  1. #21
    DiscoMick Guest
    Re the leak, if there is a bend in the seal because of the door shape, that is a likely leak point.

    Also recommend you check if the heater unit is leaking. Because they are full of water all the time, they can rust and fill with gunk.
    As I mentioned, ours started leaking out the back of Quilpie on a trip, so my BIL the mechanic just bypassed the heater completely. It's a temporary fix until getting a replacement heater.

  2. #22
    Join Date
    Jun 2018
    Location
    Redesdale
    Posts
    1,524
    Total Downloaded
    0
    Quote Originally Posted by Poida4x4 View Post
    Well I carefully cut the underlay so that I could remove it and it's drying out now. It holds a whole bunch of water eh!


    The floors look OK. They'll clean up reasonably easily.


    I got some help with a hose to try and find out where the water is coming in. My first suspicion of the top of the windscreen seems to be incorrect. Hosing down that spot doesn't seem to lead to water coming in. The A-pillar under the plastic cover is dry, and it doesn't run down the side wall. Spraying at the bottom of the windscreen and filling the plenum does result in water coming in on the passenger side. It drips down around the heater fan. It seems to me that the plenum fills up and it leaks in behind the bit above near the bolt on the top right of the next pic. At first I thought it was that middle bolt but the water level seems to stay above that. The plenum drain hole appears to be clear.


    I need to spend a bit of time just confirming things. I couldn't get water to come into the drivers footwell with the hose. From the look of it, it might be the door seals. It wasn't as wet nor as rusty as the passenger side.

    It's all way more than I'd hoped to do, but best to get it right. I'm still having fun too. Incidentally, my kid locked the doors with the central locking and I tried to open the rear (boot) door with the door locked. Now I can't open it at all, inside or out with the lock open. Any tips on this? I imagine it's going to involve pulling the skin off the back. Annoying because the back is full of front seats etc!
    Cram a timber wedge in the top corner of your door to get it open 1/4 inch, get a coat hanger and fish away! I reckon you could get the back doors hinges off through the gap between the front and back doors if you really had too.
    If you get sound proofing/insulation i went for ping jing half the price and twice as thick as carbuilder dynamat.
    Cheers Jim

  3. #23
    Join Date
    Jul 2008
    Location
    Launceston, TAS
    Posts
    129
    Total Downloaded
    0
    I can reach the rear door lock and open/close it no worries. Feels and sounds fine. Pulling on the inside patch does nothing. Squeezing the outside patch feels spongey and does nothing. Feels like it's hung up on something. I think I'll have to get the stuff out over the back seat and remove the door card to sort it out. Hopefully it's just an adjustment thing and not a worn out thing

  4. #24
    Join Date
    Nov 2012
    Location
    Kingsley, Perth
    Posts
    1,045
    Total Downloaded
    0
    Quote Originally Posted by DiscoMick View Post
    Re the leak, if there is a bend in the seal because of the door shape, that is a likely leak point.

    Also recommend you check if the heater unit is leaking. Because they are full of water all the time, they can rust and fill with gunk.
    As I mentioned, ours started leaking out the back of Quilpie on a trip, so my BIL the mechanic just bypassed the heater completely. It's a temporary fix until getting a replacement heater.
    was a temporary fix on mine as well. that was 3 years ago.

  5. #25
    Join Date
    Apr 2016
    Location
    Melbourne
    Posts
    4,517
    Total Downloaded
    0
    re: the rear door, have you tried locking-unlocking with the key too?
    Give it a few unlock/lock/unlock cycles.
    I haven't see how it's setup, but the D2 rear lock can put itself into this no mans land situation where it's half locked/unlocked in some internal lever or mechanism.
    Sounds like this may have happened to yours too.
    Arthur.

    All these discos are giving me a heart attack!

    '99 D1 300Tdi Auto ( now sold :( )
    '03 D2 Td5 Auto
    '03 D2a Td5 Auto

  6. #26
    Join Date
    Apr 2008
    Location
    West Victoria
    Posts
    797
    Total Downloaded
    0
    Hi Poida4x4

    Should have bought mine, the floor is already coated in three coats of POR15 and two coats of spray on body deadener and it's the same colour.

    Make sure you use a rust convertor like "rust buster" from bunnings and then paint it before putting down any 4x4 insulation or similar. Depends on how long you plan on keeping the vehicle as to how much time and money you spend. I was going to keep mine for years so I went all out and did the whole floor front to back. Have done the same to my 200tdi Disco.

    As for the rear door

    There is a spring in there that plays up. It is a fiddly job to repair but a cheap one. Do a search for it on here, I seem to think that someone did a thread on how to replace it.
    To get it open try inserting the key turn and hold it and at the same time lift the handle. That is how I have to open the door on mine.

    Good luck with the Disco

    P.S. Mine might be good for parts
    Neale

    85 Range Rover Ute (Project in pieces)
    89 Range Rover Classic (Black Thunder)
    93 200tdi Disco,(OGRE)
    96 300tdi Disco, DEAD MOTOR
    04 Nissan Patrol with ALL the fruit
    09 Cub Daintree Kamperoo
    12 VE II Commodore Ute DD

  7. #27
    Join Date
    Jul 2008
    Location
    Launceston, TAS
    Posts
    129
    Total Downloaded
    0
    Yours did sound good Neale, but this one was all ready to go. I probably couldn't lose either way.

    I sealed up the suspected leak spots today and cleaned up the floor ready for paint. I'll test again for leaks tomorrow and if there aren't any, I'll get painting (Penetrol and appropriate paint). Incidentally, when I unlocked the car to start all this I tried the rear door and it popped right open. I'll plan to have a look at the mechanism some time, but I probably won't until it causes more trouble, most likely at a really bad time.

  8. #28
    DiscoMick Guest
    Oil the door lock?

  9. #29
    Join Date
    Jul 2008
    Location
    Launceston, TAS
    Posts
    129
    Total Downloaded
    0
    Well my sealing didn't work. I was close to working out the problem, but didn't quite nail it. There's some sort of intake under the scuttle board that's above the plenum drain. I thought the water was pooling too high in the plenum and leaking through where this intake contacts the plenum, but when running water down the windscreen quite a bit of water comes out underneath the plenum, coming down the windscreen side somehow rather than over the scuttle board and into the drain. When I stuck my hand up there water was flowing right into this intake. My plan now is to try to seal the rubber/scuttle contact point along the bottom of the windscreen, and that bit where the scuttle board intersects with the lateral bits of scuttle board. A bit annoying, but it's good to have a better idea of the problem.

    EDIT: Here's a pic from a Disco 2 that shows the intake I'm talking about. I think I'm on the right track


    I've heard mention of a RAVE CD-Rom or something that might be like a Landy manual with exploded diagrams and stuff. Is that right?

    EDIT: I also think I've got the terms "plenum" and "scuttle" the wrong way around.

  10. #30
    Join Date
    Sep 2013
    Location
    Darwin
    Posts
    1,707
    Total Downloaded
    12.74 MB
    Quote Originally Posted by Poida4x4 View Post
    Sure enough, the front carpets are sodden. I'm pretty sure I've had this problem before in Darwin.
    Even though you have left the north, I can assure you sodden carpets persist in Darwin!

    I've fixed two vehicles. In both cases the issue was primarily the passenger front quarter door and body panel area.

    Fluff blocked aircon tubes where easily fixed by pushing a bit of hooked wire into the tubes from underneath the vehicle and pulling out the fluff.

    I threw away the door dust membrane - it was shrunken, and ripped from previous owner refits. Water getting past the window seals tends to follow the window guide rails then hits the membrane, where it gets through rips, holes or failed sealant. I filled in the major frame holes and minor holes with Bear Cloth tape from Bunnings. Try and create an 'umbrella' for you window winder motor, and put sealant where the wires go into the motor. OK, check your window winder runners while there, and engage in another whole project replacing broken wheels...

    Door seals, particularly at the top, may not seal. From the top water will drip down the inside of the window as a result.

    If the top of the seal is OK then the water follows the top of door line on outside of seal, then trickles down the A-pillar following the seal. Old seals hold depression marks which allow water to change sides and get into the vehicle - particularly in cases where the seal has been re-glued back in place and the depression has not be aligned with the point causing the depression.

    There is a point around where the door mirror attaches to the door frame. The path goes from steel window frame to some little rubber cover. then back to steel. The transition from steel to rubber has effectively a right angle corner. The door seal has trouble moulding itself into this corner, and even though very small, this corner acts as a conduit for water. Fill the tiny corner with sealant for a smoother transition.

    A deformed seal around the door stay can let water into the A-frame and into the vehicle.

    A number of panel plugs are hidden behind the aluminium front quarter panel. The plugs can be loose, broken or missing altogether. Remove the panel by undoing the screws hidden by the bonnet when closed, and the small bolts in the A-frame hidden when the door is closed. Front indicator light will also need to be released to find the small bolt that secures the front lower point of the panel. There is another bolt that secures the lower edge of the panel that needs to be removed. Remove the small section of plastic that overlaps the top rear corner of the panel, part of the windscreen gutter trim. Slide the side indicator light holder to release it from the panel. There may be some resistance to removal by sealant.

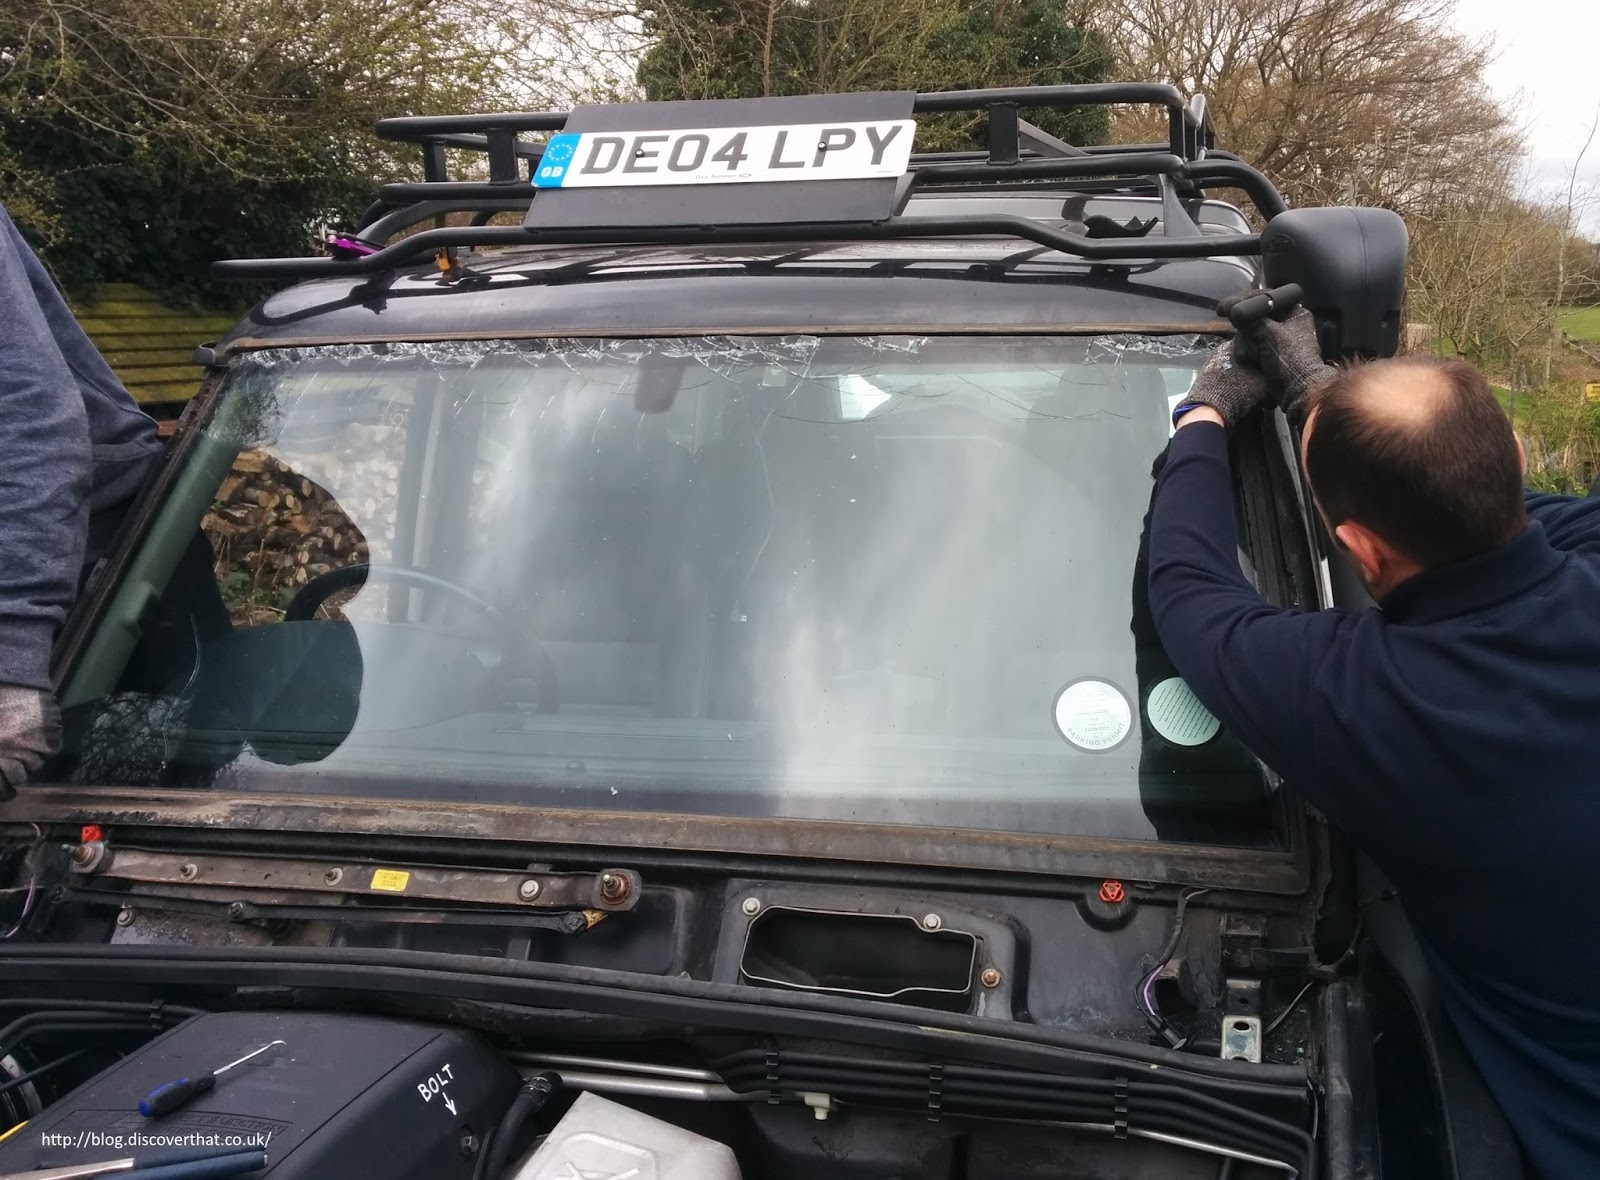
    On one vehicle the windscreen and sealant had not bonded in one small spot at the bottom of the window. Poked some sealant in with the finger. The other vehicle had a leak at the top of the window - the window was replaced when shattered with a stone - removal of the window showed that the window frame had a rust hole, which was small enough to fill with sealant after a clean up of the metal and priming. If it weren't at someone elses shop I would have welded it shut.

    I replaced the old deformed seal with new from Clarke Rubber. The only real issue was making the right angle corner, top rear. I stuffed a Billy Goat Plumb stick of suitable diameter into the seal's tubing to help hold the shape then did the 45 degree cut with a drop saw - there is metal in the clip. Removed the stick and replaced it with tissue paper for more flexibility. The new seal was installed, and once happy with alignment of the 90 degree corner ran some sealant over the joint.

    Your floors are in very good condition. I had to weld in a lot of replacement patches, some the size of dinner plates!

Page 3 of 6 FirstFirst 12345 ... LastLast

Tags for this Thread

Bookmarks

Bookmarks

Posting Permissions

  • You may not post new threads
  • You may not post replies
  • You may not post attachments
  • You may not edit your posts
  •  
Search AULRO.com ONLY!
Search All the Web!