


 Reply With Quote
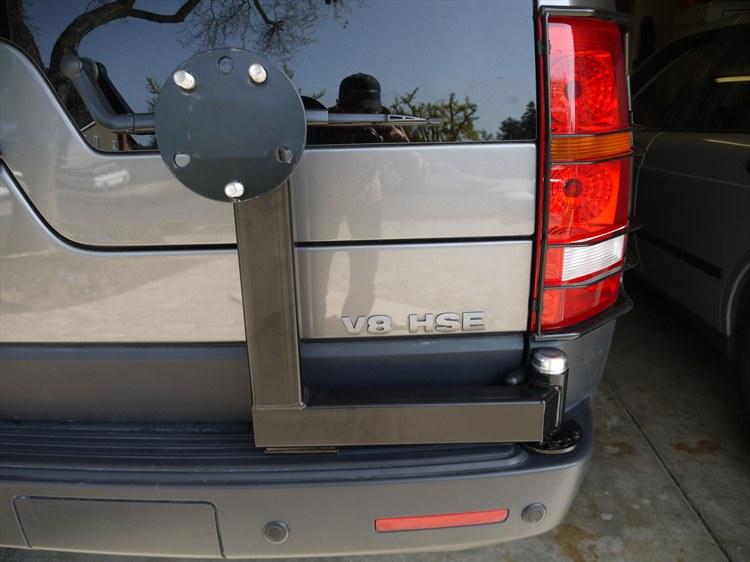
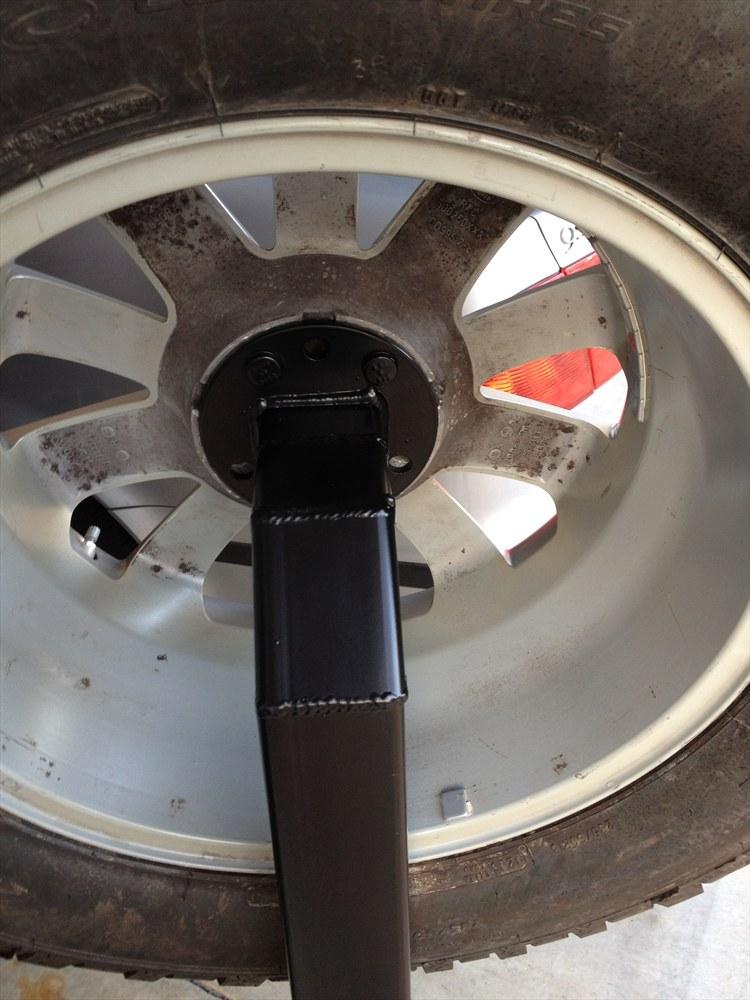
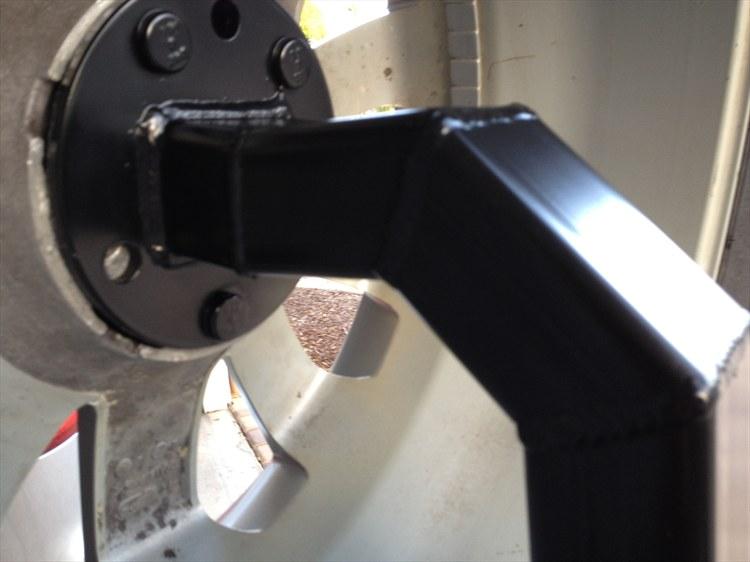
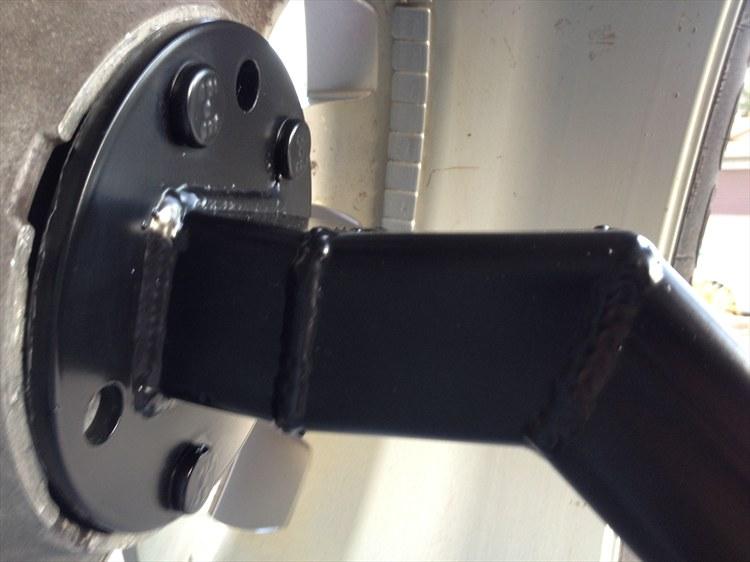
Nice work, very neat.
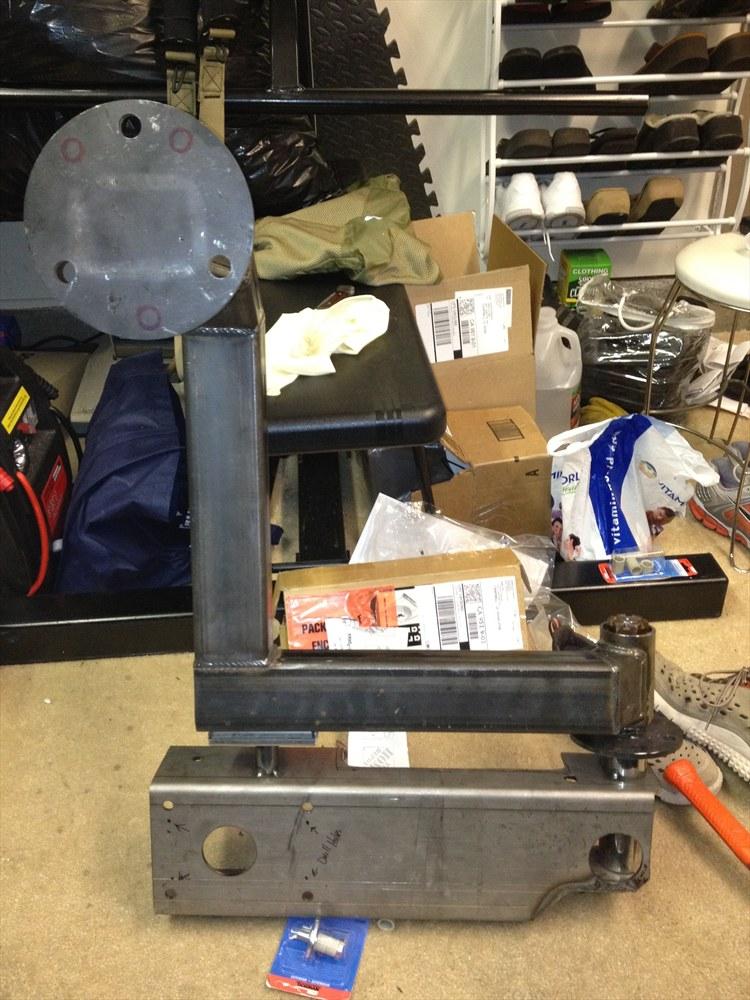
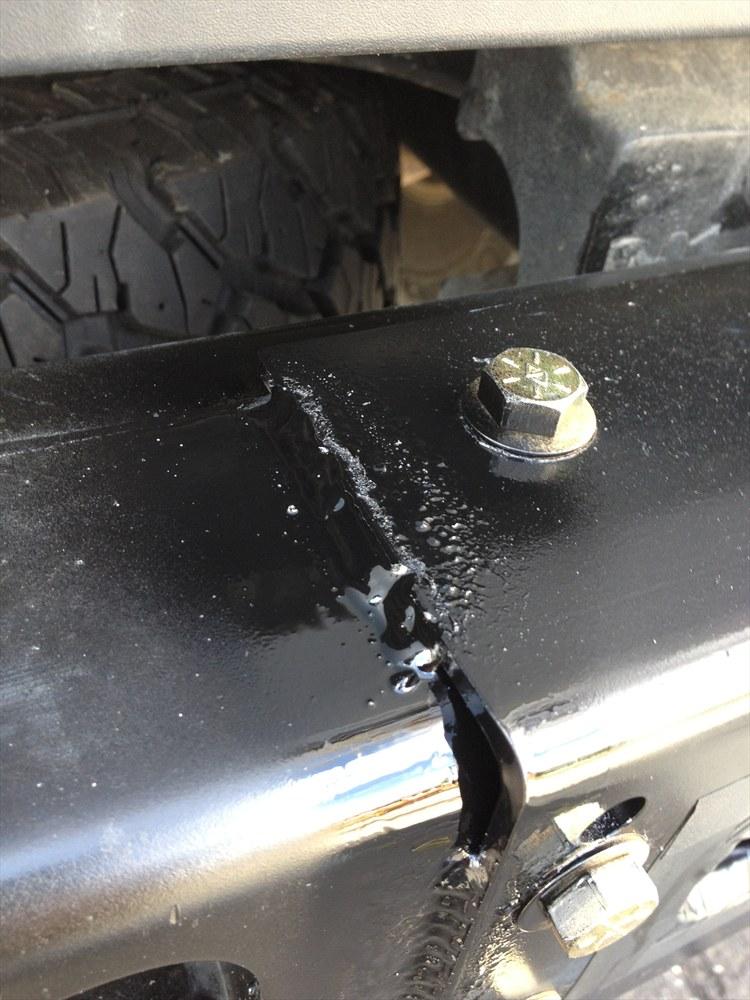
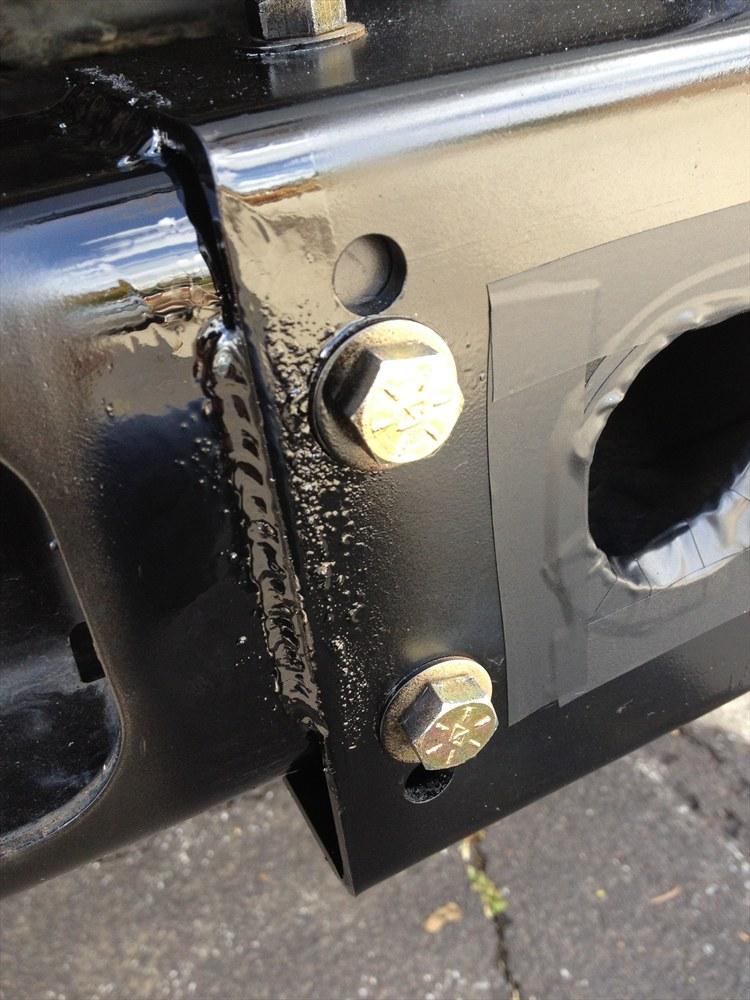
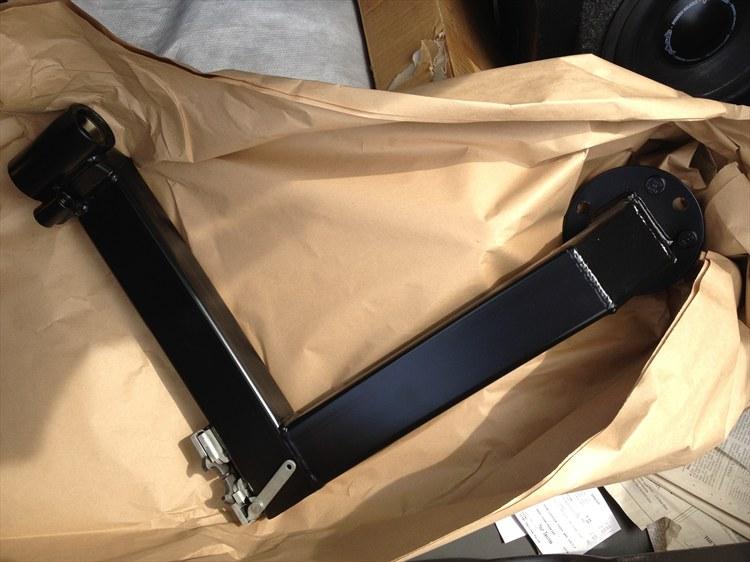
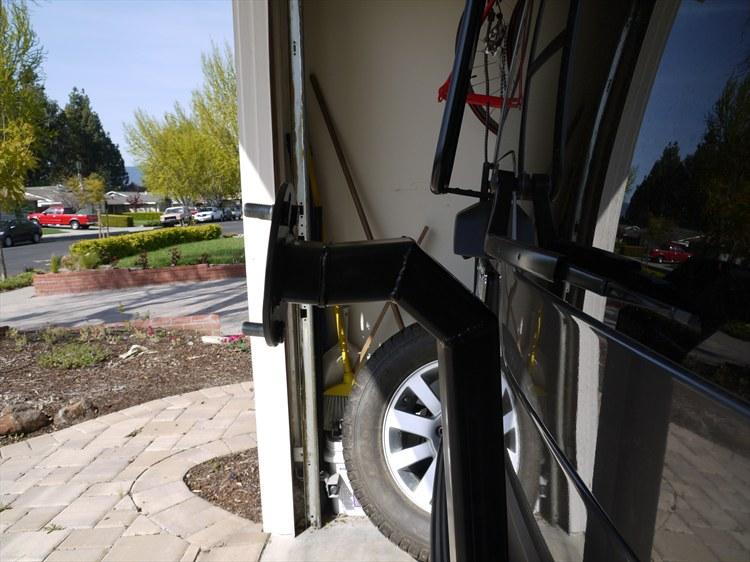
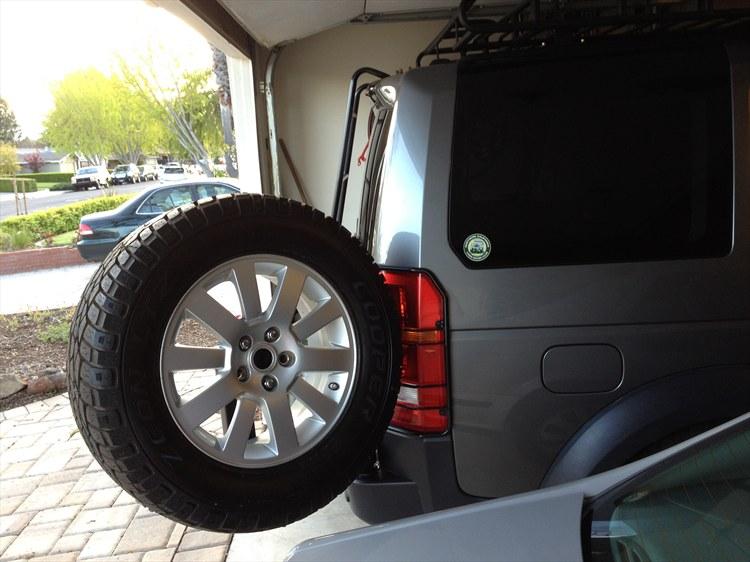
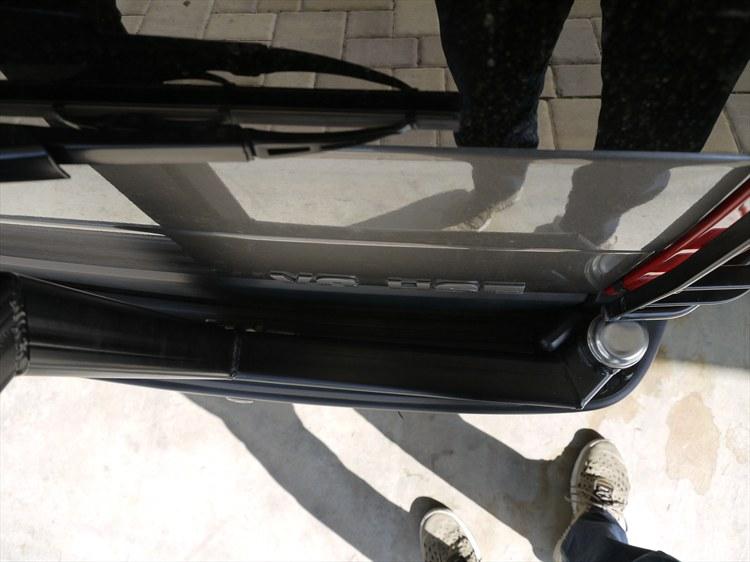
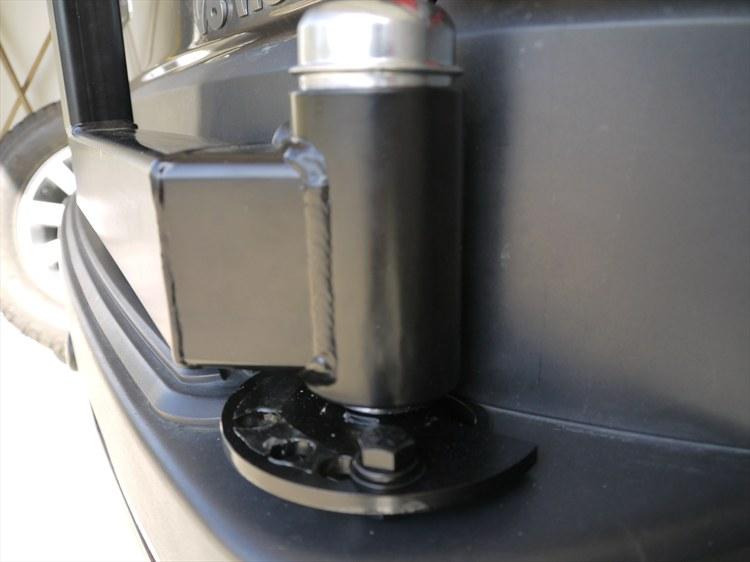
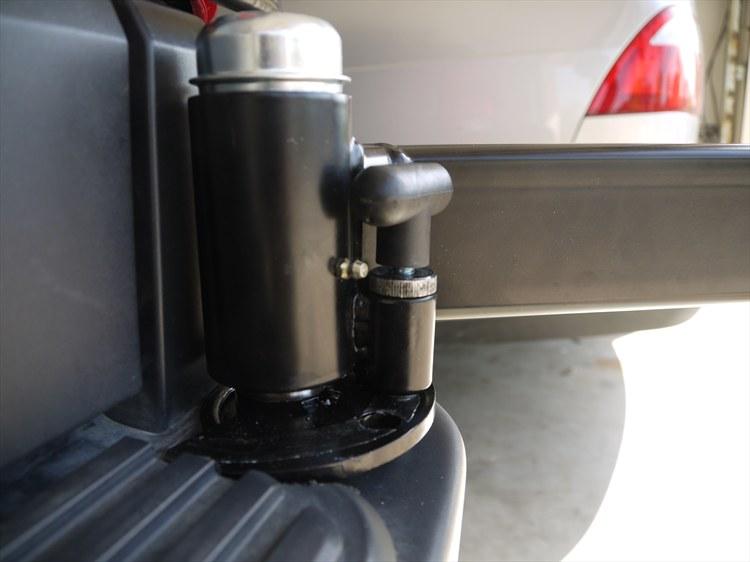
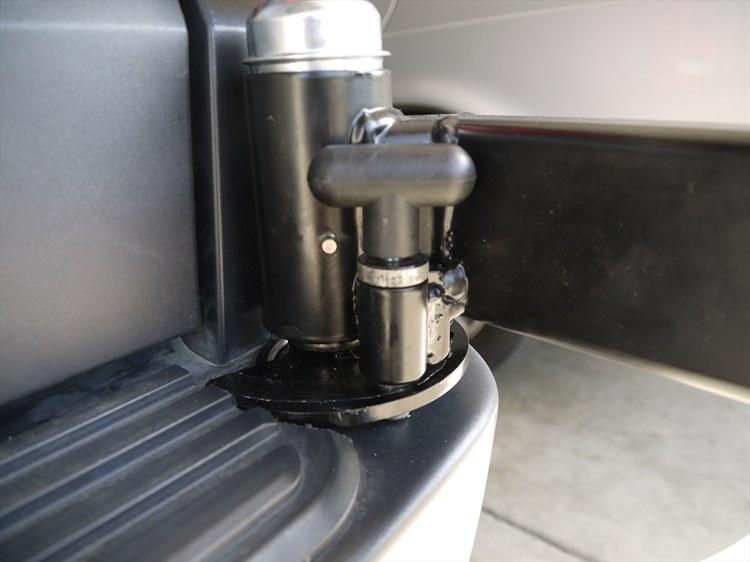
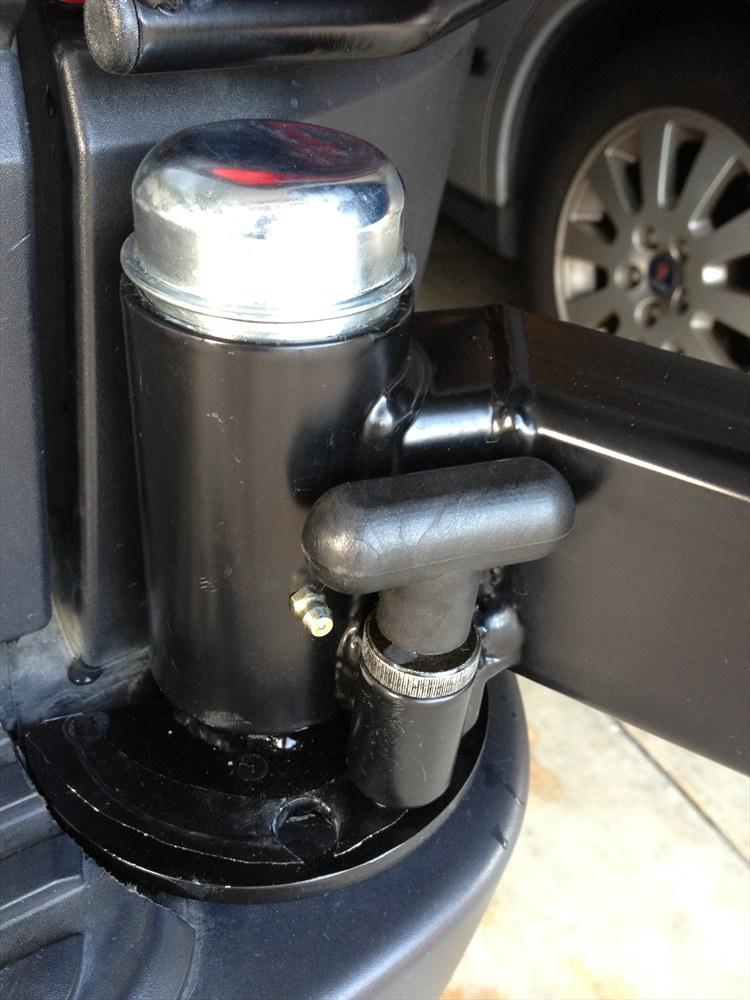
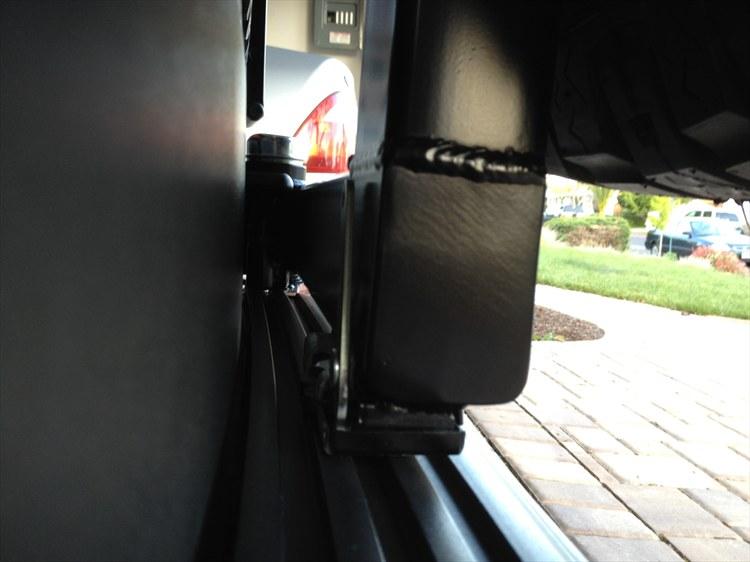
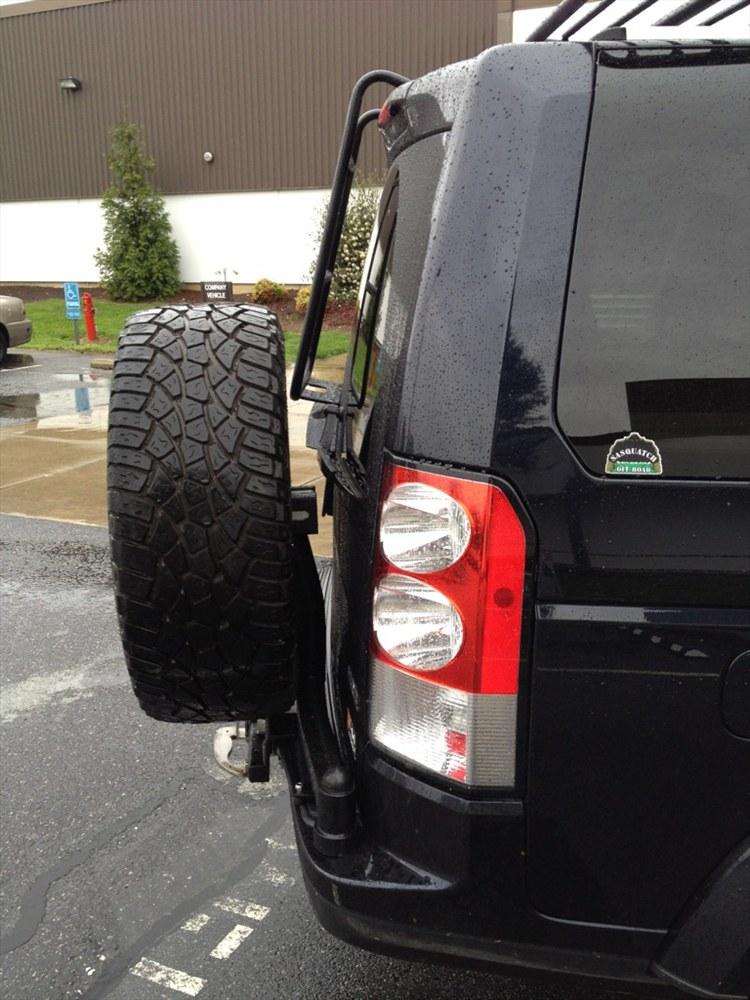
I like the way the catch works both the hold open and the locking one, up out of the road and hidden.
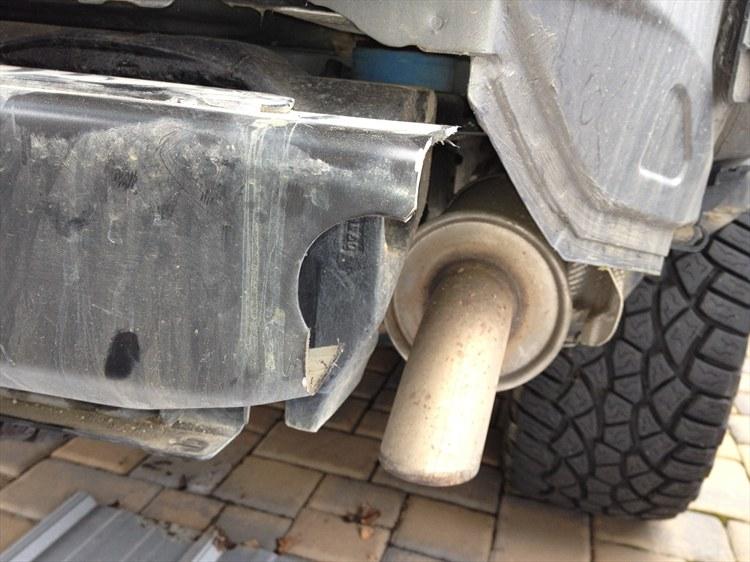
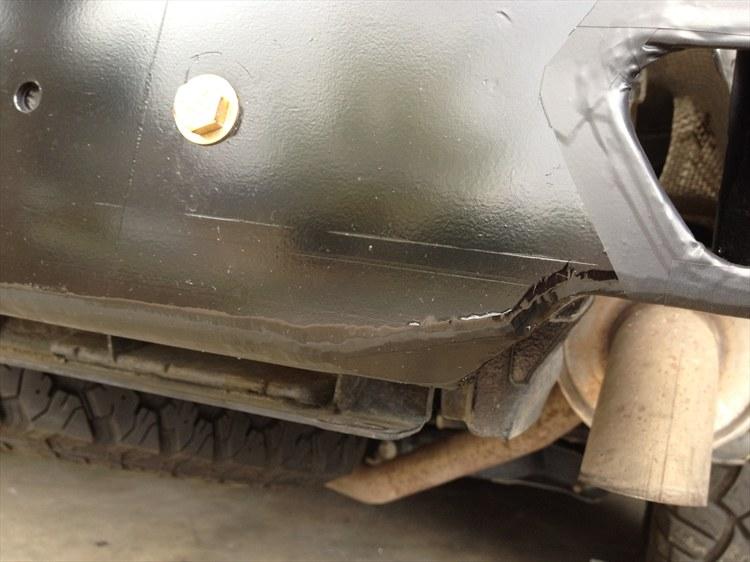
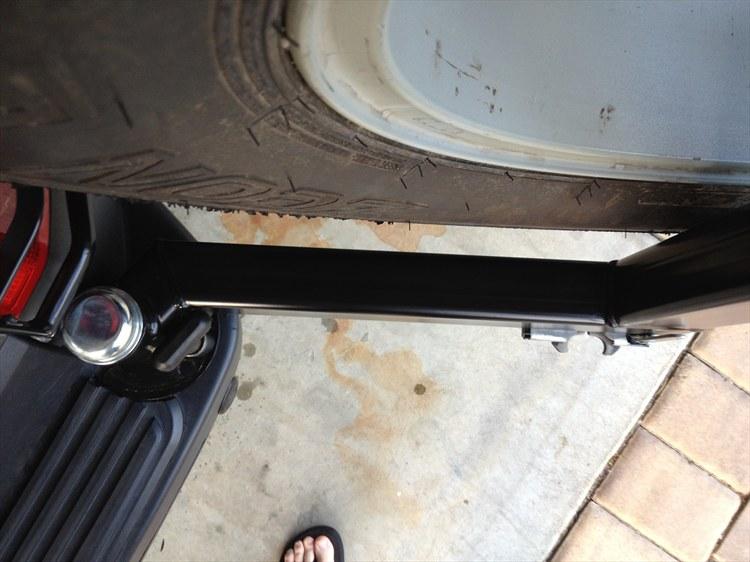
You also get away without an issues with the rear park sensors.
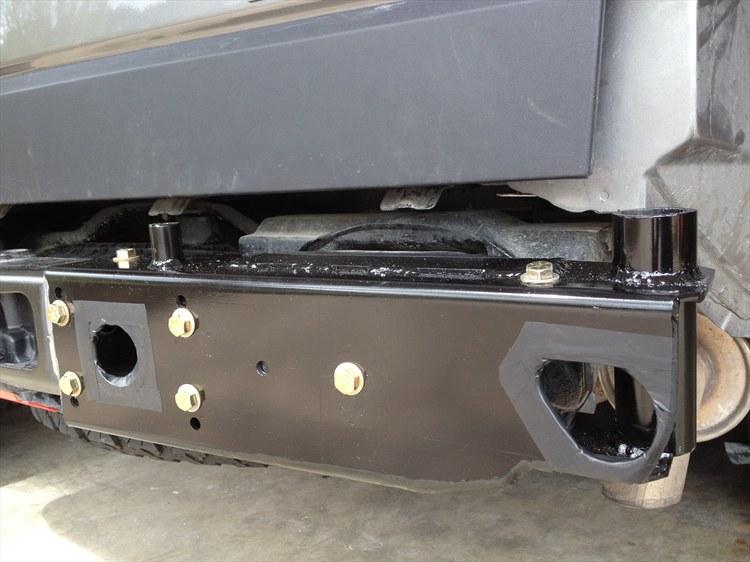
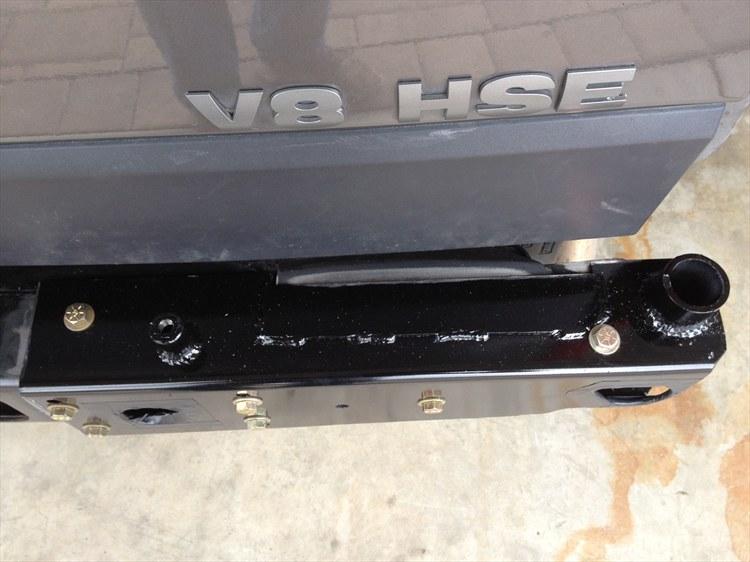
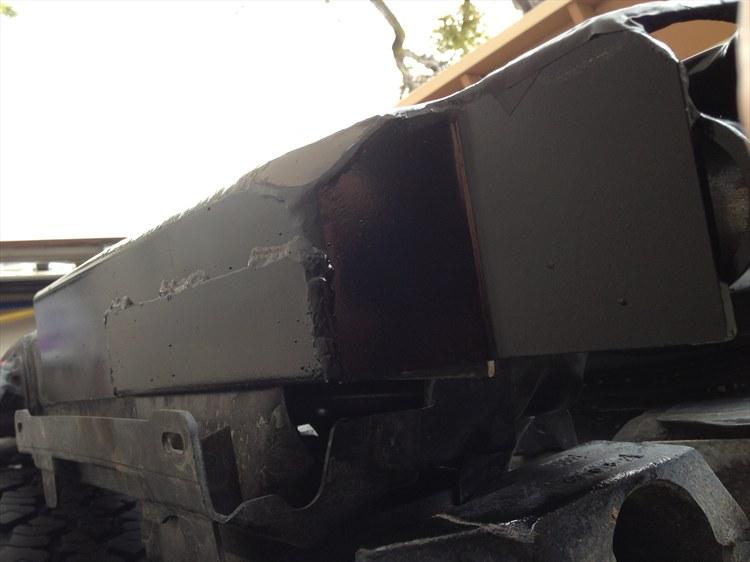
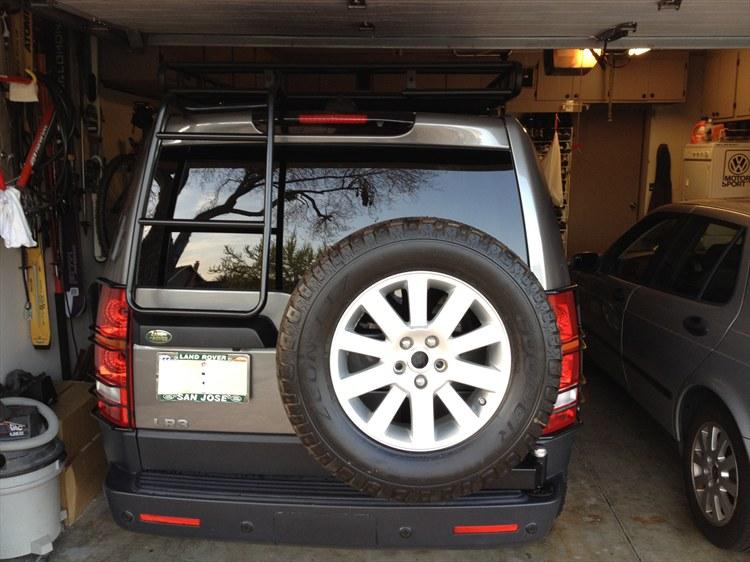
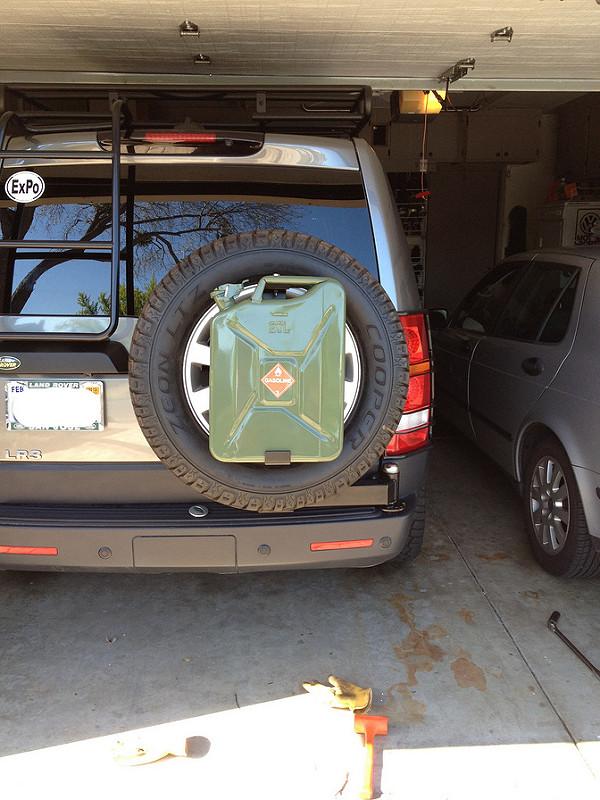
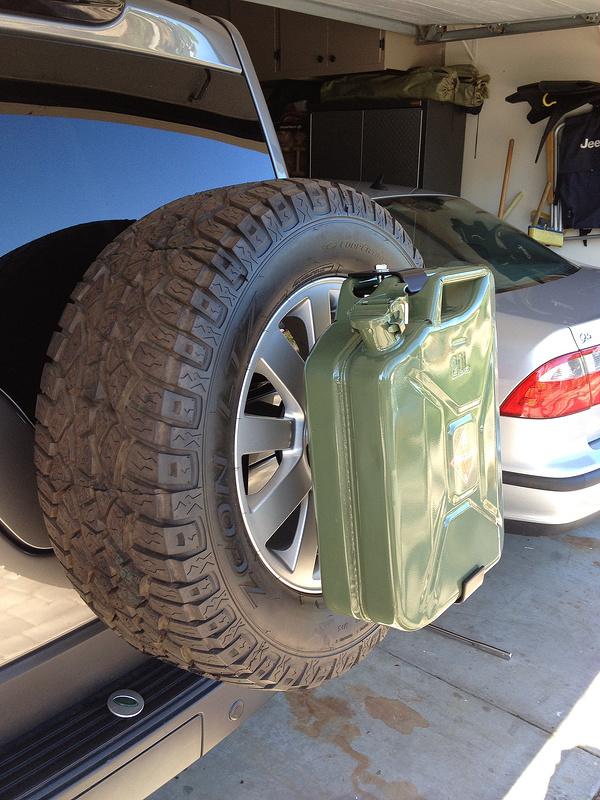
I would only use the jerry can holder on the back for water only, not too good having fuel especially petrol virtually unprotected in an accident.
")


Bookmarks