

 Reply With Quote
@garbage. Good point and the rig also has a pivot system which I haven't tested just yet. Still got a bit of time before it gets used, I was a bit slow off the mark organising a license plate

 Fossicker
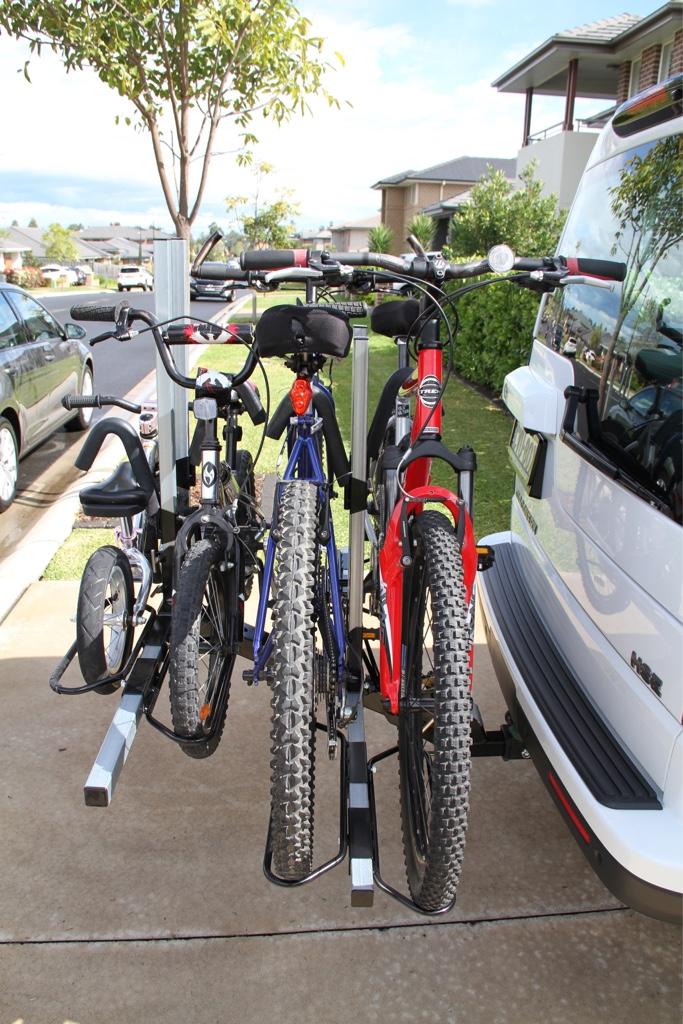
If you switch the bikes around and have the kids bikes closer to the car and the handle bars on the drivers side, you might still be able to get the boot open with bikes on. Makes life a whole lot easier.
Master
@garbage. Good point and the rig also has a pivot system which I haven't tested just yet. Still got a bit of time before it gets used, I was a bit slow off the mark organising a license plate
Master
SubscriberWhat worked for me with my ISI was to tap a hole at the end of the galvanised 1" tubing and put a bolt in, then to remove the locking screws from one set of wheel loops for each bike. Remove say the left hand wheel loop bolts on the inner bike and the right hand wheel loop bolts on the outer bike. Then slide the other loops that still have locking bolts all the way out and lock them down. Then you can just slide the floating wheel loops to fit different bike combos without all the fiddling. I tri d every combo of bike we had and tweaked the locked loops until it worked perfectly, you do have to remember still which bike to put where
MY11 SDV6 HSE, e-diff, LLAMS, Snorkel, Rhino Pioneer Rack, DBS, BFG KO2 265/65r18, Mitch Hitch, GME TX3550s, GOE stuff....
Master
If I'm getting the right picture of what's happening here, you're basically saying that once mounted, each bike has one loop that is tightened down to the horizontal cross bar, and the other loop floats and doesn't offer any horizontal left/right resistance, but is kept from flying off the end (when not in use) by the stop bolt that you installed. Interesting idea, and I will keep it in mind.Originally Posted by sctsprin

In the end I have just put a quick label on each rack, vertical upright, and associated hole to remind me which order to put them in. I tend to remove each vertical upright from the base as it makes it easy to unload. I just stab it back in when loading, with no need to re-adjust the hook part itself.
Super Moderator
SupporterThe symmetry of your bike sizes is very soothing to my OCDIt's an aerodynamic wedge.
I find the pivoting quite heavy when using by myself with 2 full-size bikes.
So swapping the small bikes to the inside, allowing access to the tailgate without pivoting is a good tip.
Note that the pivot works really well, just easier with a 2nd person to steady things and in particular, help to lift it up again.
Cheers,
Scott
Master
Subscriberyep that's it exactly,
yeah i just drop the entire vertical hook thing including post into the carrier, rather than only removing the hook, makes it easier to get the bikes out
MY11 SDV6 HSE, e-diff, LLAMS, Snorkel, Rhino Pioneer Rack, DBS, BFG KO2 265/65r18, Mitch Hitch, GME TX3550s, GOE stuff....
Master
On a side note, I like putting the hitch as close to the car as possible as it reduces leverage/shake. One of the holes in the hitch is fine, whilst one hole closer needs me to shift the spare (slight nudge) and the hitch then just touches the rubber of the spare.
I also don't tow anything in general, so I leave the hitch part (aka Stinger) mounted in the hitch receiver (plough) all the time, and just store in the garage next to the rack (rather than store the plough in the rear cubby). This way all I do is insert the whole lot into the car, then attach the rack into into stinger.
Maybe one day I will get around to buying a spare plough to carry in the car "just in case",
Master
Subscriberyeah, i used to leave the plow bolted to the ISI carrier (no wobble washer) and lift the whole thing up and into the receiver, it worked well, but bloody heavy
Now i have a mitch hitch, it's much lighter to lift the ISI without the plow, but i have to do up the anti-wobble screw on the mitch hitch each time or it wobbles terribly.
I had to shave a tiny bit off the end of the ISI hitch, to get it to fit into the mitch hitch on the 2nd hole.
MY11 SDV6 HSE, e-diff, LLAMS, Snorkel, Rhino Pioneer Rack, DBS, BFG KO2 265/65r18, Mitch Hitch, GME TX3550s, GOE stuff....
Master
Just a quick survey on behalf of a friend - does anyone find any lateral (sideways) movement with their ISI in the hitch?
He is using it in a TJM hitch on a Triton ute with a canopy, and on some tracks he is getting enough sway that the bike handlebars hit his rear canopy window.
I haven't had any issues at all, and it could be any of the other components, but just thought I'd pitch the question out there.
Is he using the supplied bolt or just a hitch pin?
 Posting Permissions
| Search AULRO.com ONLY! |
Search All the Web! |
|---|
|
|
|

Bookmarks