
")


 Reply With Quote
Nice work Tim.Looks like it made a huge difference in clearance.So when are you coming over to do mine

 TopicToaster
Subscriber
TopicToaster
SubscriberHey all
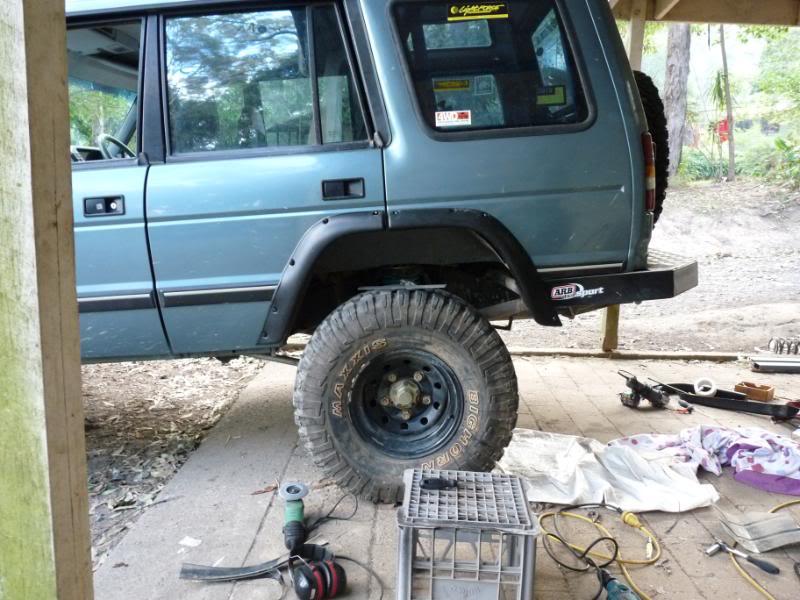
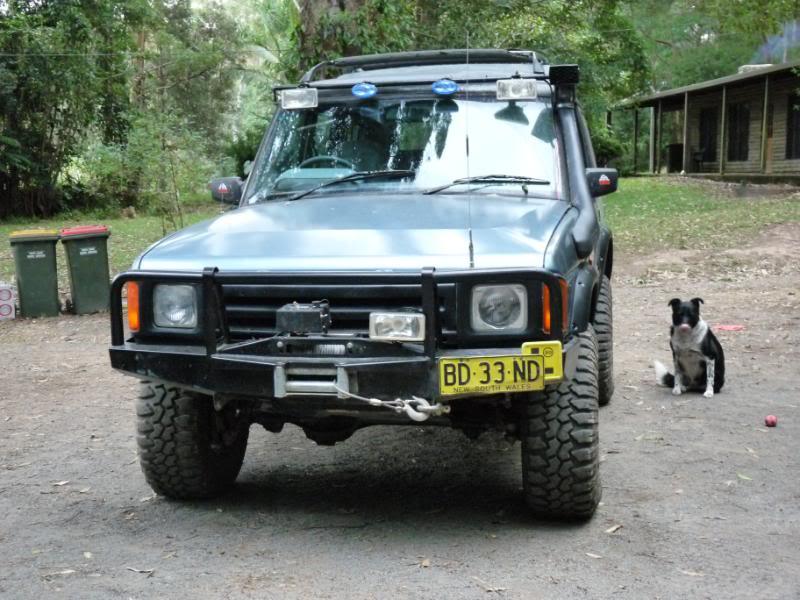
Well i have resontly completed fitting a set of flexi flares to my disco1 5 door.
I thought i may as well do a bit of a tutorial while i'm at it to hopefully help other's out who also plan to fit these flares in the future
Anyhow, i found the instruction's in the fitting kit to be very vagueso i just fitted them the most logical way to me...
Tools used-
# black marking pen
# 4'' angle grinder with 1mm cutting disc's and flapper/sander disc.
# masking tape
# electric drill
# 2mm drill bits (suggest you get hold of a few of these as i broke a couple)
# phillips style screw driver
# touch up paint and brush
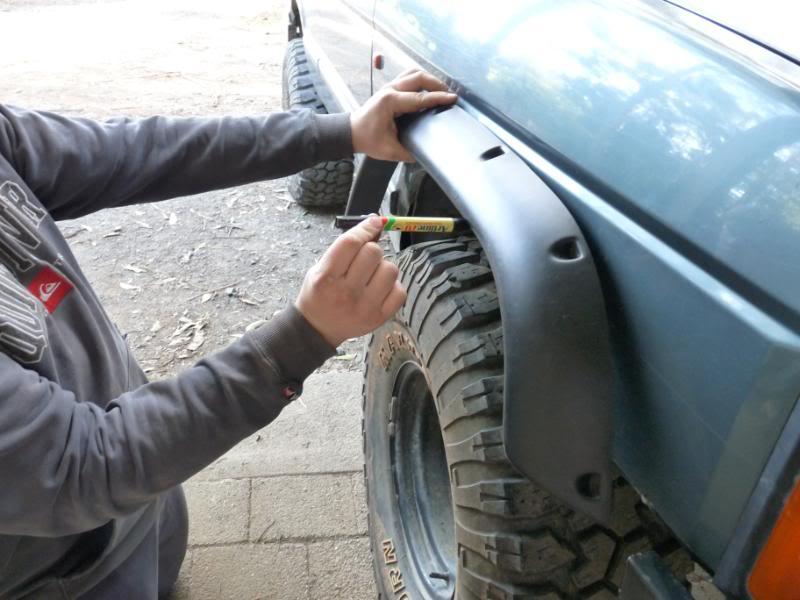
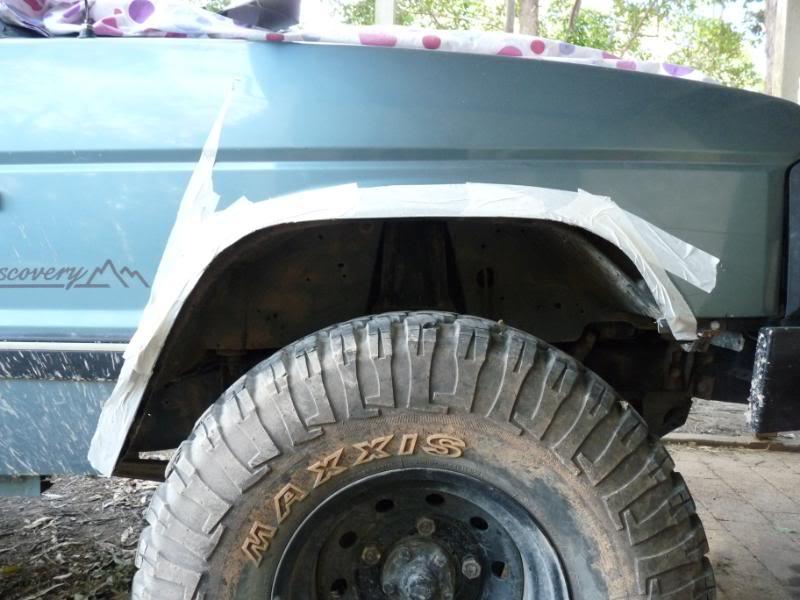
Step1-
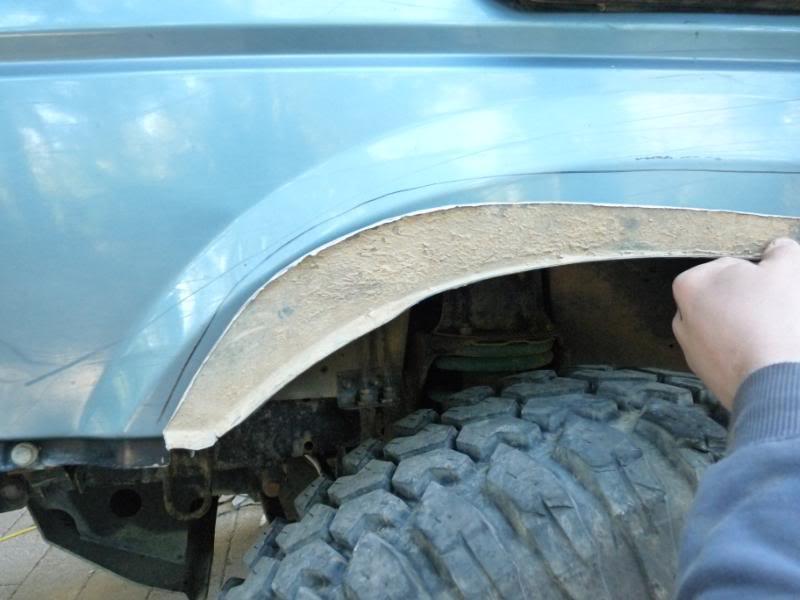
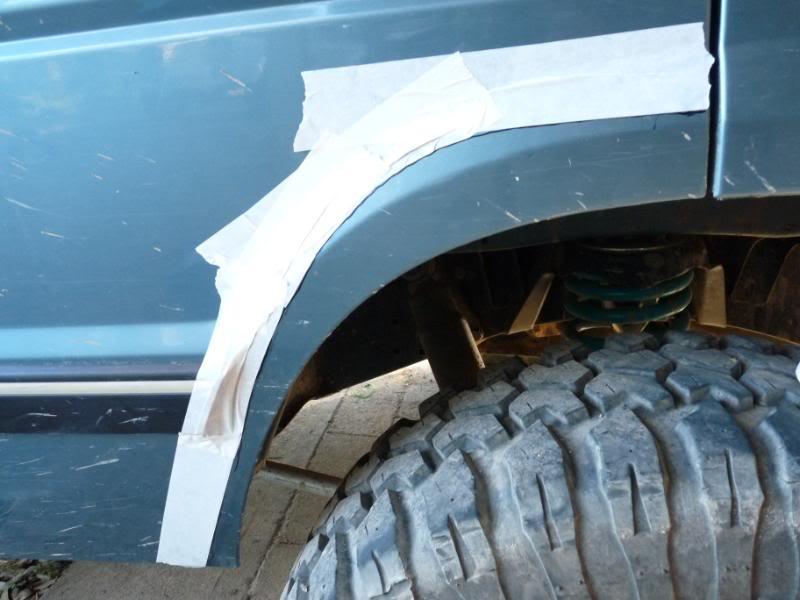
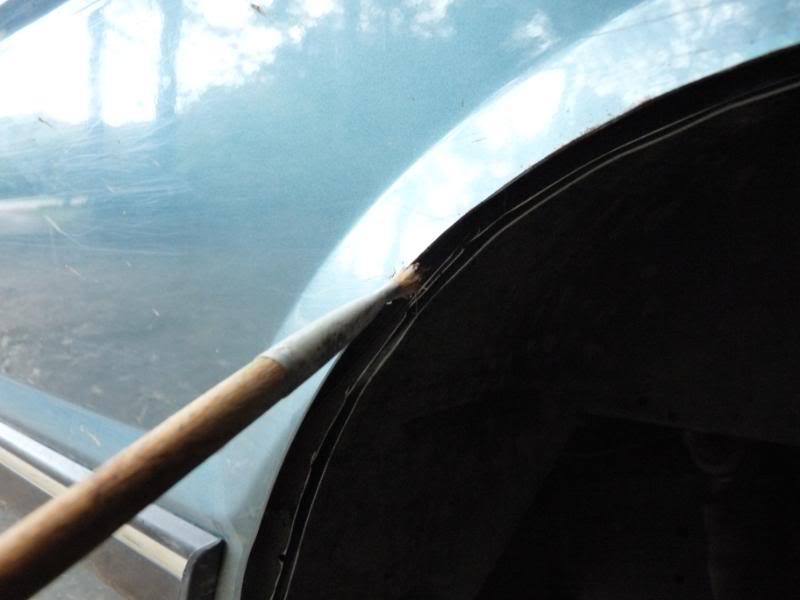
First off i held the flare in place about where i wanted it to sit (a second person would make this easyer) to get the correct hight i went off the dimple part in the guard as suggested in the instructions, then marked a line around the inside of the flare.
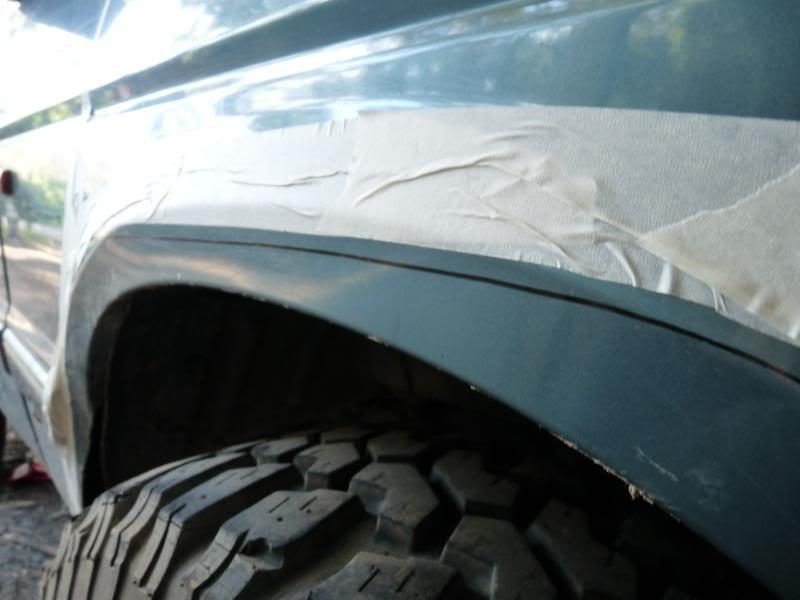
Then i masked an area about 10mm above the marker line using masking tape..
The masked edge is where the cut will be made to allow for plenty of adjustment for where you want the flare to sit.
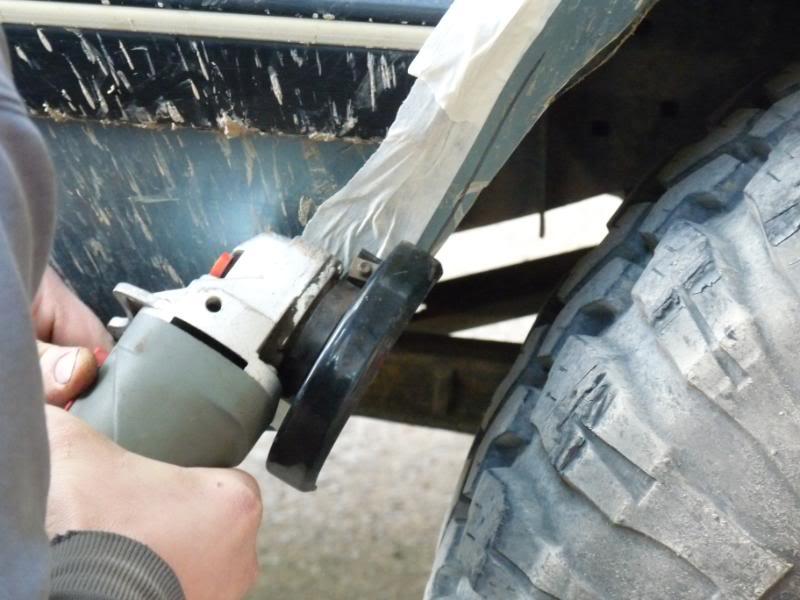
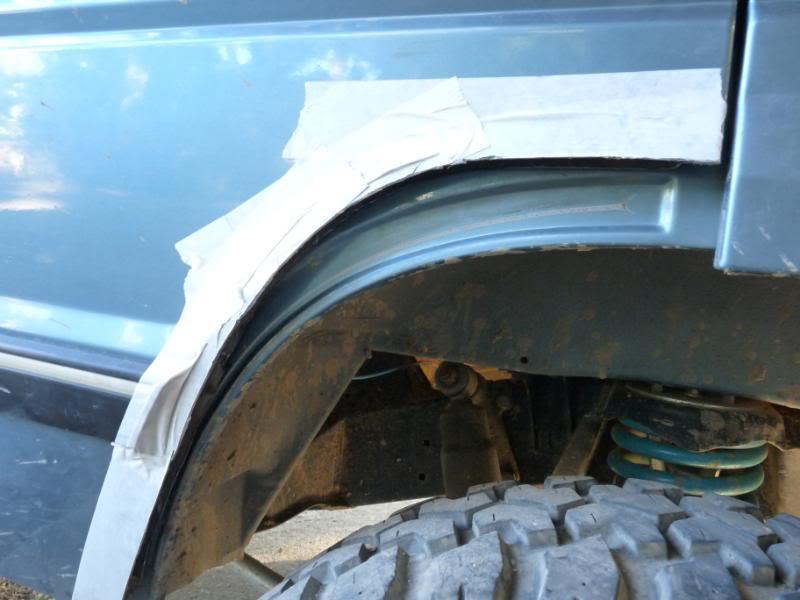
Step2-
Now the fun part, out with the angle grinder and try cut along the edge of the tape line as neatly as possible
all cut..
Step3-
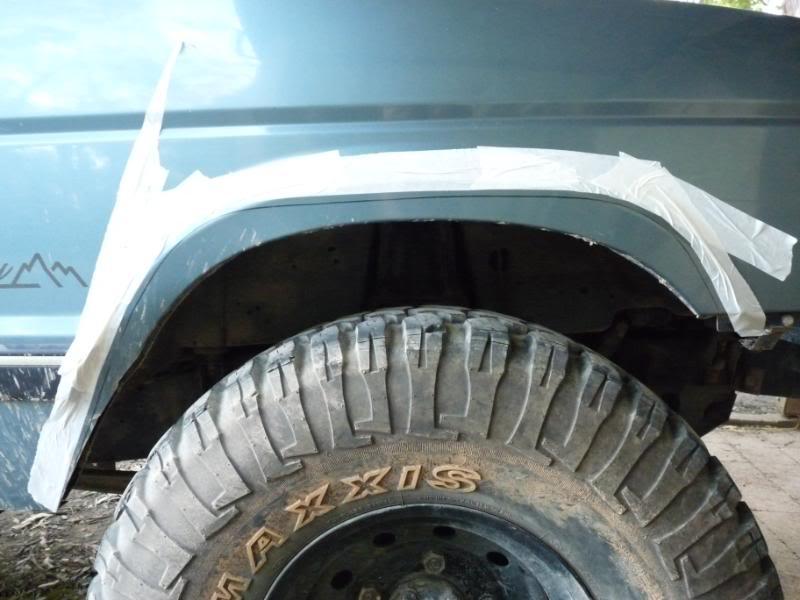
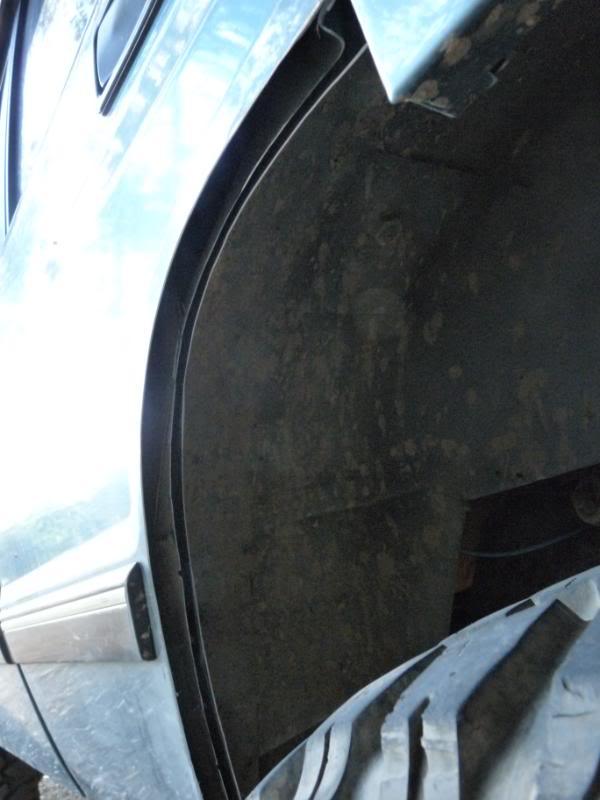
Trim the inner guard plastic back to sit inline with the cut on the panel..
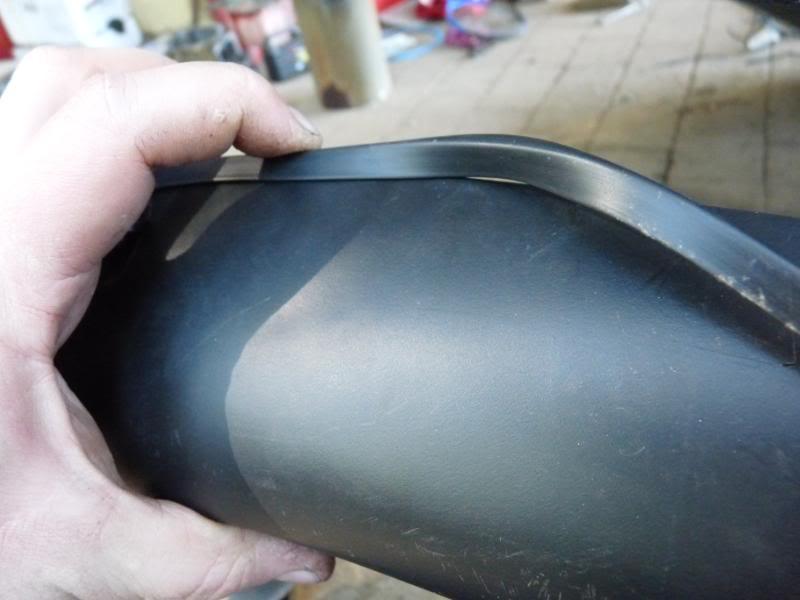
Step4-
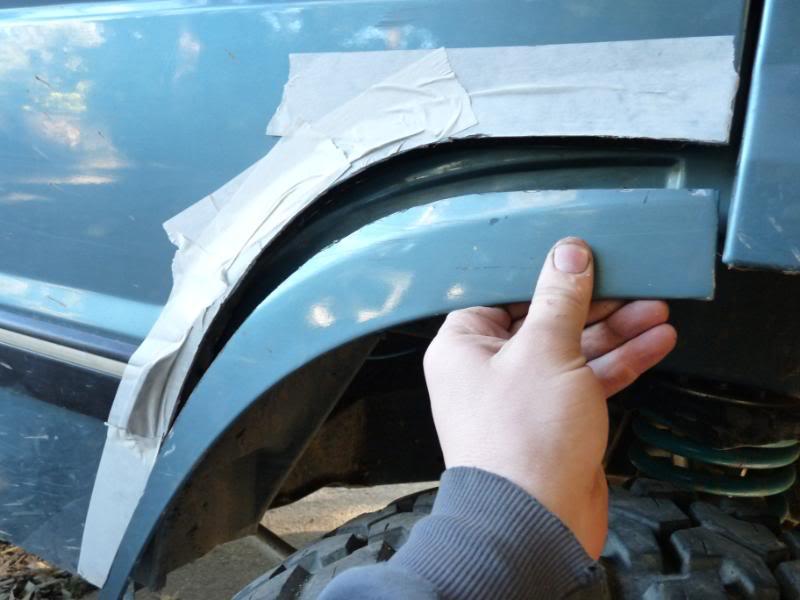
Position the flare where you want it to sit...
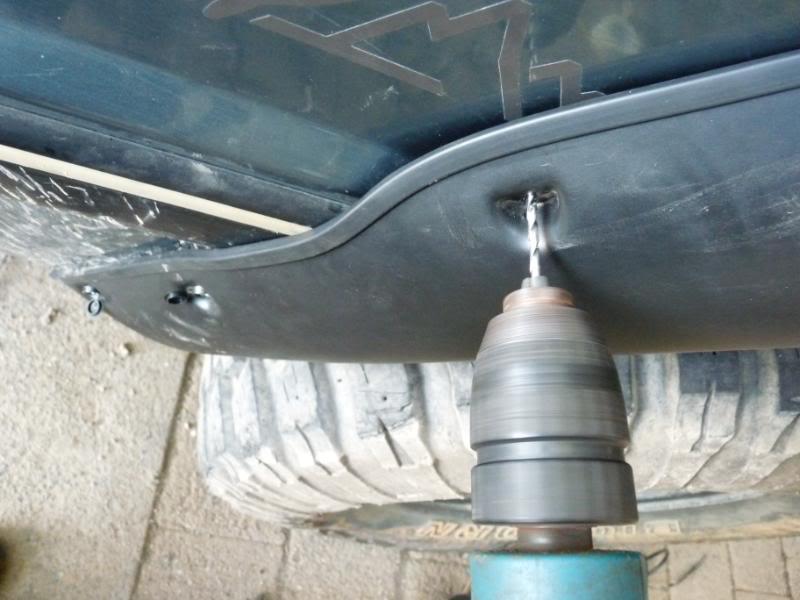
Then drill the holes in the flare for the screw to go through into the guard, i used a 3mm drill bit for this to make it easyer to get the screws through the flare. i then fitted the rubber stripping to the edge of the flare..
once the flare is sitting in the best position possible, drill away
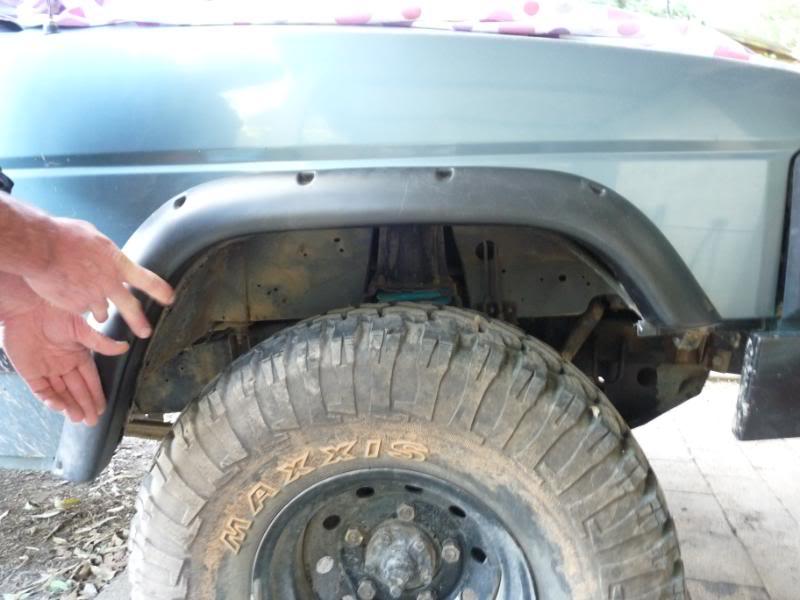
Step5-
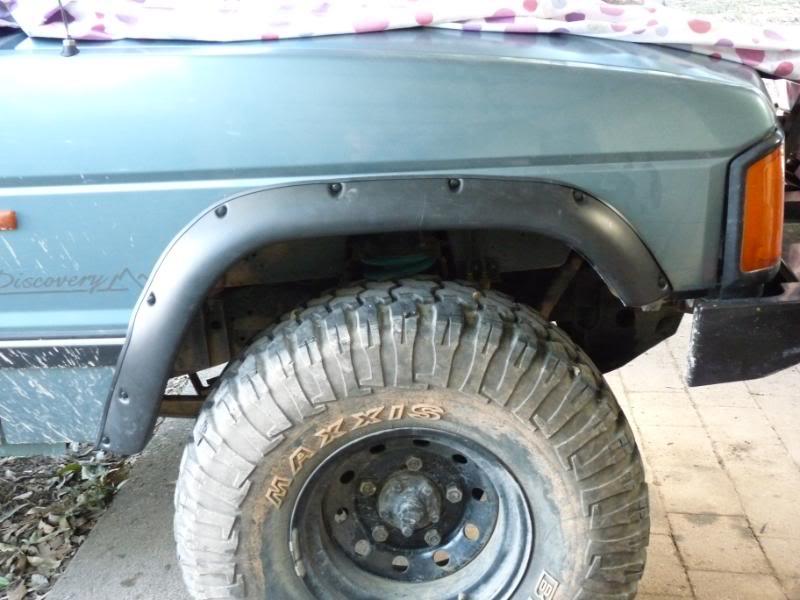
Screw the flare onto the gaurd using the screws and plastic cover caps provided in the kit
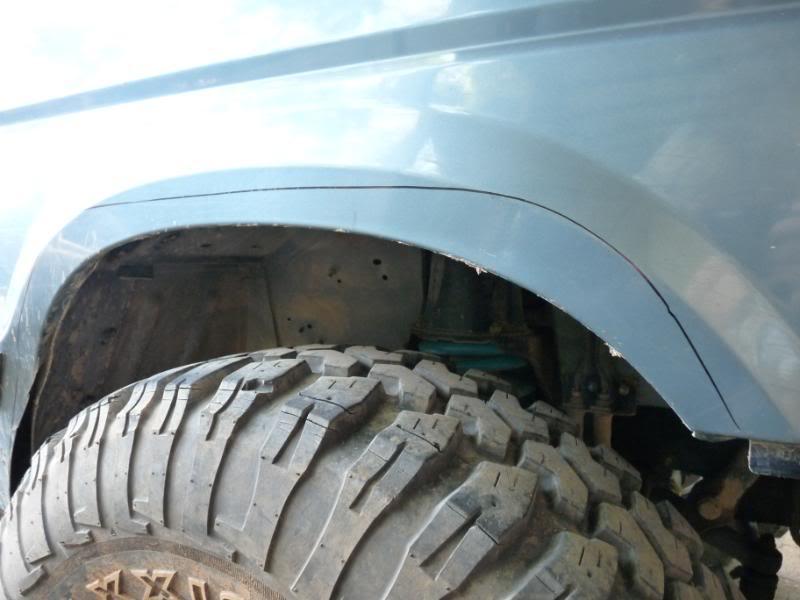
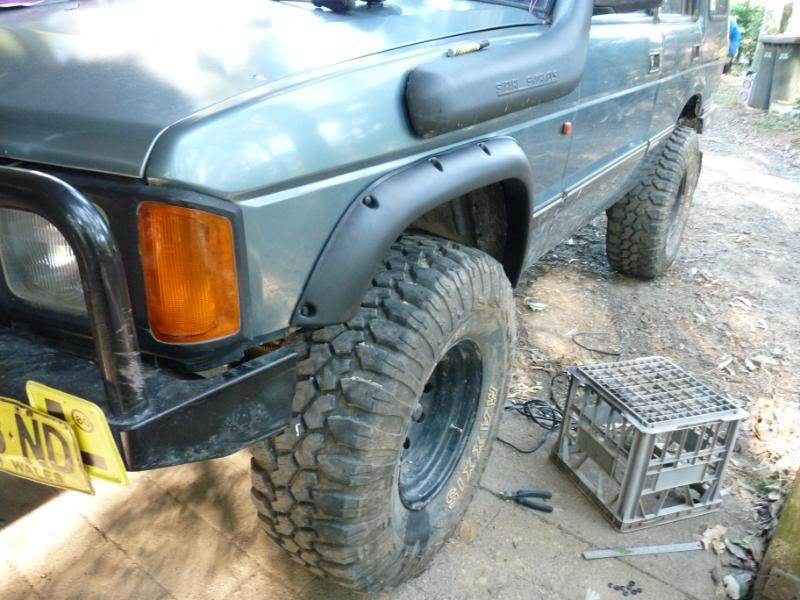
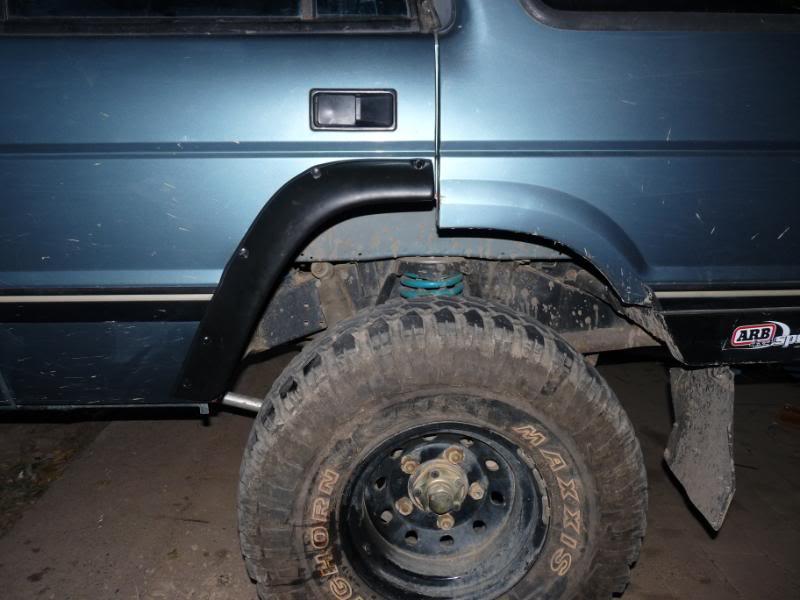
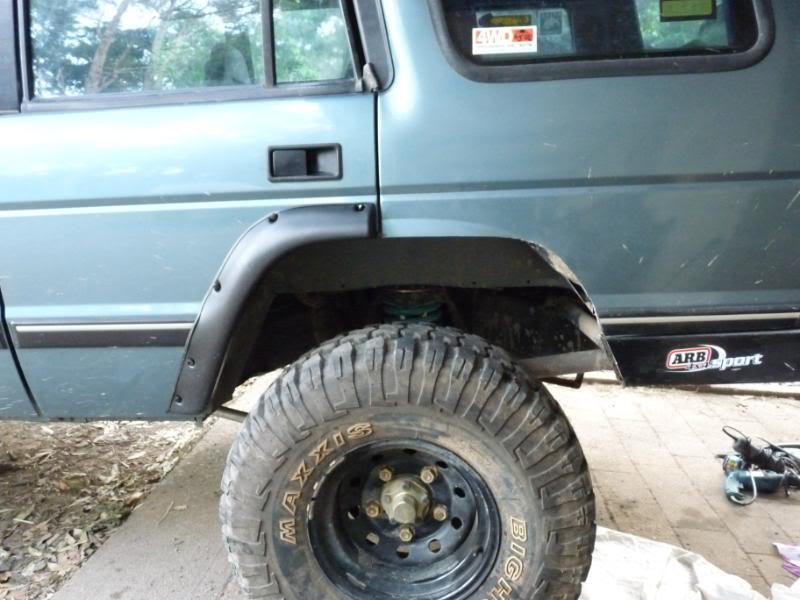
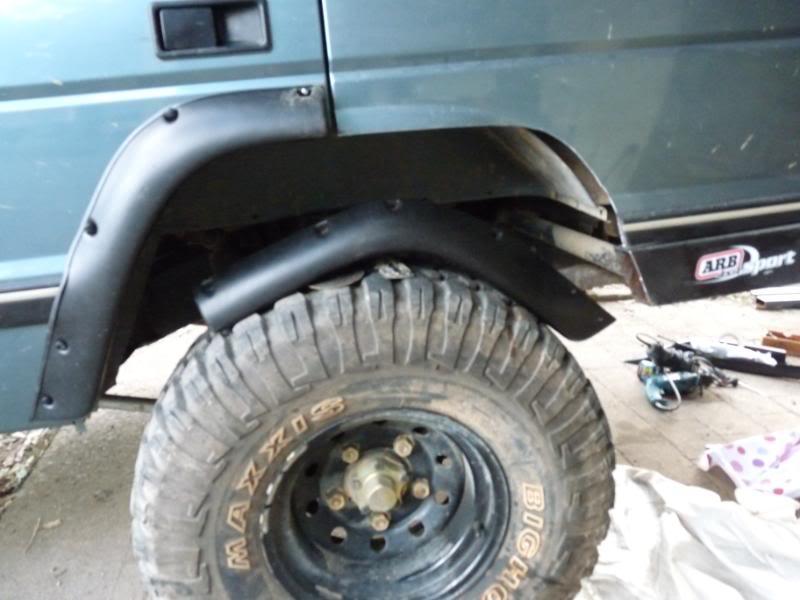
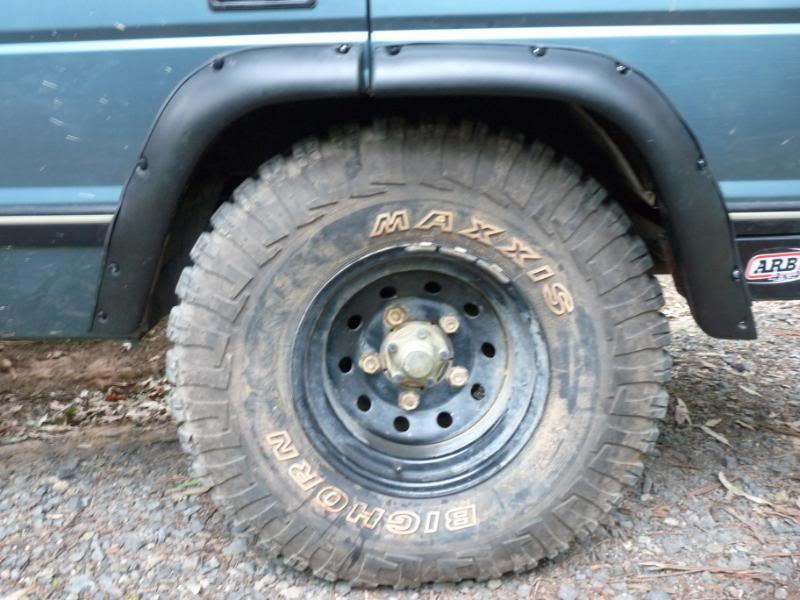
And it should look something like this hopefully..
and thats one side done!!!
I would suggest trying to fit some sort of guard to provent mud getting in between the flare and the inner guard, i'm yet to do this..
Now on the other side front, i pretty much followed the exact same steps but to make it abit quicker i turned the piece of off-cut from the other side over and traced this
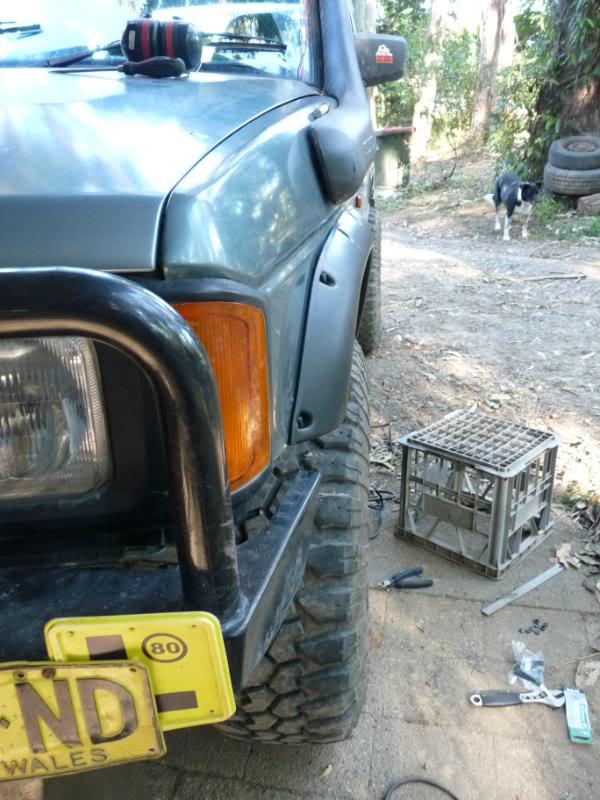
All fitted as well..
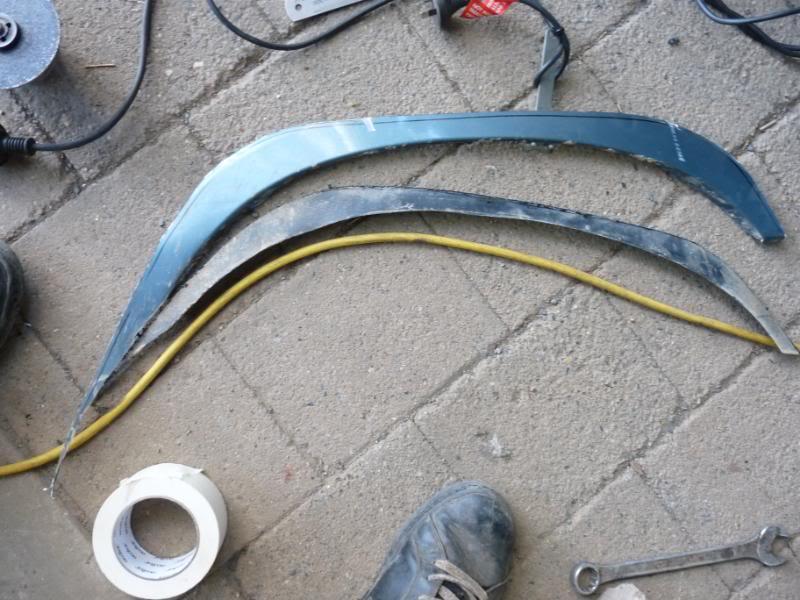
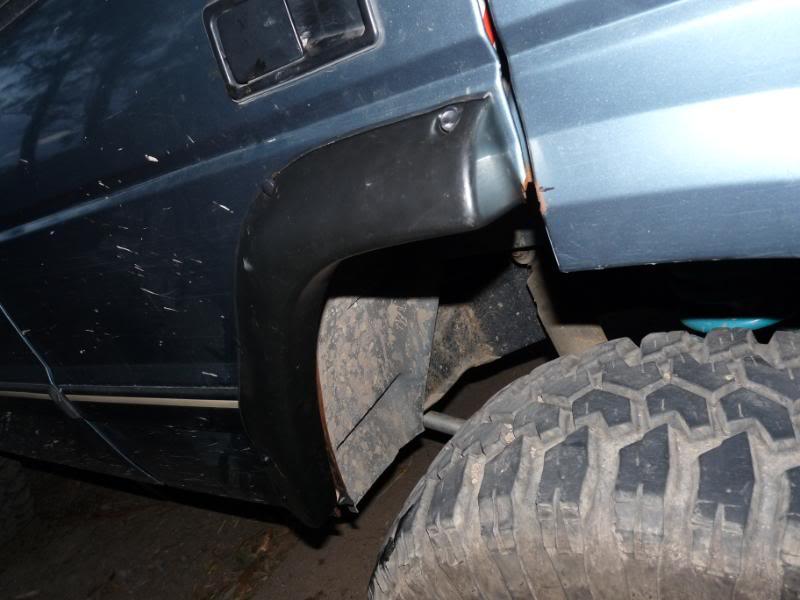
With the front all done it was time to start on the rear arches.
Step1-
Obviously these are a 2 piece flare so i started on the harder one first..the door flare.
hold in place with the top of the flare in line with the dimple in the body then trace a line along the inside of the flare.
Then i masked in up..
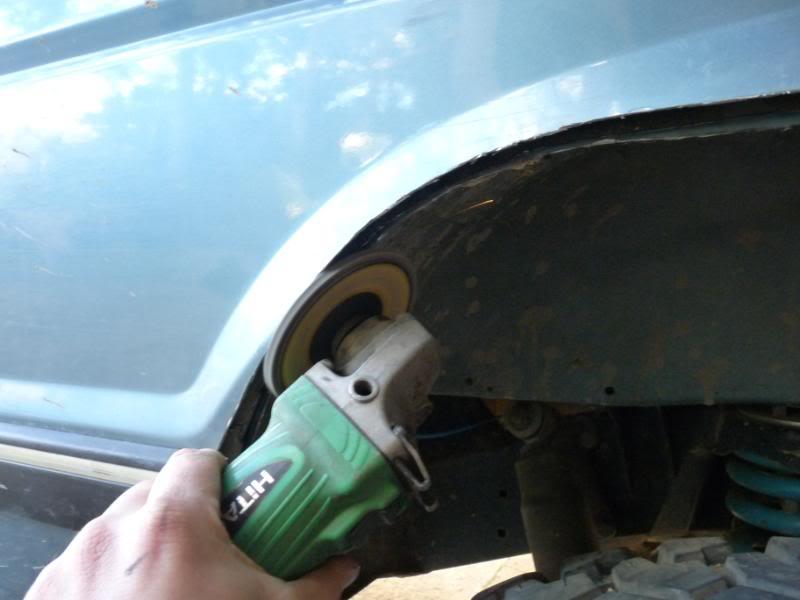
Step2-
now once again out with the grinder..
You will soon learn that you will have to cut through two parts on the door and in my case i had to remove the door seal that sat in the way of my cut
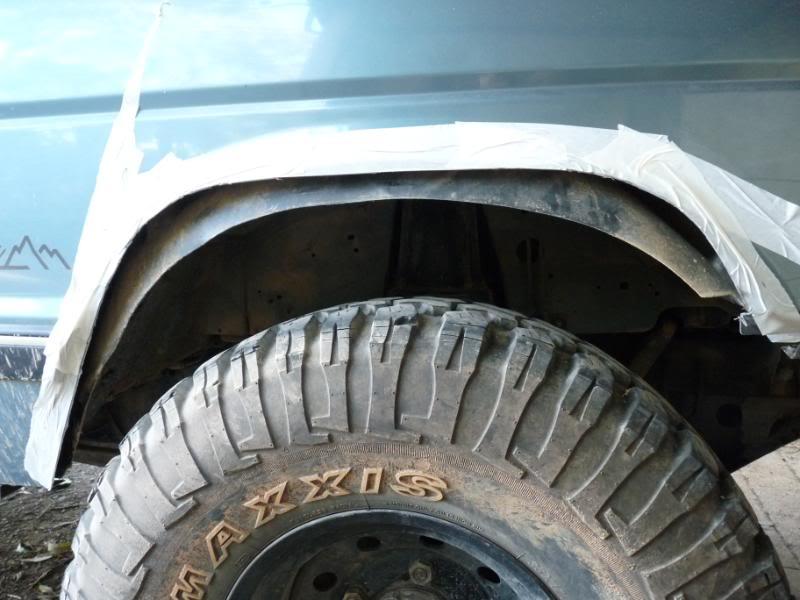
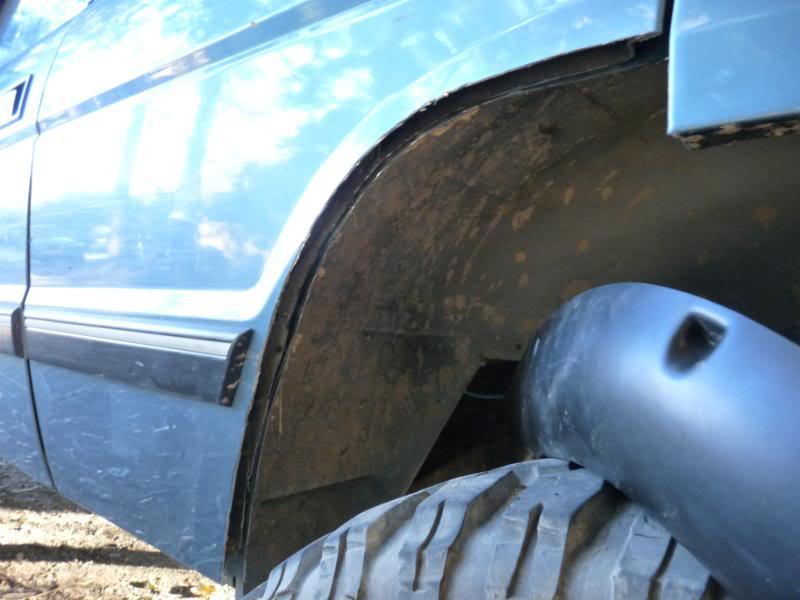
Step3-
Then i traced another line on the inside wheel well where the door seal use to seal against
Then cut away..
It should then look something like this..
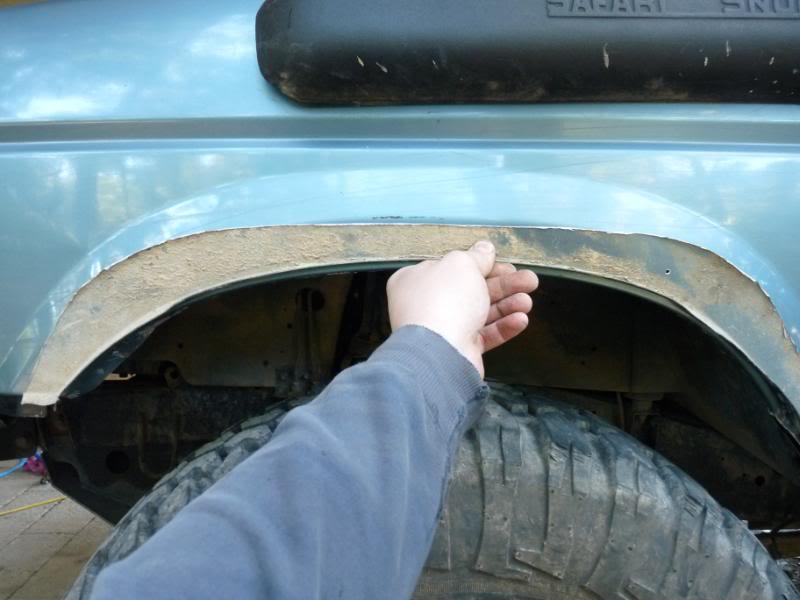
Step4-
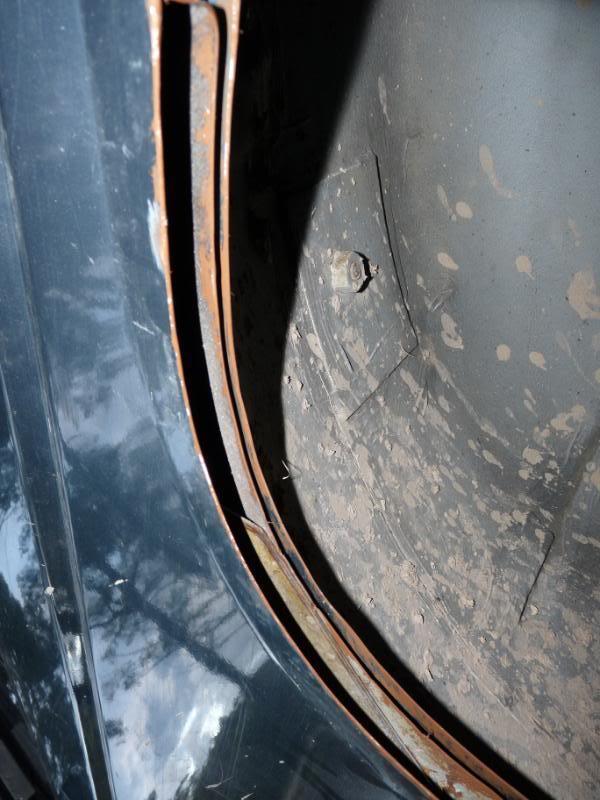
Because the door is mainly steel you will have to touch the cut edges up with some kind of paint to suit..
Cleaning the edges up..
Touching up..
Seeing there will now be a large gap in you door i would suggest trying to fill it in with some silicone or similar, i still have to do this also.
Step5-
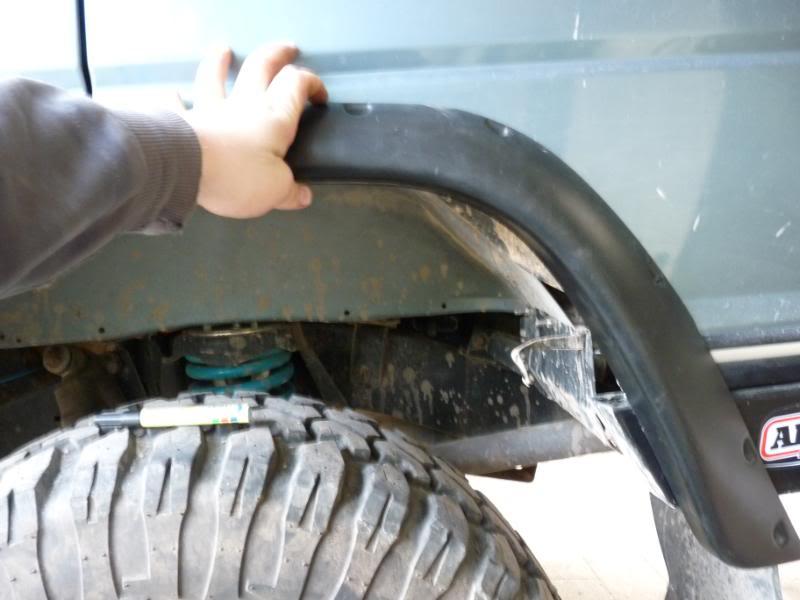
Drill the holes in the flare, then position the flare where you want it to sit, drill the holes and screw it on
I found with the rear flares they didn't realy sit correctly on the door/guard but once it is screwed on they seem to be fine
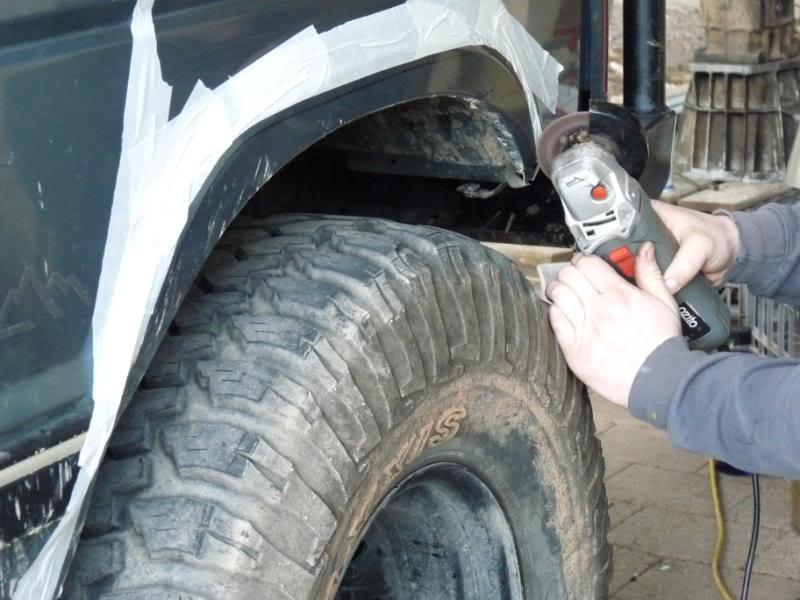
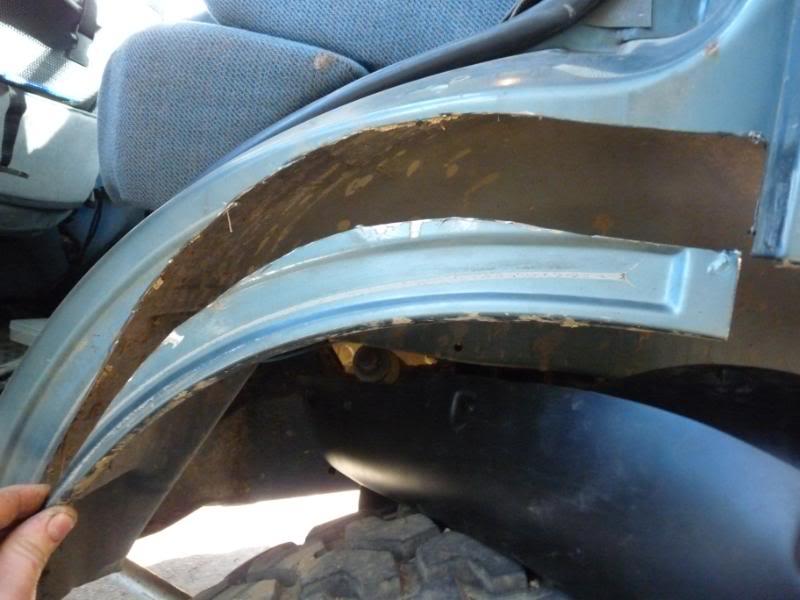
Now for the rear part of the rear flare.
Step1-
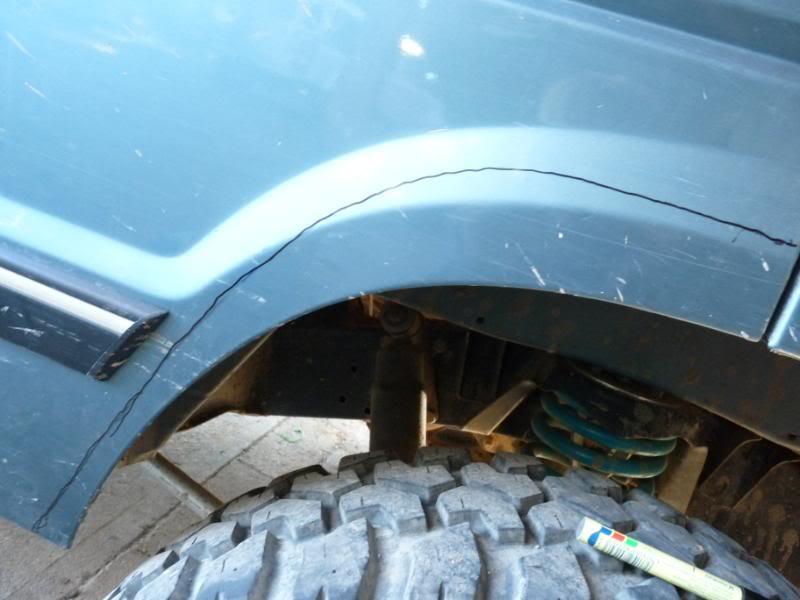
Hold in position, and trace a line using the inside part of the flare as a guide.
Step6-
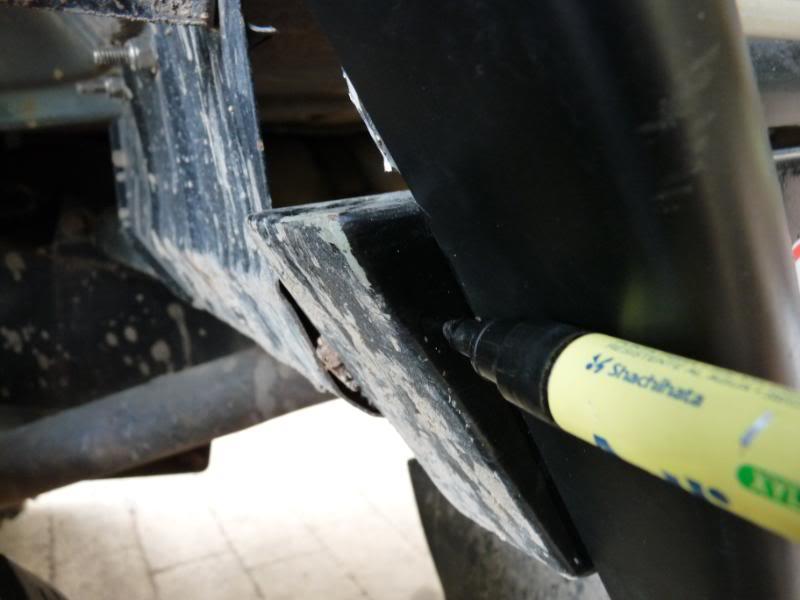
Tape it up, and start cutting.
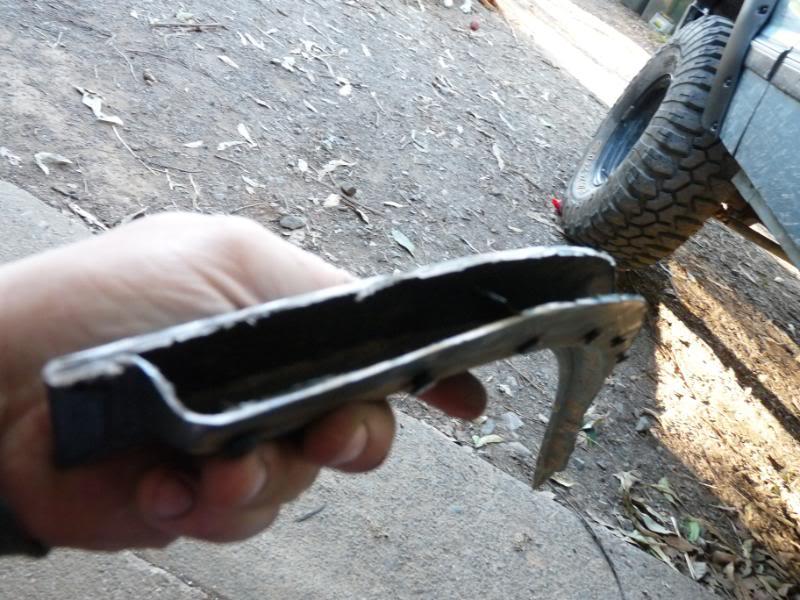
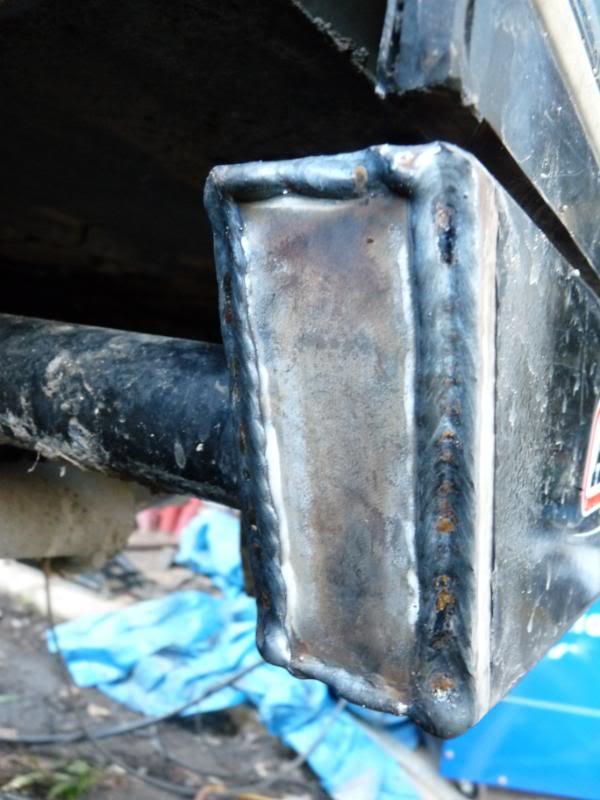
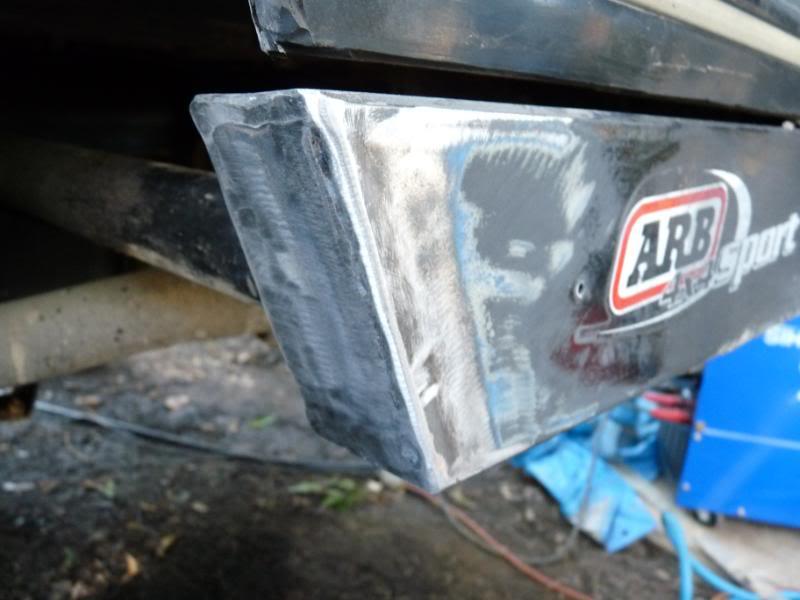
Seeing i have already cut away the rear quarters and fitted a rap around rearbar i had to trim and re-cap the ends of my bar
all cut..
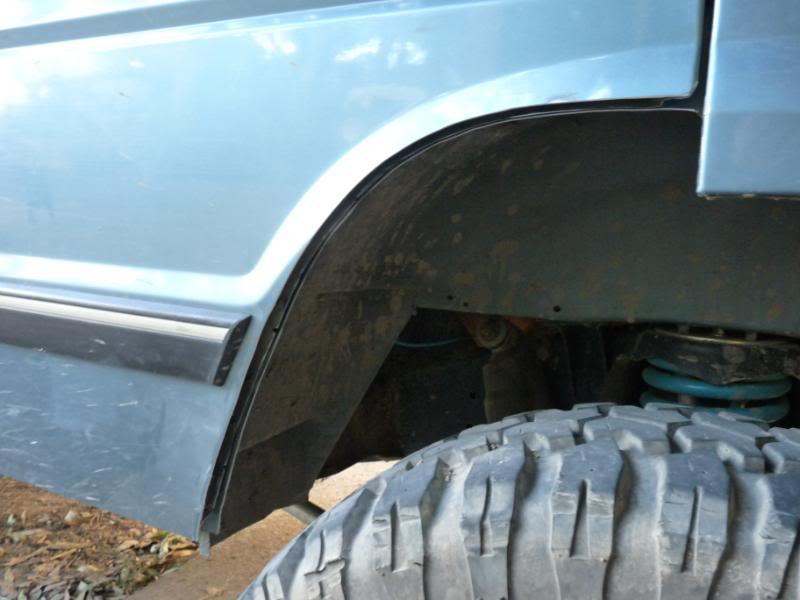
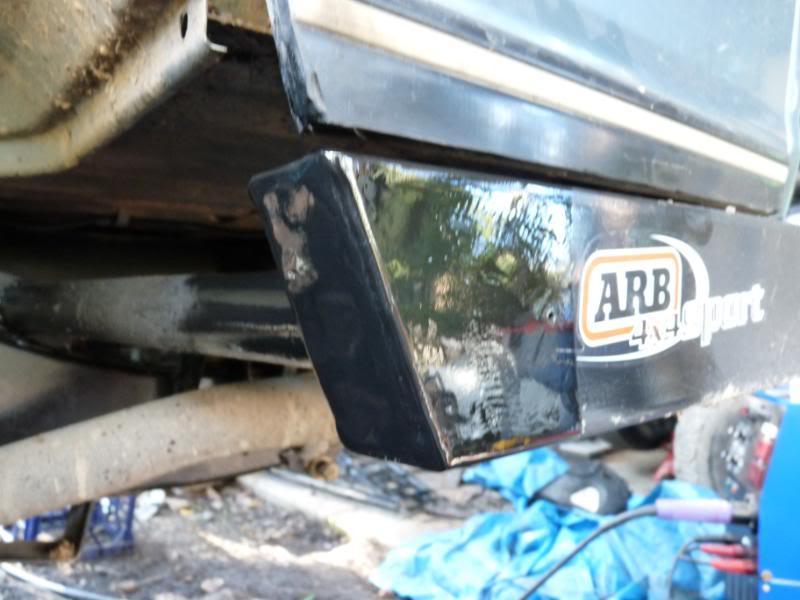
Step7-
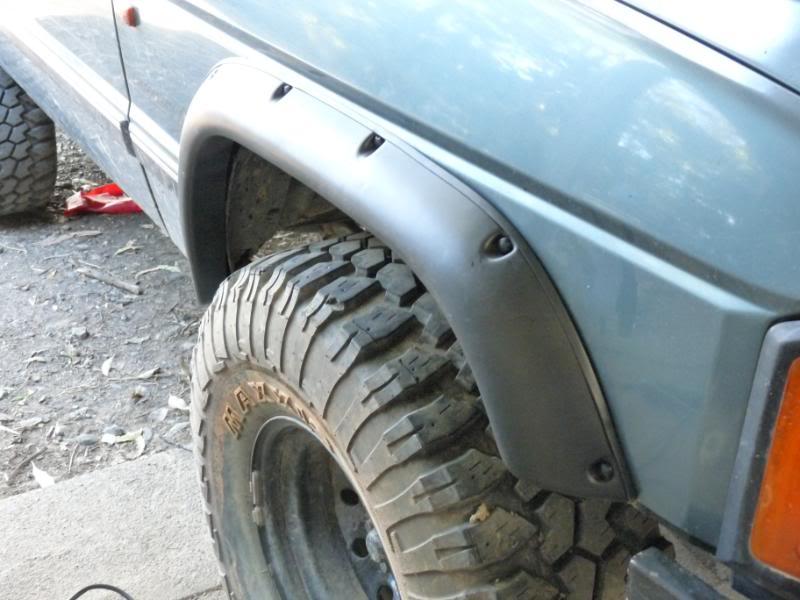
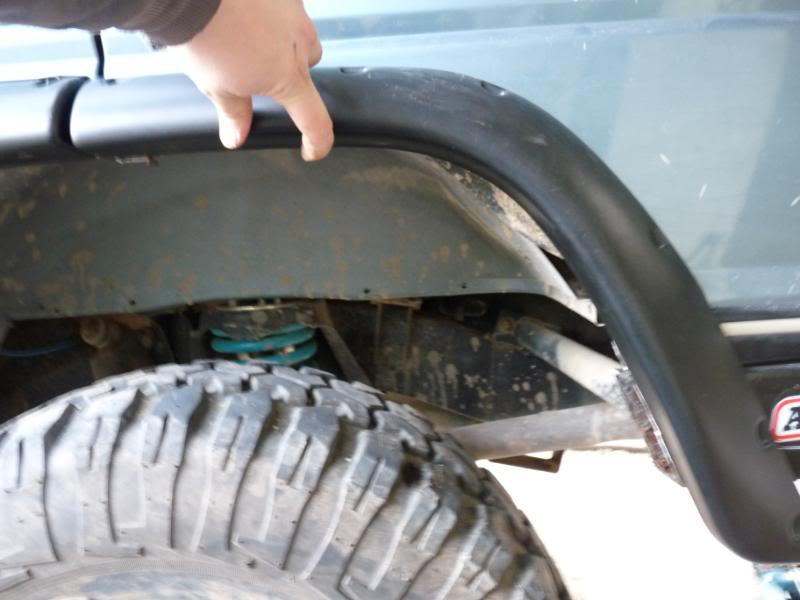
once holes are drilled into the flare, Hold in position and drill then screw
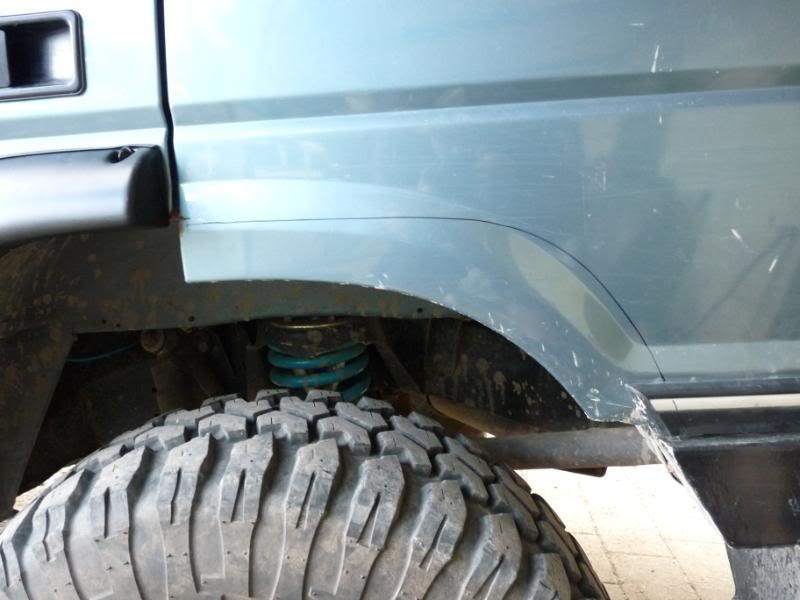
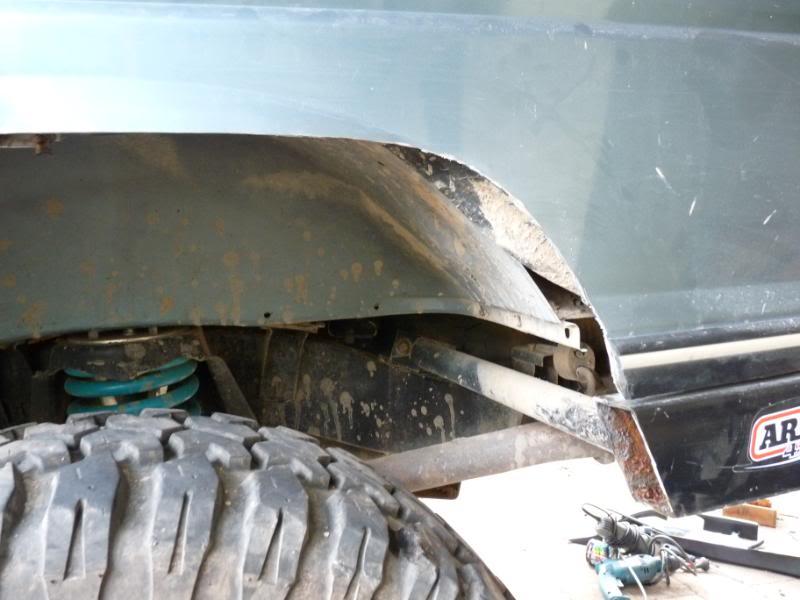
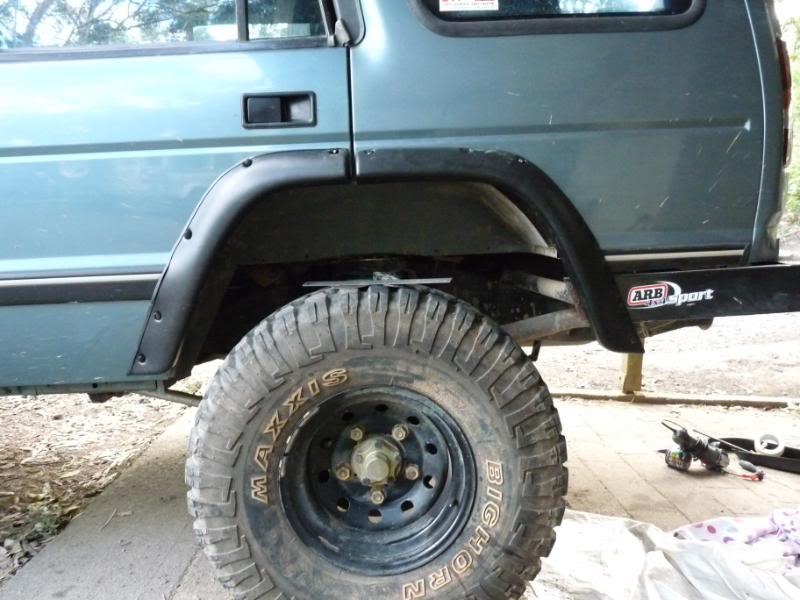
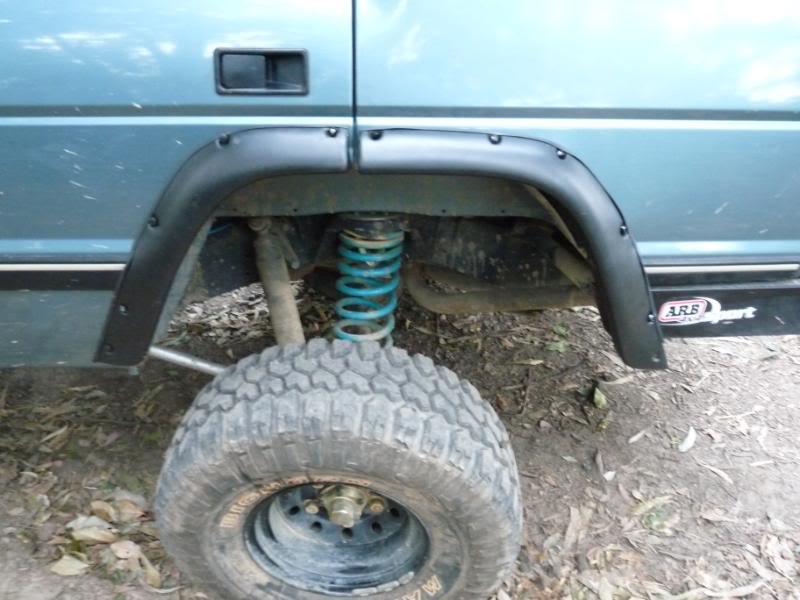
Fitted..
I have about an inch clearence on the front and back of the rear tyres when fully flexed up into the guard running 33/12.5/15'' tyres 0n -25 off-set rims..
On the other side rear i followed the same steps apart from using the off-cuts for templets to make it quicker and easyer
Hope this helps a few of you..
P.s i still have to trim the end off the rear flares to sit flush with the bar..
CHEERS TIM.
Dads-
http://www.aulro.com/afvb/members-ri...-progress.html
Mine-
http://www.aulro.com/afvb/members-ri...-progress.html
Mums- stock 92 200tdi d1.
Master
Nice work Tim.Looks like it made a huge difference in clearance.So when are you coming over to do mine
Admin
well done Tim
I'm sure a lot of people will find this really really helpfull
Our Land Rover does not leak oil! it just marks its territory.......
Wizard
SupporterGreat work Tim.Makes it alot easier for people like me who want to put there flares on and are a bit hesitant about doing it.Great write up and good pictures to suit.Thanks for that.
Cheers
Chris
Master
Supporternice and tidy! when I did mine I simply placed jigsaw in one hand, pointed with finger on other hand, closed one eye, placed tongue on cheek and went for it..
for the gap in the rear door I used door rubber as I had some left over, it clipped onto the inner guard and filled the gap nicely. Also I had enough to run along the very inner guard where the door meets just to tidy things up.
i'll post a pic or 2 when I get back from work.
Master
Supporterpics: a bit rough but does the job.. main reason for the rubber where the door meets the body was to stop mud etc getting up there and it works a treat.Originally Posted by lux201

Uploaded with ImageShack.us
Uploaded with ImageShack.us
TopicToaster
SubscriberThanks for the pics mate!!
Nice work, that sorts out that issue for me
CHEERS TIM.
Dads-
http://www.aulro.com/afvb/members-ri...-progress.html
Mine-
http://www.aulro.com/afvb/members-ri...-progress.html
Mums- stock 92 200tdi d1.
YarnMaster
Subscriberexcellent work tim. great tutorial.")
do you wanna do mine?
Master
great tutorial did mine today with no problems
got my flares sent over from mm 4x4 heaps cheaper than over here
ChatterBox
Awesome Tutorial Tim!
I'm just about to buy some 33's for my D1, so fitting flares is inevitable!
Where can I get some of these flares from? What is mm 4x4?
Any info appreciated!
1994 D110 Tdi - 1957 88" Series 1 - New Project (due to commence 2056
 Posting Permissions
| Search AULRO.com ONLY! |
Search All the Web! |
|---|
|
|
|


Bookmarks