
Originally Posted by
OneOff

I was hoping you'd come along John.
")
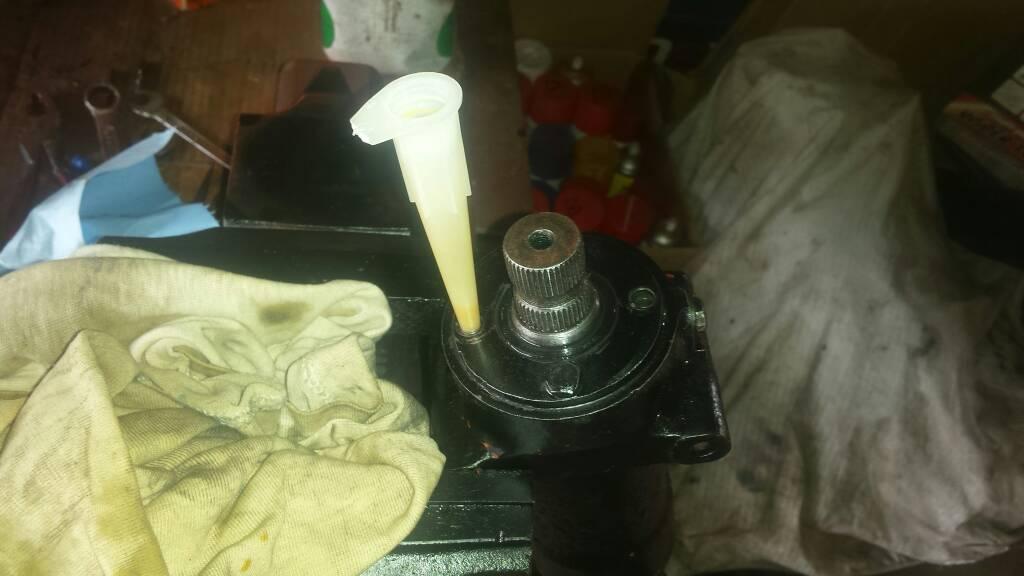
When you say "early"series, are you talking series 1? Mine is a '58 series 2, I was hoping it was the original steering relay. I guess it doesn't matter now as I have TimNZ's outer from his S3 and my shaft from S2. Will there be any compatibility issues do you think?
Anyway, thanks Tricky for letting me borrow your thread, and for your advice.
Peter.
I'm not sure just when the change was made - I am pretty sure the Series 2 I used to own had it, and none of the 2as I've owned have had it, so it is a reasonable guess that it was during Series 2 production. As far as I know, all relays have interchangeable parts.
John
John
JDNSW
1986 110 County 3.9 diesel
1970 2a 109 2.25 petrol


 Reply With Quote
 )
)


Bookmarks