

 Reply With Quote
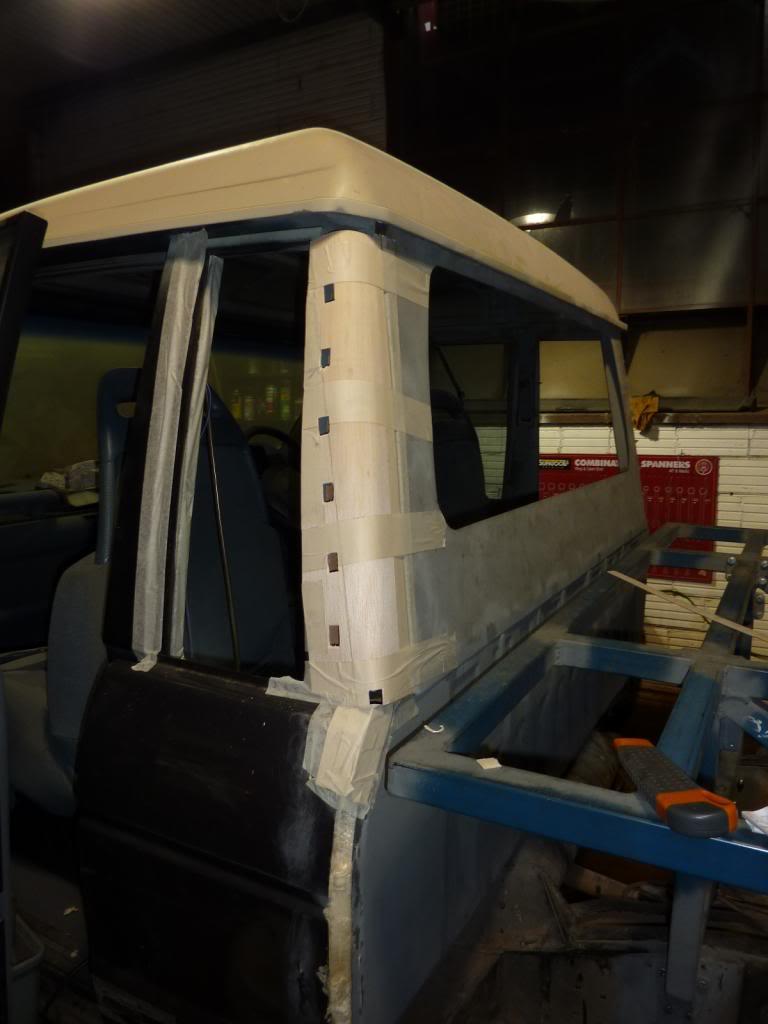
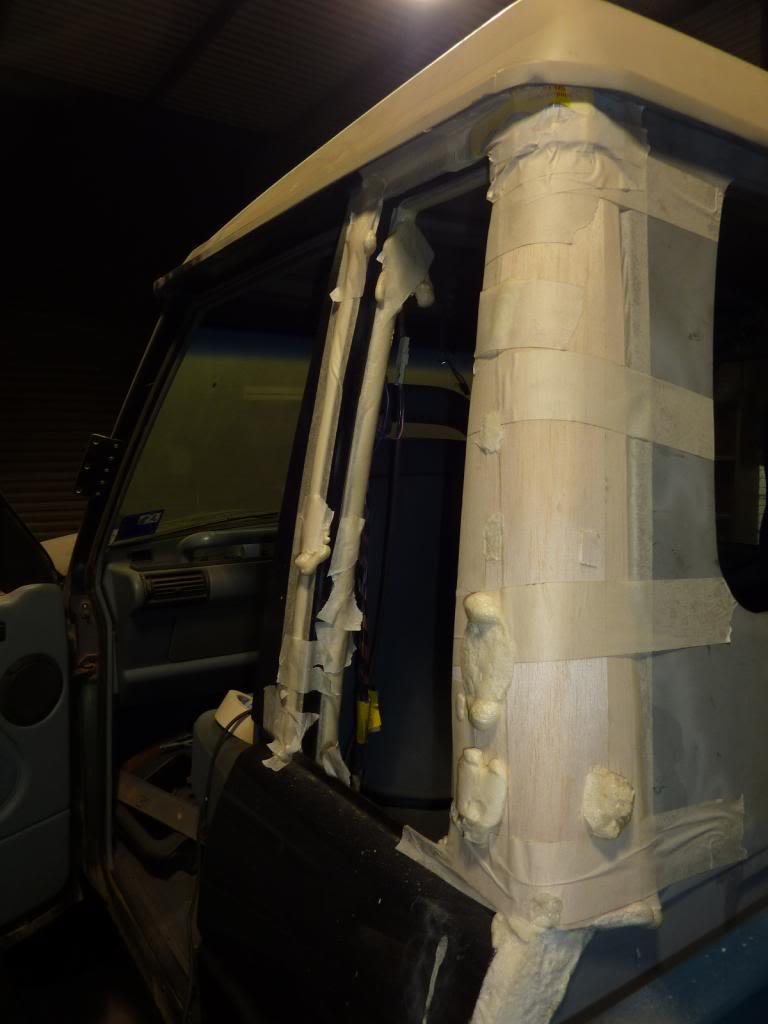
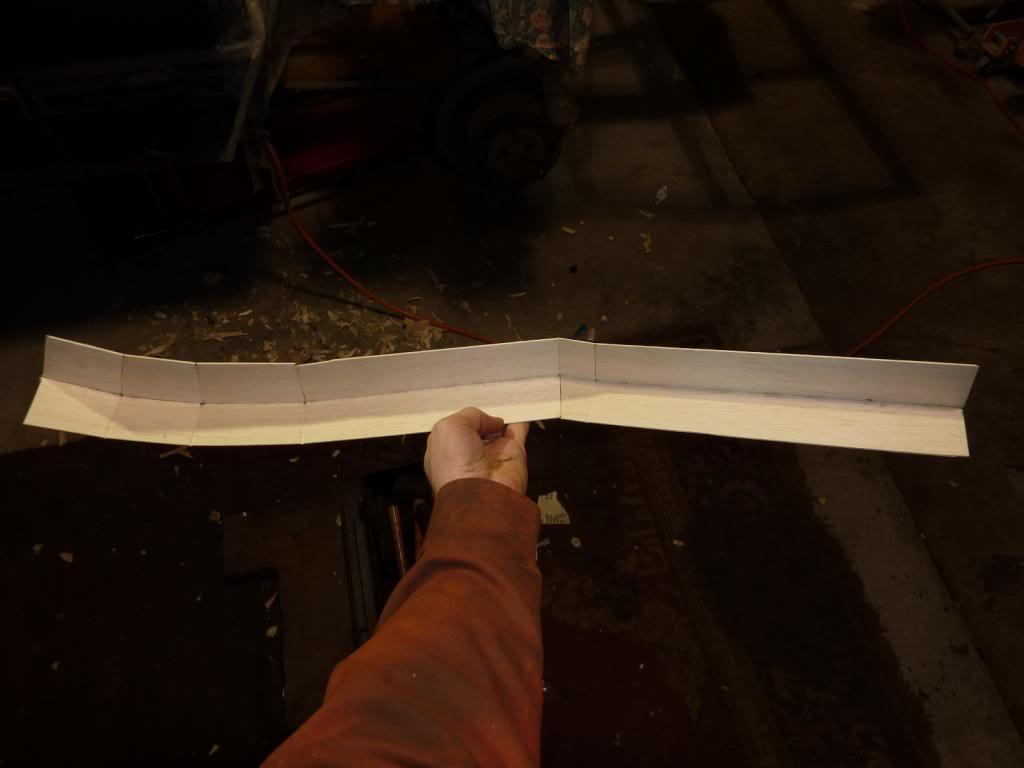
More foam fun! I kept the whole thing simpler this time - Balsa wood, superglue, carboard and masking tape.
Waiting for the foam to cure.
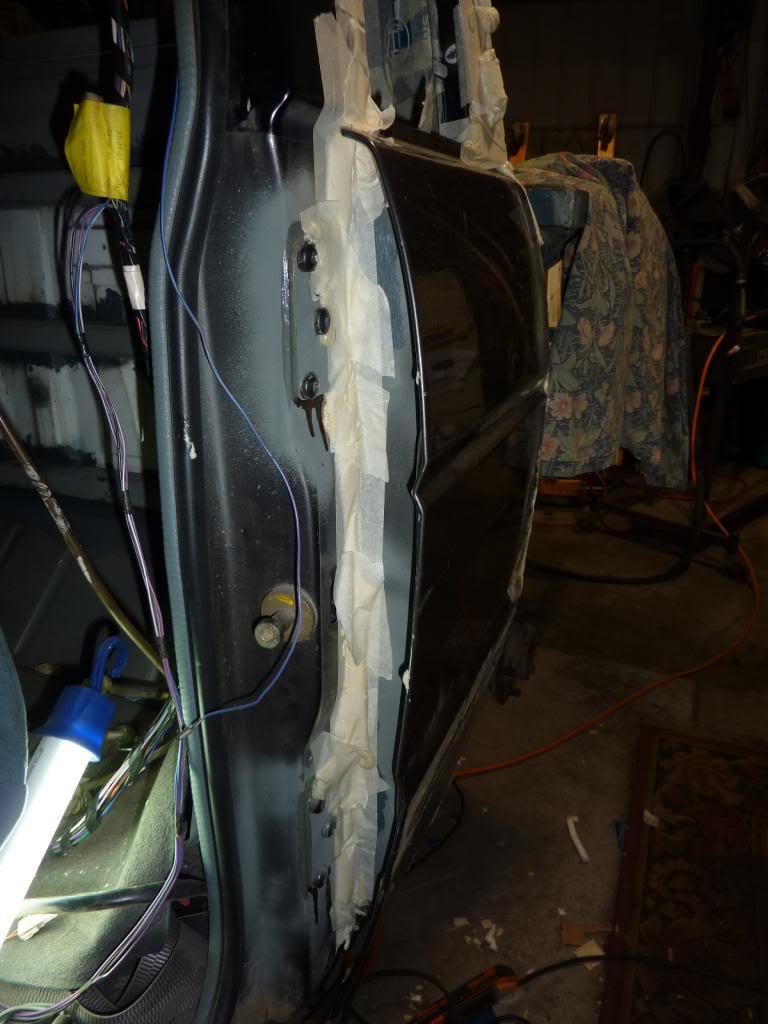
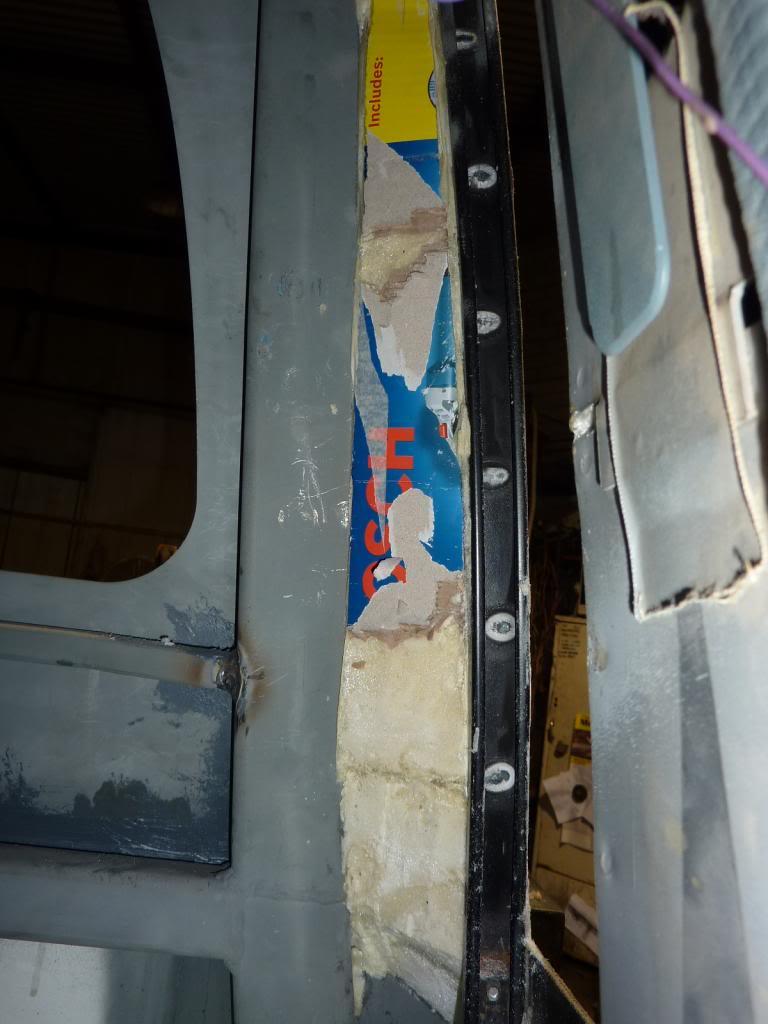
And the results. Who would have thought that Polyurethane foam sticks to cardboard making it a PITA to remove?

 Swaggie
Yes im still watching your progress
Master
SupporterMore foam fun! I kept the whole thing simpler this time - Balsa wood, superglue, carboard and masking tape.
Waiting for the foam to cure.
And the results. Who would have thought that Polyurethane foam sticks to cardboard making it a PITA to remove?
Stirling
Admin
Looking good...I love getting your updates..each time you do something on the car it always looks like you get so far
Our Land Rover does not leak oil! it just marks its territory.......
Master
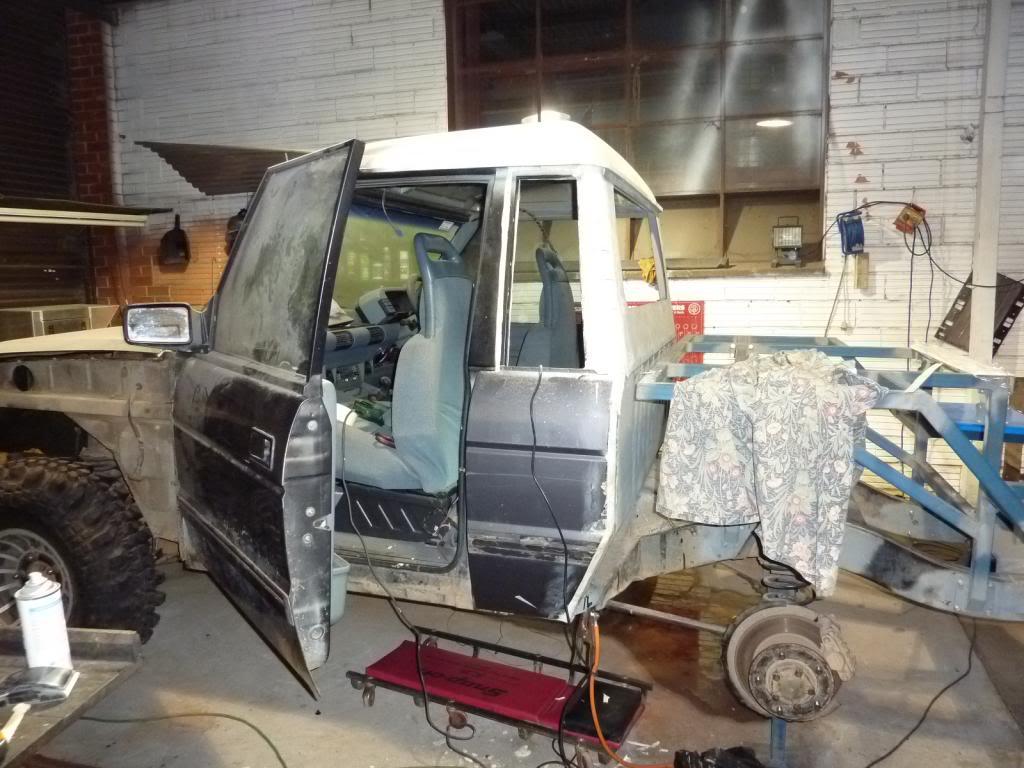
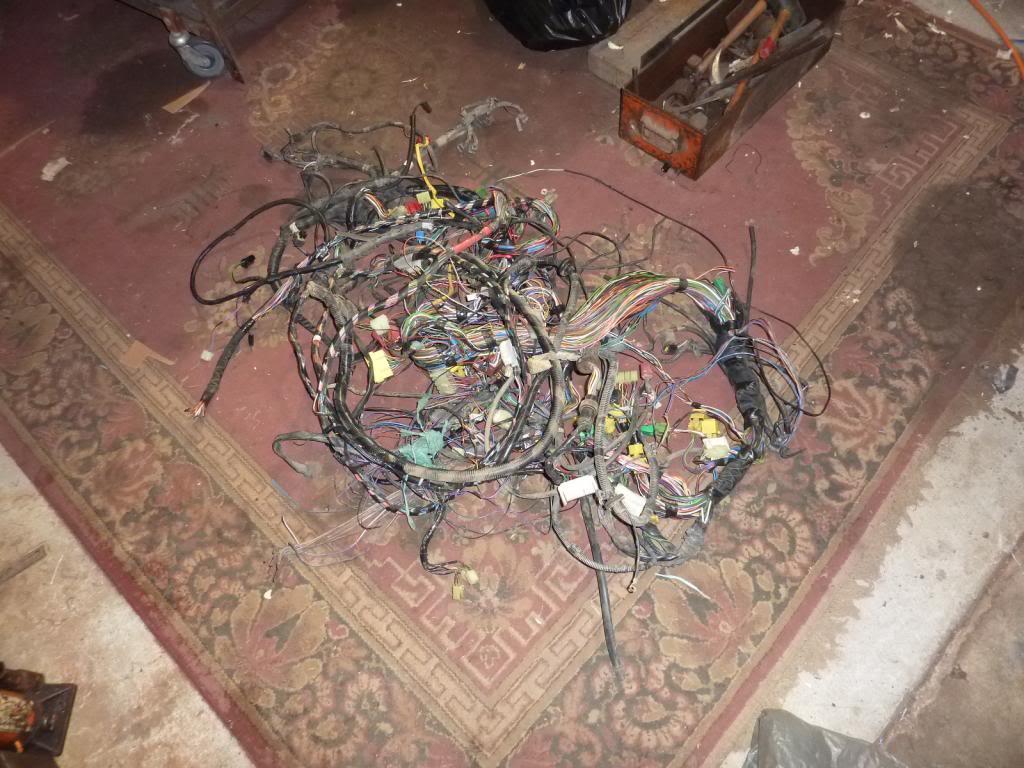
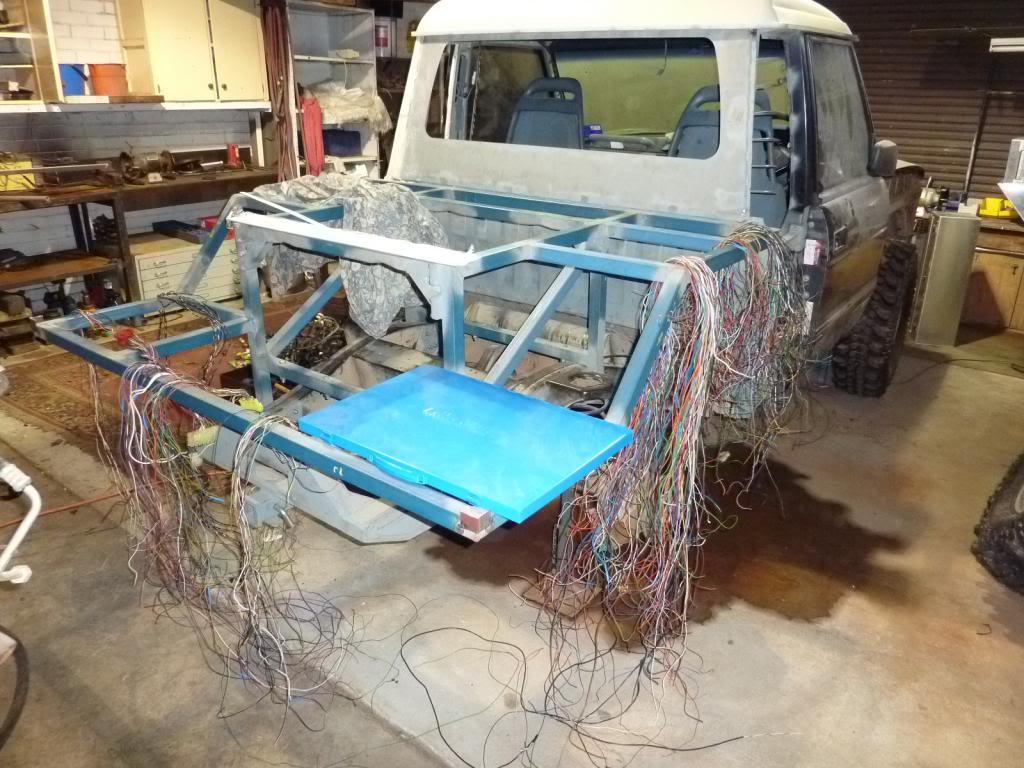
SupporterI wanted a bit of a change of scenery today. This is what 90% of a 1996 discovery loom looks like:
It did involve some surgery to get it all out:
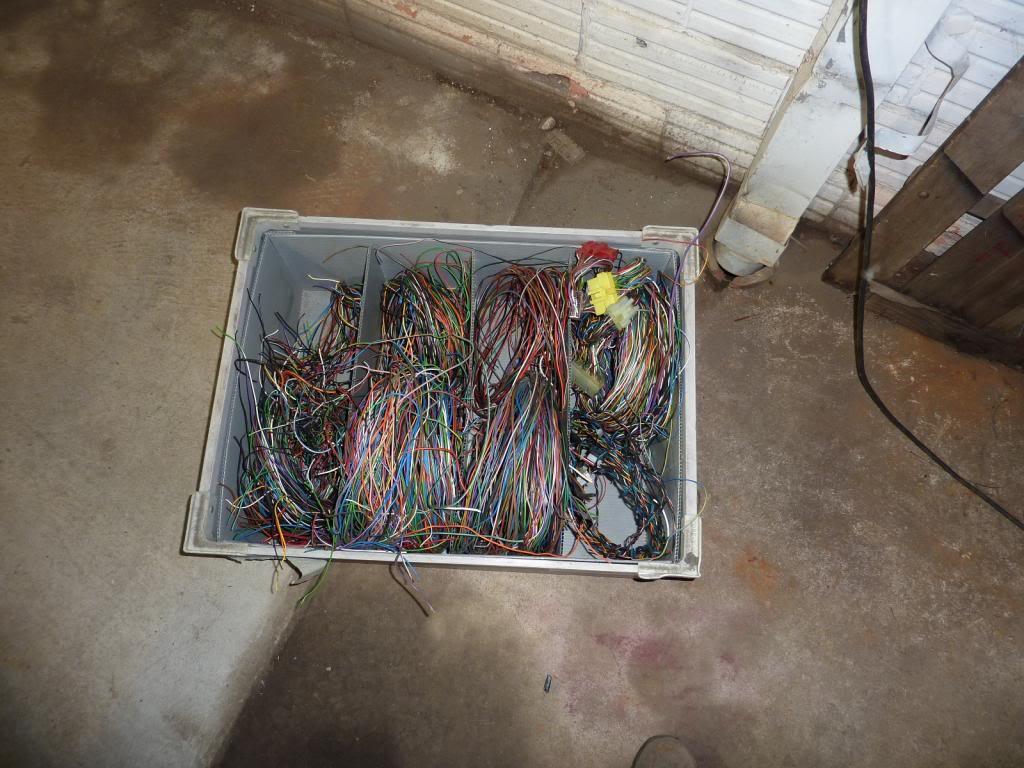
And I started stripping it all apart. I didn't get through all of it. Bottom line is I have loads of wire now. More than enough for what I need:
Now i'm off to pack and head off to Vietnam tonight and Korea later in the week. I'll be back by friday so I should be able to get some more work done that weekend.
Stirling
Master
SupporterRight, I'm back from my quick dash through Vietnam and South Korea. So today I headed in to the workshop to have a bit of a play.
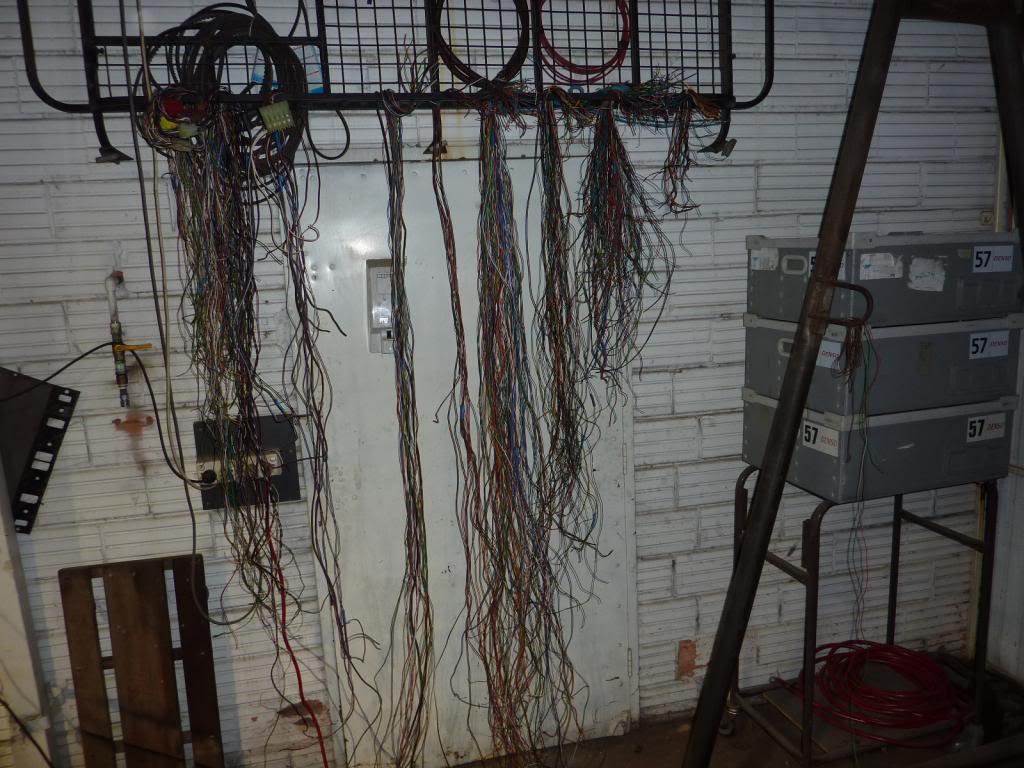
Firstly, I had to finish up what I started - Stripping down the looms. I don't think i'm going to be running out of cable any time soon!:
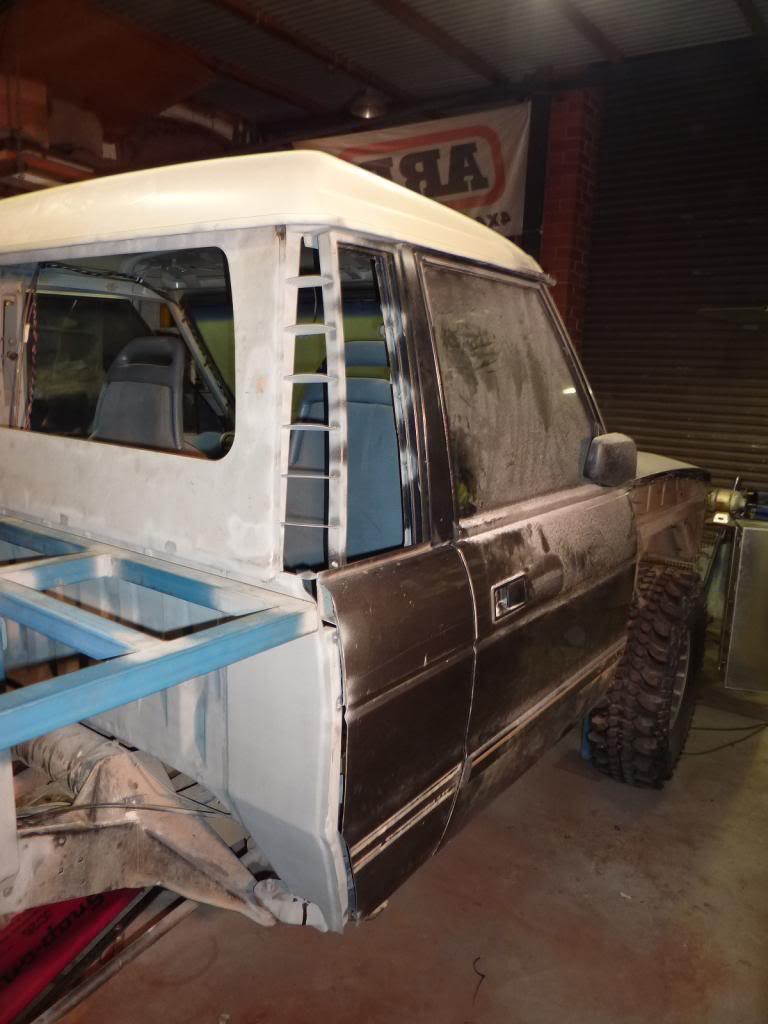
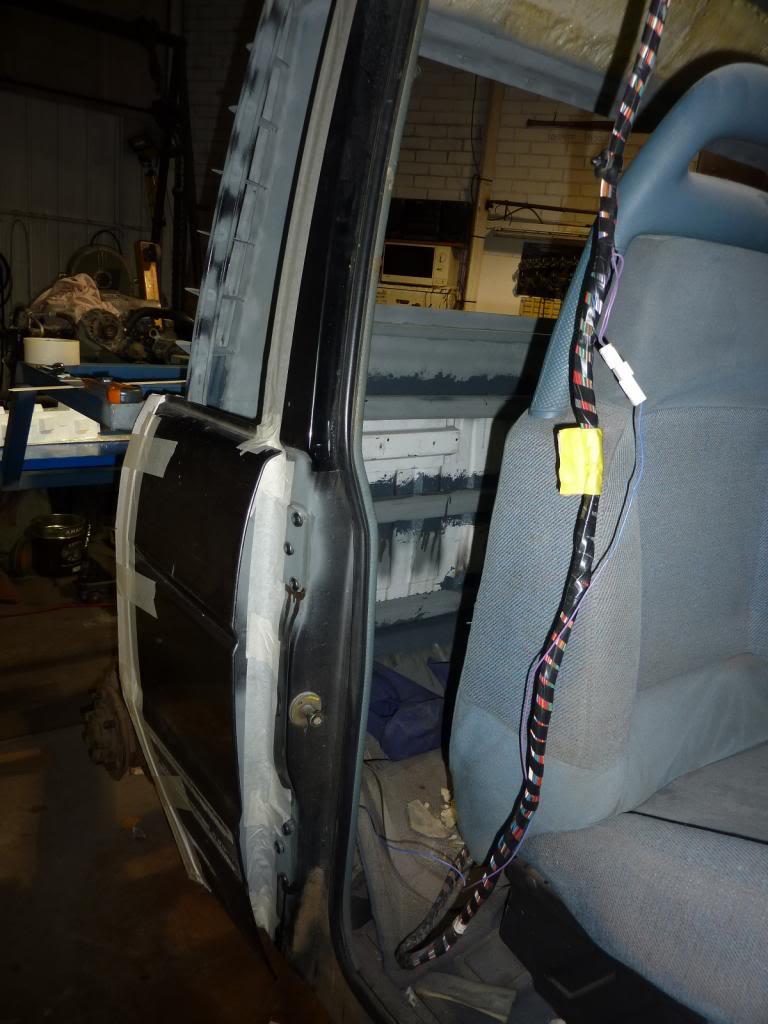
Also the right hand side rear quarter has been mounted and welded in place:
Tomorrow I should be making a start on giving the right hand side the foam treatment.
Stirling
Wizard
Subscriberoh my god you are a madman hahaha im going to have nightmares about all those wires!!! haha! impressive! and its looking awesome!!!!!!
Wizard
I thought I was the only one cheap enough (Scott enough) to use cable from old wiring looms
Love it - my bumblebee's spots (front, top, rear), rear air con, radio, air horn, headlights, relays, and various other bits were all wired using old wiring loom
Also used the relays - watching the progress
89 Orange Rangie UTE - our play thing - sadly now sold
75 Rangie/Series/Hybrid/LS3 - Bumblebee with a sting!!!!
2018 RRS - The new touring vehicle - replaces 2012 RRS
Master
SupporterIf you think I'm crazy stripping the loom down... Just see what I did below...
Anyway, update in the workshop is looking good. Much neater in the prep of the other side:
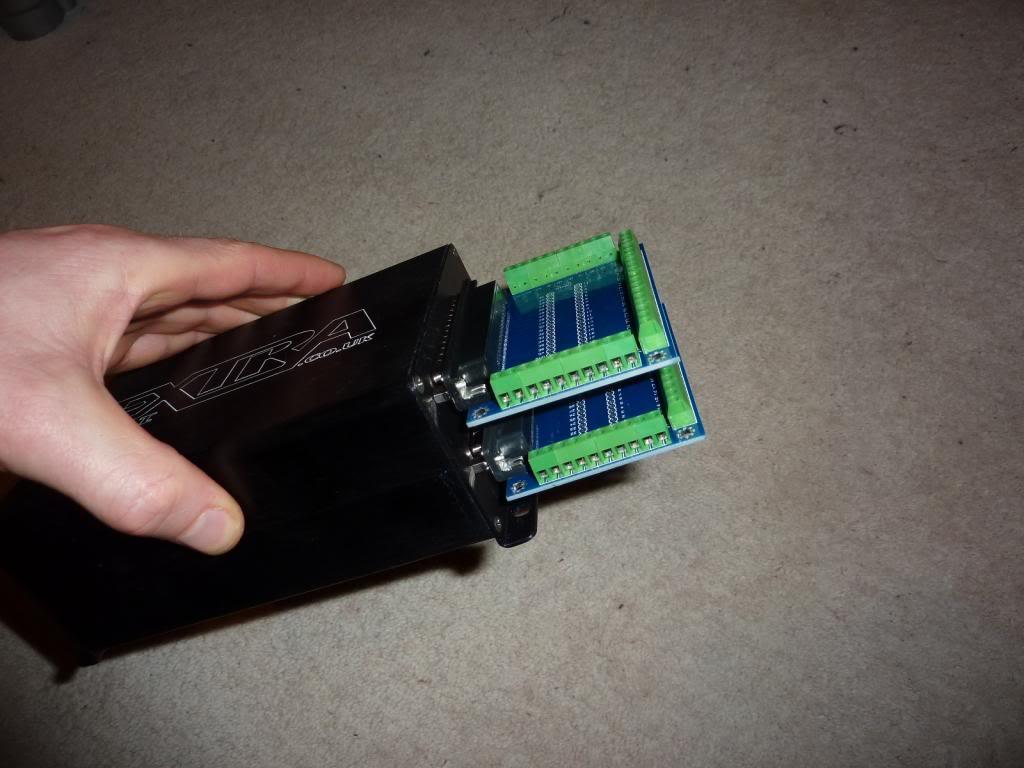
Also, some more go-fast bits arrived. The Megasquirt ECU is here, some breakout connectors during the testing phase, the Peak & Hold Board (which i'm a bit irritated is in pieces needing me to solder considering how much they cost!!) and a cam synchronizer from a Ford that I will machine and fit onto the bottom half of the Rover distributor assembly for the cam position signal.
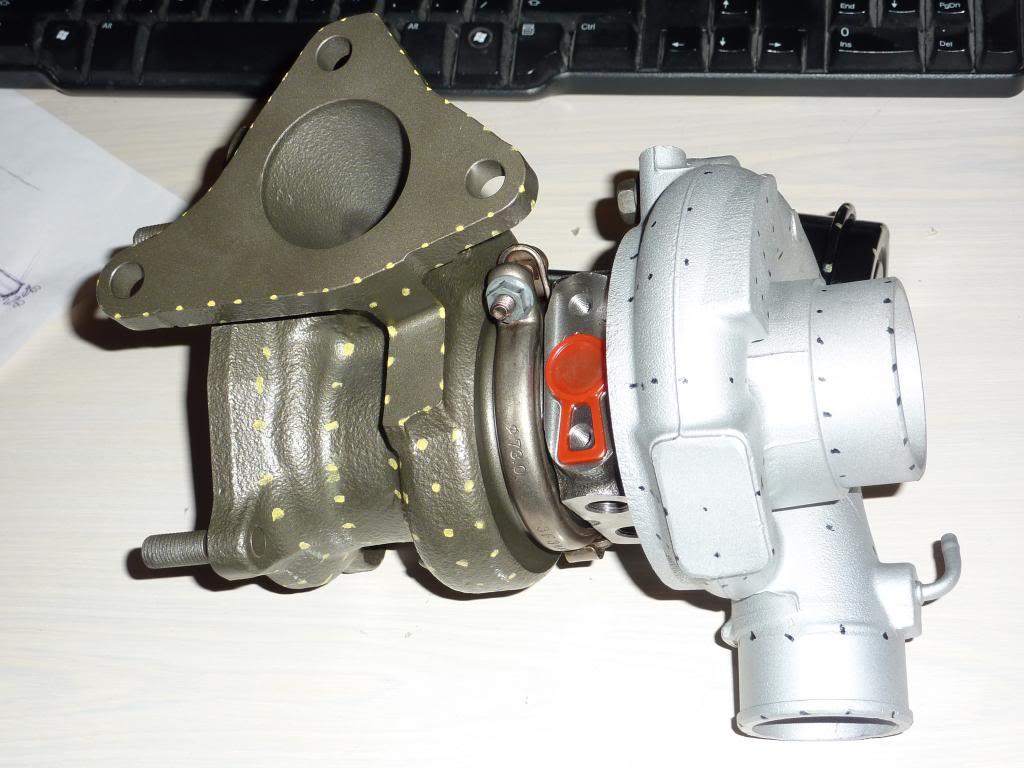
Just in case you were wondering. This is what a COLOSSAL waste of time looks like. I tried to do a 3D model of the turbo using photogrammetry. Too many points. Junking it and I'll try again later... After I get hold of some acetone to wipe the graffiti off the turbo.
Tomorrow off to Indonesia again for 24 hours. Back on Thrusday but there won't be any play time in the workshop this weekend unfortunately.
Stirling
Wizard
I take it that means you are building your own wiring loom for the ECU!
Well at least you will know how it works and how to repair it - do you have a good supply of anti frustration pills?
The cards with the temp wiring points are a great idea - we had to play with our wiring loom for the Haltec to fault find and it was a pain to test back to the plug and then into the ECU.
Very handy design.
Looking good.
89 Orange Rangie UTE - our play thing - sadly now sold
75 Rangie/Series/Hybrid/LS3 - Bumblebee with a sting!!!!
2018 RRS - The new touring vehicle - replaces 2012 RRS
Master
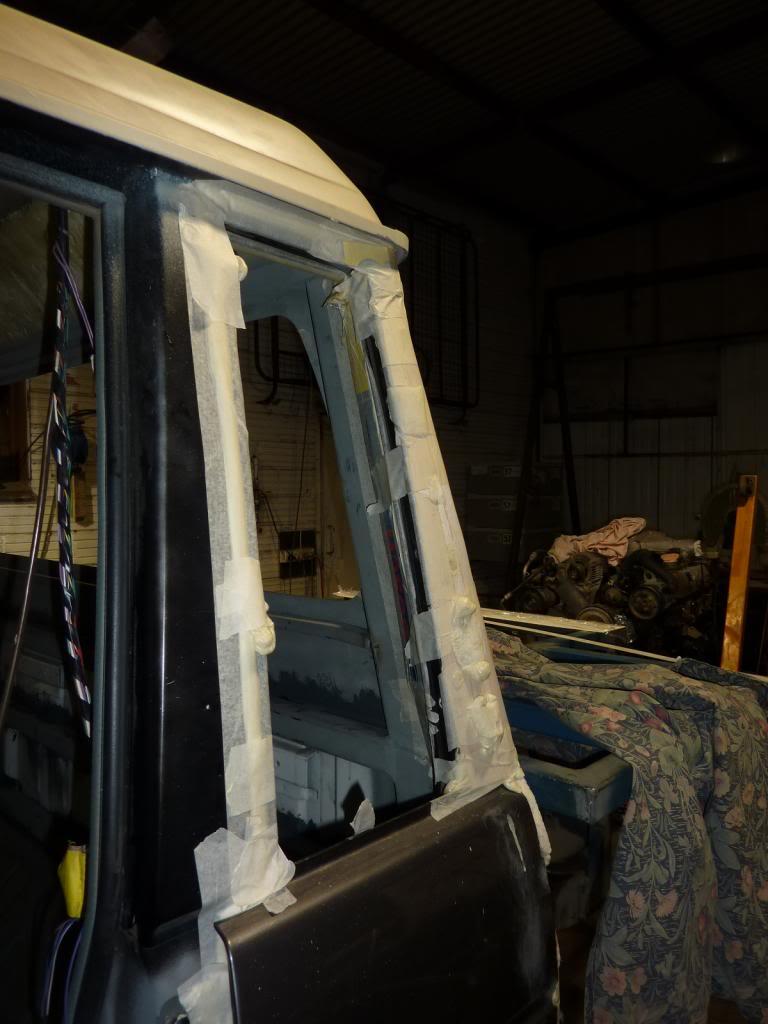
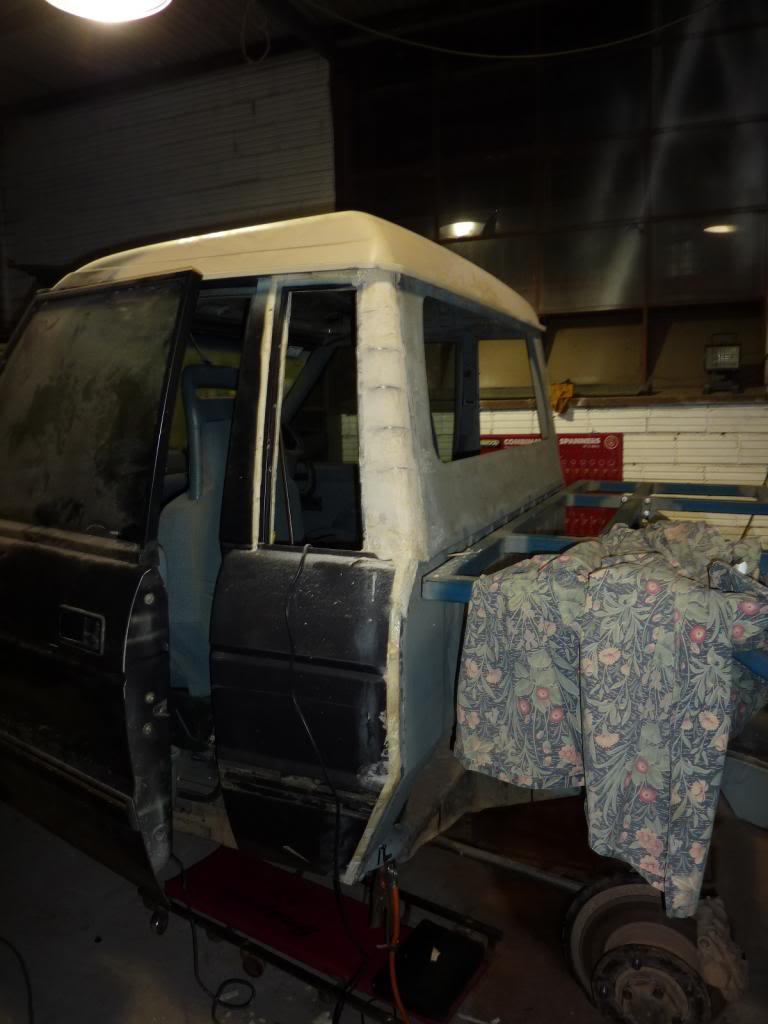
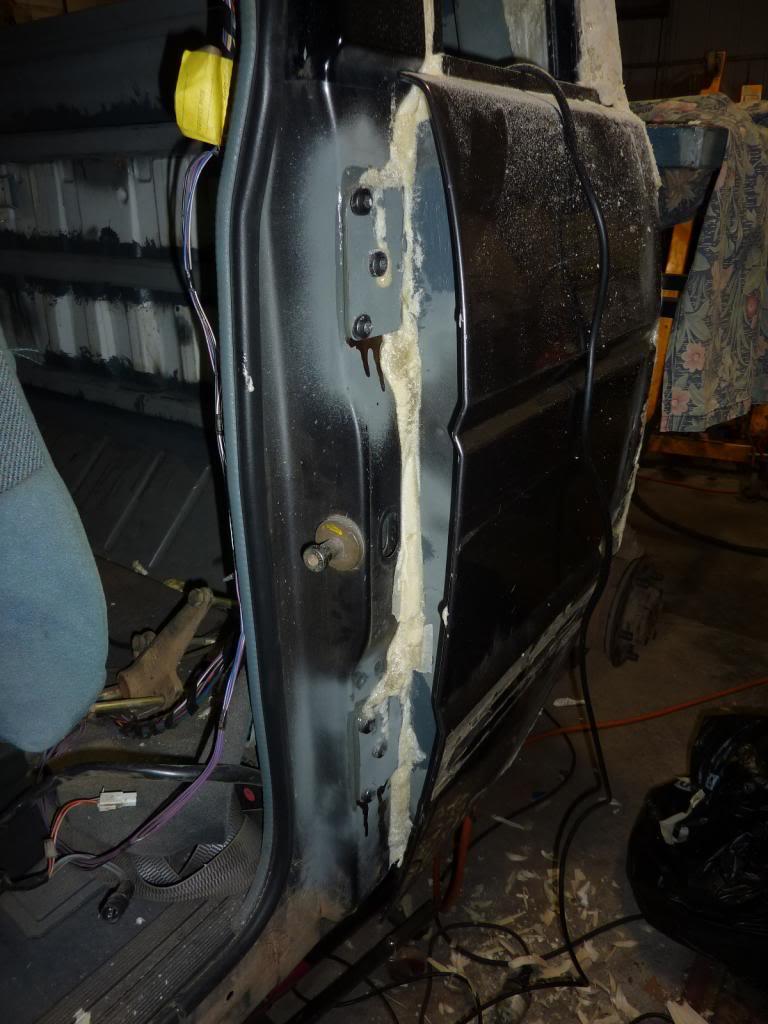
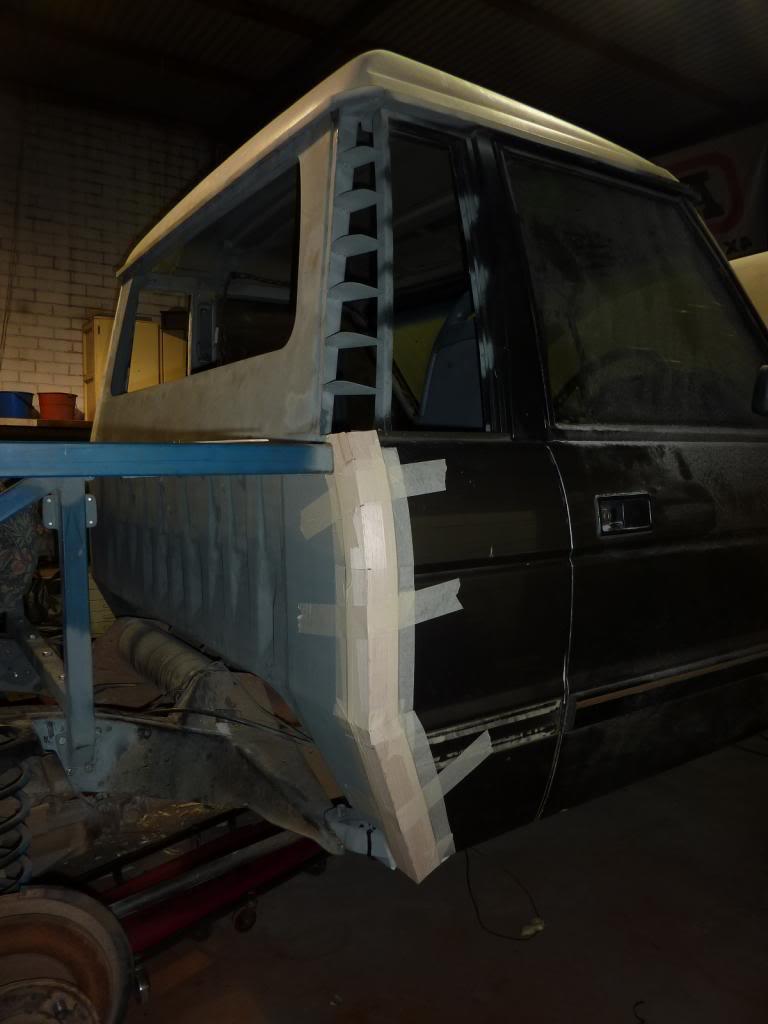
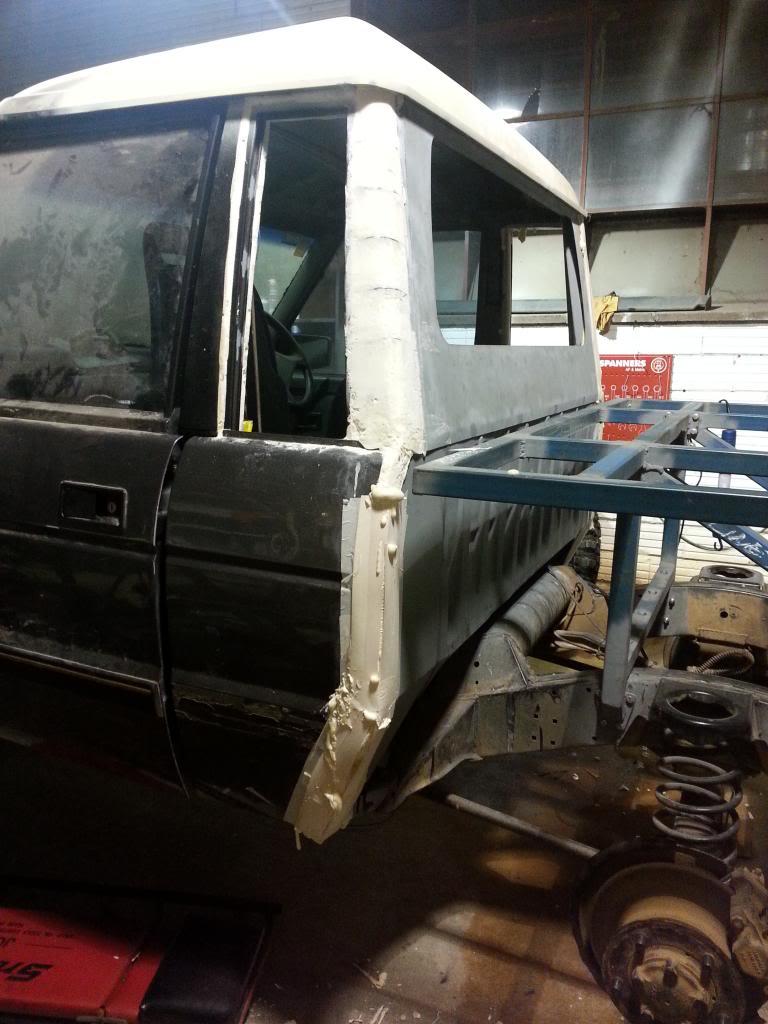
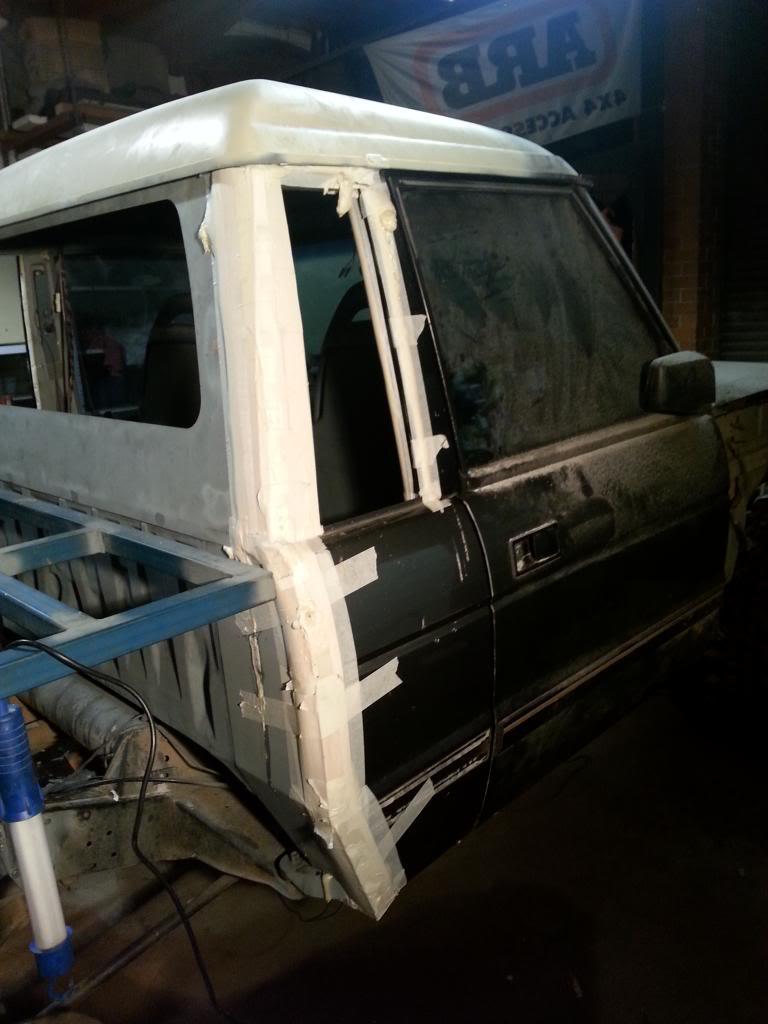
SupporterI headed in to the workshop today with the objective of getting all the foam work finished. And it was achieved
Next step, shaping the foam and preparing for fibreglass.
Stirling
 Posting Permissions
| Search AULRO.com ONLY! |
Search All the Web! |
|---|
|
|
|


")
Bookmarks