

 Reply With Quote
look for a more favourable donor

 Master
Supporter
Master
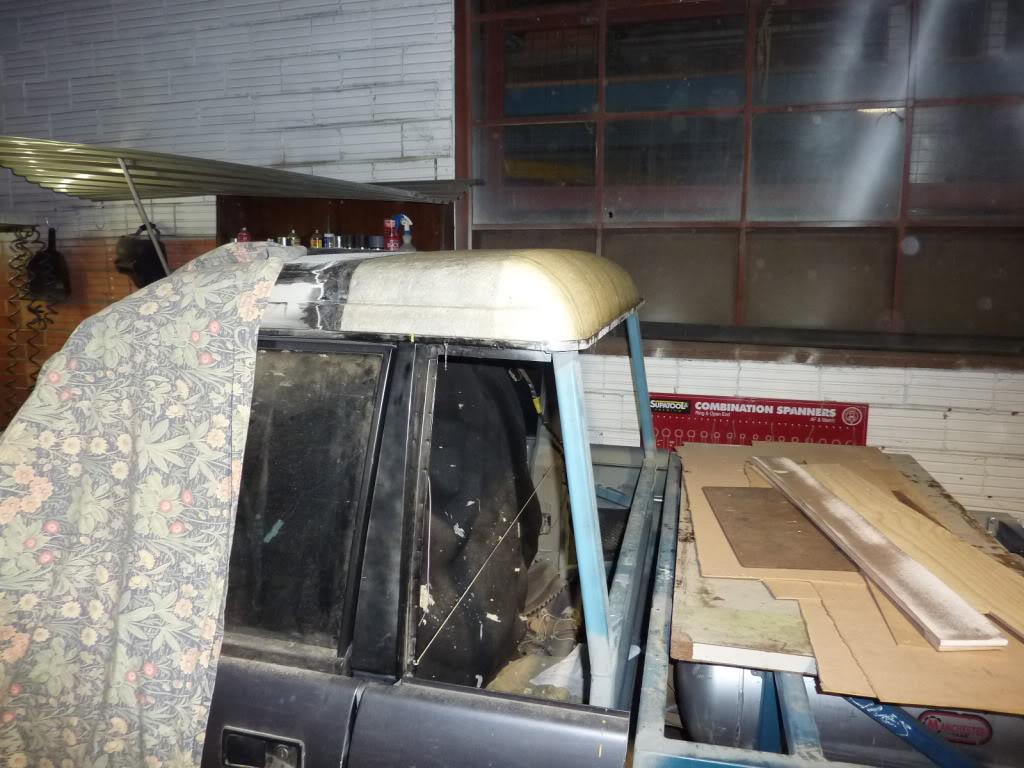
SupporterYes, as you say the gutter is what is causing the problem, but it's there and in the end I would want it anyway. Otherwise this build would look like any other Disco Ute build.
I had seen Roversmith's build, and it only worked for him because again, he didn't have a gutter and it matched his roofline.
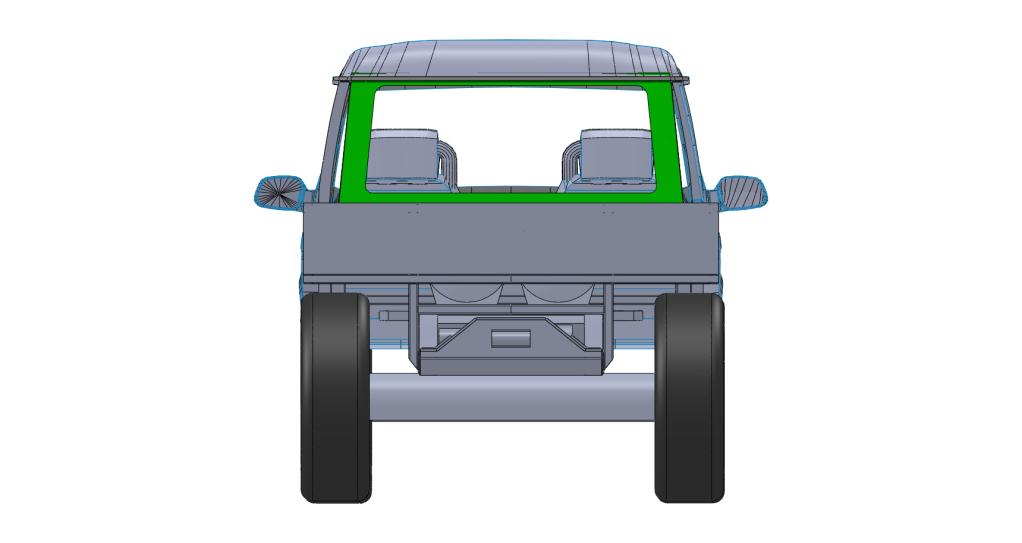
In my instance I need the top of the glass to be flat. I had a quick play with photoshop and this is what I got:
I could cut and shut the verical parts to make them closer to vertical, but across the top, I would need to graft in another section. All getting a bit crazy for my very basic sheet metal working skills!
Stirling
TopicToaster
look for a more favourable donor
Fossicker
G'day. Can I (as a sheetie) just say, having seen your work on the chassis and rear wall supports, the effort put into the rain gutter, and your inventiveness in building the roof, that a bit of a re-work of the donor window cavity is the least you have to worry about. Also your last go at it using photoshop definitely has the right proporsions, and looks like a Landy. Does rule out being able to use the Navara glass and rubbers though. A small price to pay IMHO, and could be the difference between this project being able to carry off a "factory" look (as does Roversmiths' D2). As opposed to so many that are thrown together with the best of intentions but the least consideration for what will look right. Keep it up and keep us up to date. Cheers, Bush Ranger.
Wizard
could you possibly use a series type set up at the back at least there readly available just a thought
Adam
TopicToaster
here is how you can match that straight line of the rain gutter

Master
SupporterThank you very much Bush Ranger! Your comments are very much appreciated. I'll definitely keep the option of re-working the navara frame into something that suits the profile of the car better.Originally Posted by bush ranger

In addition to that option, I was thinking of getting one of our suppliers at work that does a lot of sheet work to simply make up a frame for me with the window dimensions I want, the cheapest version would be getting a flat sheet of steel and having a hole laser out for glass with the dimensions I need and then grafting up the sides as necessary. Maybe I might be able to get away with this option if I use the right kind of window seal to give the factory look?
The seals I'm thinking are something like:
http://www.scottsoldautorubber.com.au/page1.jpg
http://www.scottsoldautorubber.com.au/page2.jpg
http://www.scottsoldautorubber.com.au/page3.jpg
http://www.scottsoldautorubber.com.au/page4.jpg
The more sophisticated and expensive option is to have the hole edge turned in or out to inset or outset the glass, I see a lot of cars have the glass inset so that the surface of the glass is flush with the surface of the steel. Obviously that would be very labour intensive and as a result cost a lot of $$'s.
The final option I was looking at was perhaps using a side window from a van, but they are more rectangular, and may not suit too well.
Hi Adam, are you suggesting the sliding windows configuration? I had a series land rover with those, and they rattled quite a bit!
Hi Slug Burner, i'm not sure if something is playing up on my end, but I can only see the very top of the photo you uploaded to your photobucket account. Can you check to see if it is not corrupted?
Update - OK, I can see it now!! Interesting idea!
Stirling
Master
SupporterSo I don't know how many months it has been since I was able to do any work on this project. It's been very difficult to have any time to do anything these days because I'm being sent away to Thailand every second week. I think since the beginning of this year, I have been in Thailand around 60 days!
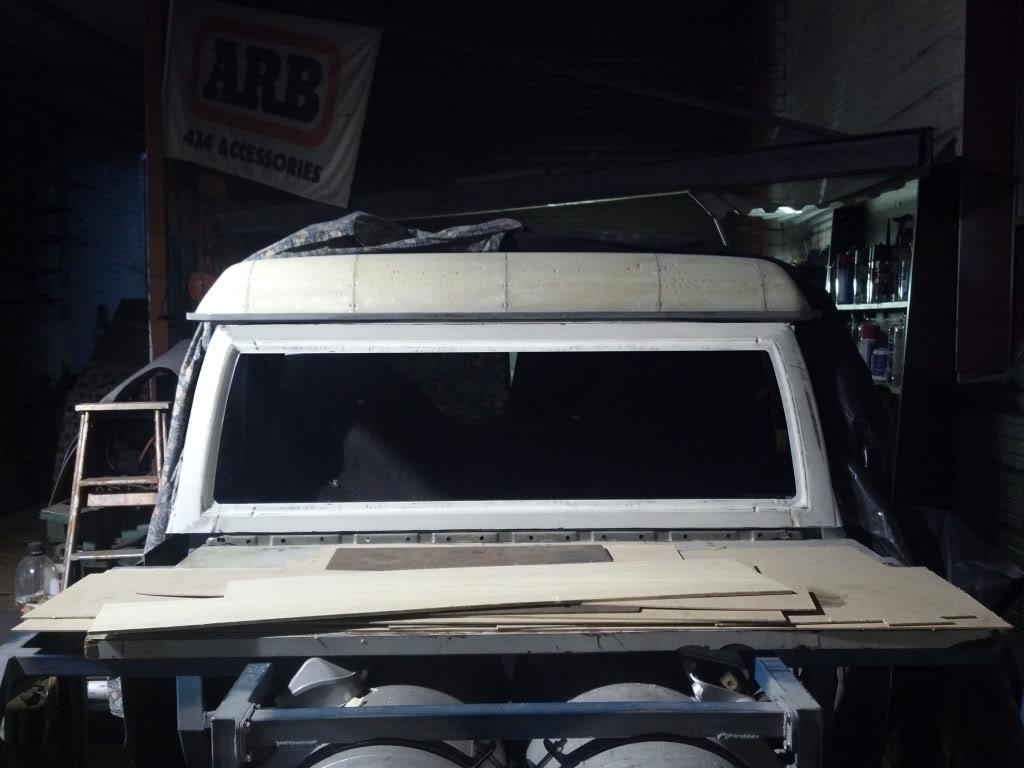
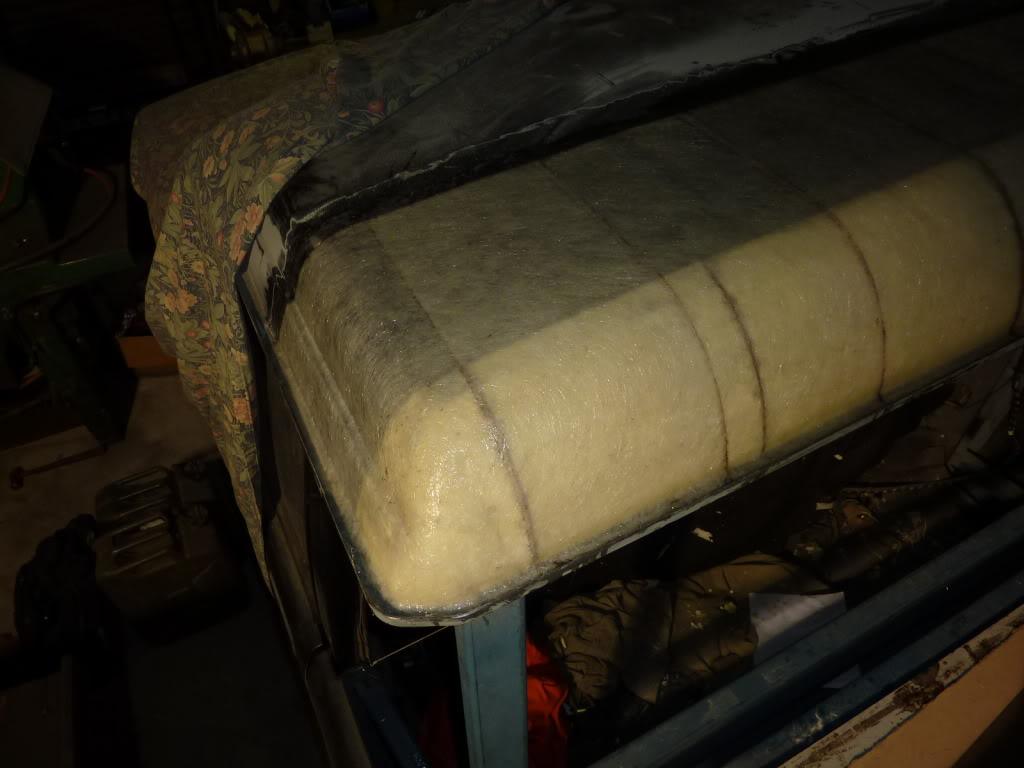
Well, this weekend I had a chance to do some work, and I did. I finally epoxied the roof!
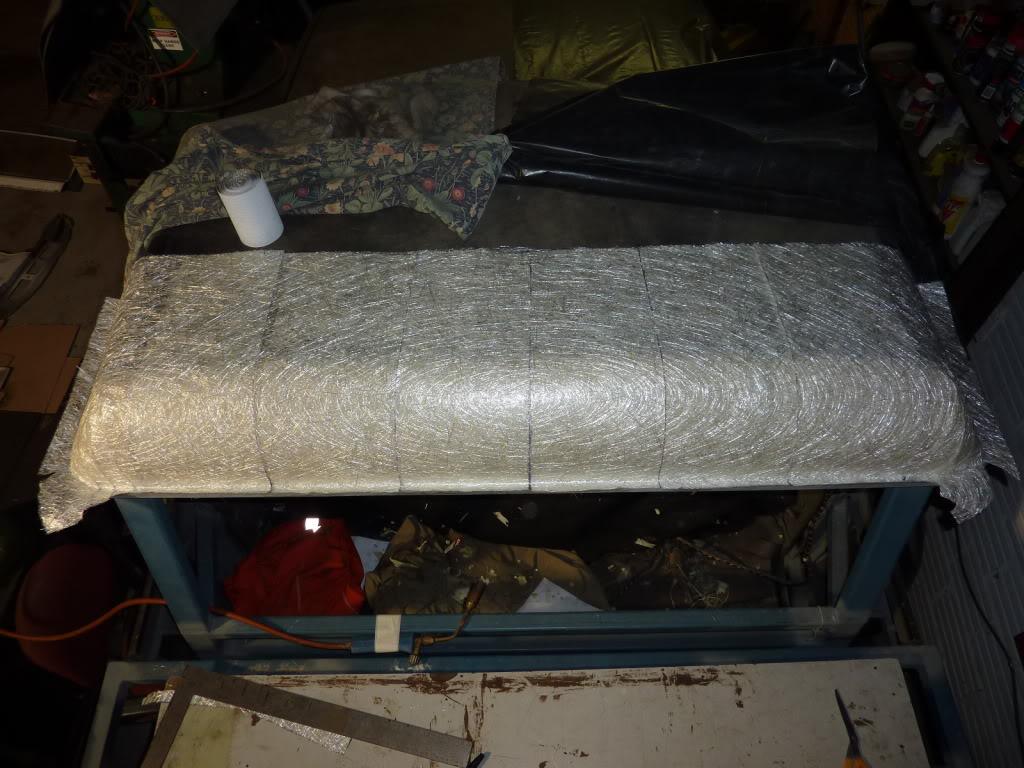
Due to the curvature of the roof and the fact that Epoxy resin does not dissolve the binder in chopstrand mat, I had to cut up the matting into a series of 400mm sections and make each section overlap half of the previous section, so at all points there are at least 2 layers of chop strand matt:
The corners were by far the trickiest part of the whole operation. Before starting to fit the layers I show in the photo above, I ran a single strip of chop strand approximately 100mm wide right across the seam where the steel roof joins the polyeurathane foam. Then I placed the large 400mm sections over that.
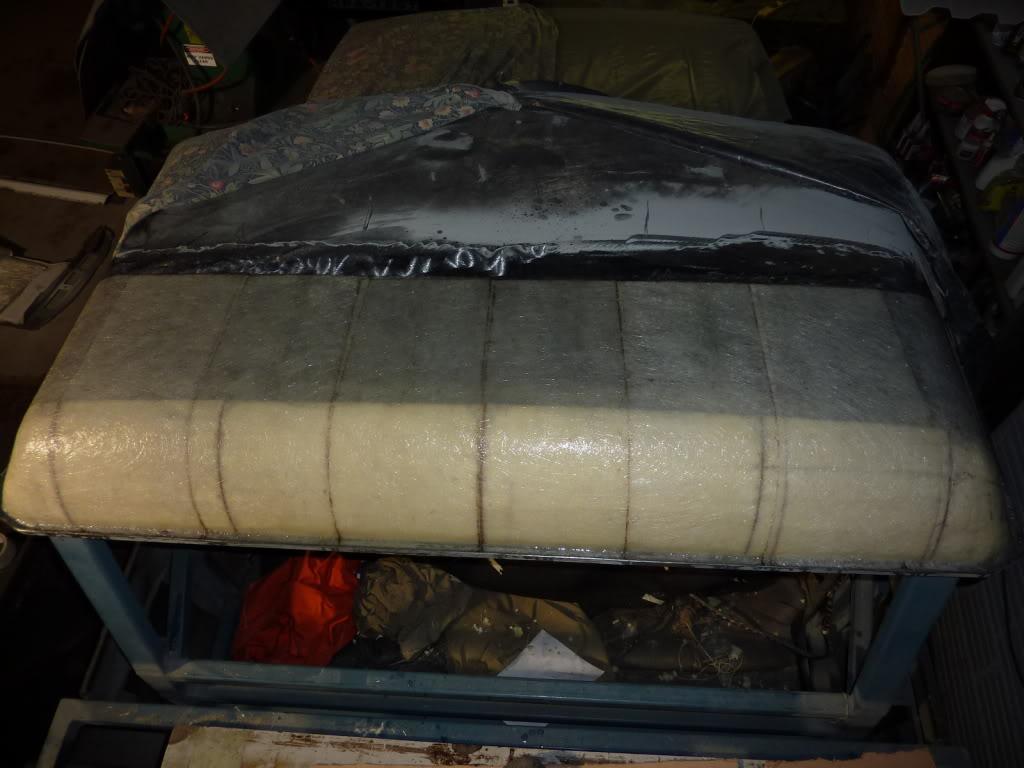
Below is what it looked like when I finished up with the chop strand and epoxy. It took some effort to prevent any bubbles from forming due to the compound curves! But I got there in the end:
There is going to be much fun had when it comes to getting the surface down to something which is smooth enough to paint!!
Stirling
So inspiring!! Keep up the good work. I don't know how you stay motivated with so much else going on but job very well done
Master
SupporterThank you very much jwatt, I appreciate the comment. Definitely helps keep the project rolling
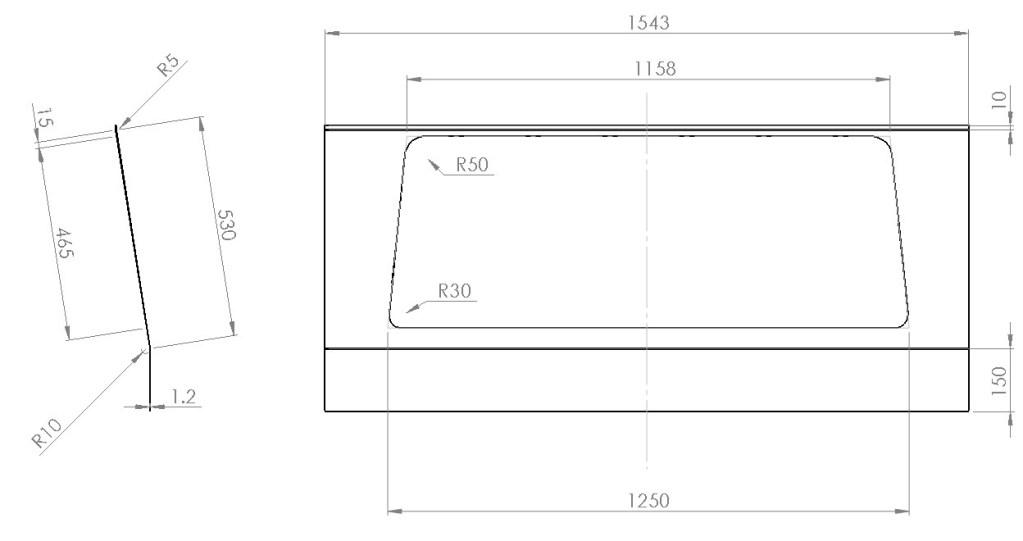
I was doing some tinkering in SolidWorks to work out what I'm going to do about the window. And I think I should be able to get away with a simple panel with a laser cut hole and a couple of folds:
I was thinking of getting a panel which is wider and taller than what I need and then all I need to do is trim it down to the size in the workshop. Below is how I was thinking of getting the panel done:
The glass will be held in using a seal like one of the ones below (from scottsoldautorubber.com.au):
I'm not sure how I will go around the corners at this stage, I may try to graft in some panels together, or just go again with the foam and fibreglass method like I did with the roof.
Actually on the roof, I went and checked up on it this weekend, and it seems like it has been that cold here in Melbourne that the epoxy curing rate has been slowed down significantly. So I went out and bought a very over priced electric blanket and currently wraped it around the roof. I'll try to go and see if that fixed the issue tomorrow.
On a separate issue. Does anyone know of a small garage or workshop for rent near to Wheelers Hill? I would like to try and relocate the car to somewhere that is closer so it is easier for me to work on it.
Stirling
Wizard
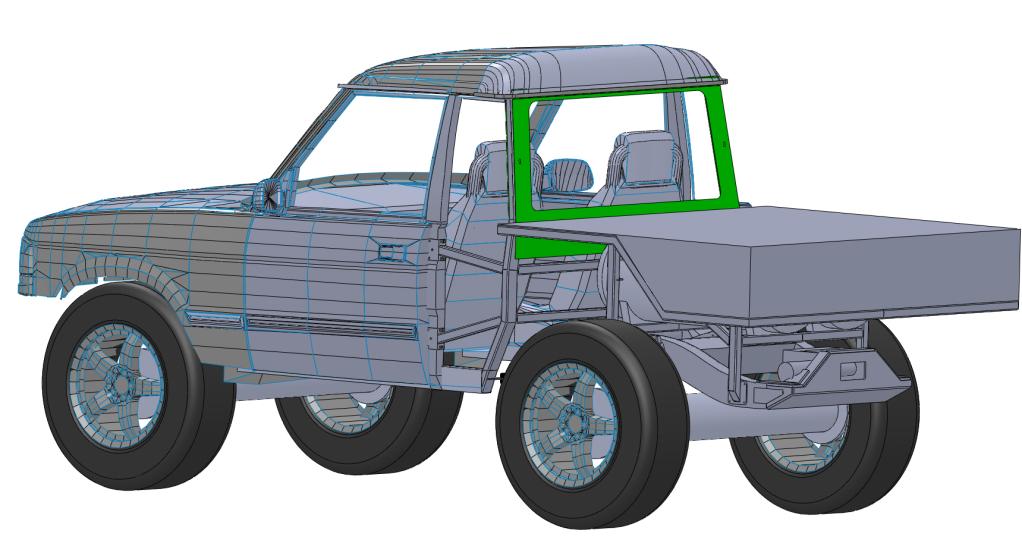
Hey great project - love the roof profile - will make it unique!
Rear wall - consider maybe going right out to the edge with steel and either weld jointing or but jointing at edge - a rounded corner my not look right - our rangie I think looks good with the sharp corner which are butt jointed and only glued to the internal frame (sorry no close up on file to show corner but has folds in rear wall like you plan).
And profile
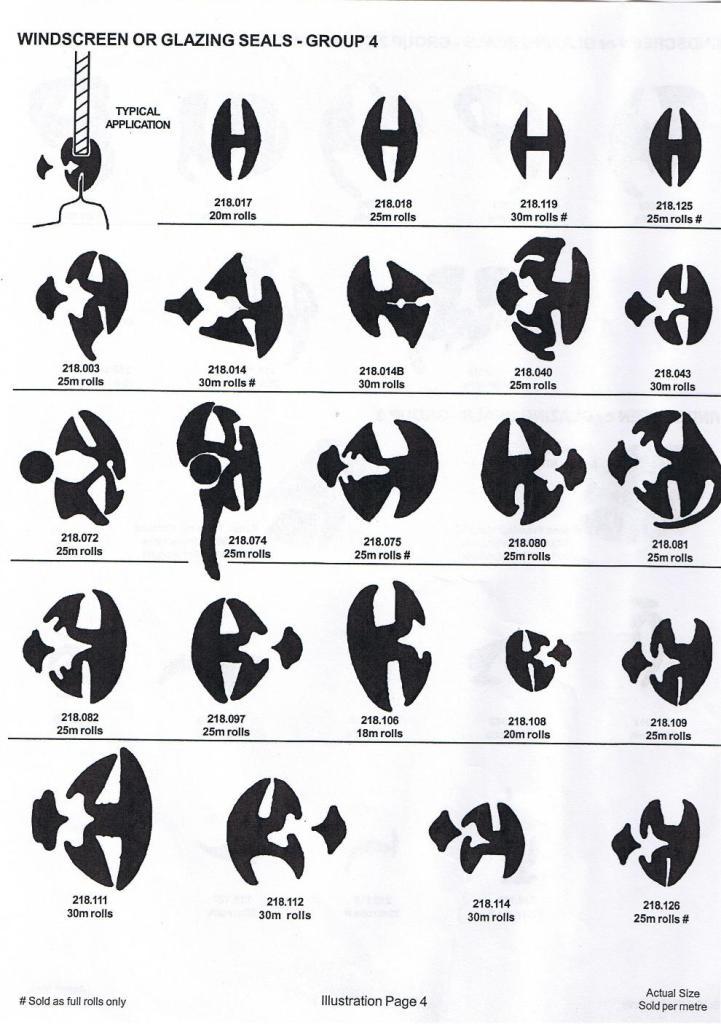
The rubber 218.043 listed above is similar to what I put round the series small rear windows - did fine on the tight turns see pic below.
NOTE - as someone on this site suggested to me put the bead on the inside otherwise soemone can simply pull the bead then remove the window to break in.
The rubber profile
Actual window size
Hope that helps
SKiboy
89 Orange Rangie UTE - our play thing - sadly now sold
75 Rangie/Series/Hybrid/LS3 - Bumblebee with a sting!!!!
2018 RRS - The new touring vehicle - replaces 2012 RRS
 Posting Permissions
| Search AULRO.com ONLY! |
Search All the Web! |
|---|
|
|
|
")


Bookmarks