


 Reply With Quote
Well, see, now it looks like you're building a wing. I'm looking forward to how the bonnet turns out - it's a very interesting approach.

 Master
Supporter
Master
SupporterHaha, thanks Davo! Yeah, i'm not so sure what will keep me busy after this. Building an aircraft could be possible! Would need to go back through my old Aeronautical Engineering text books!Originally Posted by Davo

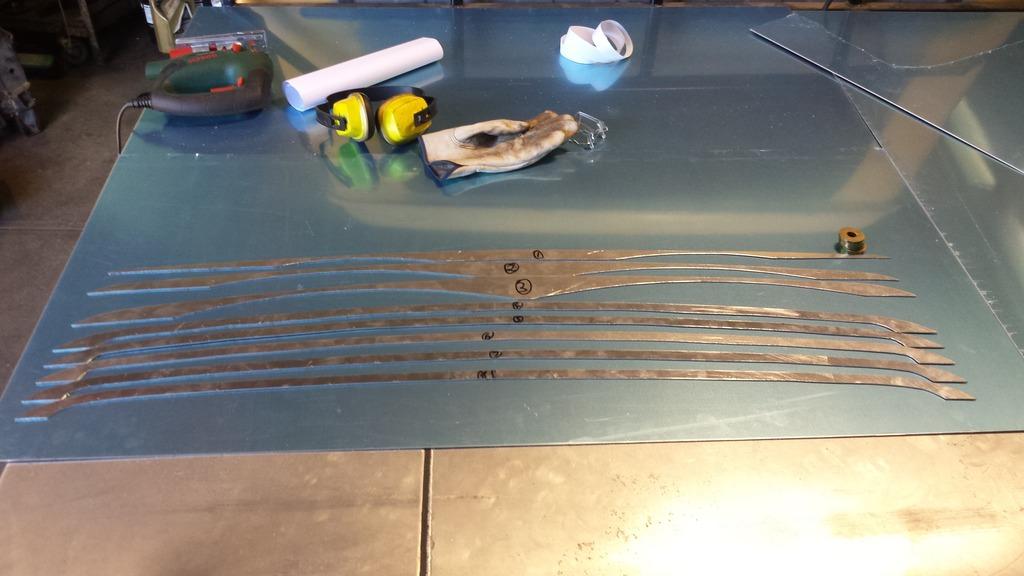
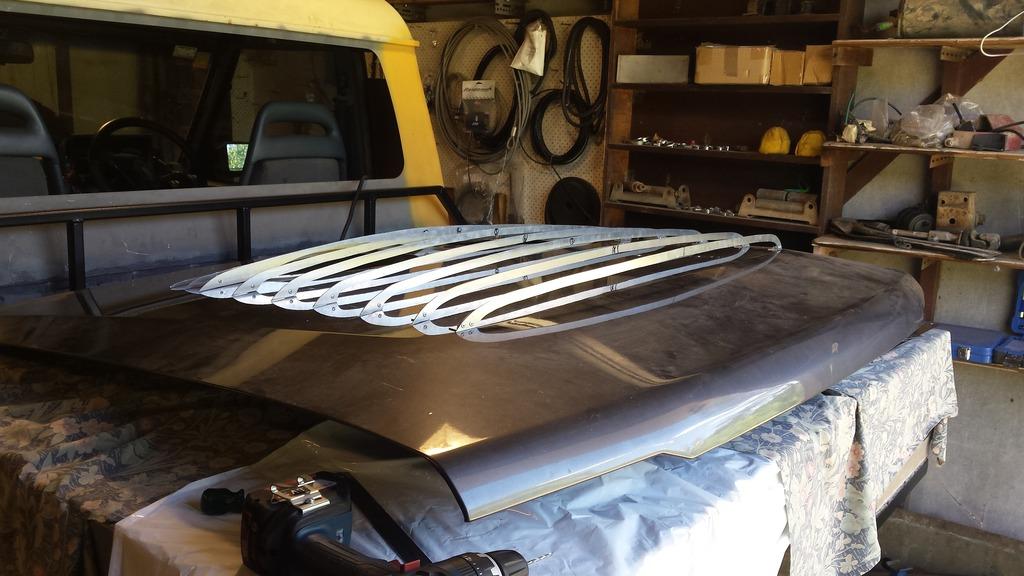
On with the progress, I had a couple of more sessions in the workshop, below are the photos.
The majority of the ribs were cut out using a jig saw, they needed a bit of cleaning up with a hand file afterwards which was a bit tedious.
Then I riveted on some tabs which will ultimately allow me to permanently mount the ribs onto the bonnet.
The plan next is to temporarily screw the ribs down onto the bonnet with some wax paper between the two components, clad the outside with something flexible and fill the cavity with self expanding foam. Then remove the scoop and hollow out the foam on the inside. Then glue it onto the bonnet and permanently fasten and fibreglass into position. It's going to take a few sessions!
Till next time!
Stirling
ChatterBox
Well, see, now it looks like you're building a wing. I'm looking forward to how the bonnet turns out - it's a very interesting approach.
At any given point in time, somewhere in the world someone is working on a Land-Rover.
Master
SupporterYes, I suppose it is similar to a wing's construction. But I think it is also a similar approach to the way Boats are built as well! Yes, the approach is a bit of a gamble, but it should work. I hope!
There were some more hours spent in the workshop today, though looking back, it doesn't look like much in terms of what is shown in the photos.
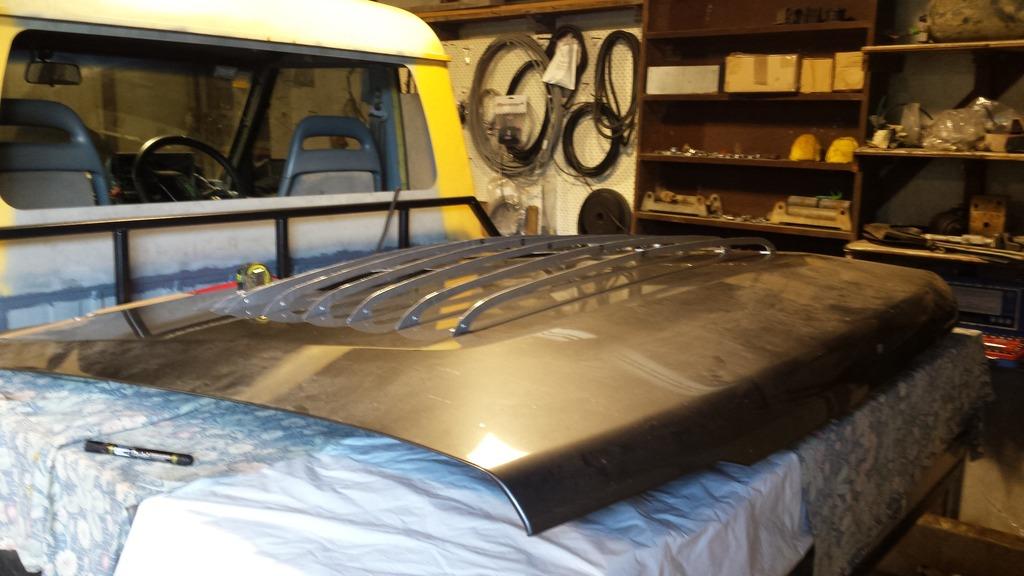
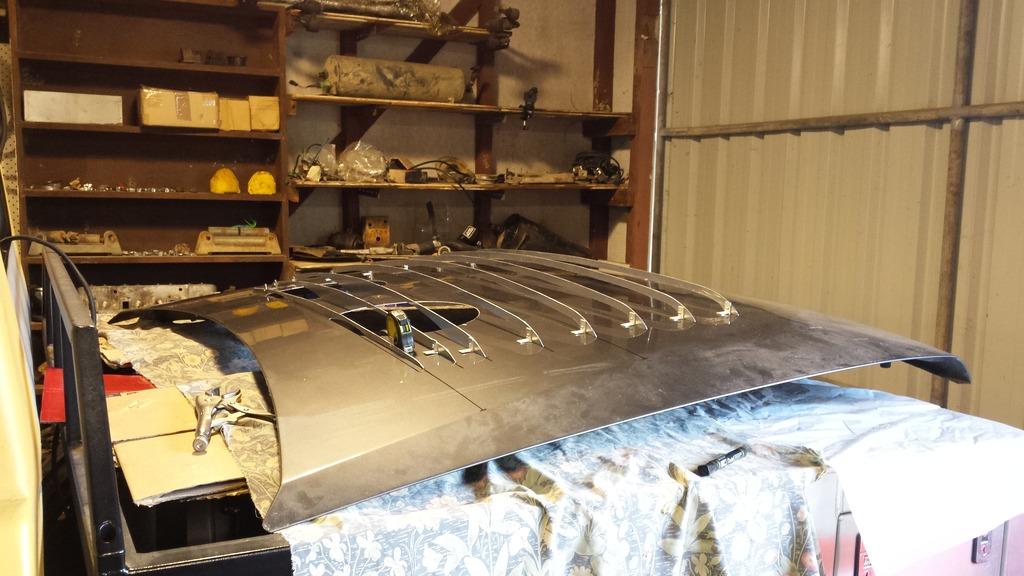
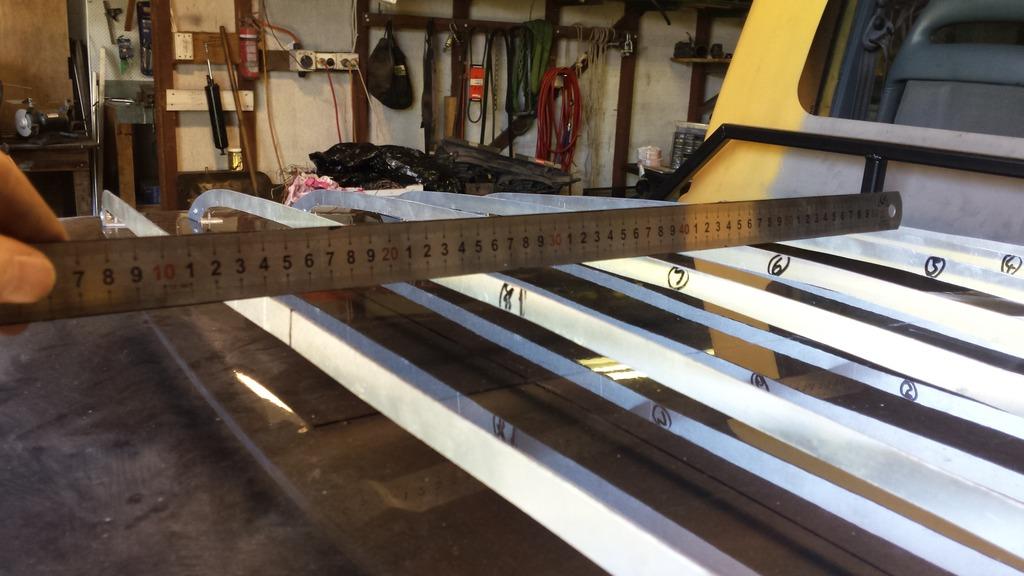
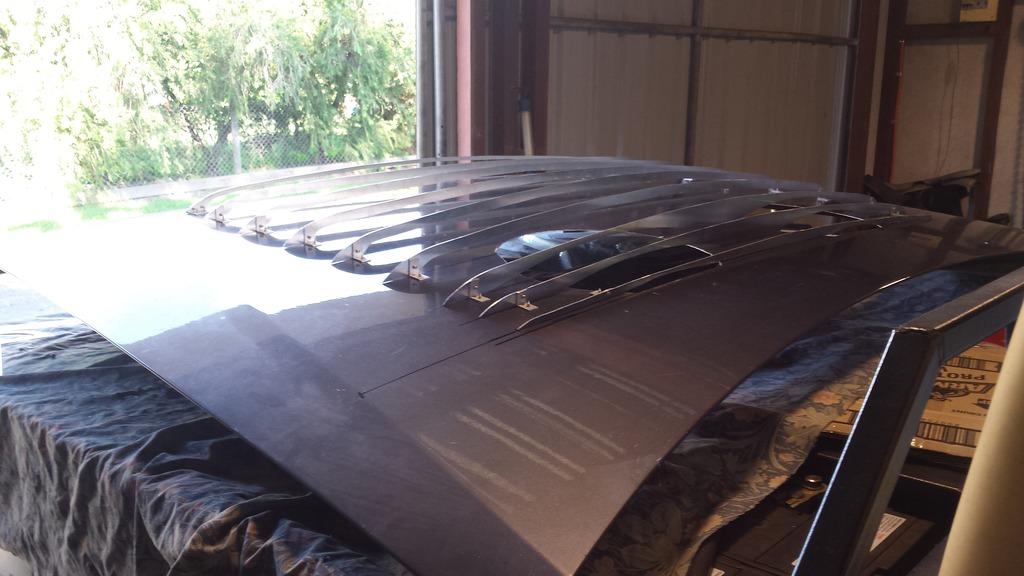
I had to cut out another rib to cover the very leading edge of the scoop. I thought I would be tricky and simply duplicate the 8th rib and attach it with a bend that causes the rib to bend out in the middle (towards the front of the car). Below are all the ribs screwed down onto the bonnet.
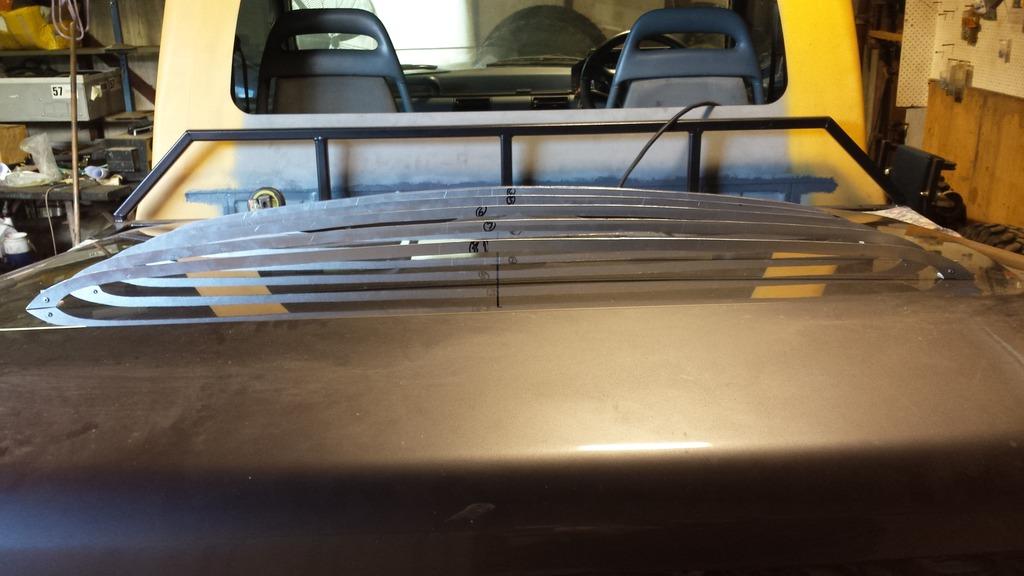
However, there was a suff up when I realised that using that approach the front rib doesn't follow the same profile of the rest of the scoop, I had designed the scoop to gradually slope down the further forward it went. So when I put a ruler over the top, you can see that there is a gap with the 8th rib.
So after cutting down the front rib, and re-drilling and thinning it down, I ended up with a shape I was happy with.
Next weekend I'll pull the ribs off again, bolt them back onto the bonnet using some wax paper, and get started with the 2 part foam.
Stirling
ChatterBox
Or a boat. I could see you building a boat.
Again, nice work there. Unless a metal-forming expert used something like an English wheel, or you made the scoop in fibreglass, the only other way I could see is what you're doing. Do you think it might increase the engine bay pressure too much? Or just blast out all that hot air?
At any given point in time, somewhere in the world someone is working on a Land-Rover.
ChatterBox
I just thought you might like to know that I took off the viscous fan on my V8 Range Rover and put the EL Falcon thermos back on, (my third try, by the way!). Fancy high-tech incense smoke testing showed that during idle, hot air was being pushed out from under the front of the bonnet and sucked back into the front of the radiator. This was surprising. A length of left-over door seal fits over the edge of the bonnet and should help - your Disco bonnet might be similar but it should be worth looking at anyway.
At any given point in time, somewhere in the world someone is working on a Land-Rover.
Master
SupporterThanks for that info Davo! It is definitely useful information. I'll do a similar test as well to make sure there is no flow recirculation like what you found. There is a lot of hot air being pushed around in the engine bay, especially with 4 thermo fans pushing air into it (2 on the radiator and 2 on the intercoolers), you can actually feel a lot of hot air rise out of the front wheel arches. More testing to be done!!
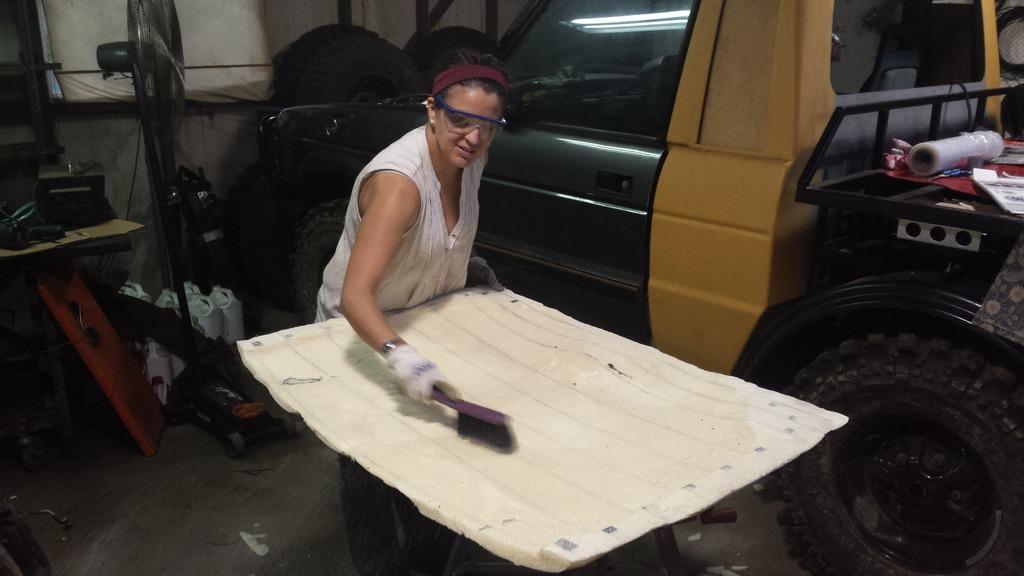
Ok, so I want to share some progress from the last couple of weekends of work. my lovely assistant Ana was there to help me out.
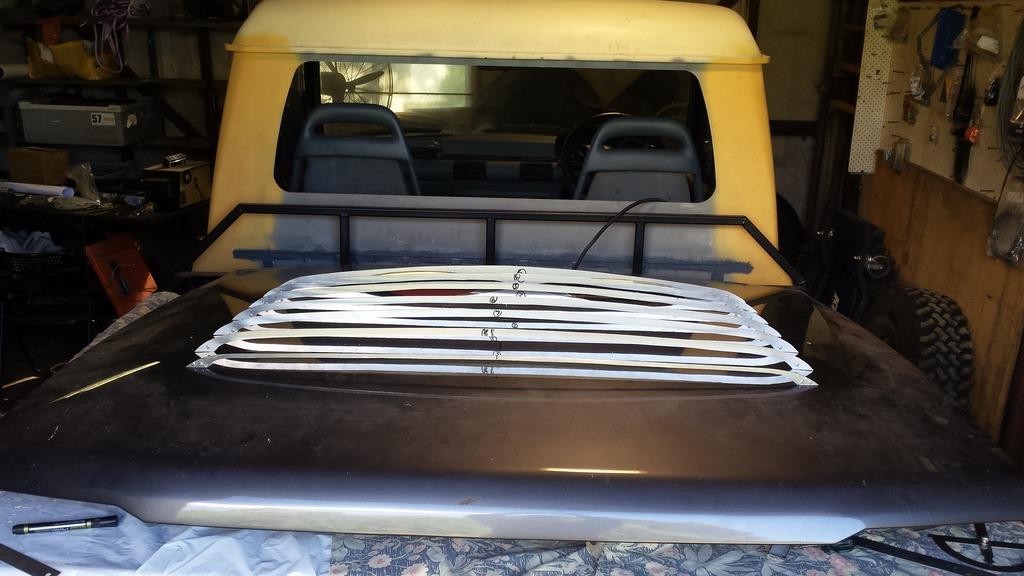
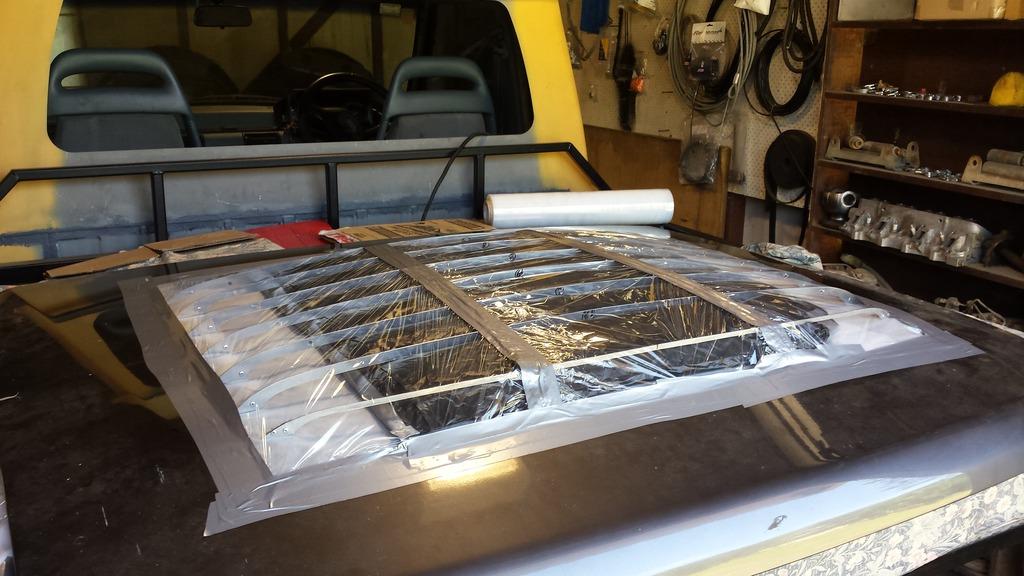
We laid down some wax paper, screwed down the ribs onto the bonnet and put a large garbage bag under the ribs which was had the open end of the bag sealed up after putting a small amount of air into it. This is so that it would help maintain a bit of a cavity underneath so we went through a little less foam. After that, some heavy duty cling film was run over the top of the ribs to seal across the top.
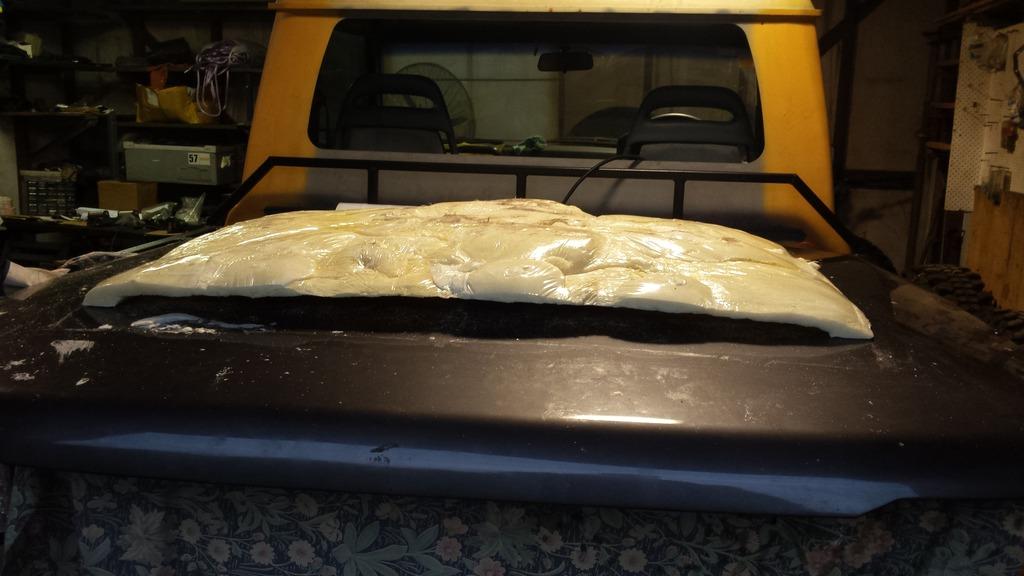
It took us two attemps to finish injecting the foam. Last weekend, we got about a third of the way before realising we didn't have enough chemicals to finsh the whole job!! So after putting in another order for 2 part foam, we were able to finish the job. The photo below is after we had removed the cling film over the top and we were just doing some localised patches which needed more foam.
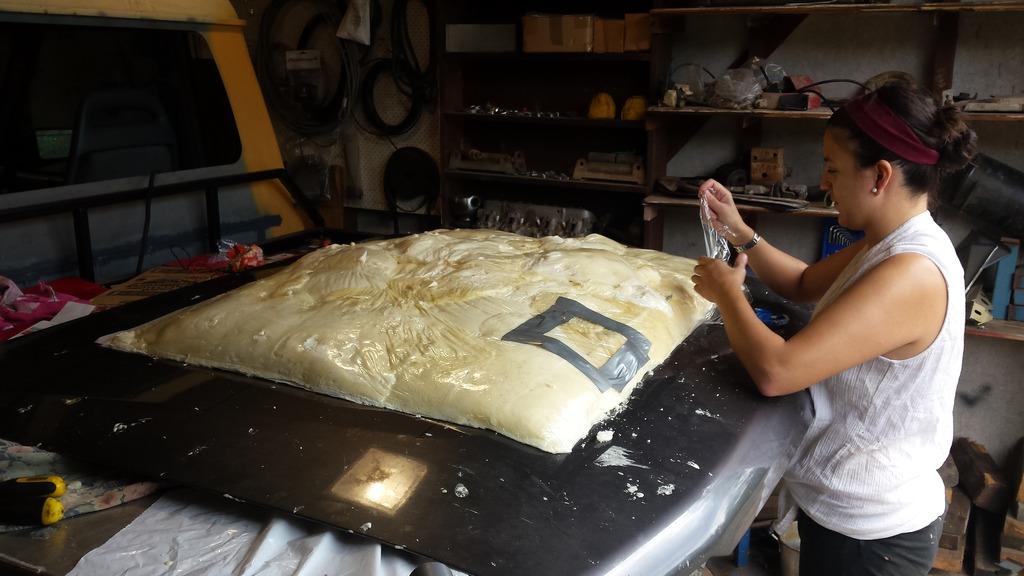
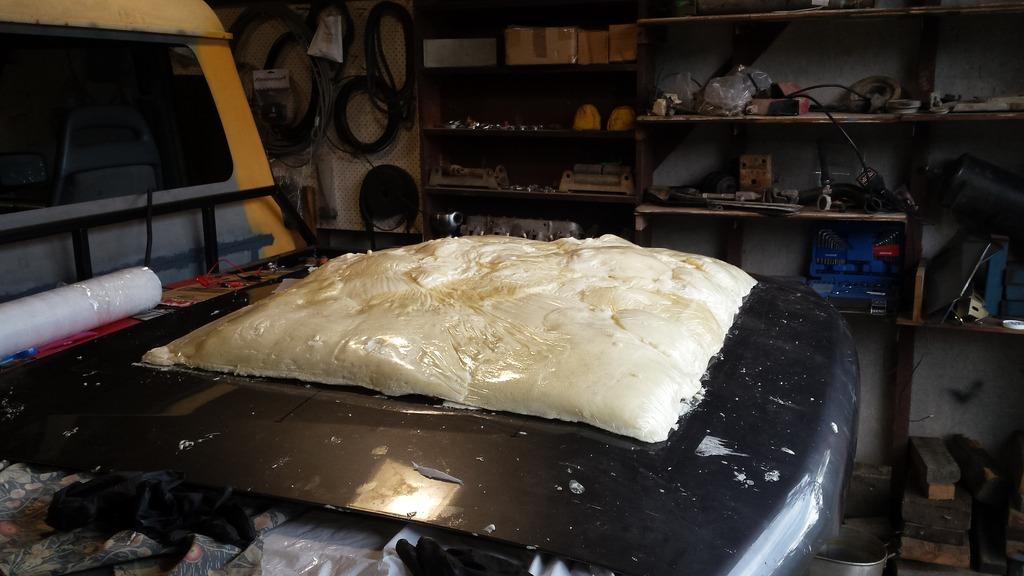
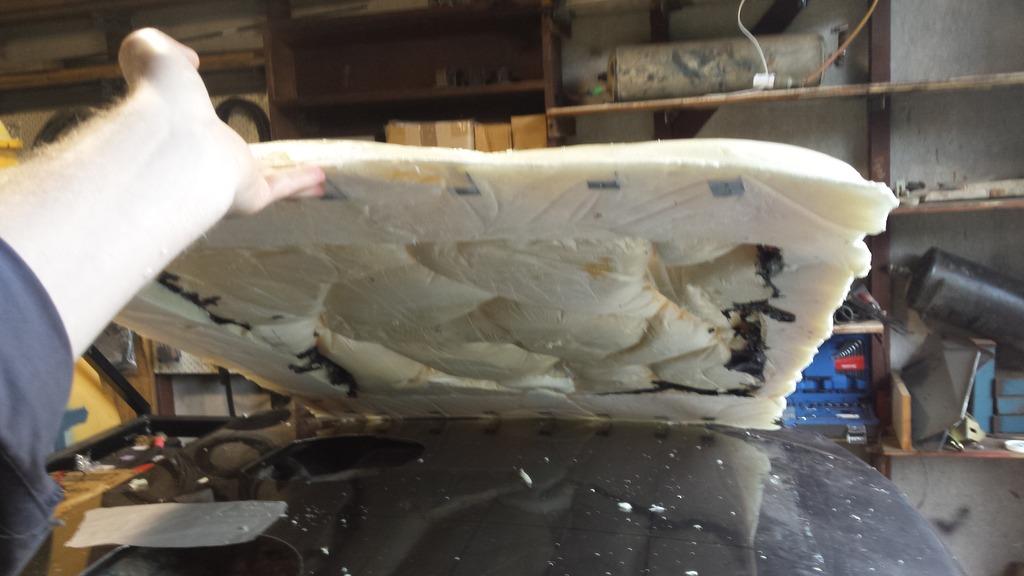
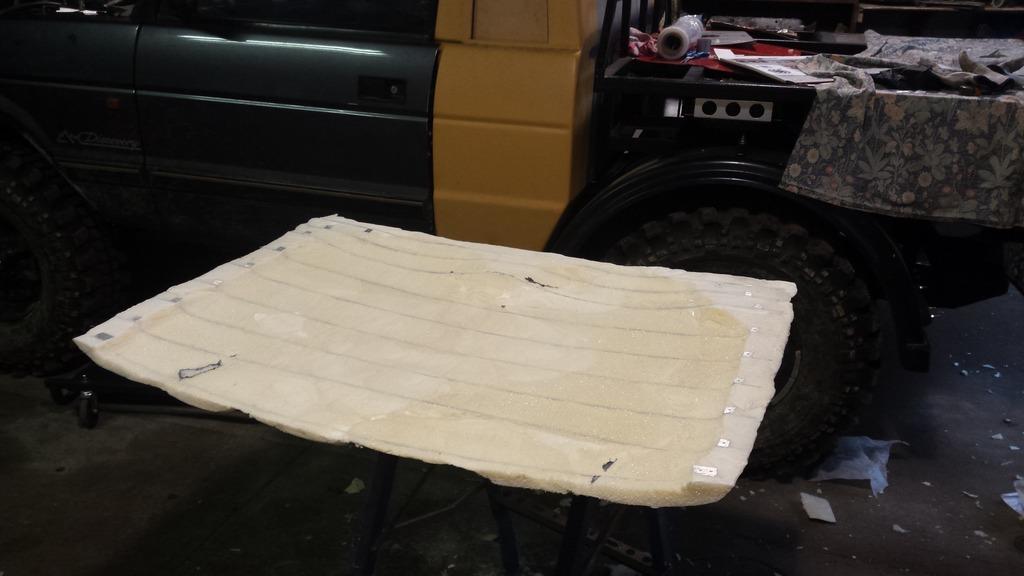
Below is the finished result after removing the wax paper and garbage bag from underneath.
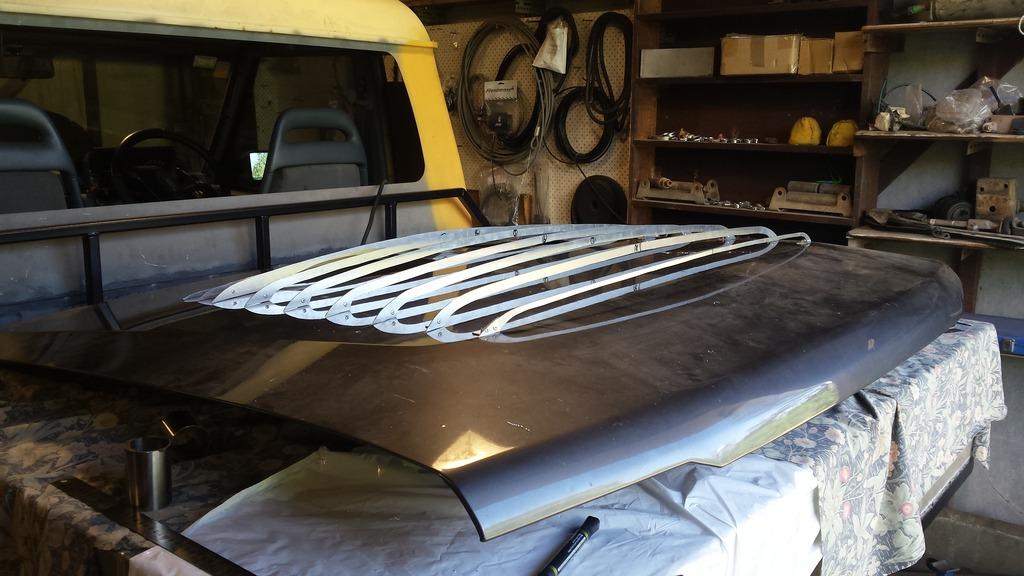
Then after a lot of carving, we managed to get the underside down to the ribs. Pretty happy with the result actually and it is a very solid assembly! I was worried that all the rough handling while we were sawing out the foam would cause a crack, but it held up!
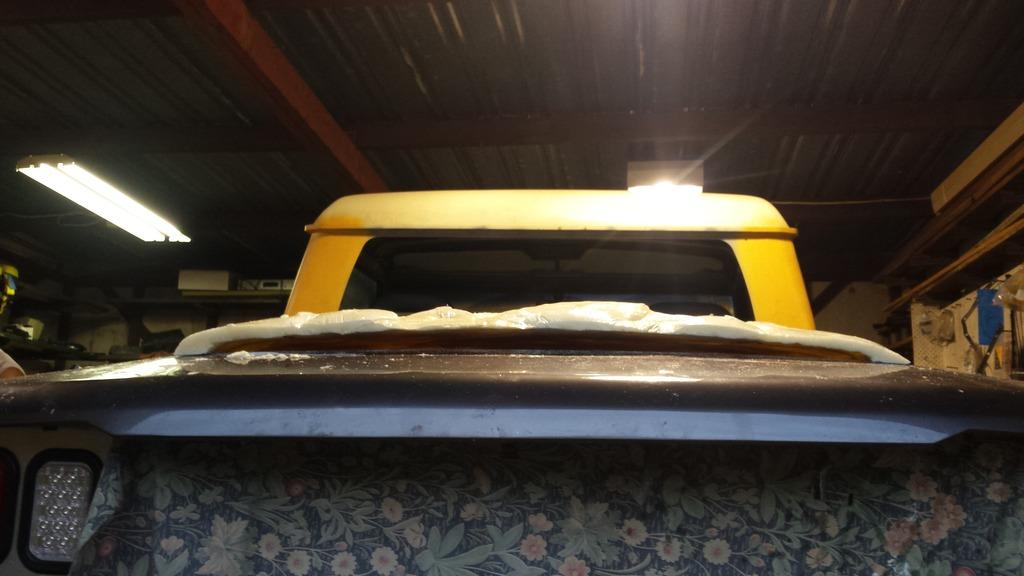
After all the carving was finished, it was time for a quick trial back on the bonnet, it gives you an idea of how slender the opening will be above the bonnet which is what I wanted.
Next time will be sanding & fibreglassing the underside of the scoop and then after it cures move onto carving the top surface.
Till next time!
P.S. Does anyone else find the new limit of 10 photos per post a pain?!?
Stirling
TopicToaster
SubscriberFirst saw it and thought liposuction a'la Fight Club.
Nice work.
Yes 10 pics is a pain... especially when its agnostic to where the image is hosted.
-Mitch
'El Burro' 2012 Defender 90.
Wizard
Will you be coating the foam with anything prior to laying the fibreglass? I am a bit worried about the resin eating / dissolving the foam.
Wizard
I'm a bit worried about him finishing this project and having no more updates. 😀😀😀
Master
SupporterHey Crash, I use Epoxy resin rather than Polyeurathane resin. So there is not concern about dissolving the foam thankfully. However, epoxy resin doesn't dissolve the binder in chopped strand mat, which makes it hard to work with! A little more on that below.
I really wish I could finish soon! Progress has really slown down recently. Especially since I now live about 45mins away from where the workshop is located!! If anyone knows of a place I could store the car around Inner West Sydney, that would be a huge help!!
So, I do have some progress to share, though in the grand scheme of things it isn't so much.
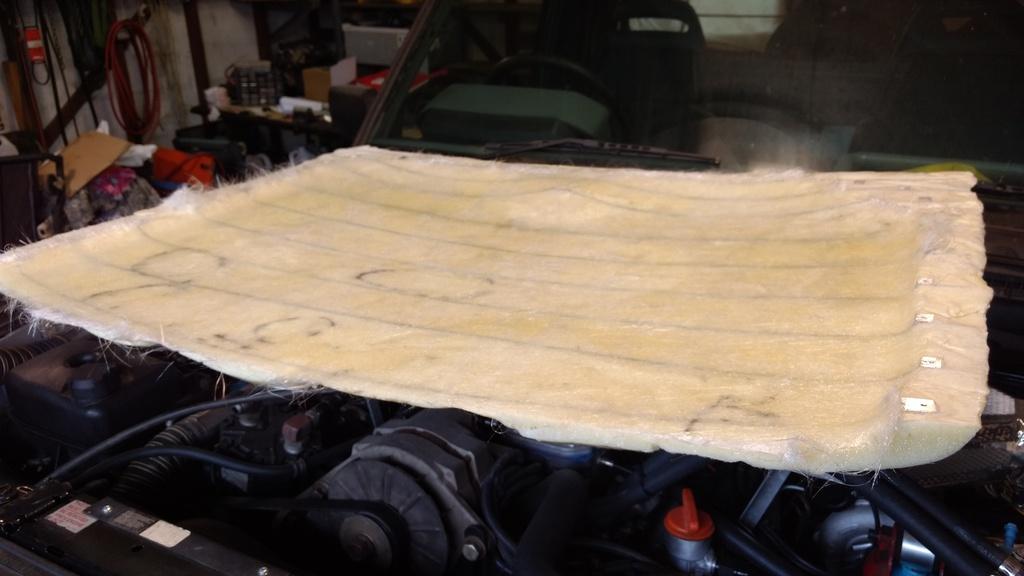
I managed to scrounge enough chopped strand mat to coat the underside of the foam. I wanted to do this now because as I carve the top part of the scoop back to the ribs, I was worried that making the foam thin increased the risk of it cracking or detaching from the ribs. So by having a layer of glass on the underside now, it helps hold it all together. Though, the finish wasn't great, because I was using epoxy resin, the chopped strand mat was being difficult to work with. And it wouldn't follow the contours everywhere. So in some places I've ended up with some air bubbles. I'll have to deal with them later...
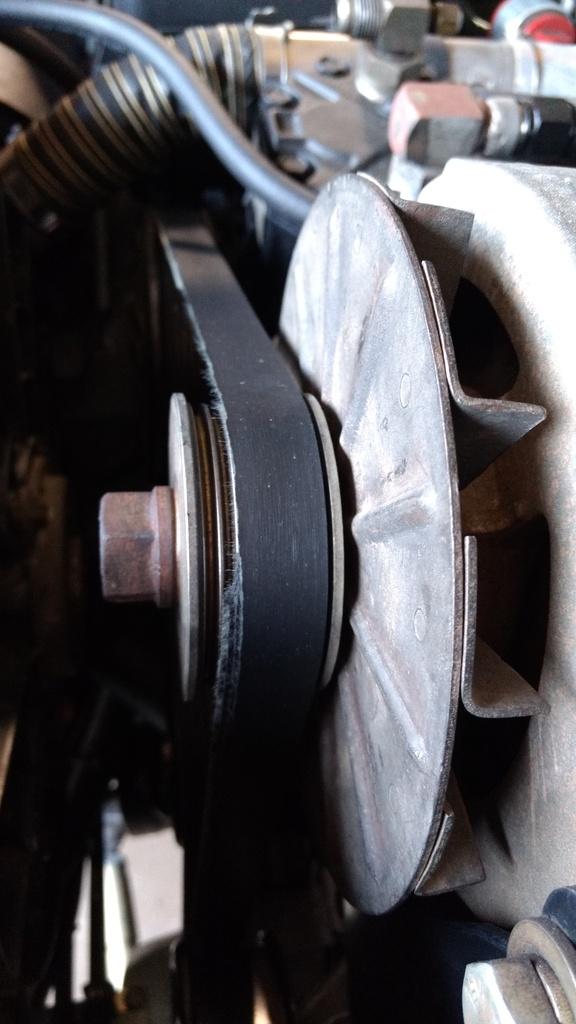
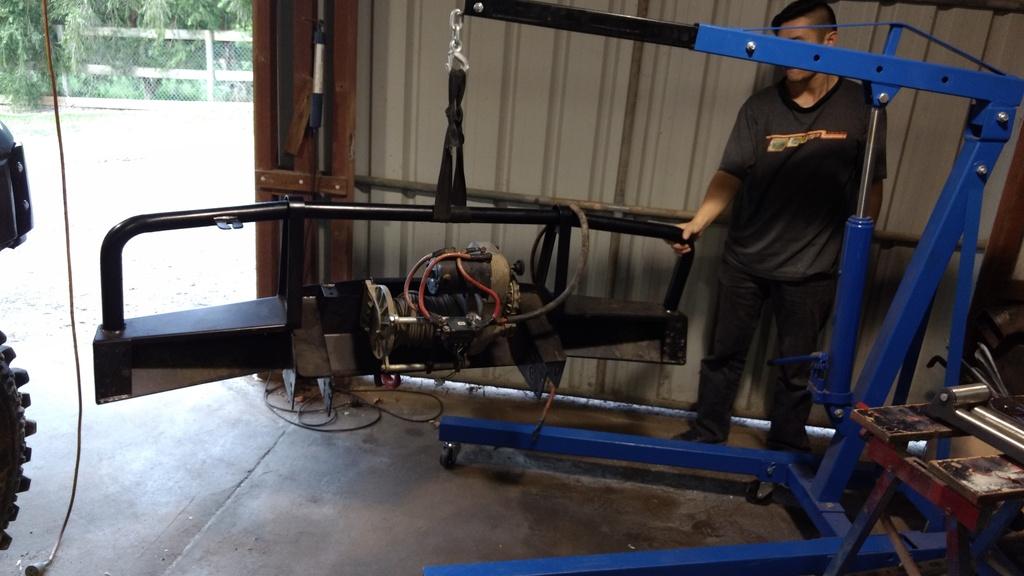
While the resin cured, I decided to make a start on mounting the high mount winch, and for that the car needed to be turned around. Because I didn't want to waste the opportunity of taking the car for a quick spin, I did that. I asked Derrick to drive for a bit while I watched the gauges, everything looked good. One thing I noticed was the air temperature out of the turbos was about 51-53 degC under boost. After the intercoolers it was around 35 degC which I'm happy with given that the car was being driven without a bonnet and the intercooler fans were just sucking the hot air rising from the engine/radiator. Anyway, during the drive, I had a problem with the serpentine belt. It had skipped forward a couple of teeth over the power steering pump pulley and cutting off a strip of the belt, which started whipping around in the engine bay. The only thing I can think of a cause is that either the power steering pump isn't mounted square, or the offset of the pulley isn't right? Anyone else experienced this? The photo below shows the situation on the alternator pulley.
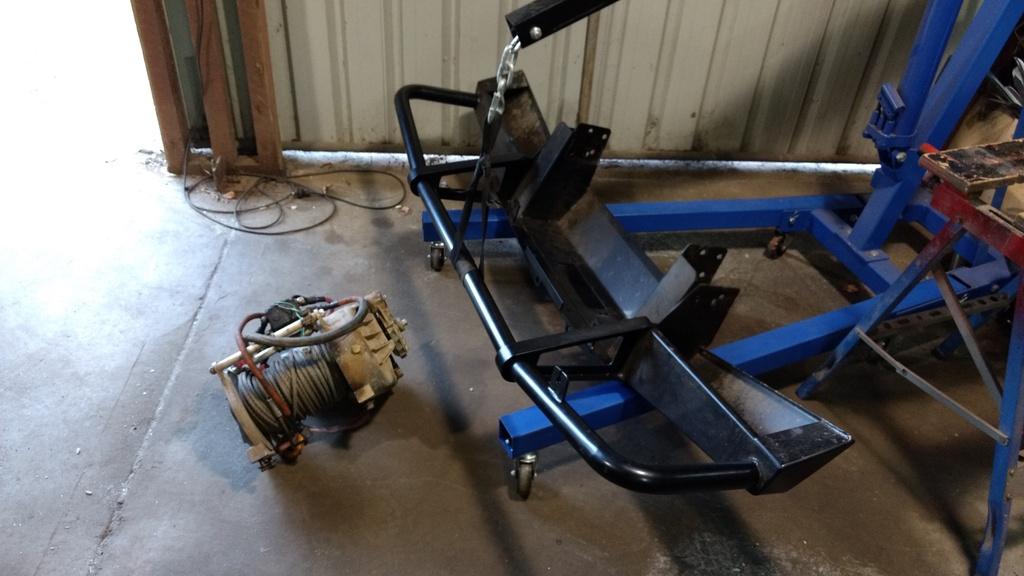
Finally, we managed to get the bullbar off and mount the high mount onto the bullbar with a couple of bolts and put the bullbar back on the car loosely bolted. One thing that was obvious was how much the winch restricts airflow into the radiator!! Unfortunately I didn't get a photo of that, but the ones below are mounting the winch into the bullbar.
Anyway, that's it for now and the last progress until somtime in June. I have overseas travel coming up which includes 1 week in Chile for work amongst a few other destinations on the way. In the mean time, if anyone knows of a double bay garage in Sydney's Inner West (Long shot, I know), let me know!!
Stirling
 Posting Permissions
| Search AULRO.com ONLY! |
Search All the Web! |
|---|
|
|
|


Bookmarks