
")

 Reply With Quote
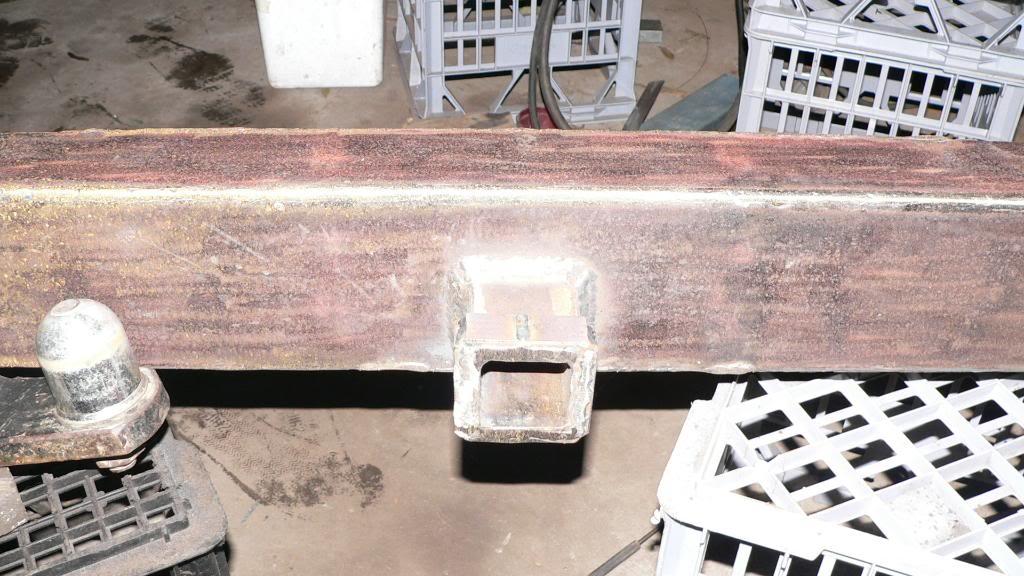
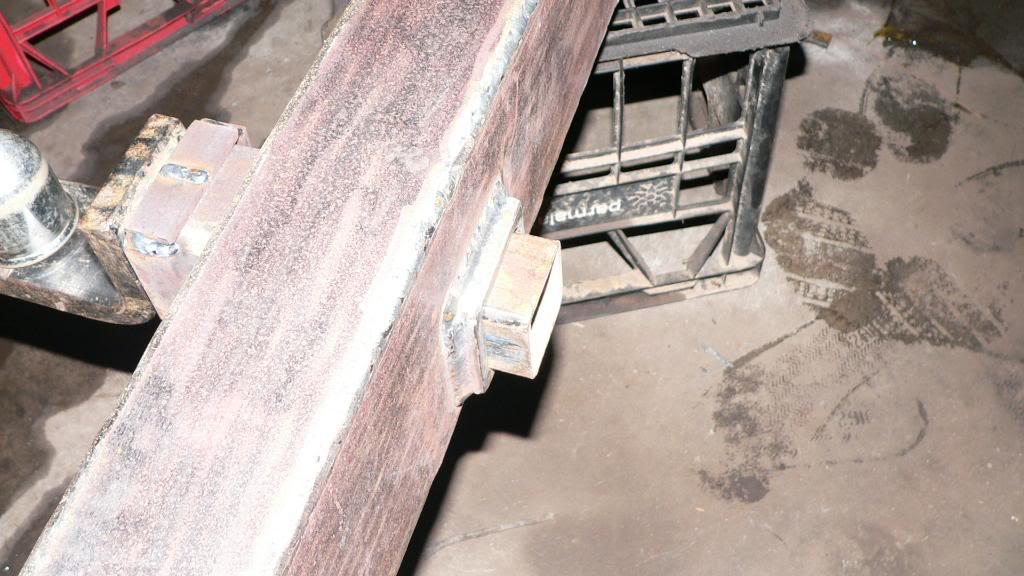
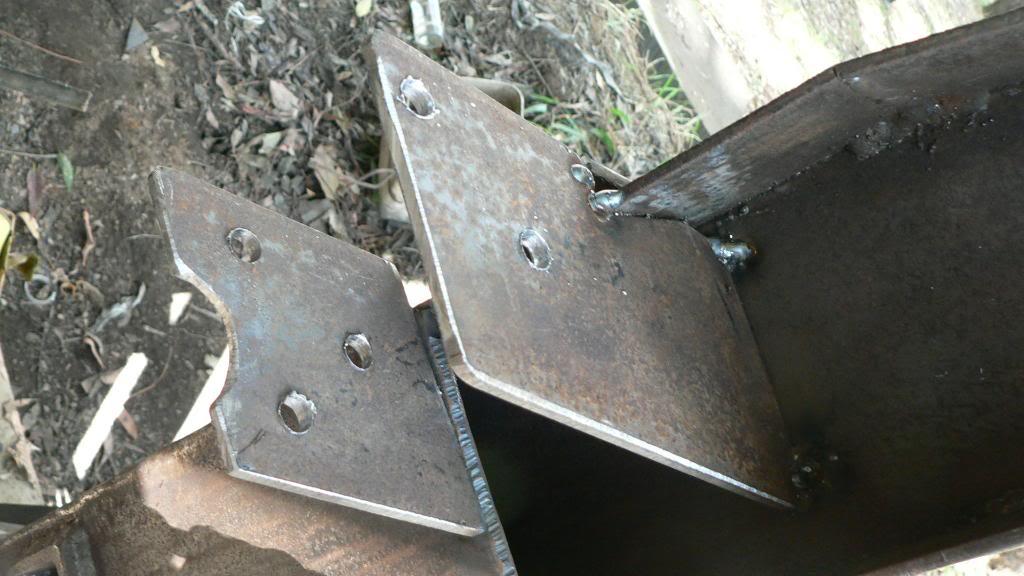
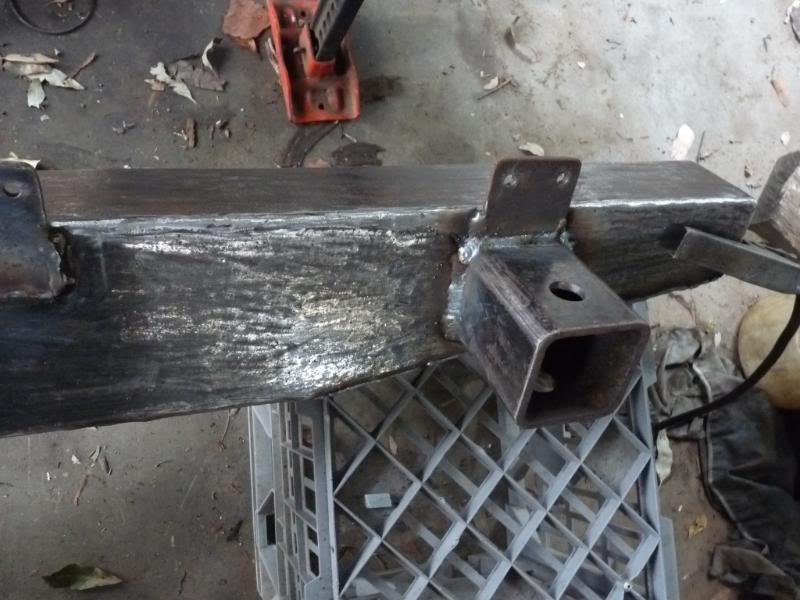
... thats some serious undercut on the manufactured receiver welds. Probably wont ever cause a problem but I wouldnt be showing an engineer that photo if it is getting a ticket
I wish scrappy steel was only $1/kg up this way...
S

 TopicToaster
Subscriber
TopicToaster
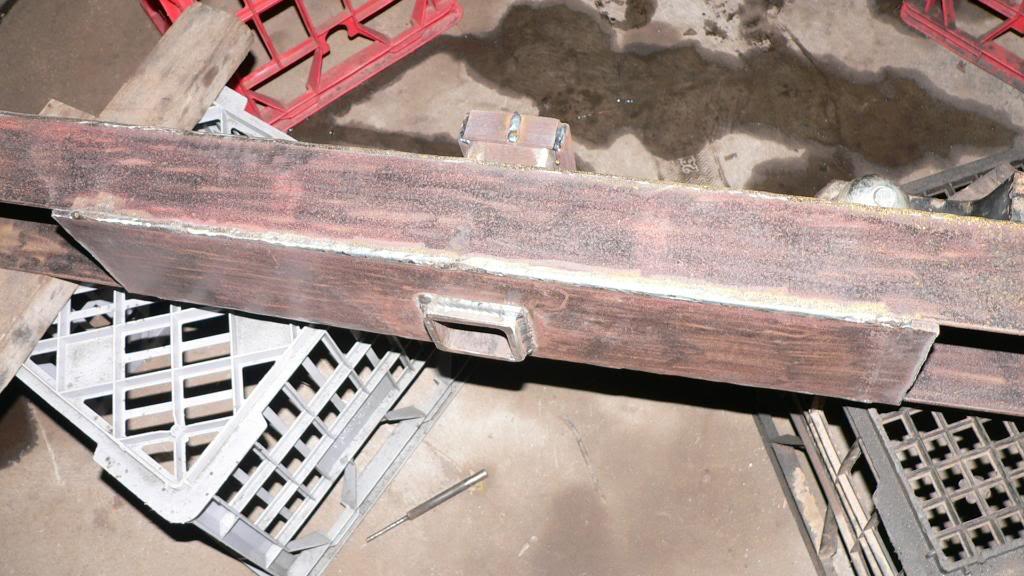
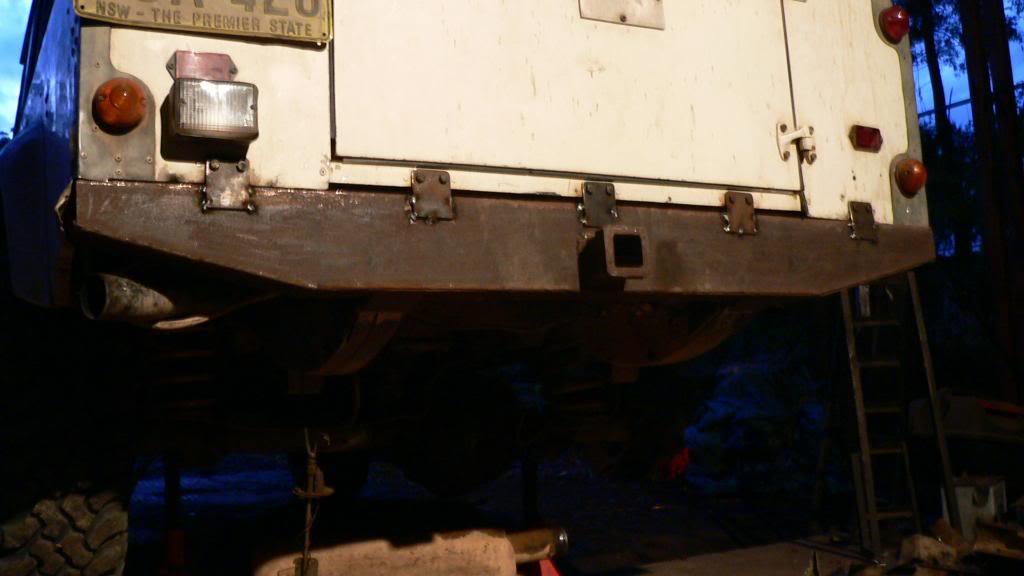
SubscriberDad got a little more done during the week..
All welded up with a couple of supports, the tow-bar welded in, back welded on etc etc
Thats about all we can do before we remove the old rear x member and get a new fuel tank
CHEERS TIM.
Dads-
http://www.aulro.com/afvb/members-ri...-progress.html
Mine-
http://www.aulro.com/afvb/members-ri...-progress.html
Mums- stock 92 200tdi d1.
YarnMaster
Supporter... thats some serious undercut on the manufactured receiver welds. Probably wont ever cause a problem but I wouldnt be showing an engineer that photo if it is getting a ticket
I wish scrappy steel was only $1/kg up this way...
S
Master
Nothing that a bit of paint cant hideOriginally Posted by roverrescue

. Well done Tim and Co watching with intrest as will be doing simmila in next few days.
Looks good Tim and once mick see's this thread he will want me to make a similar one for his county which is what i suggested to do anyways
TopicToaster
Subscriberlol
Dads-
http://www.aulro.com/afvb/members-ri...-progress.html
Mine-
http://www.aulro.com/afvb/members-ri...-progress.html
Mums- stock 92 200tdi d1.
TopicToaster
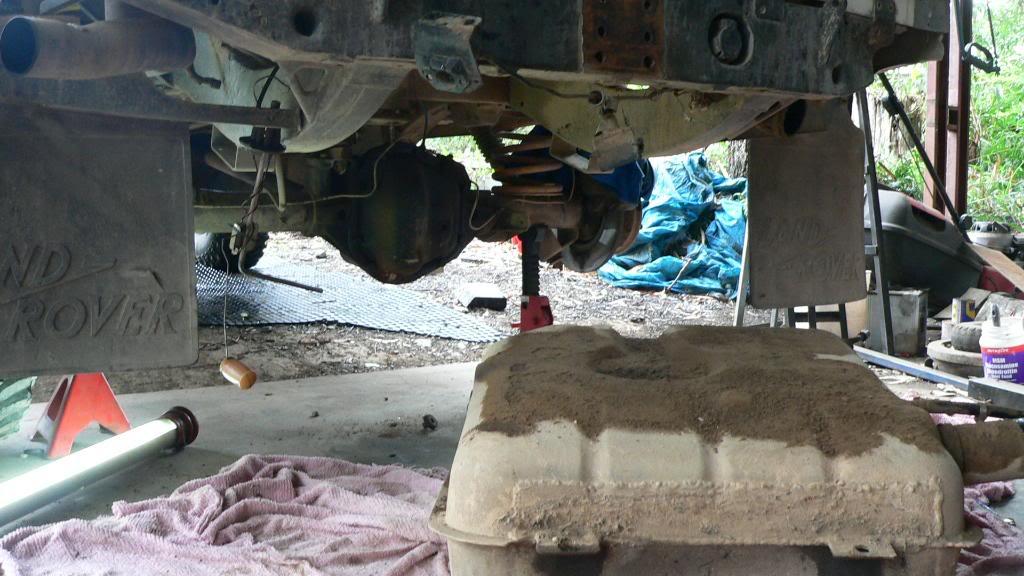
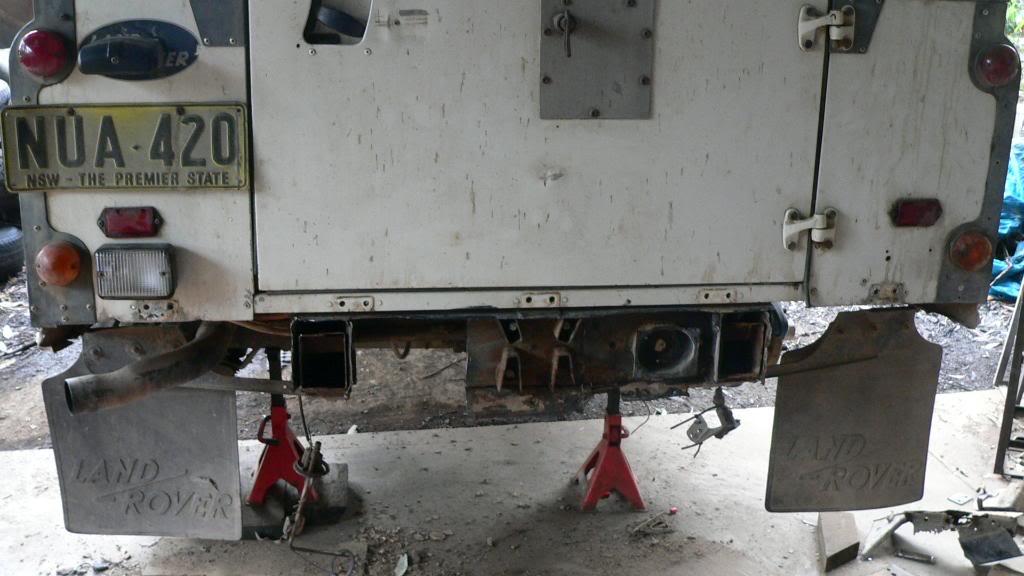
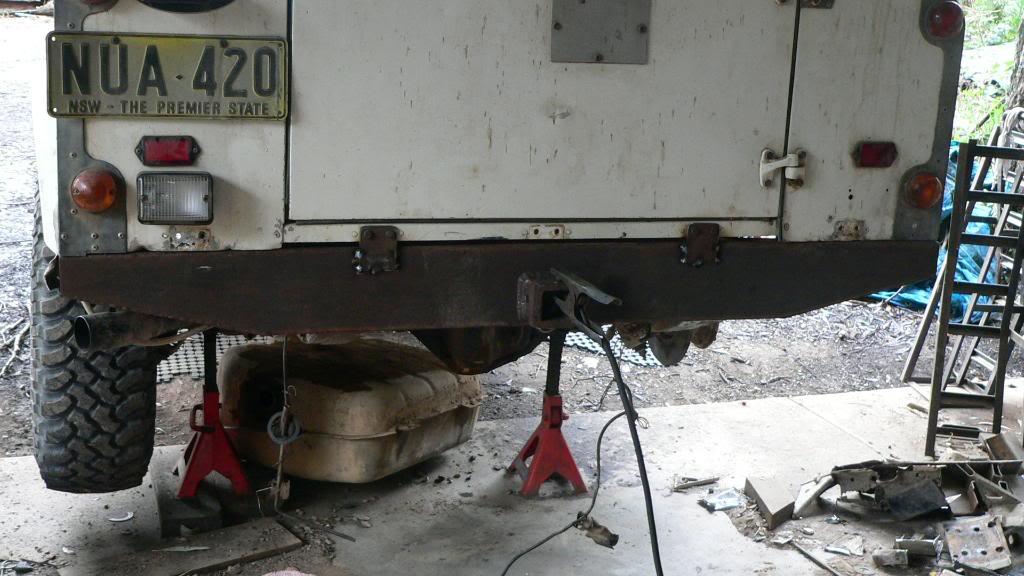
SubscriberWell we got started on removing the old rusted rear cross member on sunday, got abit done, but didn't get it off until lunch time today
It turned out to be not as badly rusted as first thought, but anyway...
As i may have mensioned already, the exsisting fuel tank has had it, so while we are at it we are going to replace the tank with a 98 defender unit
Tank removed.
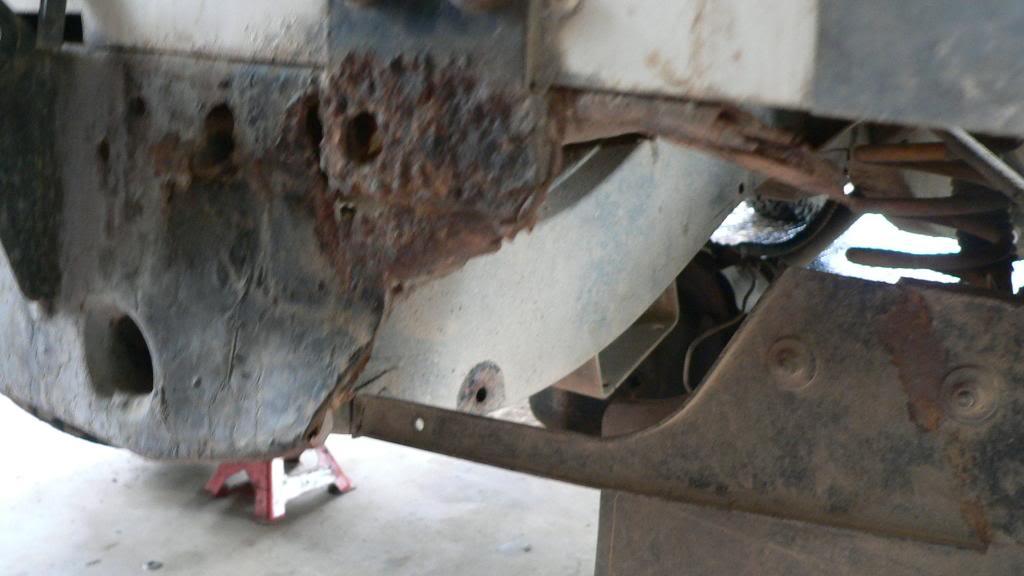
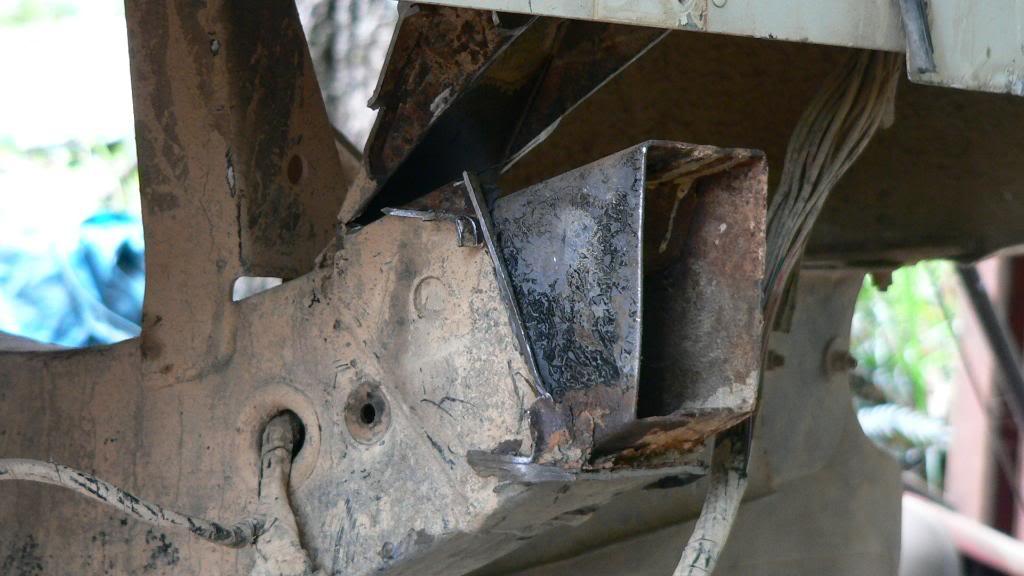
The reason why we are replacing the x member..
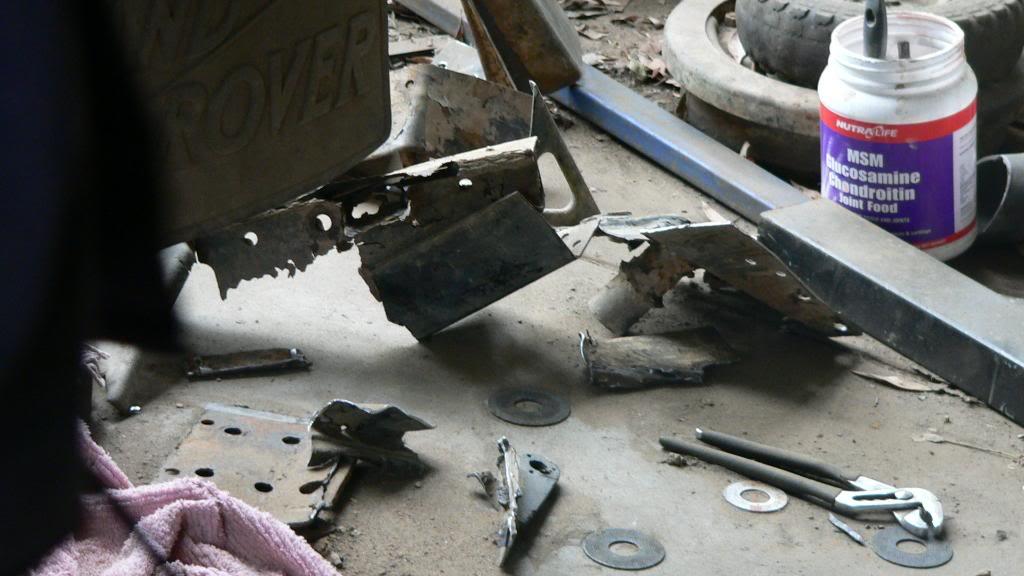
We gave up trying to remove it in one peice so decided to just hack the hell out of it
Half the bar thrown to one side
Slowly getting there
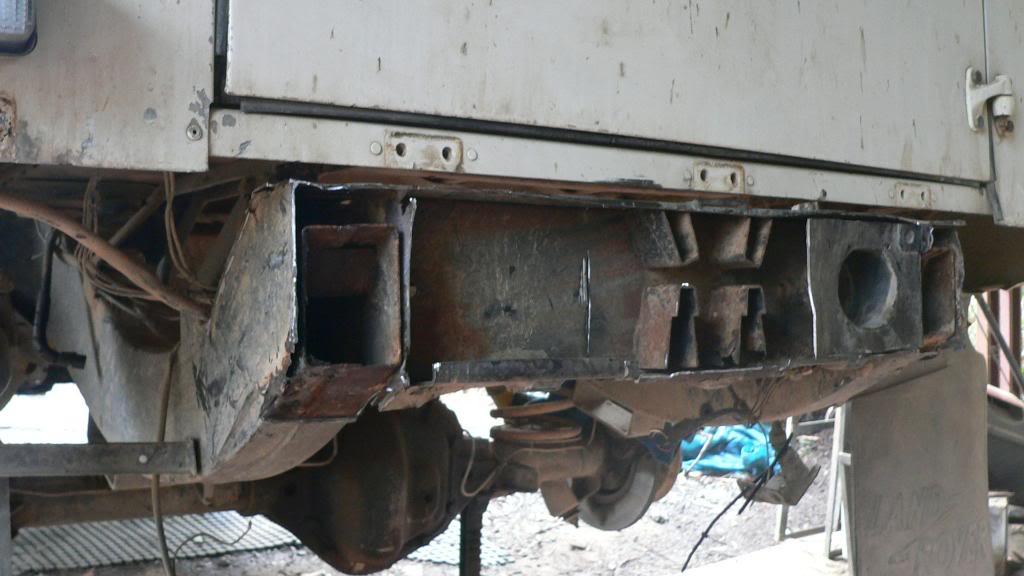
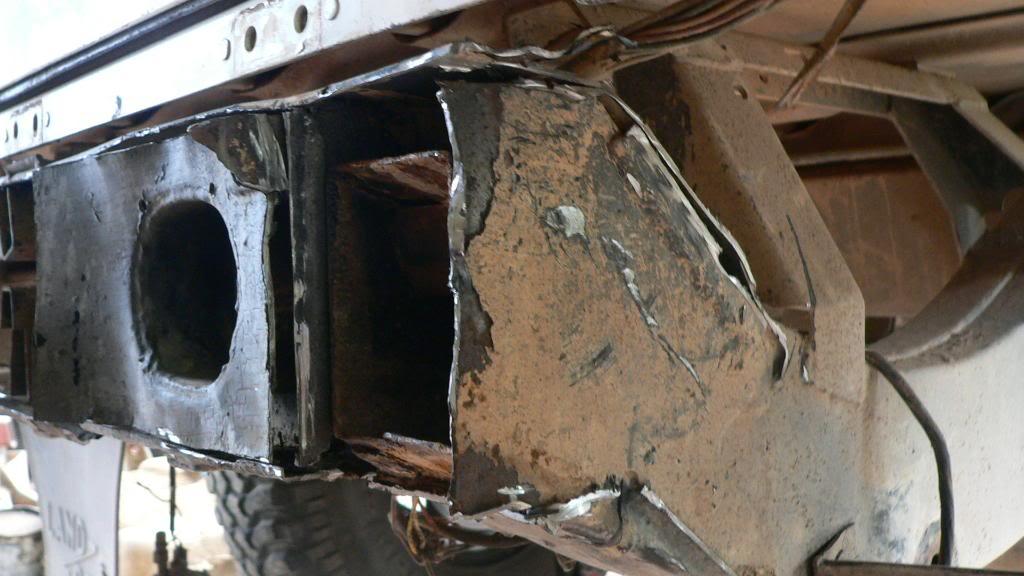
The chassis is in very good nick!!
No rust on the outside and only a tiny bit of surface on the inside
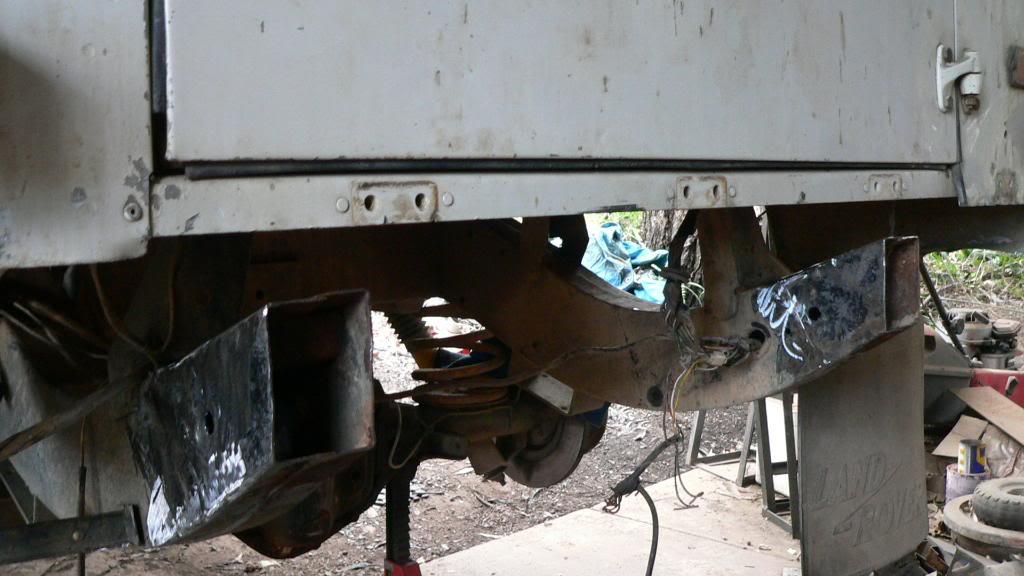
Ready to start bolting to..
It is quite a mission of a job to remove with only an angle grinder, if the plasma cutter wasn't playing up it would have only taken a couple of hours
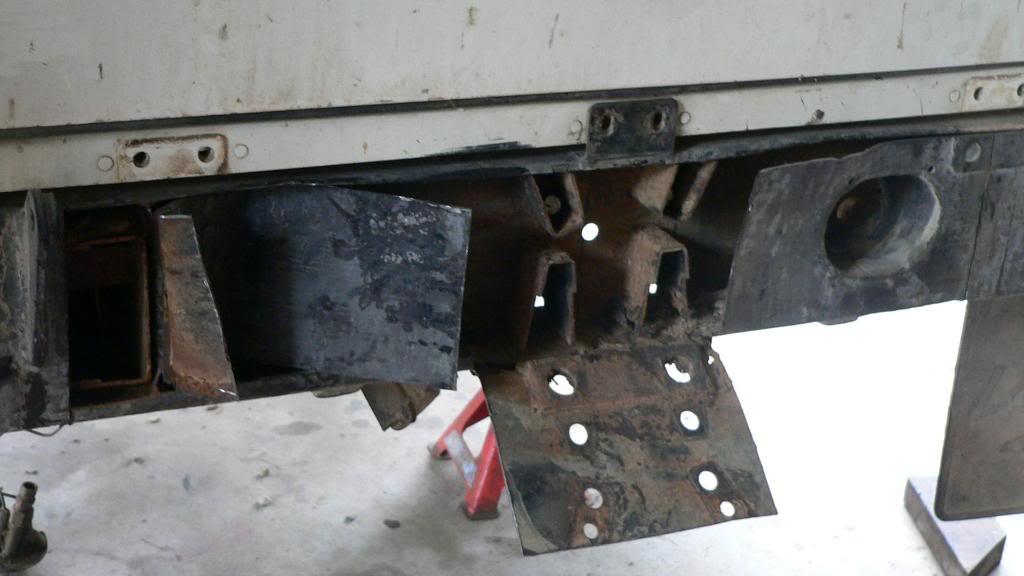
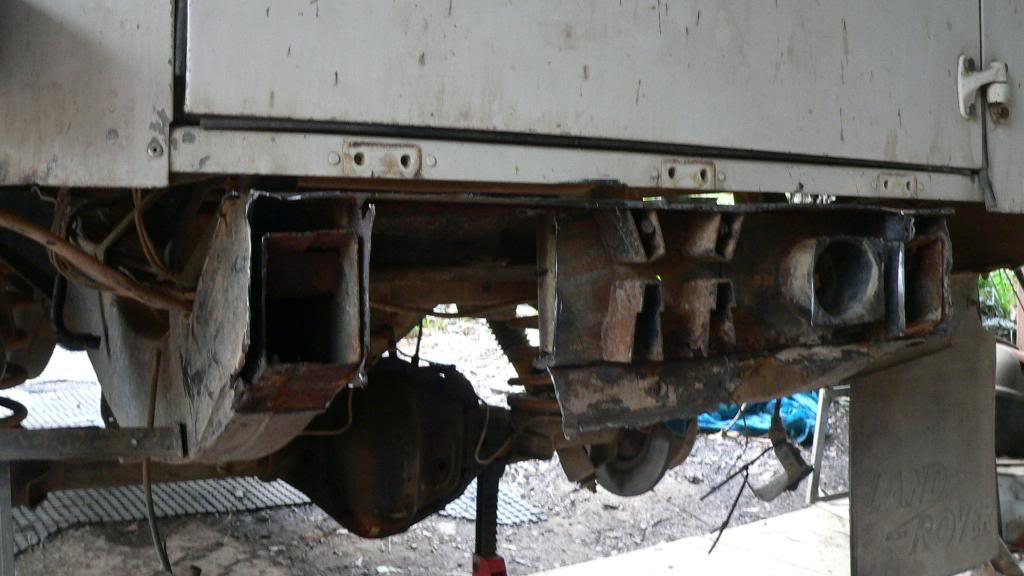
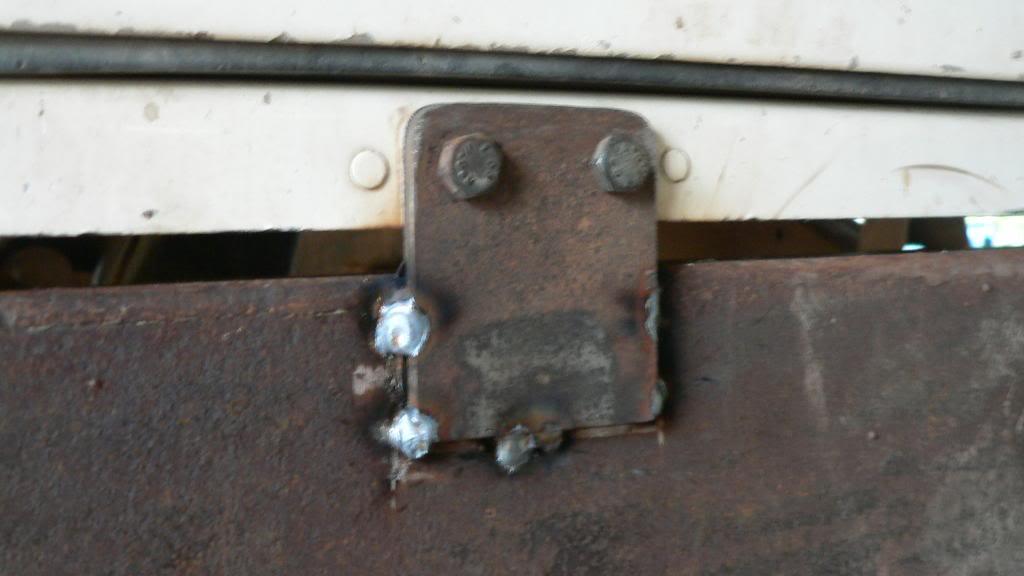
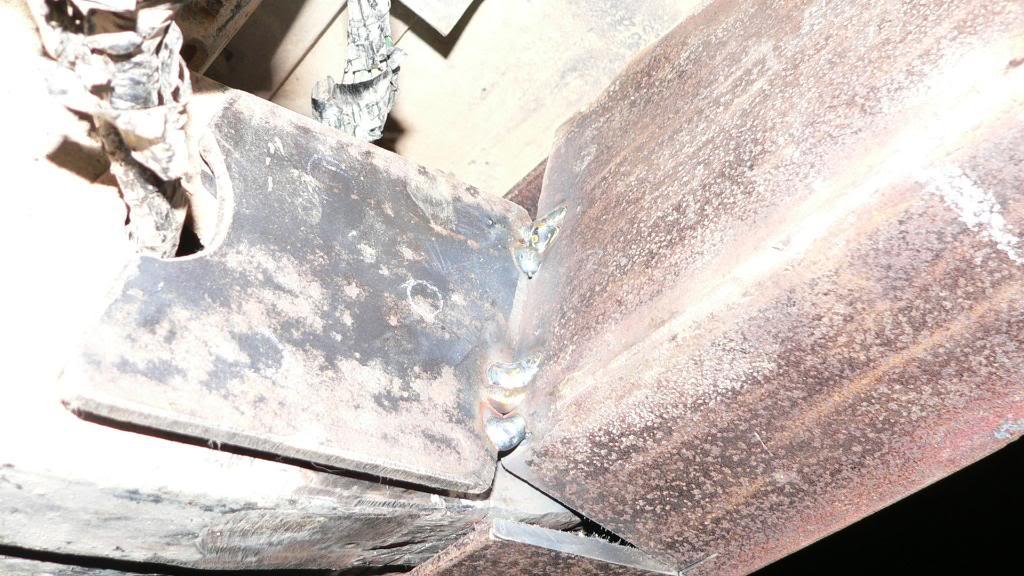
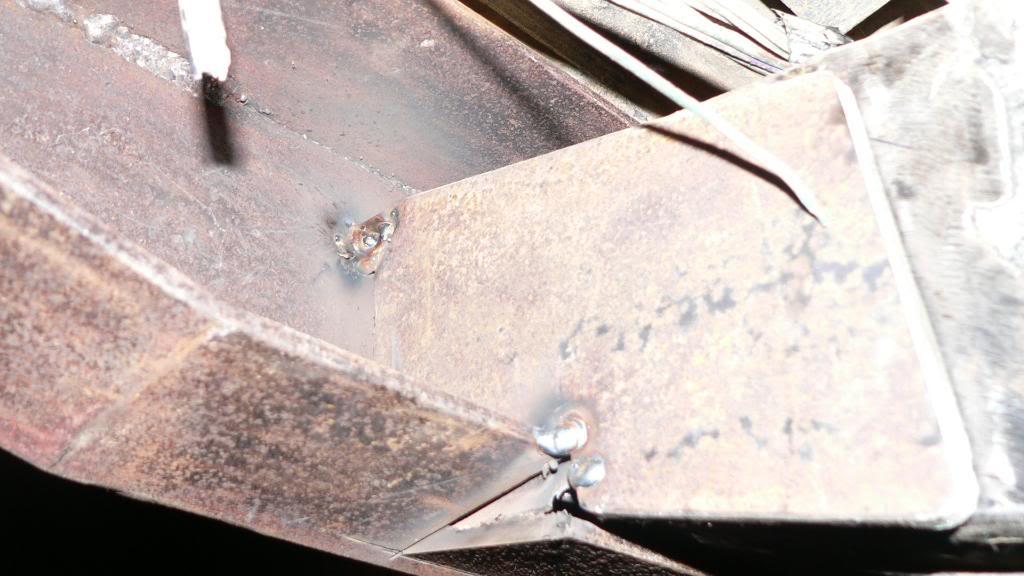
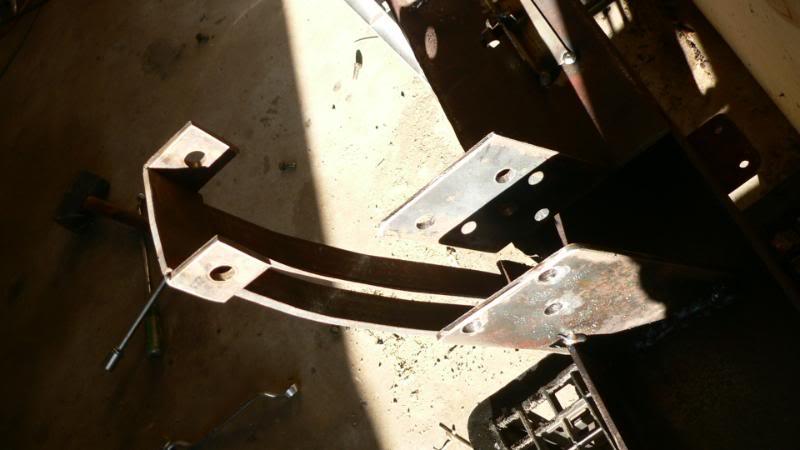
Dummy fit with two X member to body tabs tacked on..
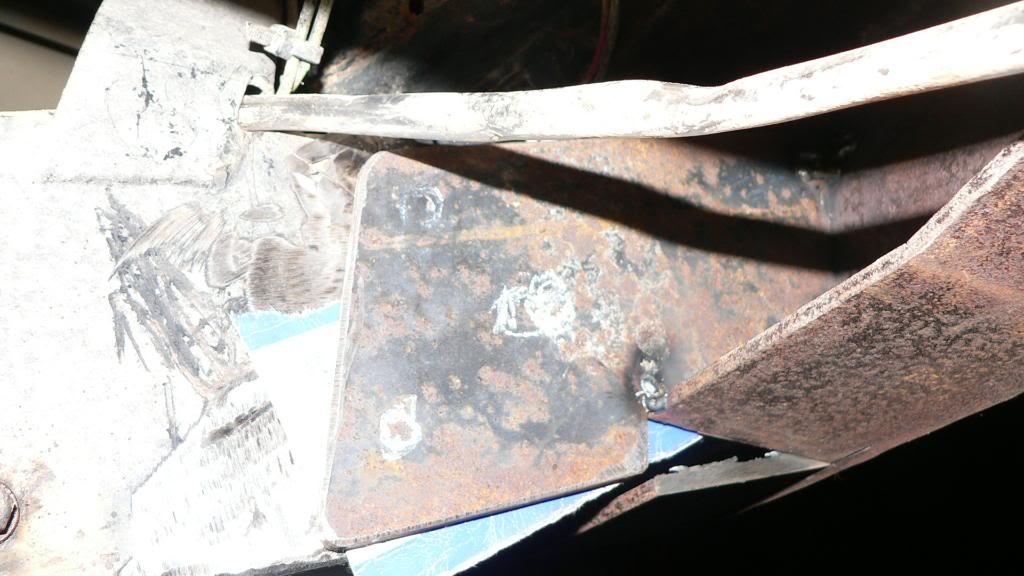
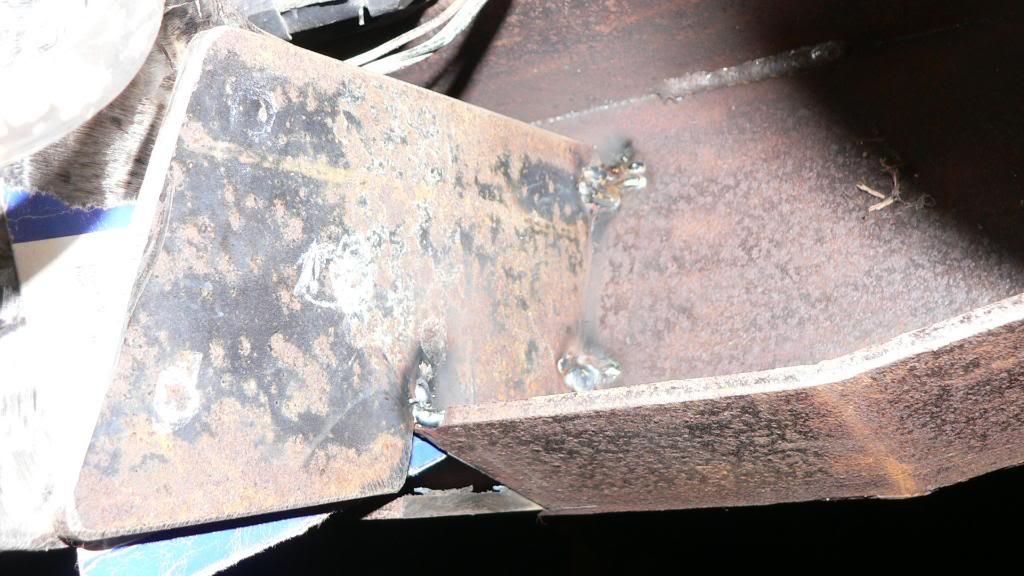
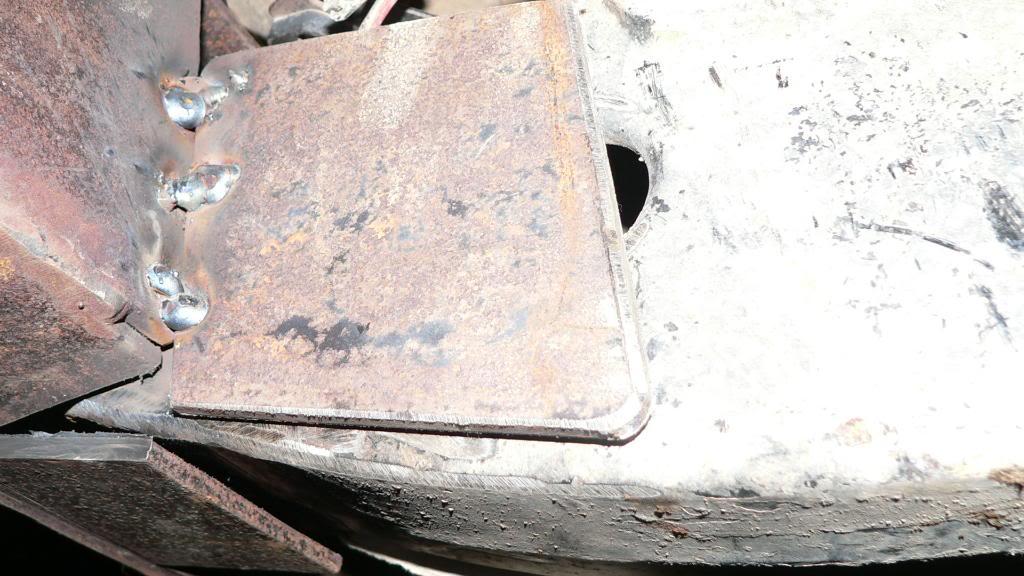
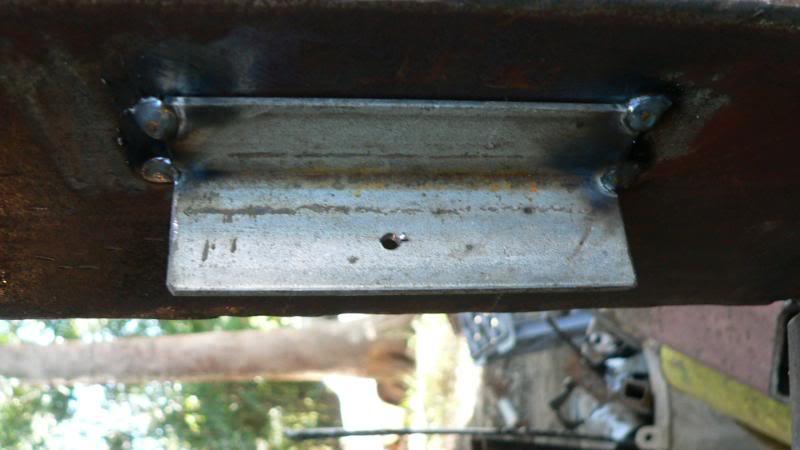
The mounting bracket/plates that will bolt through crush tubes in the chassis tacked on..
Don't worry about the tacks the welder wasn't feeding properly
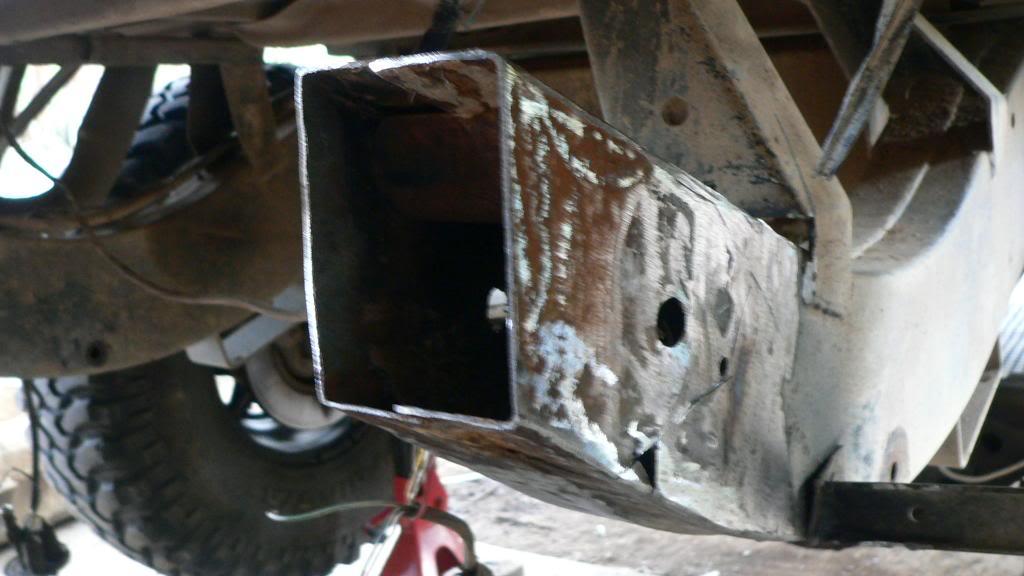
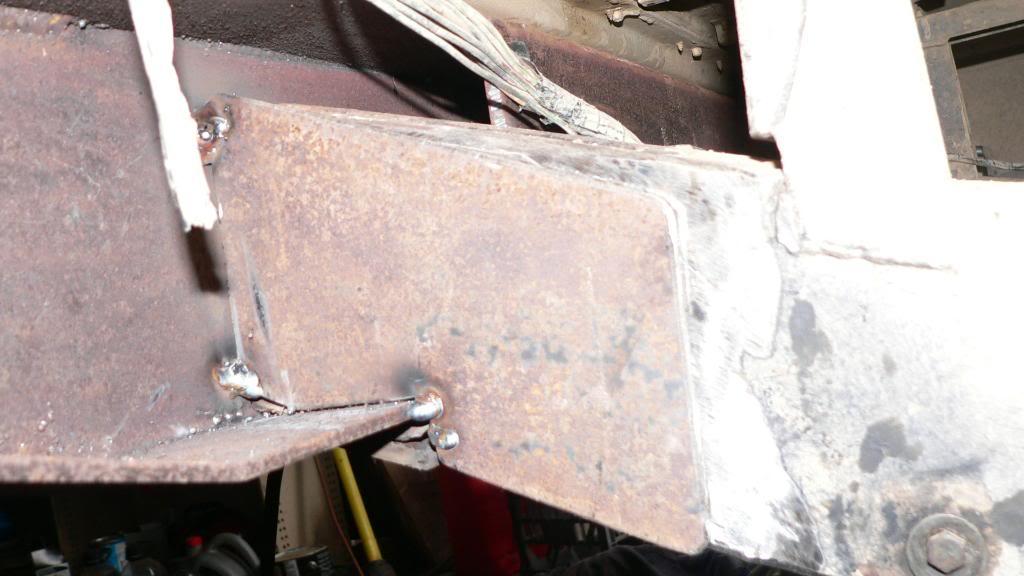
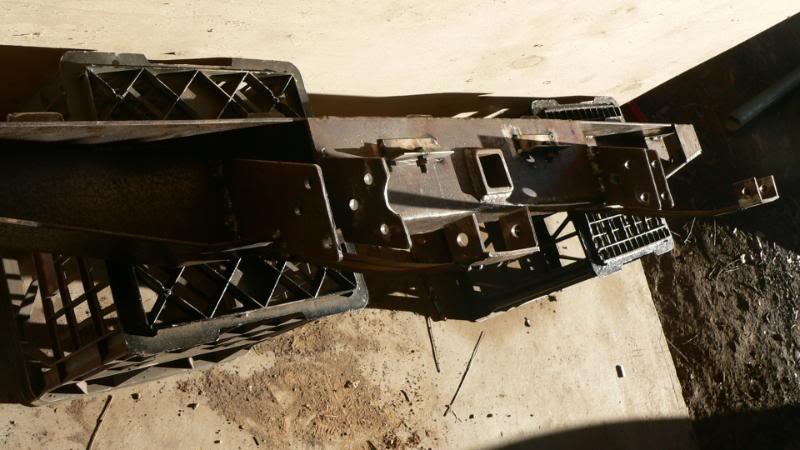
All the X member to body tabs fitted.
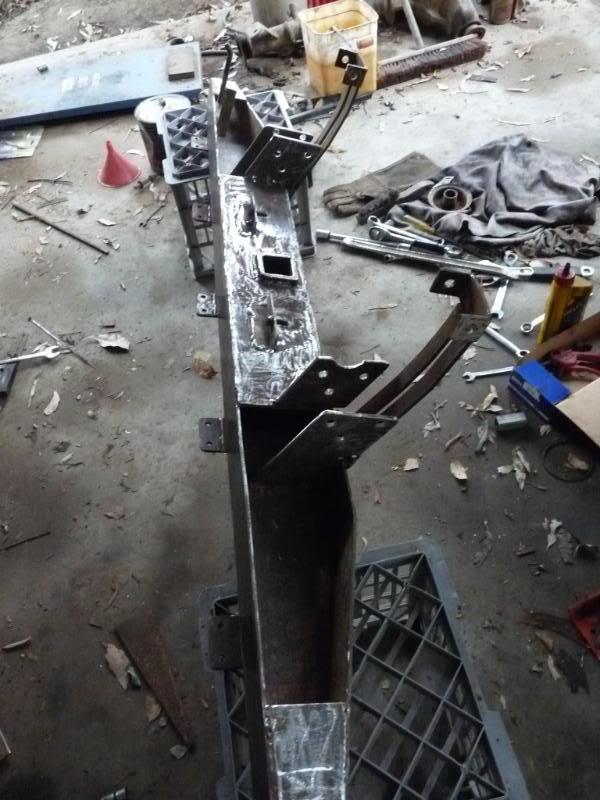
And the bar mounted in position with all the mounting brackets tacked on..
Thats about it for now, next we have to drill the holes in the chassis, weld crush tubes in, make/buy then fit some sort of recovery points, highlift jacking positions, side/wing guards, possibly some tube rapping around to keep them tree's and banks away from the body work
Make and fit spare wheel carrier, make some fuel tank mouning tabs seeing we cut the other's off in anger
etc, etc..
CHEERS TIM.
Dads-
http://www.aulro.com/afvb/members-ri...-progress.html
Mine-
http://www.aulro.com/afvb/members-ri...-progress.html
Mums- stock 92 200tdi d1.
TopicToaster
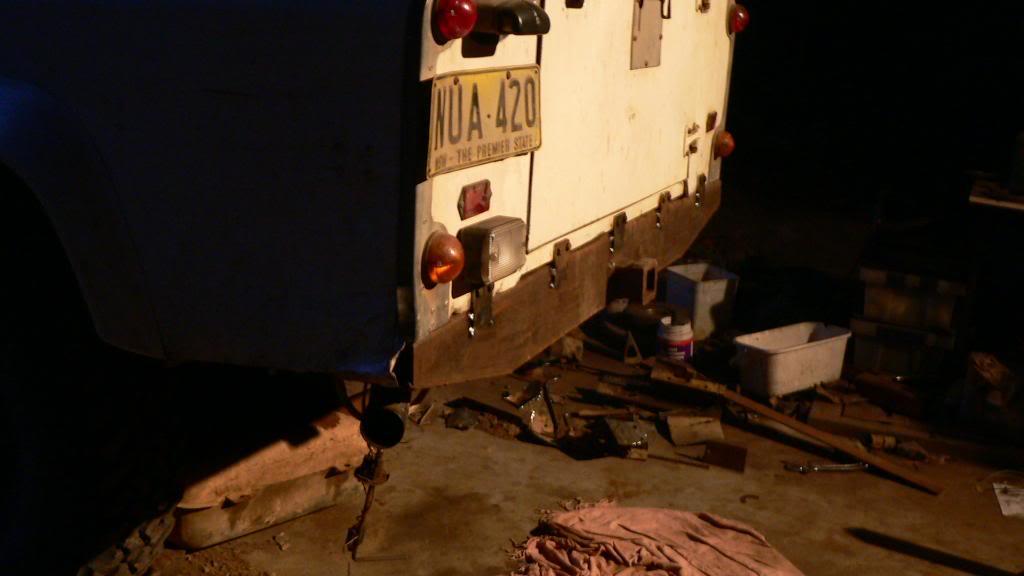
SubscriberHere are a couple more pics..
Havn't got much more done but we have been working on it, having troubles with drilling holes
Anyhow, tomorrow we will finnish drilling the holes and muck around with strengthning the mounting points and fitting the fuel tank
CHEERS TIM.
Dads-
http://www.aulro.com/afvb/members-ri...-progress.html
Mine-
http://www.aulro.com/afvb/members-ri...-progress.html
Mums- stock 92 200tdi d1.
TopicToaster
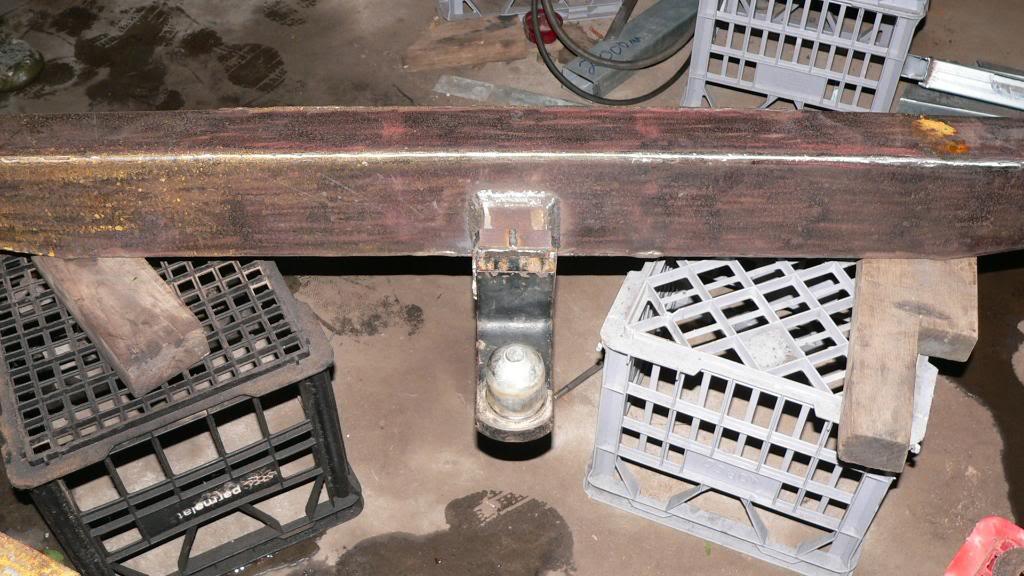
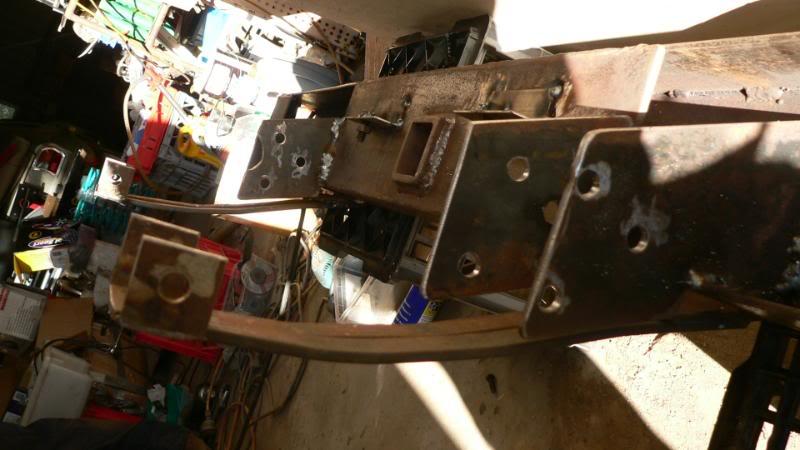
SubscriberGot it mounted on friday after a big rush as usuall..
Pics..
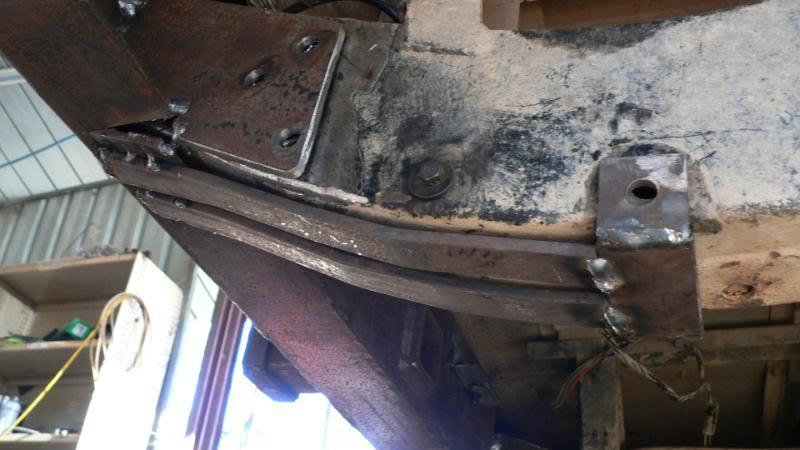
Fuel tank mounts tacked on..
Mounting arms that run back to a crush tubed hole tacked on.
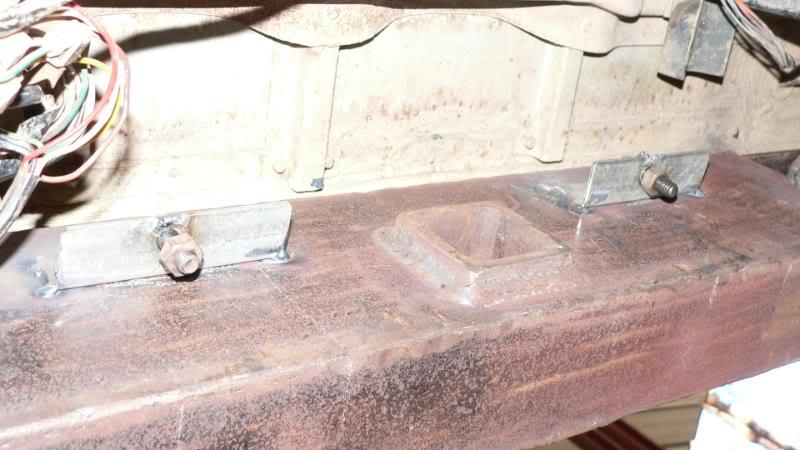
Fuel tank mounts with captive bolts..
Ready to bolt on.
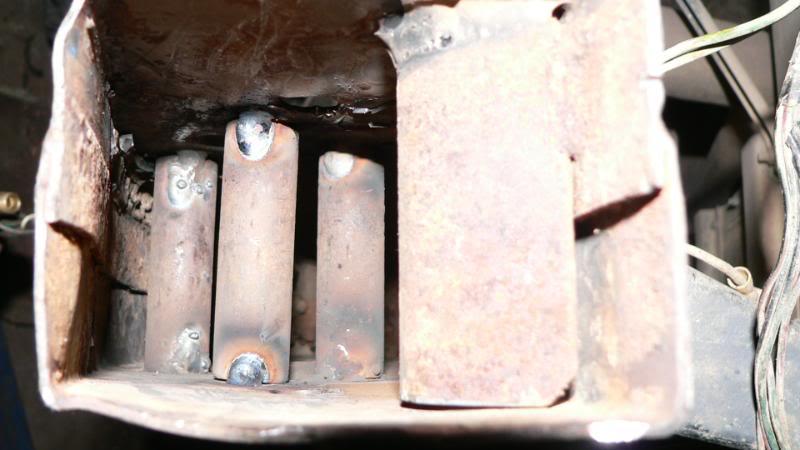
Crush tubes tacked in..
Still got alot more to do before it gets a lick of paint..
CHEERS TIM.
Dads-
http://www.aulro.com/afvb/members-ri...-progress.html
Mine-
http://www.aulro.com/afvb/members-ri...-progress.html
Mums- stock 92 200tdi d1.
TopicToaster
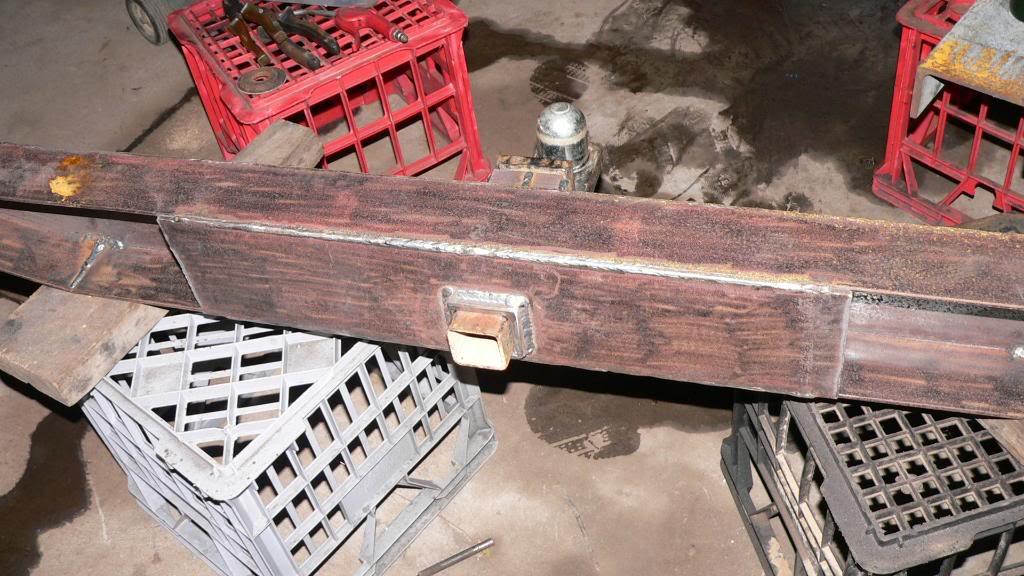
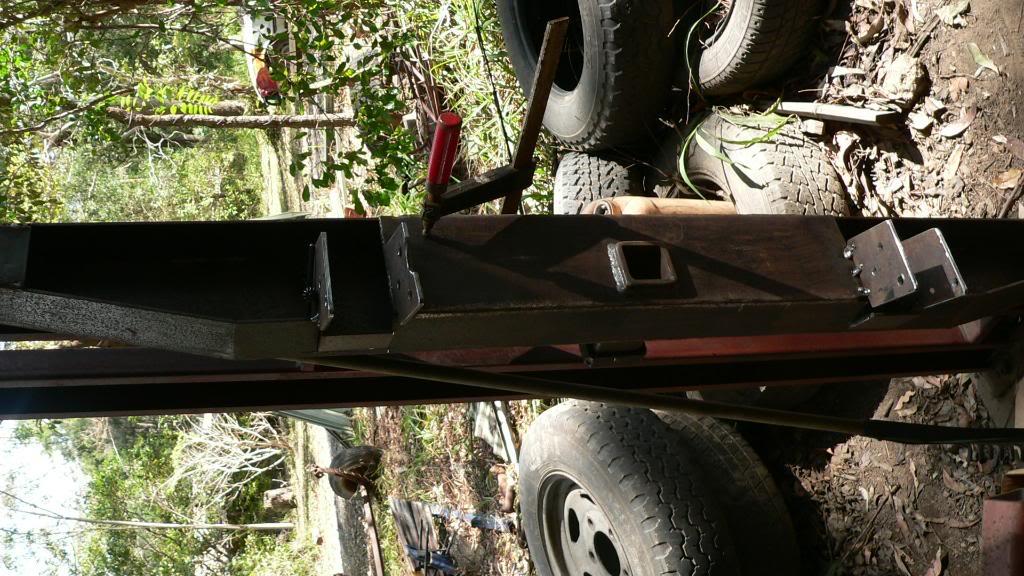
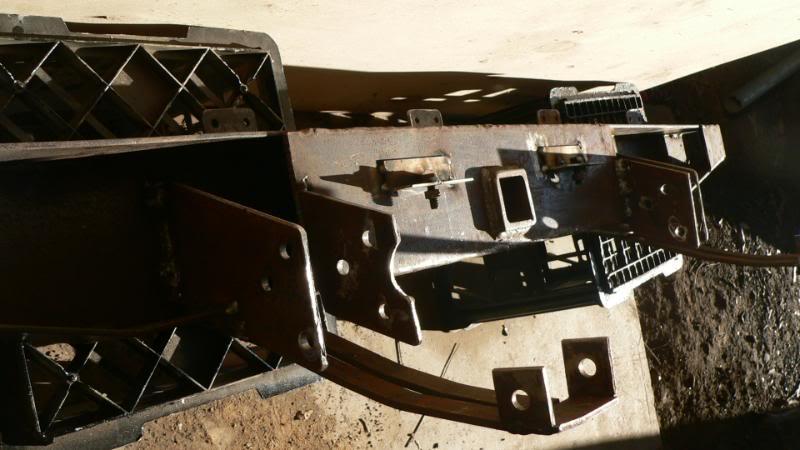
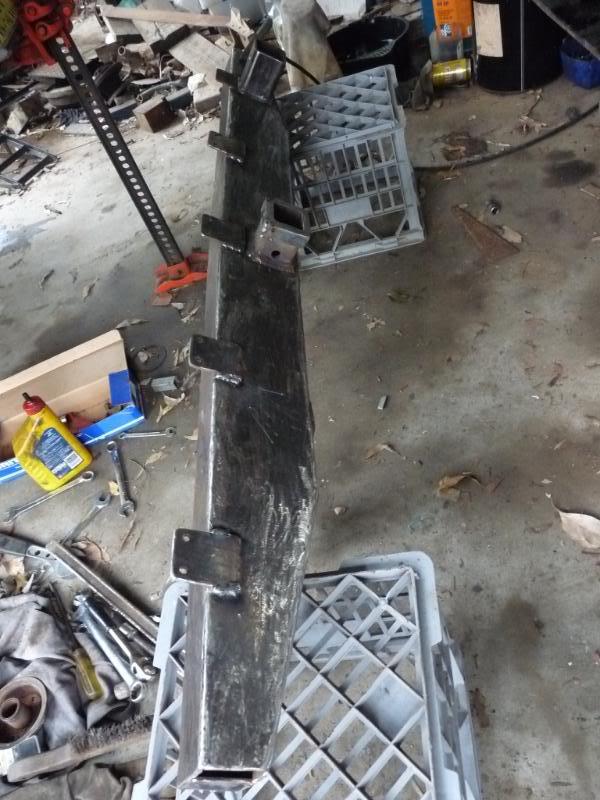
SubscriberWell, while the county's out of action (broken crown wheel and pinion) we decided to rip the bar off again and grind it back, weld a few more things up and get it ready for galvernizing sometime soon.
Almost shiny again..
Dad also welded the mount for a spare wheel carrier on.
It still needs abit more work then she will be ready...
CHEERS TIM.
Dads-
http://www.aulro.com/afvb/members-ri...-progress.html
Mine-
http://www.aulro.com/afvb/members-ri...-progress.html
Mums- stock 92 200tdi d1.
Wizard
Looking good tim
 Posting Permissions
| Search AULRO.com ONLY! |
Search All the Web! |
|---|
|
|
|

")


Bookmarks