


 Reply With Quote
Take a look at this...FIELD-ERECTED HOISTING DEVICES @ 1/2 way down the page.Originally Posted by mike_ie

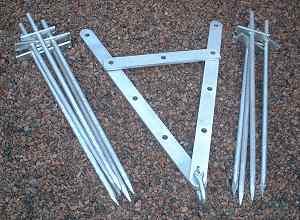
In the 4th pic it shows the snatch block on the top of the leading picket, I was taught it should be on the bottom.
I have never built or taught it using the "rake stake", only fraped it as chazza said.
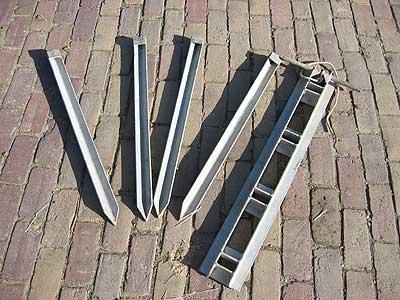
We used hex pickets so you could loosen them with a shifter when done.
Space each group of pickets the same distance they are in the ground.Ie, 2/3 their length.
If you have the angles right the rope should be at right angles to the pickets.
A couple of other ideas on that link too.
6 pickets that aren't used for much else is a lot of dead weight IMHO.
Don't use a Mag. wheel for burying either, they fracture
I agree that the high lift bar may bend too.
Intersesting thread")


Bookmarks