

 Reply With Quote
Triplets!Originally Posted by happydad59

Up the Series! They are great fun to drive and work on. Enjoy it!
Sam

When I did up my springs, I just heated the clips up with a gas torch - blue one that you can buy at bunnings - but now you can get a hotter one - yellow - was $130 last time I looked. The torch had enough heat to bend my clips & back again without breaking.
regards
Steve
 Master
Triplets!
Up the Series! They are great fun to drive and work on. Enjoy it!
Sam
Master
I've got a torch that attaches to a BBQ propane cylinder, would that get hot enough?
And what did you use to get the clamps open?
Cannon: if you don't want to undo the clamps, you can still grease the leafs. Get a G-clamp and clamp the pack by the bolt in the middle. Undo the bolt, then undo the clamp. This will let the smaller leaves drop off, and allow the bigger leaves enough separation that you can grind away any ridges at the ends, and then use some spray grease like Wurth HS2000 in-between the leaves. Clamp it back up and bolt it, clean off the excess grease squeezed out and spray it with Penetrol.
Job's a goodun.
Master
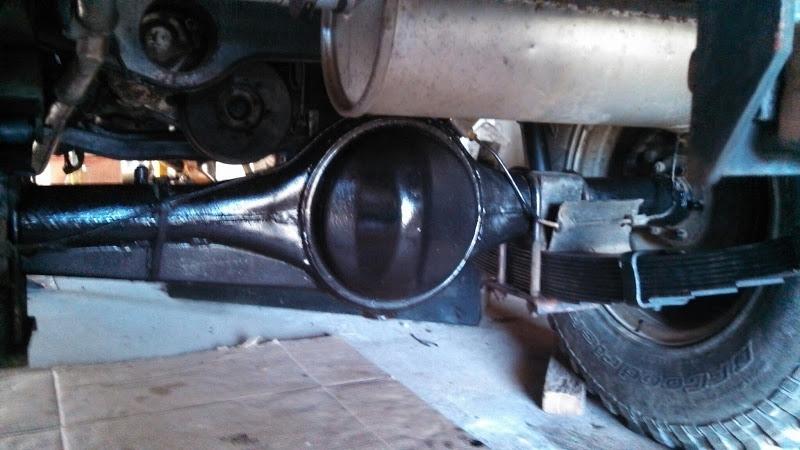
We've had a fairly productive week or so.
We've got the rear end all finished so far as pinion seal & suspension goes & pulled the springs off the front to take to my new best friend at the suspension shop.
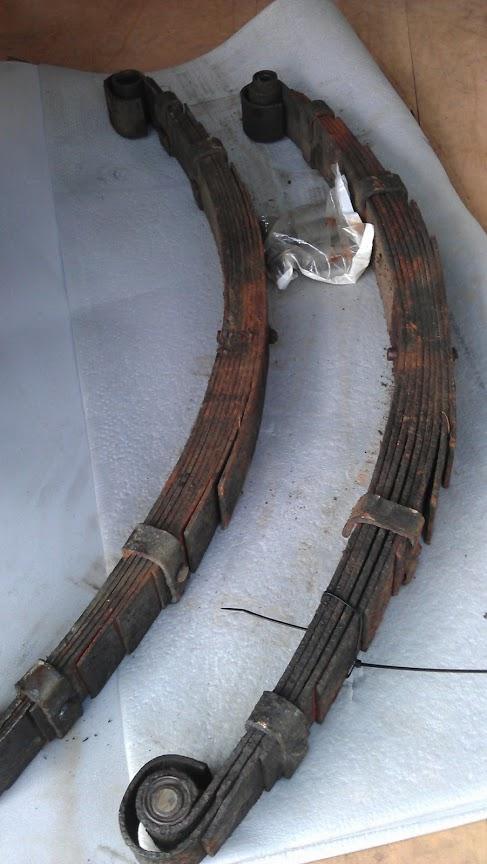
A picture paints a thousand words.
Front springs before:
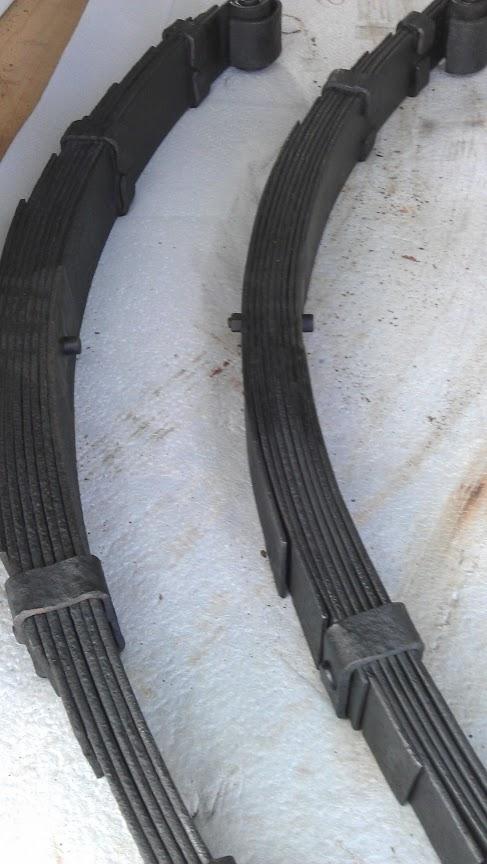
And after
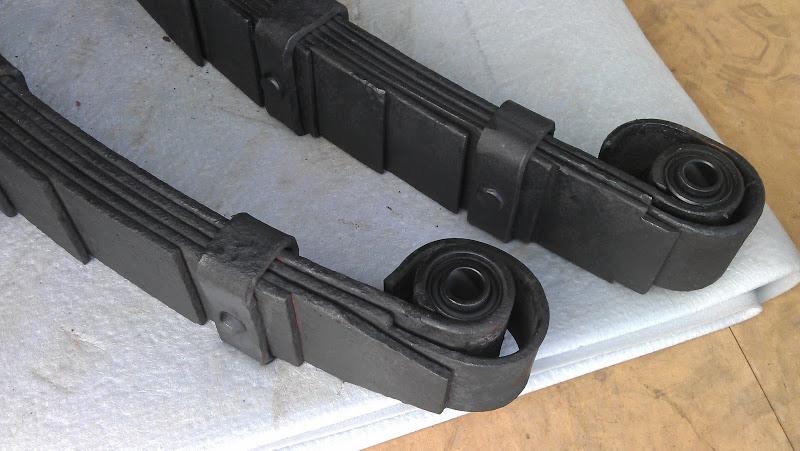
Last edited by Cannon; 11th June 2013 at 01:18 PM. Reason: added photo
Master
The young bloke's been doing a bit while he's on holidays
Nothing like a throwing a bit of black paint around.
We've put the front springs back on & replaced the dodgy tie rod joint,
replaced the unis in the rear propshaft & have the part to replace the fuel filler pipe to the driver side tank.
I'm thinking of having next week off to maybe finish her off & get registered
Master
Forgot to mention that I orered replacement extractors yesterday morning
from these guys that were mentioned in a sticky here.
Imagine my surprise & pleasure when the extractors were at my door at 6pm the same day
So we've started spraying liberal amounts of WD40 on the bolts in preparation for old extractor removal")
Last edited by Cannon; 25th June 2013 at 09:48 AM. Reason: ficks spelin'
LordRover
SubscriberTerrific progress there guys
You may be interested in this... Samford Show Society*|* Classic Cars ..there is a few of us going with series land rovers and other special vehicles
Mrs hh
Series Landy Rescue
Parts, welding, finger folding, Storage, Painting, Fabrication, Restorations,
Our FB Page..
https://www.facebook.com/SeriesLR?ref=bookmarks
'51 80", Discovery 2, Defender 130, 101 FC + 20 other Land Rover vehicles
Master
I'd like to thank happydad59 for the heads up re. the special tool for dealing with propshaft bolts.
Definitely made a huge difference
We put the rear propshaft back on today, removed the front one & replaced the uni joints.
We also tried valiantly to put the petrol tank back & install the replacement filler hose
OMG what an enormous PITA.
We mucked around for ages trying to get the hose onto the tank but were getting nowhere fast so we put the tank back on the ground & tried to put the hose on.
It was SOOOO tight that I've decide to leave it on to stretch for a day or 2.
Even with perfect access it was quite a job to put on.
Any tips to make this task easier will be greatly appreciated.
Master
Fit it to the filler end first, along with the breather, twist it into position ready for the tank, spray liberally with silicone spray, then with a block of wood and a jack under the tank, get the hose over the tank nozzle ( for want of a better description), then jack the tank into position.
That how I did it the second time. The first time I just had a lot of plasters and a bucket of swear words to hand.
Master
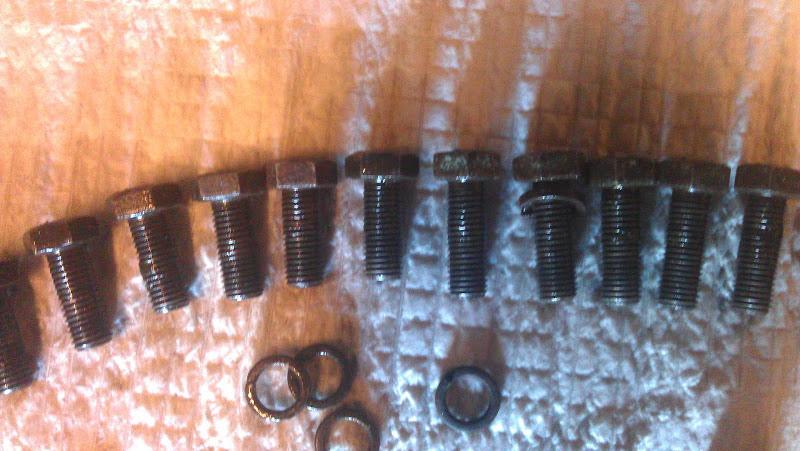
We only had a bit of time so we decide to replace the sump gasket.
I had the young bloke removing the bolts & while he was getting the old gasket offI cleaned the bolts & noticed that 7 bolts are shorter than the rest
Does anyone know where the shorter bolts go?
 Posting Permissions
| Search AULRO.com ONLY! |
Search All the Web! |
|---|
|
|
|


Bookmarks