
Originally Posted by
gmawby

Hi,
changed the rear main oil seal.. what a peculiar thing it is.. and I love the way it spits a plastic ring in your face as you tighten the bolts!
Got a new clutch kit, reinforced fork , slippers, plastic clips etc which I'll put on next week. Before I put the flywheel back on , is it recommended to use new bolts?
I split the transfer box from the main gear box to replace the oil seals and gaskets. I took out the oil seal from where the gear box shaft enters the transfor box and found copper filings! Took of the cover plate to the high/low selector and found more copper filings. I've decided to take it apart compeletly and and get it cleaned up. I'm guess I'm looking at the remains of a copper washer that dropped inside.
Also suspect that the transfer box is reconditiond, I cleaned up the case on the outside and painted on it in big letters 698.. looks like a stock number.
That's my adventure today.
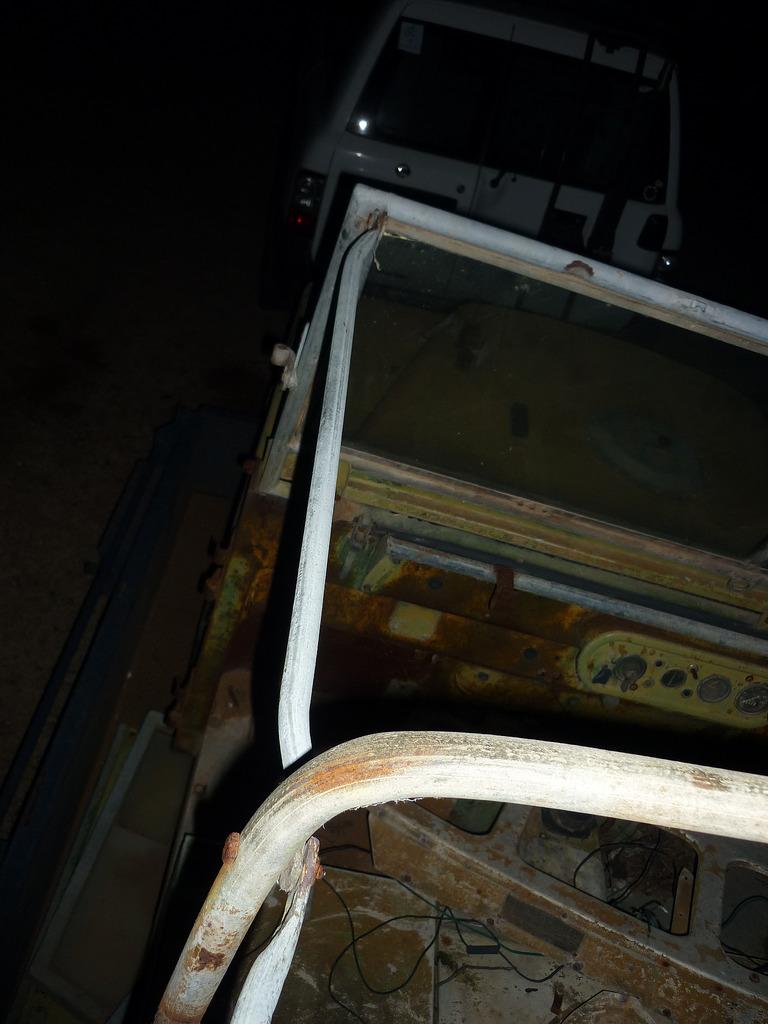
Some pictures. Note the copper filings in the spring.
 http://www.flickr.com/photos/56036536@N07/
Glenn.
Glenn, NO that brass flake material is the remains of your centre differential thrust washers, best pull the centre diff out and take a squiz....
JC
The Isuzu 110. Solid and as dependable as a rock, coming soon with auto box😊
The Range Rover L322 4.4.TTDV8 ....probably won't bother with the remap..😈


 Reply With Quote
")


Bookmarks