1:
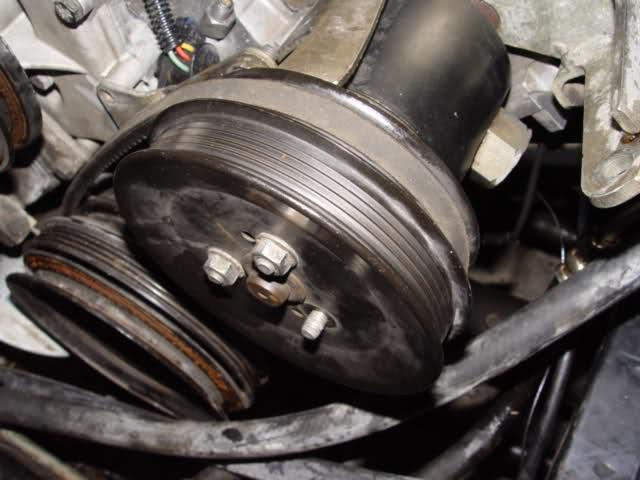
Undo the 3 bolts hanging onto the metal pulley ... pulley falls off
Couldn't get all 3 Bolts off , got 1 off  even with Tension on the Pulley , I have an Impact Gun but it won't fit with the socket on the end of it to take the 3 bolts of that's holding the Pulley , I don't have the tool that places Tension on Pulleys to take the bolts off either , it just spins around with a spanner on the Bolts going CCW.
2: Undo the flange nut to the side of the power steering pump ... (the small one // not the big 1" one as it is fixed to the pump) ... High pressure pipe pulls out
Yep, That was done this Morning ")
3: Undo hose clamp to bottom low pressure hose to pump (the one that goes to the oil fill canister) ... pull it off and catch the oil in a bucket
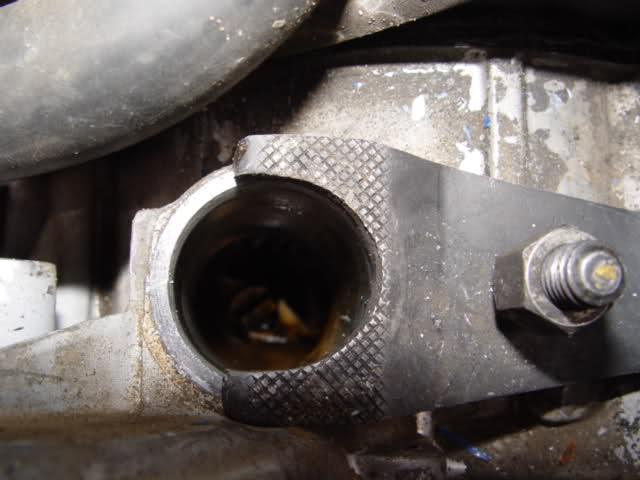
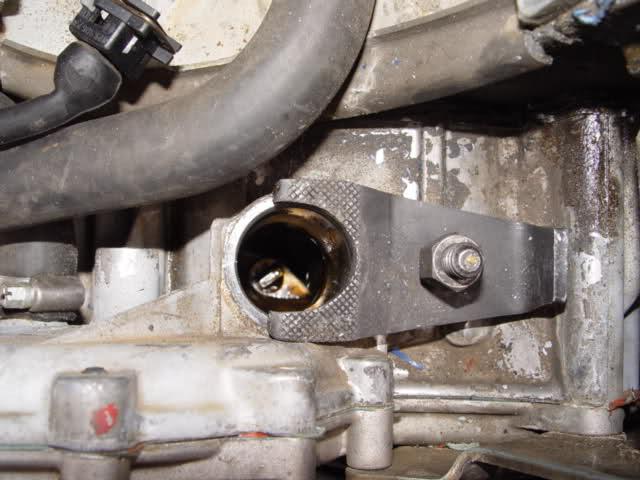
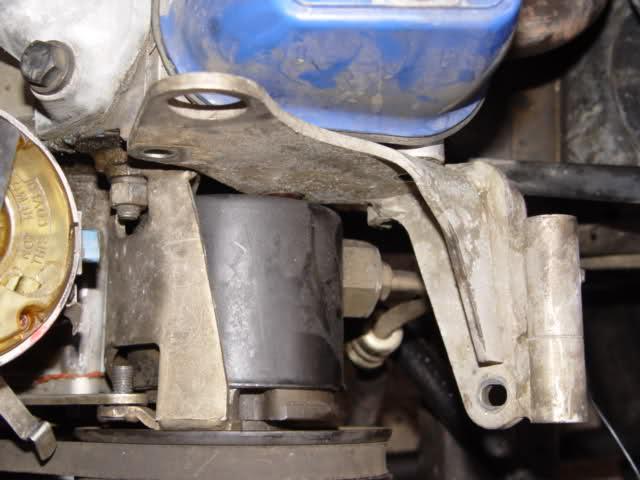
4: Undo // loosen the bolts that are in the photo // ... Footnote ... (try to pull and or push it up first, as it may be not tight enough for it to be fixed in place and then you can move straight to step 6)
5: Stand on Passenger fender side and pull the pump UP ... (Gap now large enough to remove pump LATER ON)
6: Undo the 3? bolts hanging onto the pump at THE FRONT of the bracket ... Pump falls down and just pick it up and remove it out through the space between bracket and engine block
Can't get past Step No 1.
7: Next job?


 Reply With Quote
Originally Posted by PhilipA


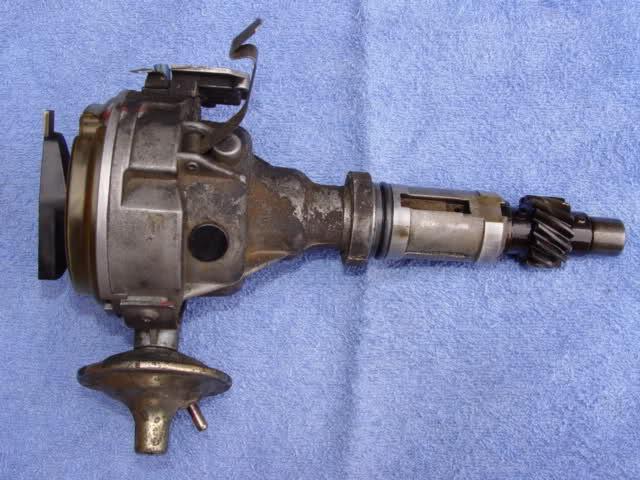
 You can twist at the same time since you have now marked the relationship of the dizzy to the block.


")
 .
.

Bookmarks