-
26th March 2012, 06:09 PM
#281
A good thread Ron. Much appreciate all the work you put into the stally and the thread.
Ian
-
26th March 2012, 08:37 PM
#282
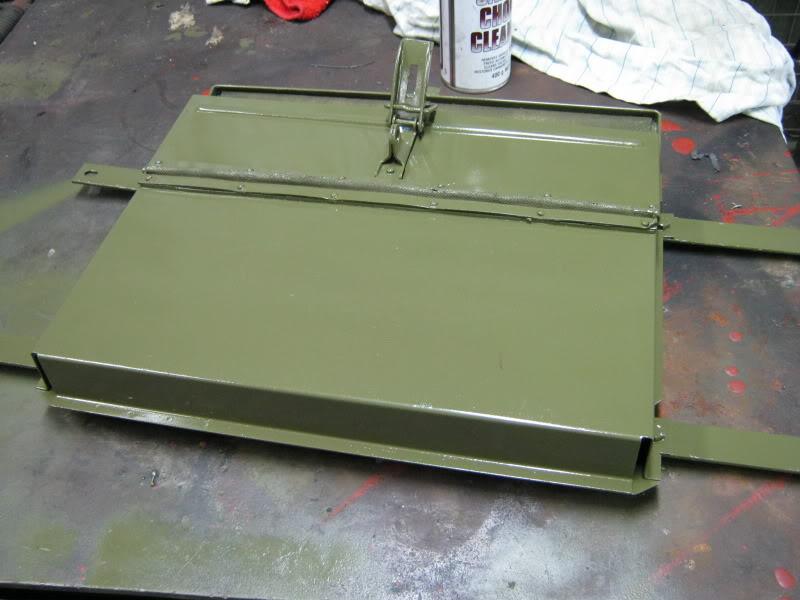
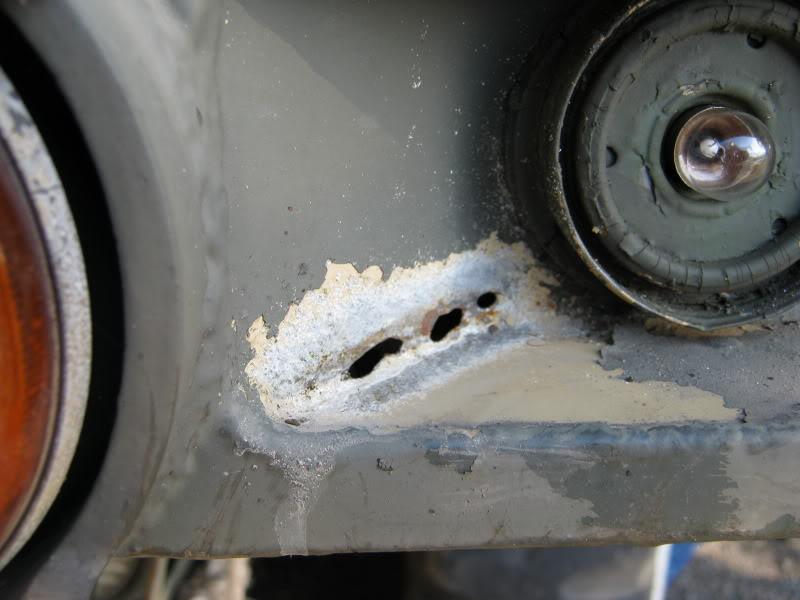
I took some more pics today for those who are interested in the layout of this monster.
This is the cabin map holder painted ready for refitting

This is a rust hole which the needle gun found near the front parking light.
It should Mig up OK.
This is the front bevel box ends showing the band parking brakes and speedo drive(it has its own oil feed from the central lube tank).
The square thing is the front of the fuel tank and the vertical pipe is the dip stick for the winch(note floor plates have been removed)
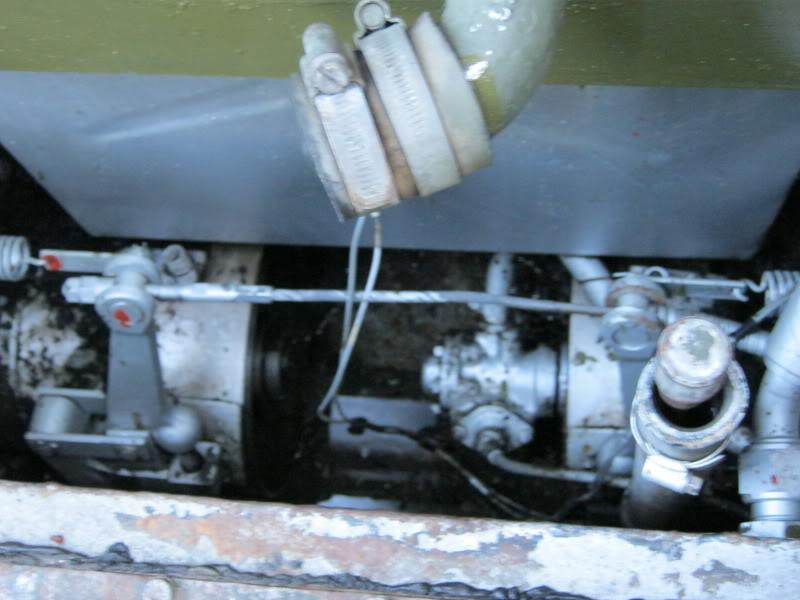
This is the spot I hope to fit the extra forword bilge pump pick up
-
26th March 2012, 08:47 PM
#283
Looking from the centre of the cabin with the floor plates out to the RHS showing the gear shift with its landrover sized tailshaft going back to the gearbox.
the gearbox gearshift sector you can see appears to run in its own oil.
The 2 small levers are for water jet PTO and the other Hydraulic PTO
Both have lock out collers.
The large flat plate in the lower middle of the pic is a water proof cover plate which is access the top of the winch drum.

-
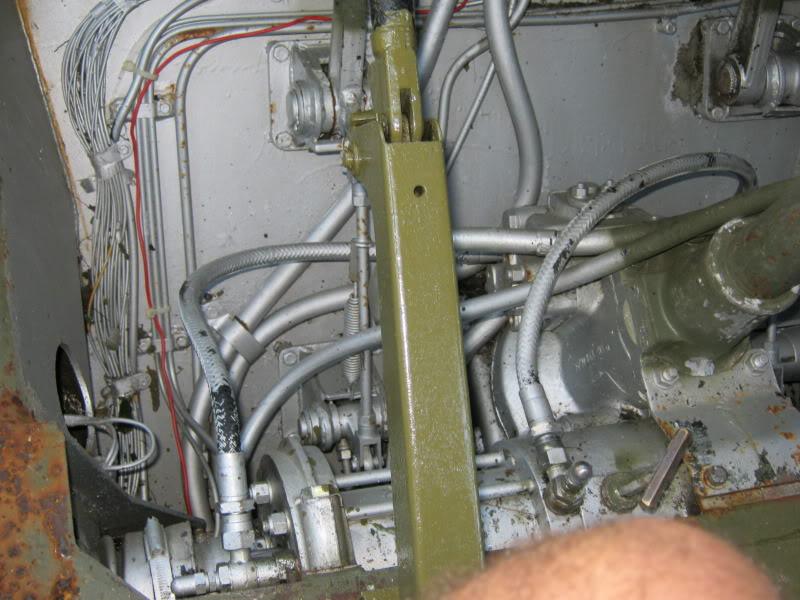
26th March 2012, 08:55 PM
#284
This is the extreme forward RHS of the hull showning the pivot for the brake pedal with its equaliser bar for the twin brake master cylinders.
The horizonal thing in the lower part of the pic with abit of chrome shaft on the RHS is the hydraulic steering cylinder........it runs the full width of the hull.
The steering columb is the vertical thing.
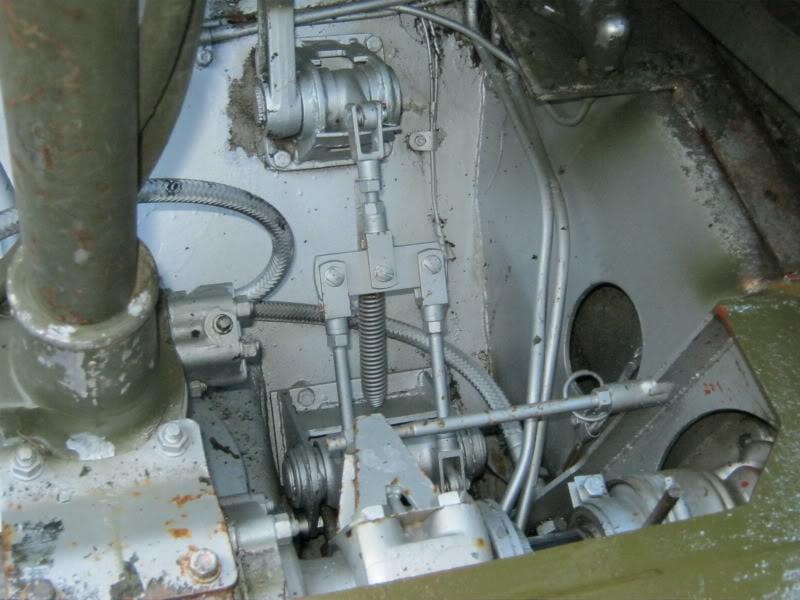
The vertical rod on the RHS coming up from the chrome shaft is the steering position indicator which is seen though a slot in the alloy floor plates.
-
26th March 2012, 09:04 PM
#285
This is the extreme LHS of the hull showing the clutch pedal pivot , steering cylinder with T shaped oil filler handle.
The green parking brake handle has a release built into the tip of the handle and it is like a rachet handle winch working a chain and cable( It takes many strokes of the handle to apply the parking brake)
-
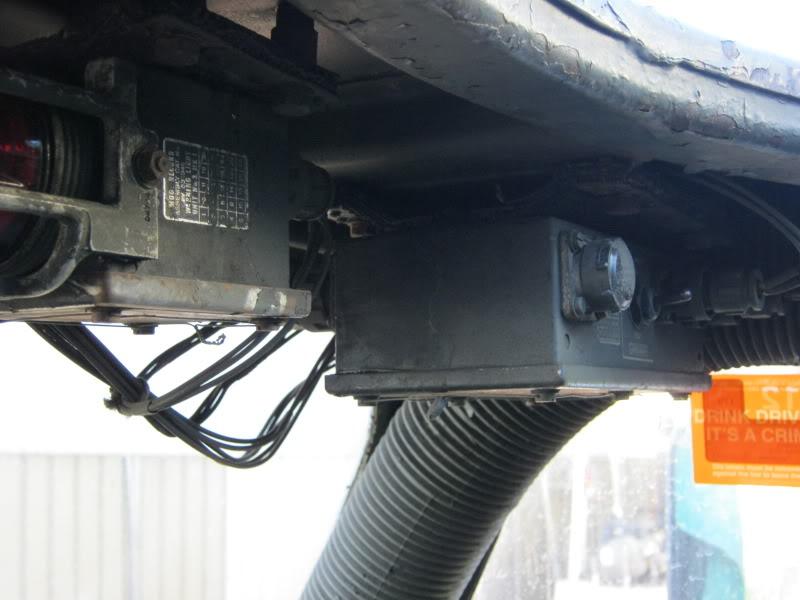
26th March 2012, 09:10 PM
#286
This is the fire wire warning and testing unit built into the top RHS of the cabin
special wire is run thoughout the vehicle and if any of it gets too hot it sounds a Horn and red light.
None of the boxes appear to be working, but the various fire wire curcults though the vehicle appear intact.
(Most wiring thoughout the vehicle is low fire hazzard aircraft grade and is poorly numbered or painted over.)
-
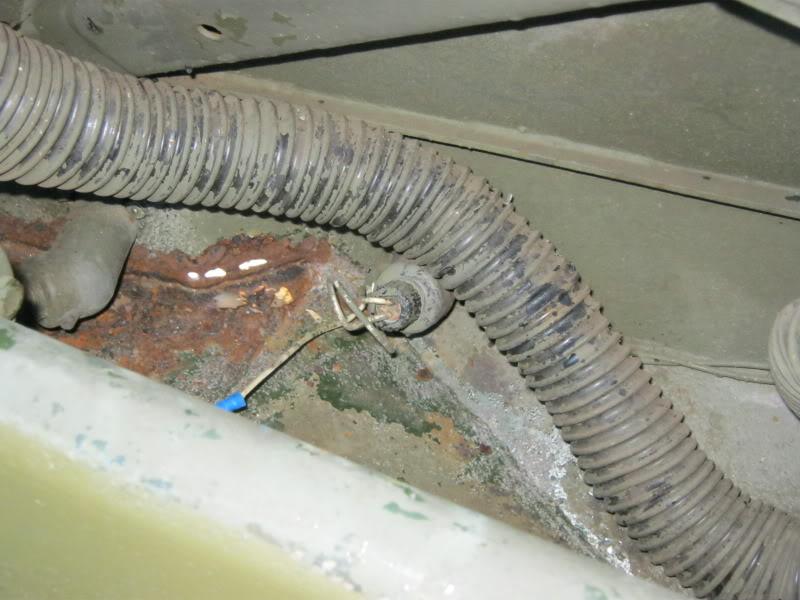
26th March 2012, 09:27 PM
#287
This is the clearence light cancer from the inside
The biggest problem is getting the mig near enough to the job as I want to weld it from the inside and the welder is too big and heavy to fit though the roof hatch.( I dont have remote wire feed)
All the corrosion is from the inside out.
note the cabin as heater/cooling/demisting pipes thoughout.
-
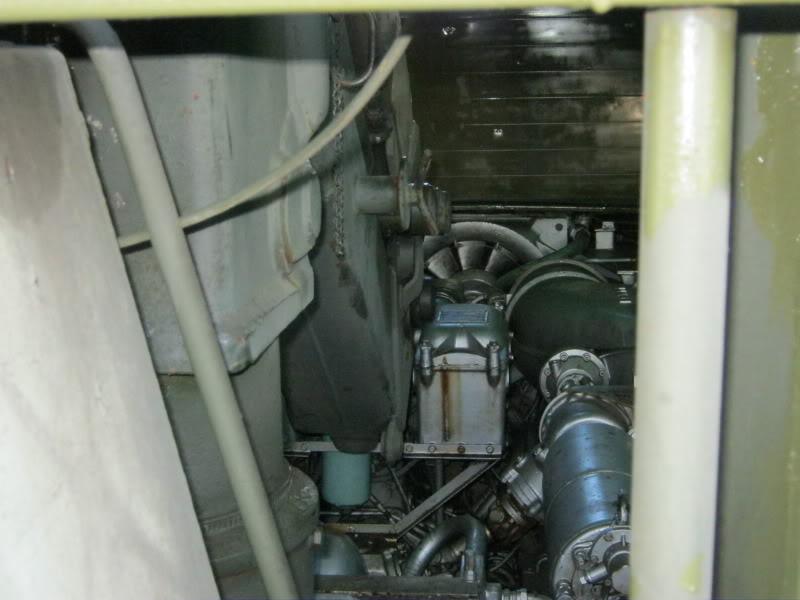
26th March 2012, 09:31 PM
#288
I now have the double wall of the rear of the cabin removed allowing a straight though view to the cargo/engine bay from the drivers position.
-
26th March 2012, 09:33 PM
#289
CO2 extingisher bottles and BV from the drivers position with cabin side rear plates removed.
-
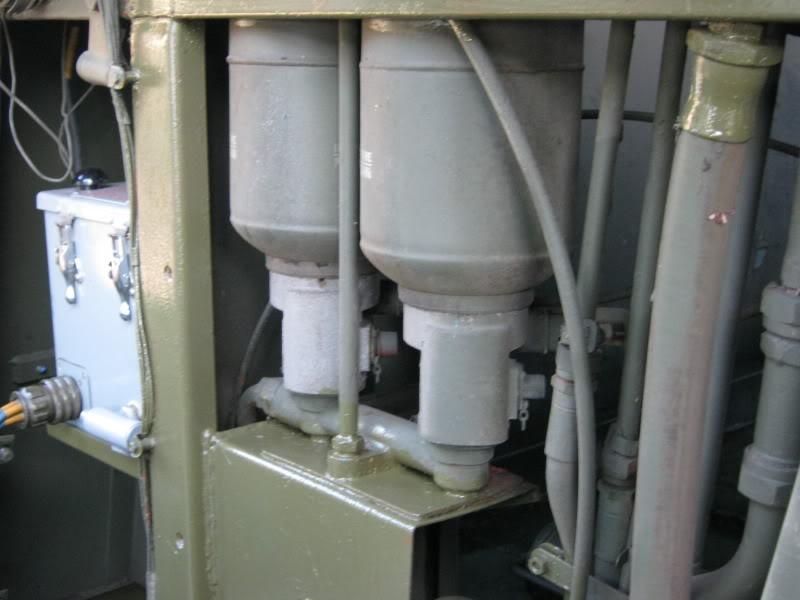
26th March 2012, 09:44 PM
#290
This another view of the area behind and just under the driver, but of the LHS bevel box (the heavy drive shaft to it is just out of view and runs beside and under the fuel tanK)
The fuel sender unit is shown and the speedo drive again with contracting parking brake band.
 Posting Permissions
- You may not post new threads
- You may not post replies
- You may not post attachments
- You may not edit your posts
-
Forum Rules
Search AULRO.com ONLY!
|
Search All the Web!
|


 Reply With Quote
Bookmarks