
Originally Posted by
Homestar

Not sure how much use it will be to you mate, but many years ago I used to make custom aluminium windows - including arched and round windows. The section we used was quite complex but the roller we used was a home made job that did very well. The aluminium section used to take 10 to 20 runs backwards and forwards through the rollers, tightening the radius up slightly on each pass. If it was too tight it would stop moving through the rollers and you'd have to back it off a bit. Slowly slowly with forming the radius is what worked, but as I said we were rolling aluminium, not stainless, although it was quite a large section compared to what your rolling.
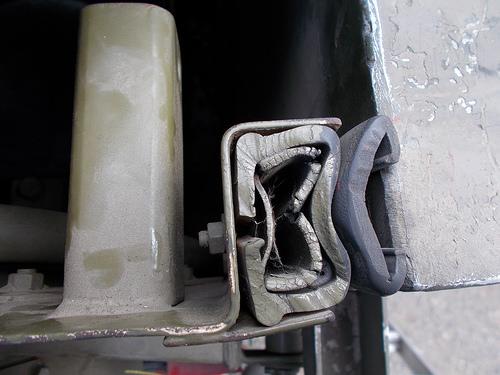
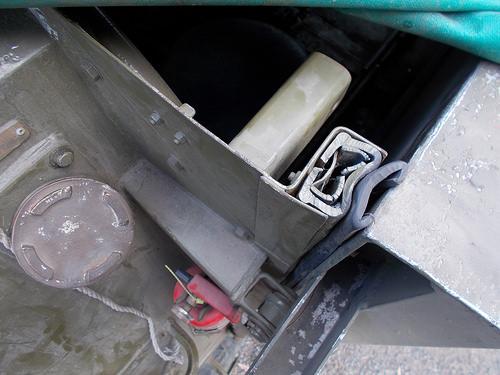
The other thing of note was that the rollers were turned up out of 2" steel bar so that all surfaces of the section were supported - and moving. I think some of your issues may be the back of the section you're trying to bend is rubbing on the stationary part of the roller setup.
I know it's a lot more work but do you have a metal lathe at all? Turning up custom made rollers that's support the outside properly on the lower part and the inside properly on the upper part would help a great deal I think.
This all might be known to you anyway but just thought I'd share my experience with
bending metal over the years.


 Reply With Quote
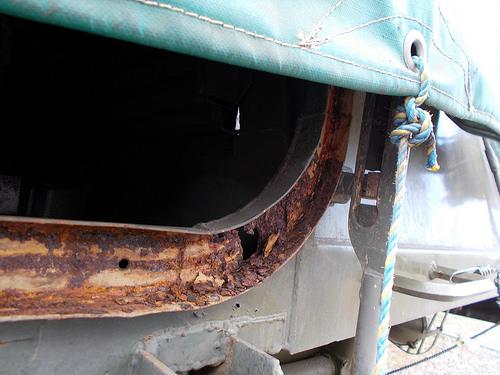
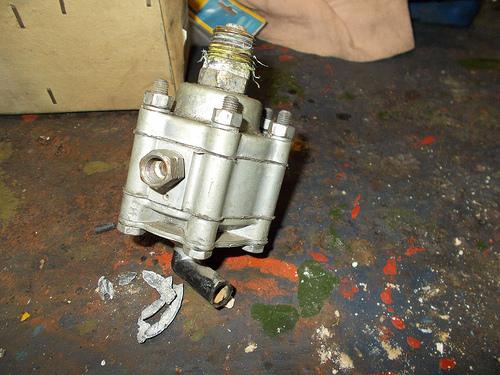
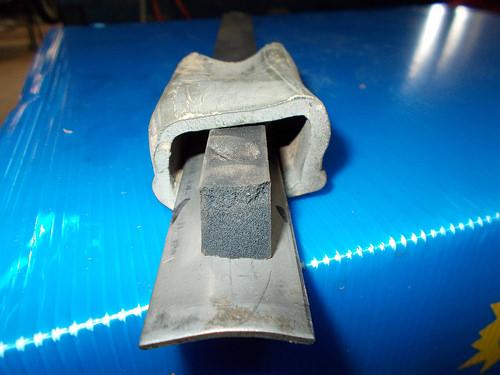
DSCN0459 by john smith, on Flickr


Bookmarks