Page 6 of 9 FirstFirst ... 45678 ... LastLast
Results 51 to 60 of 88

Thread: Progress report.

  1. #51
    Join Date
    Jan 1970
    Location
    Canberra
    Posts
    18,616
    Total Downloaded
    0
    Quote Originally Posted by 101 Ron View Post
    Wider wheel wheels to allow fitting of modern radial tyres.
    Eastern Wheel Works in Melbourne will put 8" or 10" rims on your centres for an all up price of about $150. You will need to take out your centres (grind the rivets off) and use EWW courier - they get a new rim ($80) and weld it in ($50) and then courier them back - all up price around $150 a wheel.

    There are a couple of 36/37" tyres that will fit on 8" rims but 10" rims give a huge range of options.

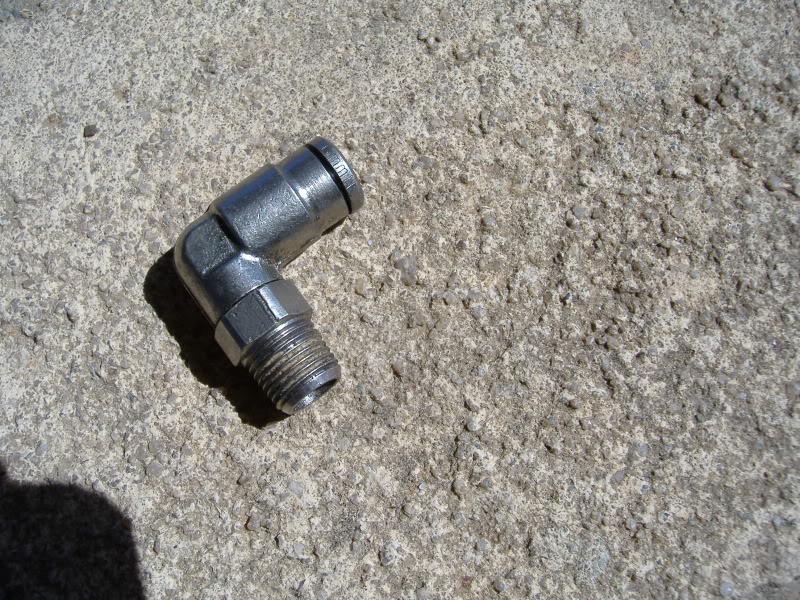
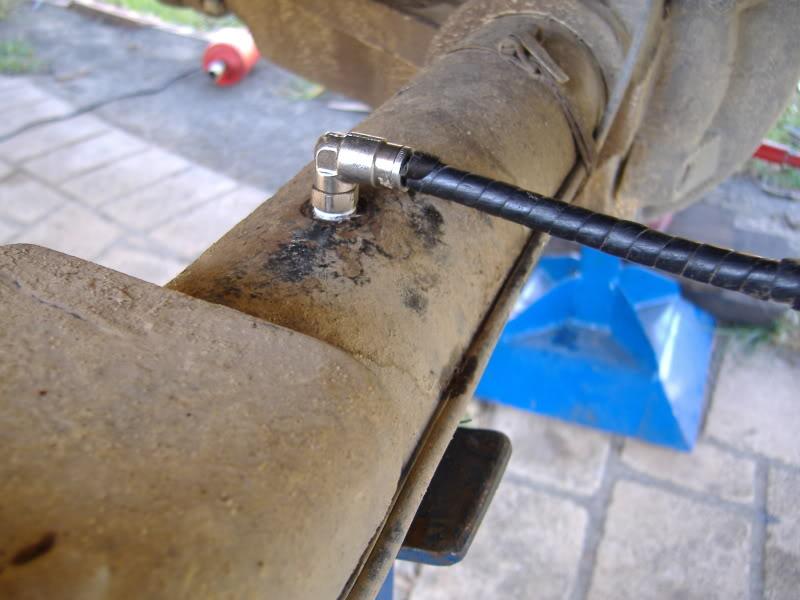
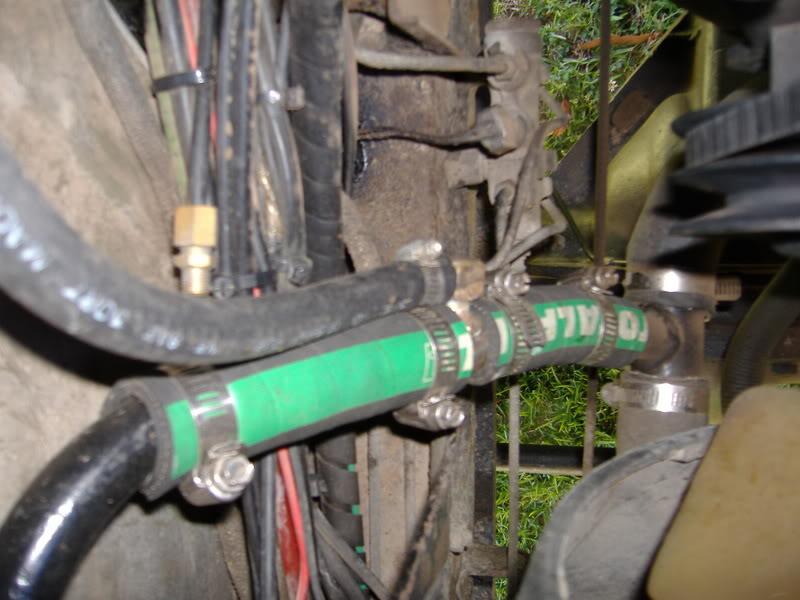
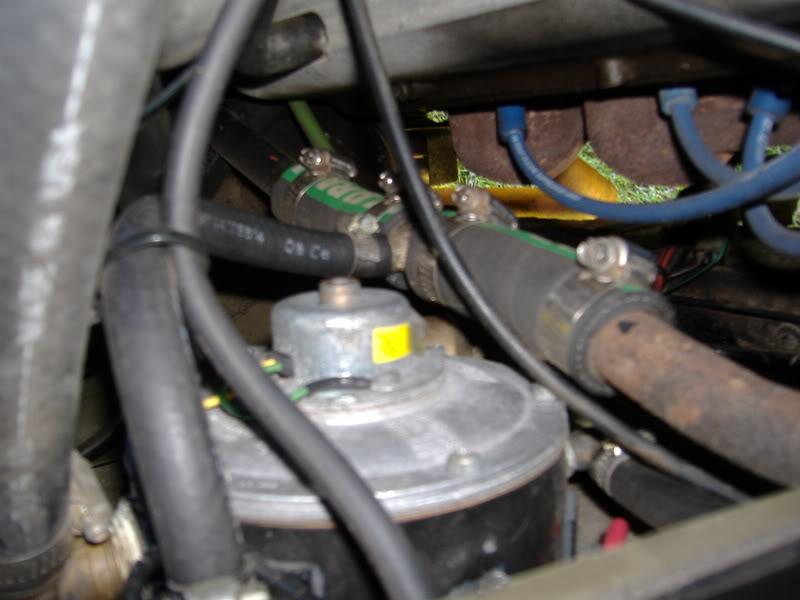
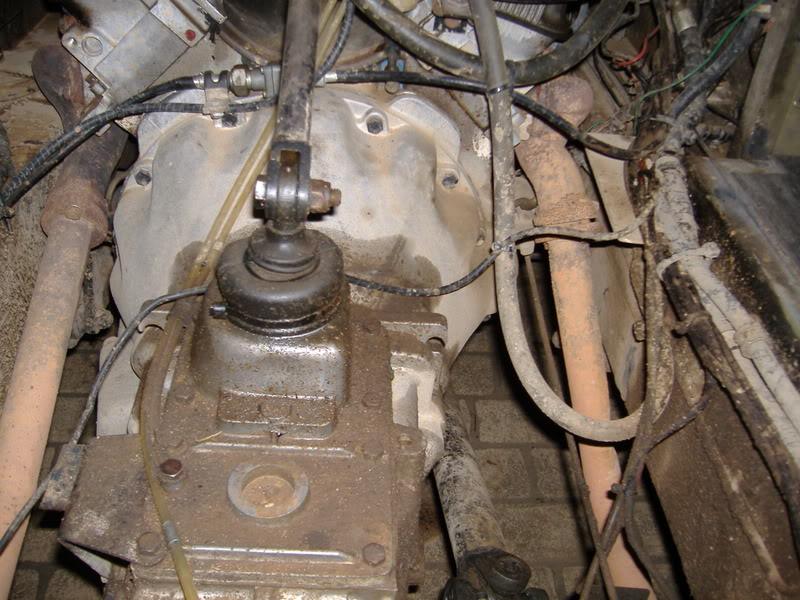
    My LPG system runs well but I still cannot get the engine to start on it. I still need to change the hot water plumbing as when I turn off the water to the heater - it also turns off the hot water to the LPG (poor installation of the lpg system). A full tune up of everything is on the cards once I get a couple of bits from the UK.

    I am not sure about the Hystee springs - all the high flex pics on their website are with no shockies and no roll bar so flex may not be as much as they advertise. I also saw the posts about Defender shocks - pro comp and rancho shocks also fit but are a bit expensive.

    My truck is going well - have now covered about 4,000km and I am using it more than the Freelander - my tyres definitely do not like bitumen and the fronts are wearing twice as much as the rears. The first level of small blocks on the tyres are almost gone and will be soon on the larger second level of blocks - wear should slow down a bit then.

    Garry
    REMLR 243

    2007 Range Rover Sport TDV6
    1977 FC 101
    1976 Jaguar XJ12C
    1973 Haflinger AP700
    1971 Jaguar V12 E-Type Series 3 Roadster
    1957 Series 1 88"
    1957 Series 1 88" Station Wagon

  2. #52
    Join Date
    Jan 2008
    Location
    Nowra NSW
    Posts
    3,906
    Total Downloaded
    0
    Brakes have been a bit off lately on the 101 and then I noticed the snail trail of oil from the backing plates on the rear.
    I had not long ago relined the rear and replaced the rear hub oil seals for the brakes.
    The first time around the wheel bearings were loose and I suspected that was the cause for leaking hub seals.
    I pulled it a part to day and this is what I found.

    This is where the seal has been running......nothing appears wrong there.

  3. #53
    Join Date
    Jan 2008
    Location
    Nowra NSW
    Posts
    3,906
    Total Downloaded
    0
    First time around because of the loose wheel bearing I never looked any further.
    This time I checked the diff breather.
    It is a small banjo fitting with very small internal holes.
    A couple flakes of rust up from the axle tube was enough to block it.
    The bundee breather tube runs to the engine air filter.
    These pics show the set up after I cleaned it and drilled the banjo bolt and housing to a oversize to try and stop any more possible blockage.


    I was still not happy.
    So I came up with this.

    It is a festo brand nylon air line fitting which is quick connect and swivels.
    The most important thing about is nothing goes up the nylon bundee tube to restrict it as the festo grips from the out side and a lot less chance of internal blockage.
    the end result

  4. #54
    Join Date
    Jan 2008
    Location
    Nowra NSW
    Posts
    3,906
    Total Downloaded
    0
    Another interesting thing about the hub seals is that they can be fitted in two different positions in the hub.
    You can knock the seal until it is flush with the out side of the hub housing or knock it home until it bottoms out on the step for the seal in the hub.
    I previously knocked it all the way home as this the way the old ones were fitted.
    After inspecting the seal, hub and axle tube there is a possibility of the main lip of the seal not correctly sealing on the axle tube if knocked all the way home.
    So I knocked it in flush this time around.
    The work never stops as while I was crawling under the 101 I found the front diff pinion oil seal leaking badly.
    A rear shock absorber leaking badly and most likely not working.....not that the rear suspension on a 101 moves up and down any how.
    The most important thing found is the big air horn has stopped working and my 101 has no decent voice.

  5. #55
    Join Date
    Jan 1970
    Location
    Canberra
    Posts
    18,616
    Total Downloaded
    0
    Hi Ron - your photography is getting better - they are nearly all in focus .

    Great pics and something I hope not to see - my breathers end up near the top of the gearbox and not into the engine air filter so maybe yours has been modded.

    I got rid of my standard door mirrors today and put on some re-pro defender ones - they work so much better than the originals.

    The previous owner set up the LPG hot water on the same line as the heater so when the heater is turned off the LPG freezes up and stops working. The hot water comes from the rear of the engine into the LPG system and then to the heater and then back to the engine at the front bottom inlet.

    i want to put in a join so that when the heater is off the LPG will still work - but I am concerned that either the LPG will take all the hot water leaving nothing for the heater or vice versa. Any idea on how much water the LPG needs or any suggestions?

    Cheers

    Garry
    REMLR 243

    2007 Range Rover Sport TDV6
    1977 FC 101
    1976 Jaguar XJ12C
    1973 Haflinger AP700
    1971 Jaguar V12 E-Type Series 3 Roadster
    1957 Series 1 88"
    1957 Series 1 88" Station Wagon

  6. #56
    Join Date
    Jan 2008
    Location
    Nowra NSW
    Posts
    3,906
    Total Downloaded
    0
    Just been checking out the rear shockie situation as I now have a stuffed rear one.
    After reading on the Pommie 101 site that Defender rear shocks could be made to fit and having a Defender DC130 sitting at home I have done some measuring.
    My defender is fitted with after market KONI shockers on standard 130 suspension and no lift.
    Closed lenght is 370mm and extended lenght is 590mm which means 220mm travel.
    The working lenght is perfect for a 101
    Koni shockers are usually affordable and work well.
    Many people do not realise they are adjustable and rebuildable.
    The main problem with the Koni defender shocks the top eye hole is much smaller than a 101 shocker.
    The answer is to remove the steel bush in the rubber bush of the Koni/ or enlarge the the ID of the bush to fit the 101.
    It do not see any problem in doing this.
    The defender shockers are working on a Salisbury and low fiction springs (coils) with large possible payloads.
    The 101 shockers are working on a Salisburyand low fiction twin leaf parabolics with large possible payloads.
    It all fits..........standard 130 early model Defender shockers are the go.
    Just got work something out for the front so time in the future.
    The only other point is the standard 101 shocks are huge truck type things which have lasted 30 years and I expect the smaller Konis will not last that long.

  7. #57
    Join Date
    Jan 2008
    Location
    Nowra NSW
    Posts
    3,906
    Total Downloaded
    0
    Hi Garry
    I never got to sus out your LPG system on the Winter rallie.
    If I remember correctly your gas convertor is up near the passenger seat in the engine bay.
    The correctly location should be near the rear of the drivers seat in the engine bay as this is the best location to tap into the correct pipes to heat the convertor and why your system is using the the heater circult.
    I can not remember the exact set up on the 101, but you need to tap into the steel 25mm ?? pipe down low on the drivers side just on the engine side of the radiator with a tee piece and the other 25mm ?? steel pipe up high just behind the drivers bum in the engine bay with another tee piece.
    The tee pieces have to be made one offs as the pipe/ hose sizes needed are a bit unusual.
    It is most likely the LPG installer at the time fitted it to the heater circult to try and solve trying to make one off tee piece fittings.
    You dont need much flow so long as the water is hot , or if it is not very hot you will need good flow.
    The convertor generally doesnt need much to heat it.
    The inlet manifold has a few tapped holes or plugs which could be used for hot water.
    What you need is the the themostat by pass circult .
    Another way is to remove a steel welsh plug and replace it with a brass one which is tapped in the middle for a 1/4 BSP thread and screw in a brass hose fitting.
    This pic is looking down just infront of the radiator driver side.
    You can see the idler pulley for the 24 volt generator just in the right of the pic.
    See the green stripe hoses and a stainless steel home made fitting of pipe with a brass elbow silver soldered onto it.
    The black smaller hose is the one curling up and rear wards to the gas convertor just behind the drivers seat.

  8. #58
    Join Date
    Jan 2008
    Location
    Nowra NSW
    Posts
    3,906
    Total Downloaded
    0
    This pic is driver side again and looking down between the rear of the motor and the chassis, but up high just under the rear of the drivers seat.
    You can see the gas convertor and the convertor water connection with the green stripe hoses again and the stainlees pipe with a small brass fitting silver solder onto it with a small black hose going to the gas convertor.
    This is the way the convertor heating water is normally done over seas by the poms.

    It works well on my 101 too.
    How you can work it on the other side of the engine bay I can not help unless I look at the set up.
    Mis guided 2 ( iain) has the gas contertor on the passengers side and it may be worth while to study that LPG install as it was well done and though out from start to finish.
    Regards

  9. #59
    Join Date
    Jan 2008
    Location
    Nowra NSW
    Posts
    3,906
    Total Downloaded
    0
    I modded all my diff and transmission breathers with some brass fittings so they all go into the engine air supply pipe .
    If you take note with a standard 101 the transmission breather terminate at the top of the bell housing near a spare air pipe fitting of the motor inlet .
    It is a very easy job.
    Doing the diffs to the same point is a bit harder as the breather tubes have to be extended.
    In this pic you can see the two clear transmission breather pipes together and just out of frame they terminate straight into the engine air let pipe though a spare pipe aready there.( just out of frame above the valley cover)
    The smal black pipe from left to middle and runs together with the transmission breather pipes is the extended diff breather pipe and note the spiral wrap around it to protect it.
    Also note the speedo correction gearbox sitting on top of the bellhousing.

  10. #60
    Join Date
    Jan 1970
    Location
    Canberra
    Posts
    18,616
    Total Downloaded
    0
    Quote Originally Posted by 101 Ron View Post
    If I remember correctly your gas convertor is up near the passenger seat in the engine bay.The correctly location should be near the rear of the driver seat in the engine bay as this is the best location to tap into the correct pipes to heat the convertor and why your system is using the the heater circult.
    Thanks Ron - that is exactly what I was thinking - for my system I was thinking of running a small line from the main heater hose into the LPG system and then back to where your green pipe is.

    The other alternative was to replace the heater valve up on the dash with a tap that has two inlets and one outlet with the tap switching between the two inlets (one direct from the main heater pipe with LPG system on it and the second direct from the heater - again with the LPG in the line). This will mean I can turn the heater on and off without upsetting the LPG.

    Cheers

    Garry
    REMLR 243

    2007 Range Rover Sport TDV6
    1977 FC 101
    1976 Jaguar XJ12C
    1973 Haflinger AP700
    1971 Jaguar V12 E-Type Series 3 Roadster
    1957 Series 1 88"
    1957 Series 1 88" Station Wagon

Page 6 of 9 FirstFirst ... 45678 ... LastLast

Bookmarks

Bookmarks

Posting Permissions

  • You may not post new threads
  • You may not post replies
  • You may not post attachments
  • You may not edit your posts
  •  
Search AULRO.com ONLY!
Search All the Web!