Page 2 of 69 FirstFirst 12341252 ... LastLast
Results 11 to 20 of 690

Thread: Meet my 90, and share the adventure.

  1. #11
    Join Date
    Jun 2010
    Location
    Merrijig Vic.
    Posts
    312
    Total Downloaded
    0
    Quote Originally Posted by specwarop View Post
    There is better buckets available then what Bunnings has, that doesn't cost over $50, and far less then $400.
    Hi specwarop, I have also been looking for something in between bunnings and the pelican type.
    What have you found ?.
    Cheers
    Tony

  2. #12
    Join Date
    May 2010
    Location
    Gisborne
    Posts
    402
    Total Downloaded
    0
    I use an 80litre blue plastic space case from bunings for all my recovery gear and it's a very strong and well built case.

    Steel handle at each end, dust sealed, steel hinges and two strong metal clamps that can be locked. Doubles as an awesome esky as well.

    Cost me from memory $120.

  3. #13
    Join Date
    May 2014
    Location
    Tamworth NSW
    Posts
    4,295
    Total Downloaded
    0
    So it's been a while since I've updated the latest happenings with my Defender.
    Some recent additions are:

    1) APT fabrications Diff sliders front and rear.
    2) APT fabrications steering guard
    3) Psimpson fuel cooler guard.
    4) Mulgo ExBox (plus fuse block etc)
    5) Mulgo Rear door strut kit.
    6) Glove box for defender
    7) Nugget stuff diff breathers / sealed airbox
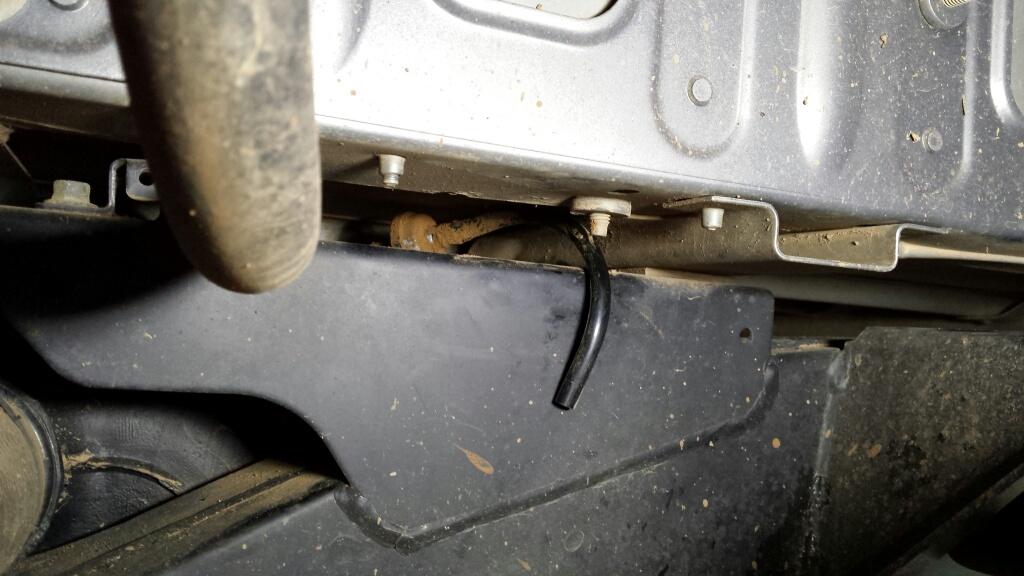
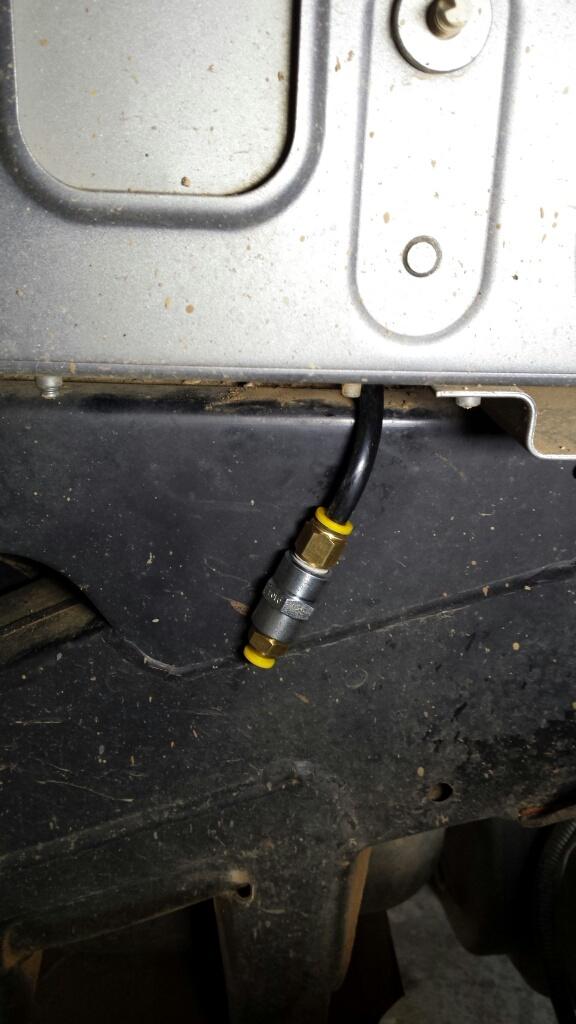
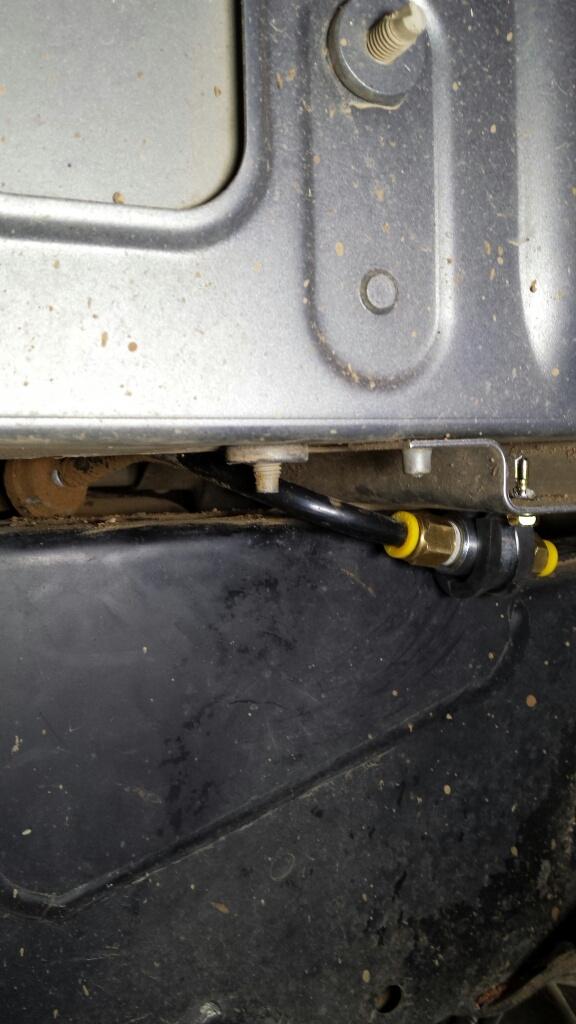
    7) ARB twin air compressor (mounted on Passenger side wheel arch)
    8) Warn winch - XDC-s 9500lb

    Looking to round out the vehicle with a rear bar tyre/jerry carrier, dual battery /solar setup, fridge and seat covers, then I'll play it by ear. Saving up the annual leave for a big adventure next year, hopefully will have it all finalized before then, when I can put some real Km's on it (only done 3,000km since May).


    I'm finding a lot of my progress is being hampered by a lack of spare time, and contemplating the little things too much.
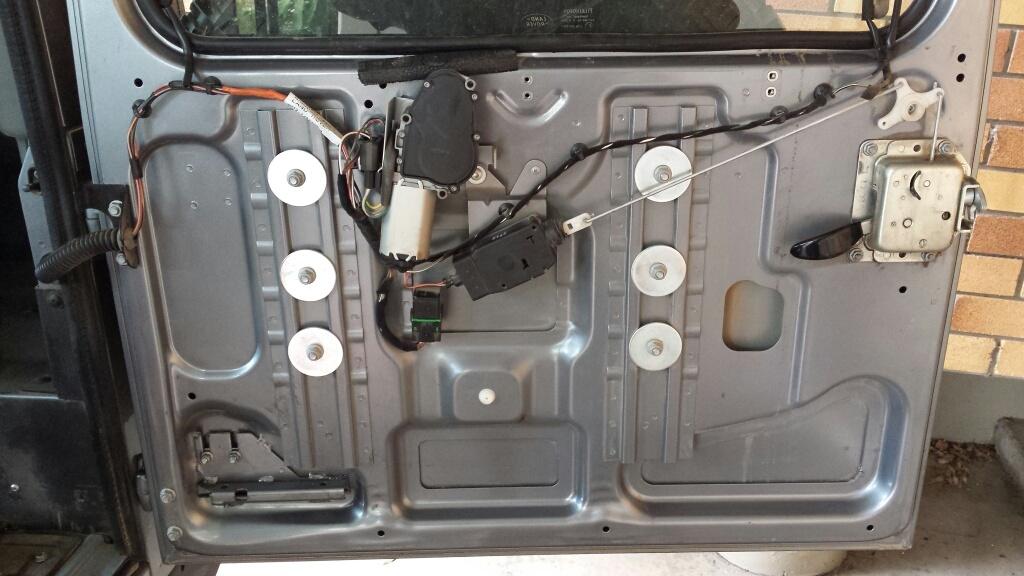
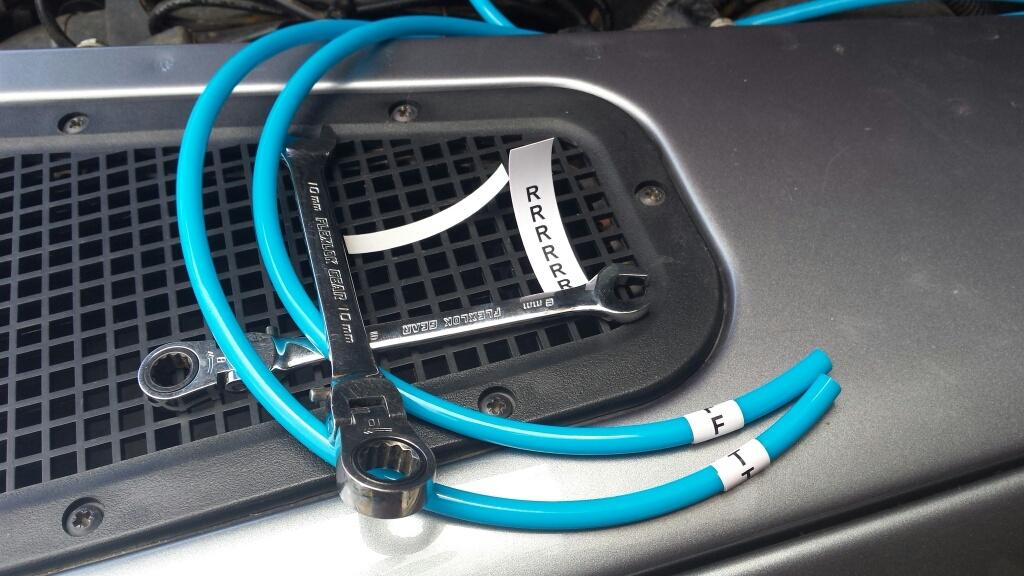
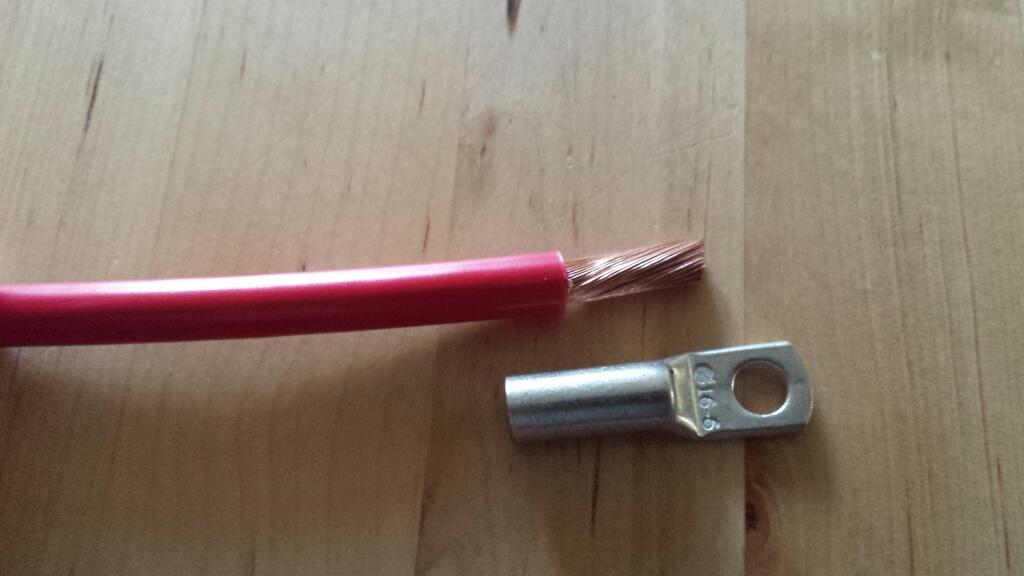
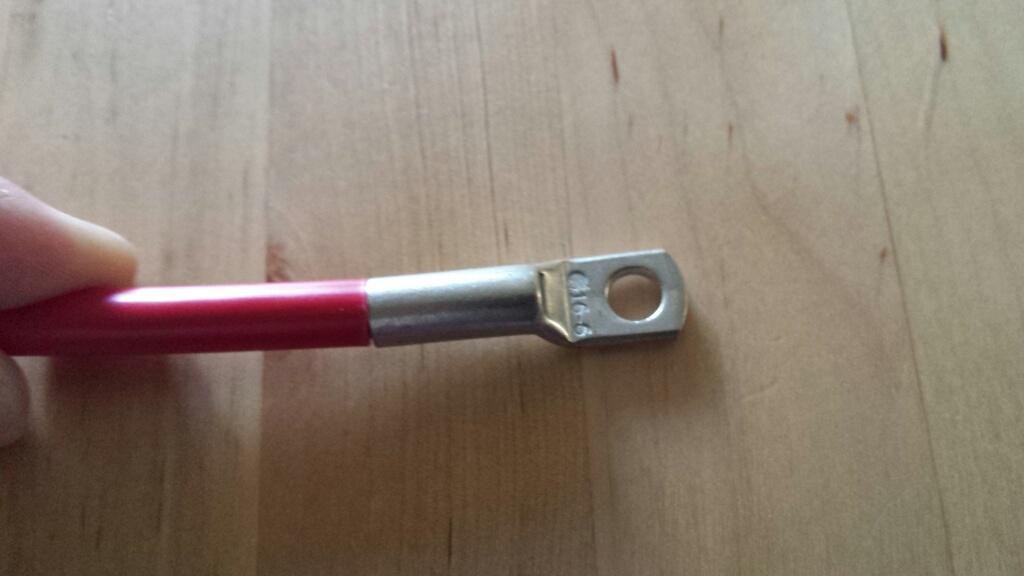
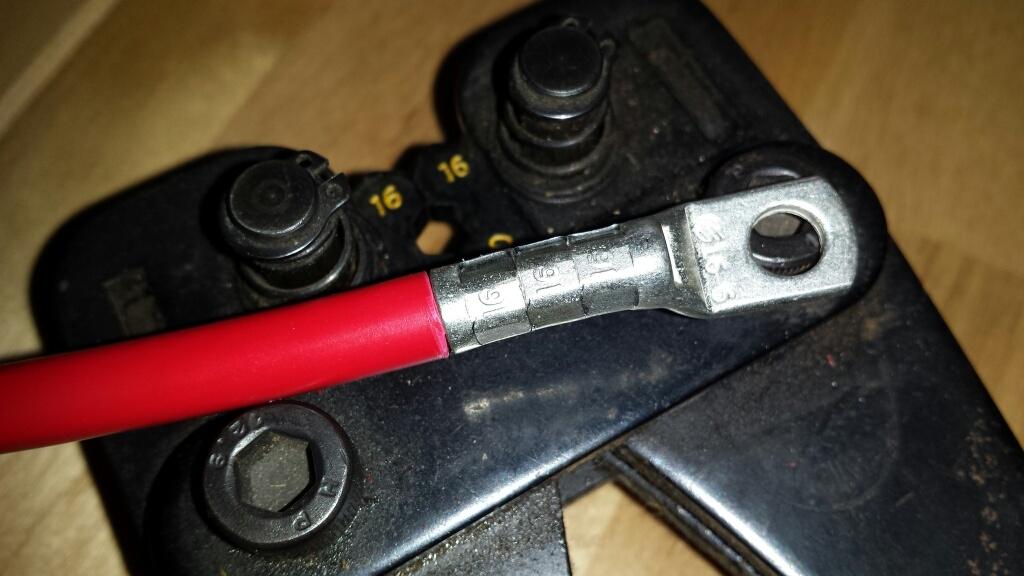
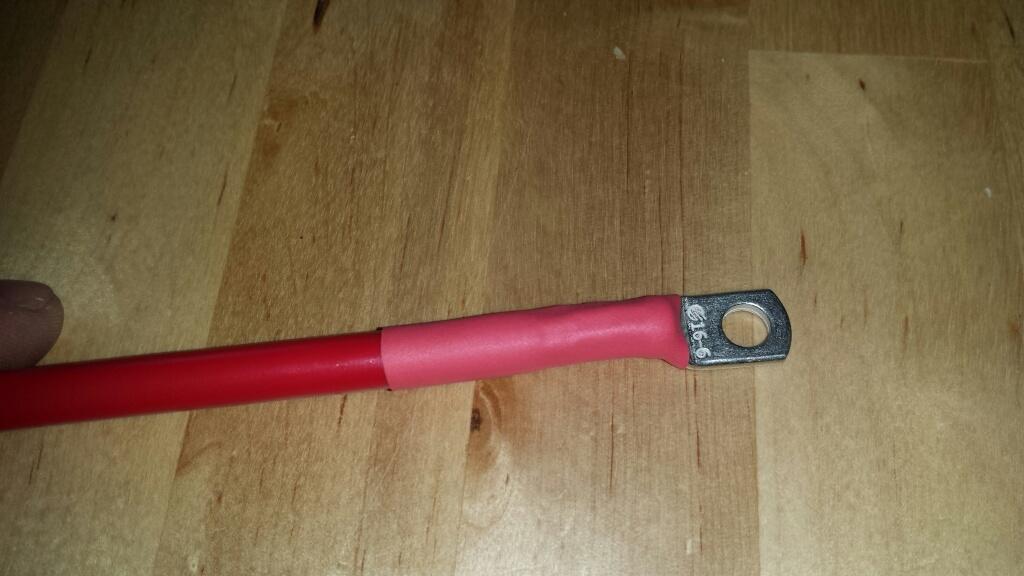
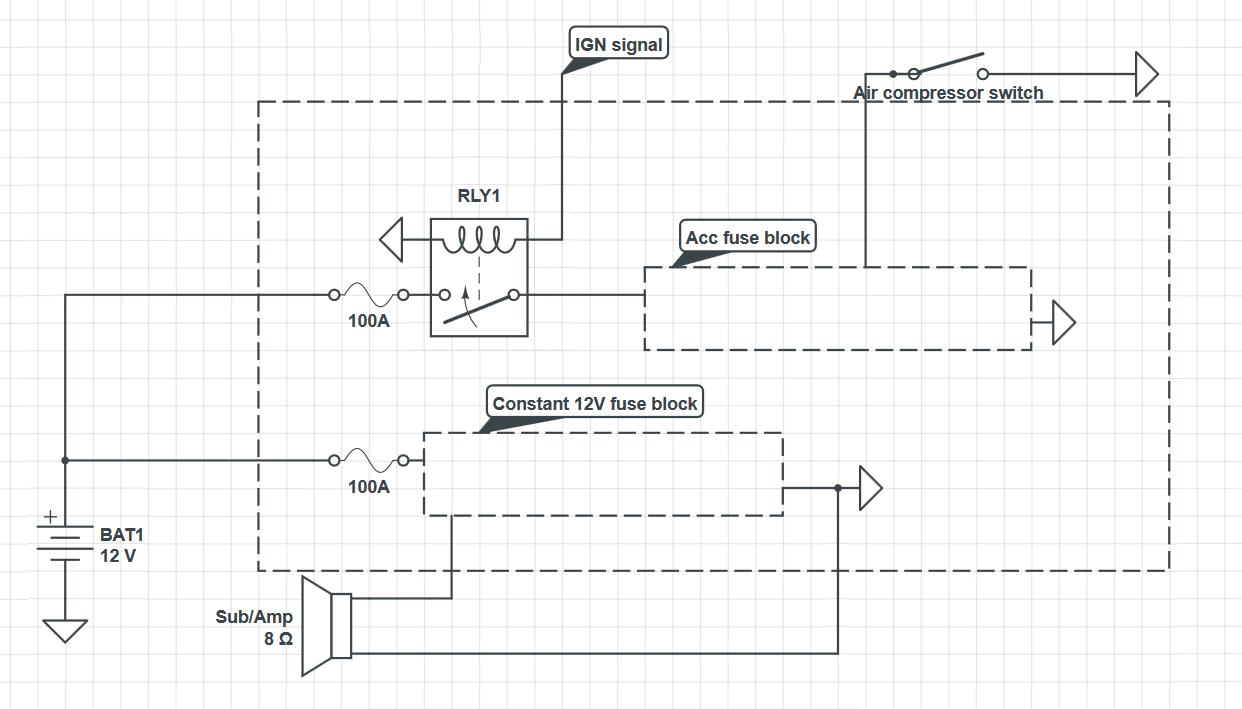
    Currently working out the electrics for the ex-box. I want a central 'go to' point for all things electrical. I want to pre-empt any future wiring requirements with spare cable, so I can minimise the destruction of the interior if I need to add another circuit.
    Initial plans is a positive feed to the ex-box with a permanent 12v supply via a fuse block, and a IGN switched fuse block. I want to run an interior 'hot' anderson plug setup for jumper cables, as well as suitable outlets for a future car fridge. The puma battery box is a bit of a nightmare to work in, but with some planning, I'll be shooting for a dual battery setup with a Voltage sensing relay, and some provision for solar charging (smart charger)... so expect some future posts on this subject! This topic is proving to be more involved than I first thought!
    -Mitch
    'El Burro' 2012 Defender 90.

  4. #14
    Join Date
    Jan 2013
    Location
    ACT
    Posts
    577
    Total Downloaded
    0


    come on man!!! Show us the new bits...


  5. #15
    Join Date
    May 2014
    Location
    Tamworth NSW
    Posts
    4,295
    Total Downloaded
    0
    To be honest I have not been taking too many pictures of it!
    The new bits are fairly standard fare... I'm sure everyone has seen an APT steering guard, and an ARB bull bar 
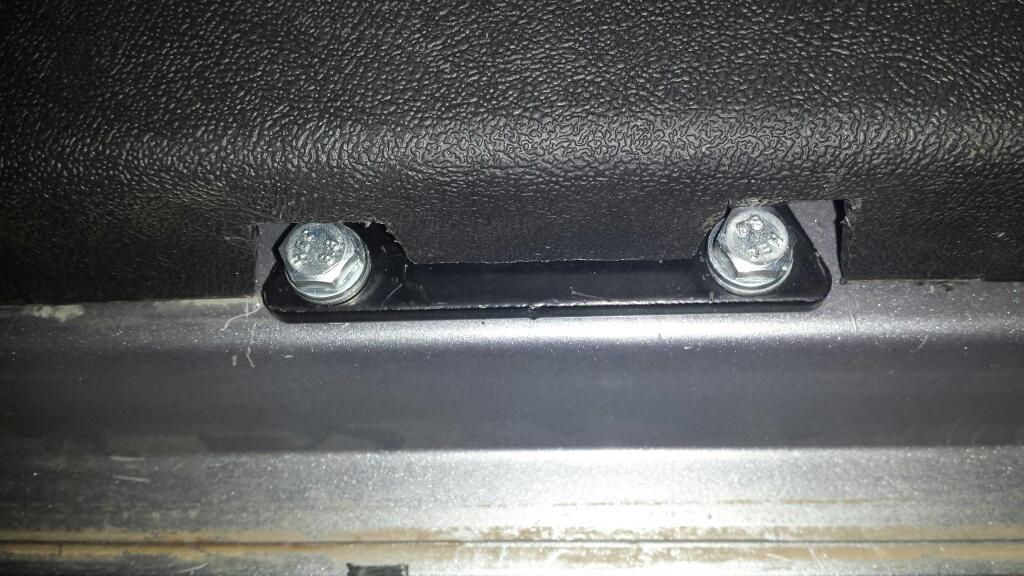
Where I want mine to stand apart from the rest is execution. The wiring in particular is in a sorry state, the spotlight install was a bit 'how ya goin' with tufts of scrunched up wire stuffed in the engine bay in random places... so I'm hoping to get it all squared away ton a somewhat factory appearance.

    A recent acquisition- one of these:

    ...should help to tidy everything up.
    It's a dymo label machine, but has the ability to print direct to heat shrink, and also use 'industrial strength' labels. Will be invaluable for the ex-box install, and other wiring throughout the vehicle.

    Once I get my act together and tidy up some of the unfinished projects, give it a good old wash, and have it in a somewhat presentable state, I might get some more detail shots.
    -Mitch
    'El Burro' 2012 Defender 90.

  6. #16
    Join Date
    May 2014
    Location
    Tamworth NSW
    Posts
    4,295
    Total Downloaded
    0
    Had a productive weekend pottering around on the defender. I don't have a man cave, so most of my work is done under a car port - So weather can make the job a pleasure or a pain in the ass. The weather made the work bearable... only gripe was the bloody mosquitoes.


    1) Trial fit of winch - warn XDC-S 9500lb.
    Mocked it up in the ARB bar, fits well. The clutch engagement lever was positioned 180 degrees from the 'feet' of the winch. In this position, it clears the front grille by approx 10mm throughout its range of movement. Before I wire it in for good, I'll Try clocking the clutch lever 45 degrees anti clockwise. By Eyeballing it, this should make it much easier to access from the top of the bull bar (I wouldn't want to be swimming thru a mud hole to engage the lever if I can help it).
    I invested in some new winch bolts. Turns out I lost the OEM fasteners which were supplied with the winch, but a quick trip to bunnings and with some 3/8" High tensile fasteners in hand, I was right to go. I opted for the 1.5" long bolts for the top, and 2" long for the bottom (the bottom needs to pass thru the hawse, bar, and winch feet).

    2) Fitted a Mulgo gas strut kit for the rear door.
    This was a basic job, but i messed up and it ended up taking a bit longer.
    I broke out the trusty trim removal tools and popped the rear door trim off, gave everything a good clean while I was at it.
    The removal of the old hardware was simple, as was the installation of the new parts. Pro tip: S**tty drill bits tend to wander. Somehow I managed to get a hole for the door mount nutsert out by 3mm. This was likely when the 9mm drill bit grabbed and messed up the hole. A beer and a bit of quality time with a rat tail file on the mulgo bracket made amends.
    I ended up trimming the bottom of the door card to fit around the door bracket. Usually I'm against this kind of thing, but given that it's in a spot that is not visible, not a single f*** was given.


    Shot of behind the door card for reference:


    3) Nugget's Diff breathers:
    Also mounted a Nugget stuff diff breather kit. I'm still to install the diesel tank breather. Also a easy job, just a bit of gymnastics in the engine bay to retrieve the breather lines. A bloke of my stature should not be climbing all over the guards of his new car
    Got the lines labelled up and ready to be plugged in once I route the diesel tank line. It's a bit OC, but having everything labelled will pay off if SHTF, and I need to track down a fault with any of the work I've done on the vehicle. Or more likely than not, I forget the details of my own work.
    -Mitch
    'El Burro' 2012 Defender 90.

  7. #17
    Join Date
    May 2014
    Location
    Tamworth NSW
    Posts
    4,295
    Total Downloaded
    0
    One of the concurrent jobs Iv'e been working on is the Ex box install. I've been nutting out a few ideas, and reviewing what others have posted in my other thread

    I'm going to bite the bullet and move the under seat electrics across as it's turning out to be a one of those jobs that I'd rather do right the first time and do it once. Warranty issues will be dealt with if they arise.


    Taking a page from Nugget's book, I've got some insulation and aluminium adhesive tape from a fridgy mate which should keep the in-box temps somewhat lower than standard. Normal highway driving at 100 makes the ex box hot to the touch from radiant gearbox / TC heat. When the ex box replaces the metal plate in the floor, this is only going to get worse.

    For the power side of things, my project plan is this:
    • Relocate electrics from under the drivers seat
    • establish single point for wiring - constant 12V and 12V switched with Ignition
    • Ciga and 5V USB charging capability
    • Easy removal of Ex Box if required (limited cabling to and from box)
    • Privision of jumper cables hard wired direct to battery via anderson plug
    • Provision for fridge power at rear
    • Forward compatible with air compressor / diff lock / switchgear as required


    The plan is to have a single battery supply (and earth) entering the ex box from the bottom, routed thru the spare grommet in the inboard side of the battery box (in addition to OEM wiring).
    From there, I'm looking to run a Positive and Negative Bus Bar for the main power feed.

    Off this, there will be 2 ea 100A circuit breakers on the positive feed, similar to Chook's setup (as per thread link above). This will protect the total current draw of the baintech fuse blocks. The Negative end of the fuse block will run back to the negative Bus bar.

    I will be running a big mofo SPST relay (200A) in the ex box to effectively create a new ignition switched circuit within the ex box. This means I will only need to run a single 12V ign signal wire from somewhere in the cab to supply this, without needing to piggy back off a factory circuit.
    The 12 IGN switched circuit will be dedicated to one of the two fuse blocks - the plan is to have one running on constant 12V, and one on 12V IGN switched. It seems this is the most intuitive way to wire accessories, as I do not currently have a Dual battery system, and from what I understand, a battery controller system will manage where the power comes from in any case.

    From the fuse blocks, each circuit will be fused as needed.
    Circuits I have are:
    Spotlights (25A)
    LED light bar x2
    UHF (IGN)
    Air compressor switch (IGN)
    Sub/amp


    I've got a few iterations of different circuit diagrams I've devised, but the real test will be seeing how it all works together in the 'real world'.

    That being said, if anyone has any ideas (or if you think I'm likely to burn the car to the ground) please post below!

    If anyone has any input on which gauge cable to run, please also chime in. I've got some 6B&S and 6mm and 8mm lugs to suit, which over a short run should be good for up to 100A. I'm thinking running 25mm2 cable (3gauge/B&S) to the Bus Bars should be sufficient.

    I've got a working knowledge of electrics, but this side of the project is new to me. Most of my past tasks when it comes to this side of things has been fault finding and wiring accessories. So It's something new and interesting to be able to design and build this setup to meet my requirements.


    Since you guys and girls love pics, below is some I took of some cable crimping I've done. The right crimp tool and lugs really does make the wiring a joy to work with. This is 6B&S cable , approx 14mm2 conductor area. This is the start of one of the feed lines to a fuse block.
    Stripping the cable


    Insert lug


    Crimp Lug


    Heat Shrink
    -Mitch
    'El Burro' 2012 Defender 90.

  8. #18
    Join Date
    May 2014
    Location
    Tamworth NSW
    Posts
    4,295
    Total Downloaded
    0
    Mud map of the ex box wiring. Its amazing how simple it looks, but in reality there will be wires everywhere!


    I was trying out an online circuit drawing program, anyone know anything that is free and useful for 12V stuff? I did the above in circuit lab, but it boots you out after a 10 minute trial...
    -Mitch
    'El Burro' 2012 Defender 90.

  9. #19
    DiscoMick Guest
    Those are nice cases, but my local Bunnings has the grey heavy boxes (forget brand) that do a good job and cost less.
    Nice 90 BTW.

  10. #20
    Join Date
    May 2014
    Location
    Tamworth NSW
    Posts
    4,295
    Total Downloaded
    0
    I like pelican cases. I'm a bit of a consumer whore in that regard.


    Today I Finalized the nugget stuff diff breather install.
    Turns out my vehicle had a 8mm poly pipe breather for the diesel tank (Probably just another Land Rover quirk).


    To overcome this, I cobbled together a few fittings to adapt from 8mm to 6mm and off I went. I used a 8mm press on poly fitting to 1/8BSP male. The other end was a 6mm press on poly fitting to 1/8BSP male. The coupler in the middle is a 1/8BSP female/female. I may change this out for something less beefcake if it becomes a problem. The going rate on ebay for these couplers (made in plastic) is about a dollar ex China.

    Routing the diesel tank breather between RHS rear chassis rail and floor tub:


    The fitting:


    P clamp and tek screw bracket:


    All finished and routed back to the engine bay:


    I routed the diesel tank line along the chassis rail, secured to the diesel supply lines. Nipped up the RHS wheel arch, then behind the brake booster and across the top of the firewall secured to existing wiring.
    -Mitch
    'El Burro' 2012 Defender 90.

Page 2 of 69 FirstFirst 12341252 ... LastLast

Bookmarks

Bookmarks

Posting Permissions

  • You may not post new threads
  • You may not post replies
  • You may not post attachments
  • You may not edit your posts
  •  
Search AULRO.com ONLY!
Search All the Web!