

 Reply With Quote
Flippin' aulro attachments always flippin' flippin'. Mother flippers.

 TopicToaster
Subscriber
TopicToaster
SubscriberOn the sides of the puma dash, there are two flat sections in the middle, either side of the radio and central switchgear.
I'm about to drill a 78x48mm hole in my dash, but have been questioning how to centre the switches on this relatively flat panel (it is slightly convex by approx 3mm either side over it's ~100mm width).
Post pics of what you've done. I'm hoping I can see what others have done before I make the cuts and make a huge mistake!
I'm thinking that I'll try to keep the panel level, even though the top edge is not level. I think it looks a bit dicky if the panel is mounted aligned with the top edge, rather than the side edge (which is pretty much vertical).
Thoughts?
-Mitch
'El Burro' 2012 Defender 90.
TopicToaster
SubscriberFlippin' aulro attachments always flippin' flippin'. Mother flippers.
-Mitch
'El Burro' 2012 Defender 90.
Emmas is parallel to the edge not the top.
TopicToaster
SubscriberThat's what I was thinking.
There is going to be some landscaping of the plastic ridges behind that panel, but it should turn out OK once all is said and done.
Someone with a 3d printer shoudl make a bezel like this:
Or even a full length one that allows various flat plastic or steel inserts to be cut out / added as needed (carling switches, 52mm gauges, brake controllers, volt meters etc).
-Mitch
'El Burro' 2012 Defender 90.
Master
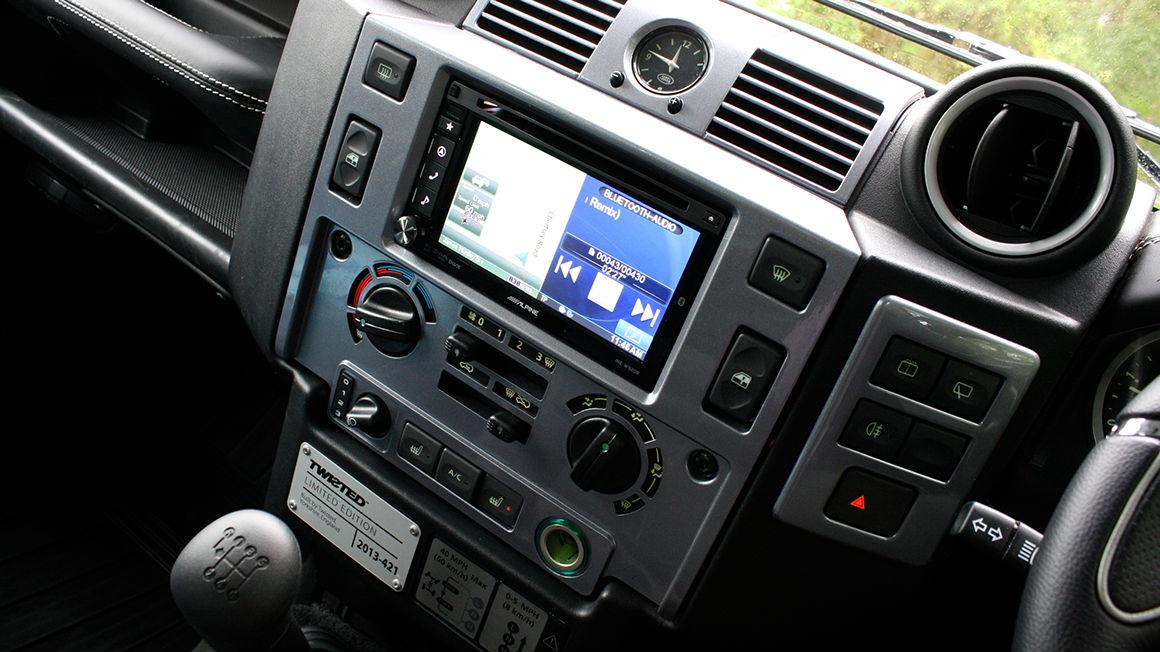
Here is my installation.
Also rotated.
It is aligned with the top edge. Anything else would look crooked.
TopicToaster
Top job.Originally Posted by lump_a_charcoal

Pickles.
TopicToaster
SubscriberNice pic. Might be the orientation of the pic, but it looks like it's aligned more with the LHS than the top edge?
It's difficult to judge what looks best because the panel is curved in multiple planes.
I put a level on the 'top' edge closest the vent , and it's not quite level.
Nor is the LHS edge straight, as it is convex.
-Mitch
'El Burro' 2012 Defender 90.
Master
I think it's because of the light on the rolled edge.
It is level (measure 37 times, cut once, remember).
ForumSage
Subscriberif you are going to that much trouble,
then you should also block most of those uncontrolled centre vents and "plate" the top of the dash both ways with a low height gap to allow at least some heat/cool towards passenger/driver from alongside the window (the outside of dash facing in!)
(stop the frozen outside roasted inside in winter and reverse in summer!!) why landrover didnt put a 2nd vent on the outer sides is beyond me, they almost got the dash right!
(REMLR 235/MVCA 9) 80" -'49.(RUST), -'50 & '52. (53-parts) 88" -57 s1, -'63 -s2a -GS x 2-"Horrie"-112-769, "Vet"-112-429(-Vietnam-PRE 1ATF '65) ('66, s2a-as UN CIVPOL), Hans '73- s3 109" '56 s1 x2 77- s3 van (gone)& '12- 110
ForumSage
Subscriberwhile i am at it... would these fit the puma dash?
2 x Push Button Illuminted Dash Board Switches Auction (0006-2505103) | GraysOnline Australia
(REMLR 235/MVCA 9) 80" -'49.(RUST), -'50 & '52. (53-parts) 88" -57 s1, -'63 -s2a -GS x 2-"Horrie"-112-769, "Vet"-112-429(-Vietnam-PRE 1ATF '65) ('66, s2a-as UN CIVPOL), Hans '73- s3 109" '56 s1 x2 77- s3 van (gone)& '12- 110
 Posting Permissions
| Search AULRO.com ONLY! |
Search All the Web! |
|---|
|
|
|


Bookmarks