


 Reply With Quote
Good job, I did much the same, but primed the lining and painted with colour matched suede paint...looks good also and will never fall off ��

Hi LandyLovers!
Thought i would share some pictures of my adventurous first time of doing a roof lining because i got sick of the yucky sag and dirty materiel of the factory one... so ordered foam backed material (3meters- only needed like 2.5 meters but got extra for "just in case reasons") at 62-63" wide.. (would have been better if it was about 65"+ but it was enough....
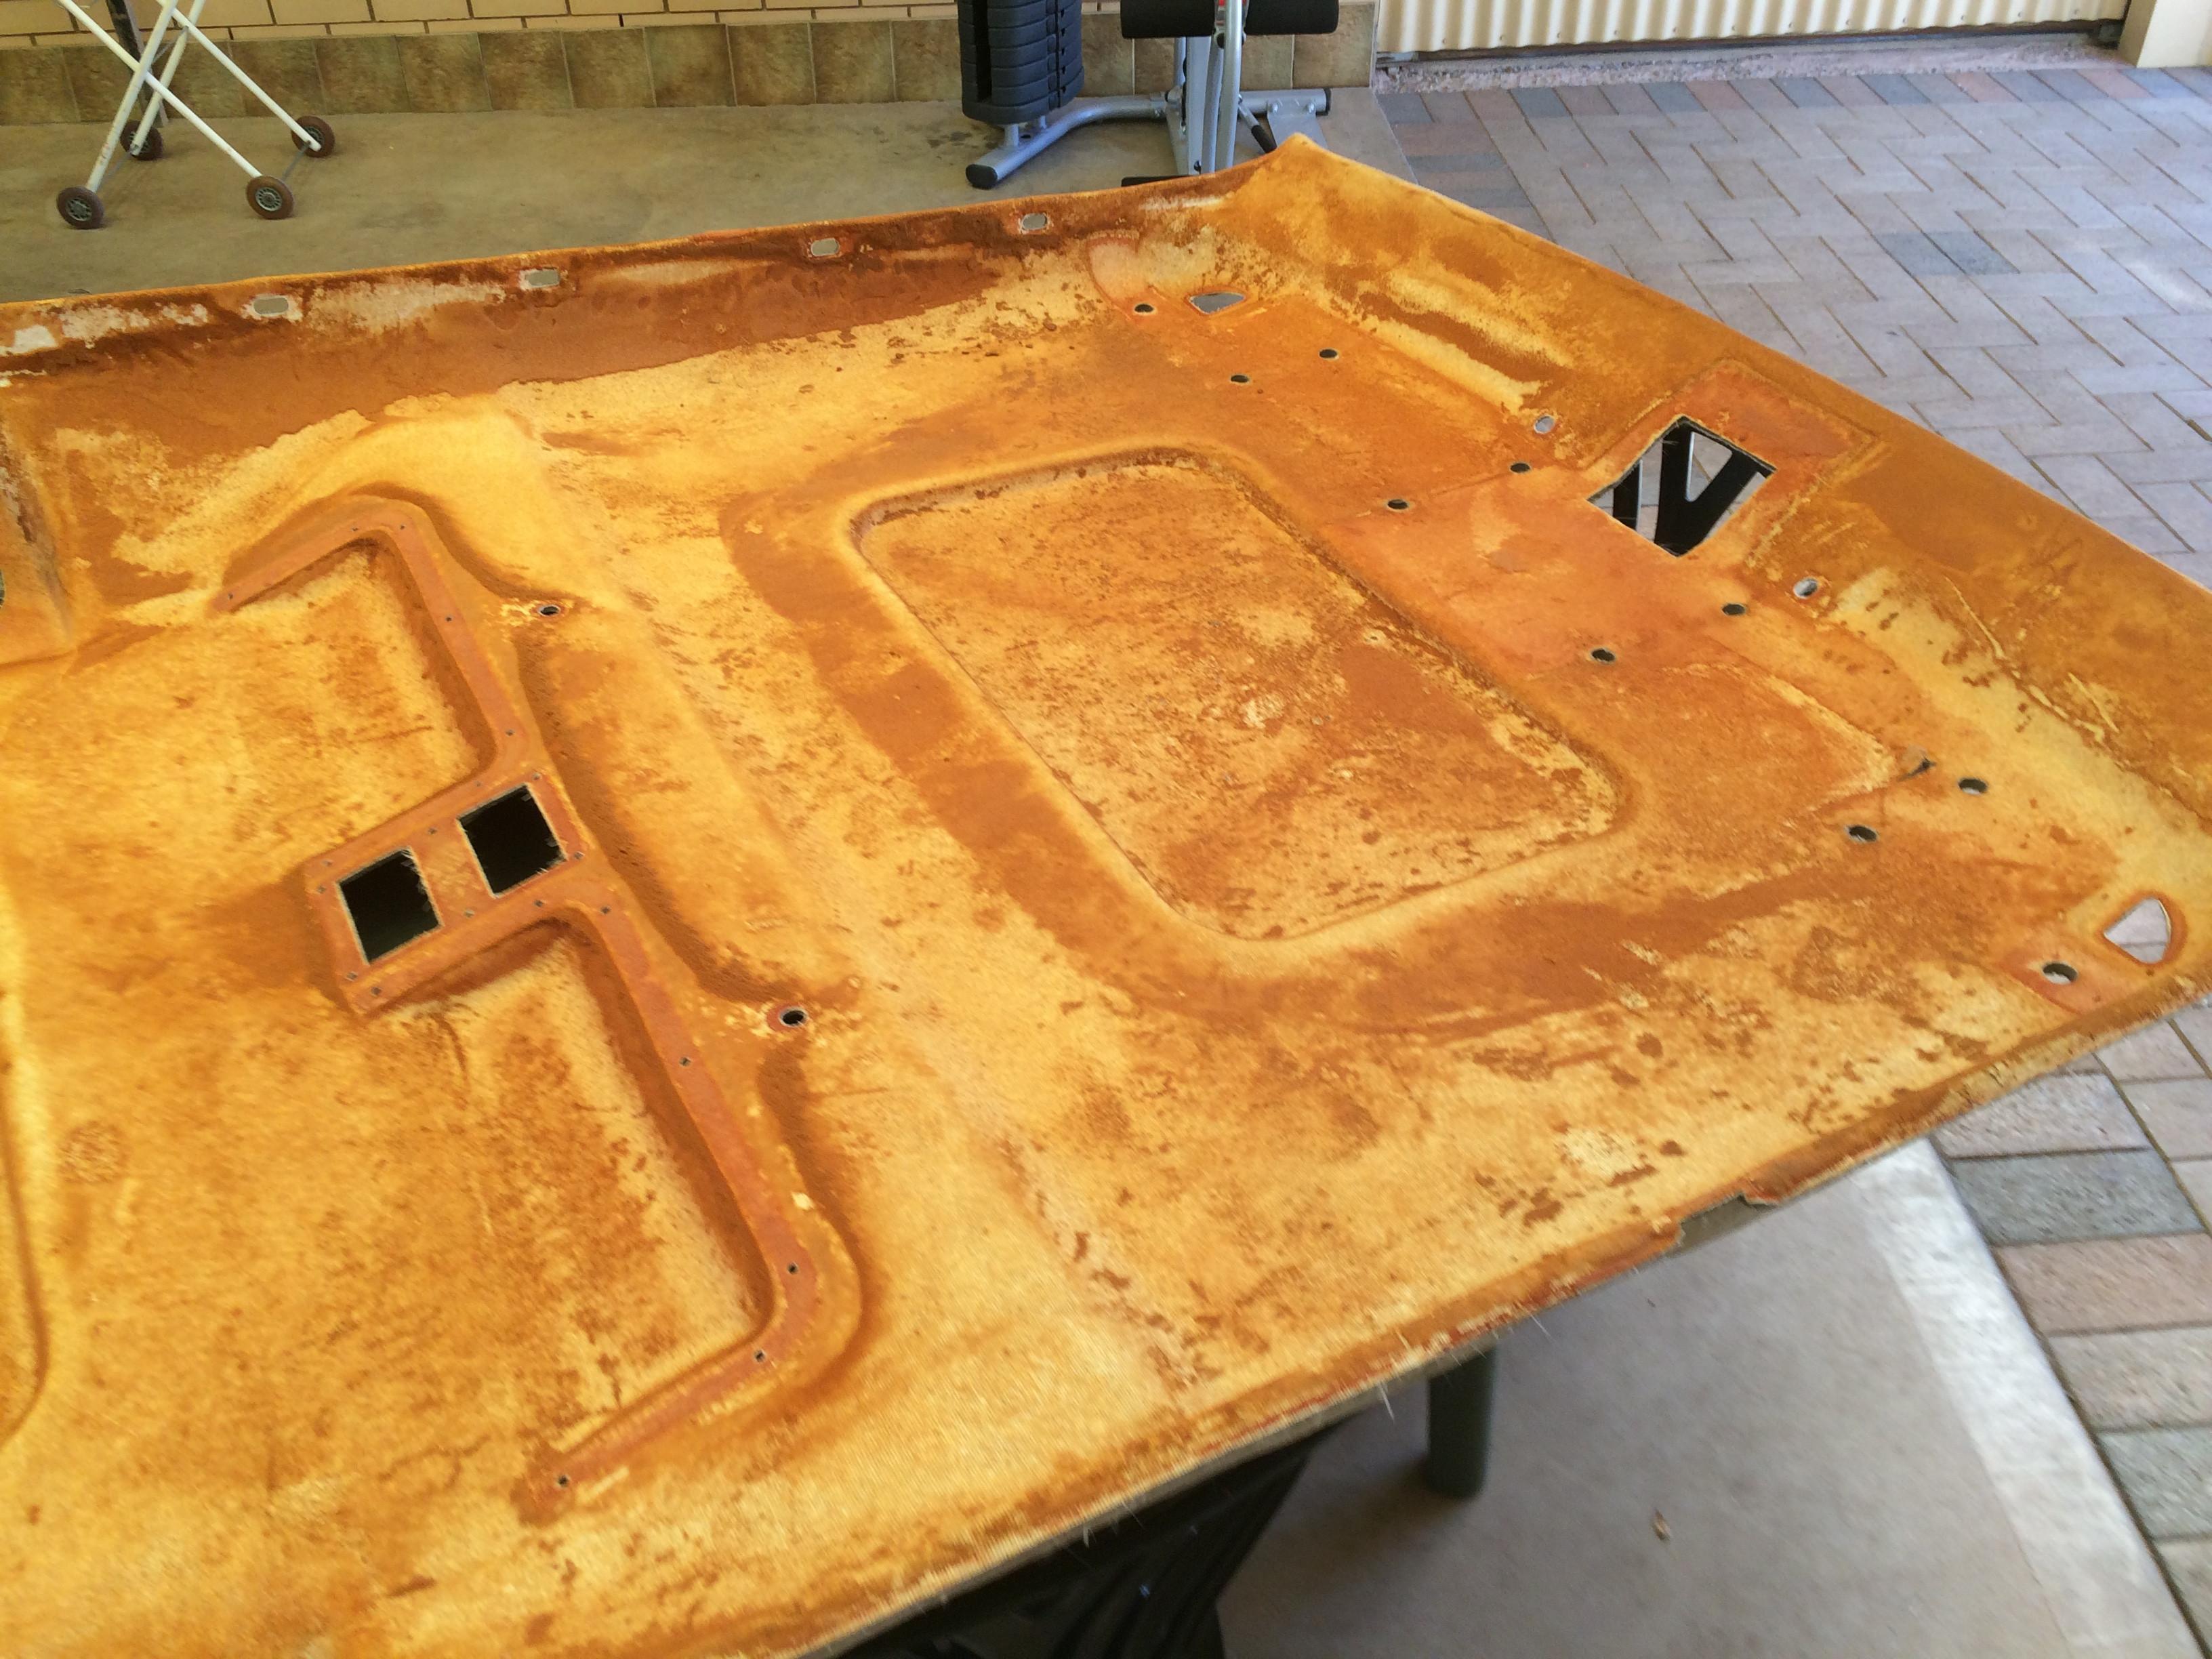
removed the old lining was very easy suprisingly...
and shes a bit nude :P
Matolocalypse's uploaded images - Imgur
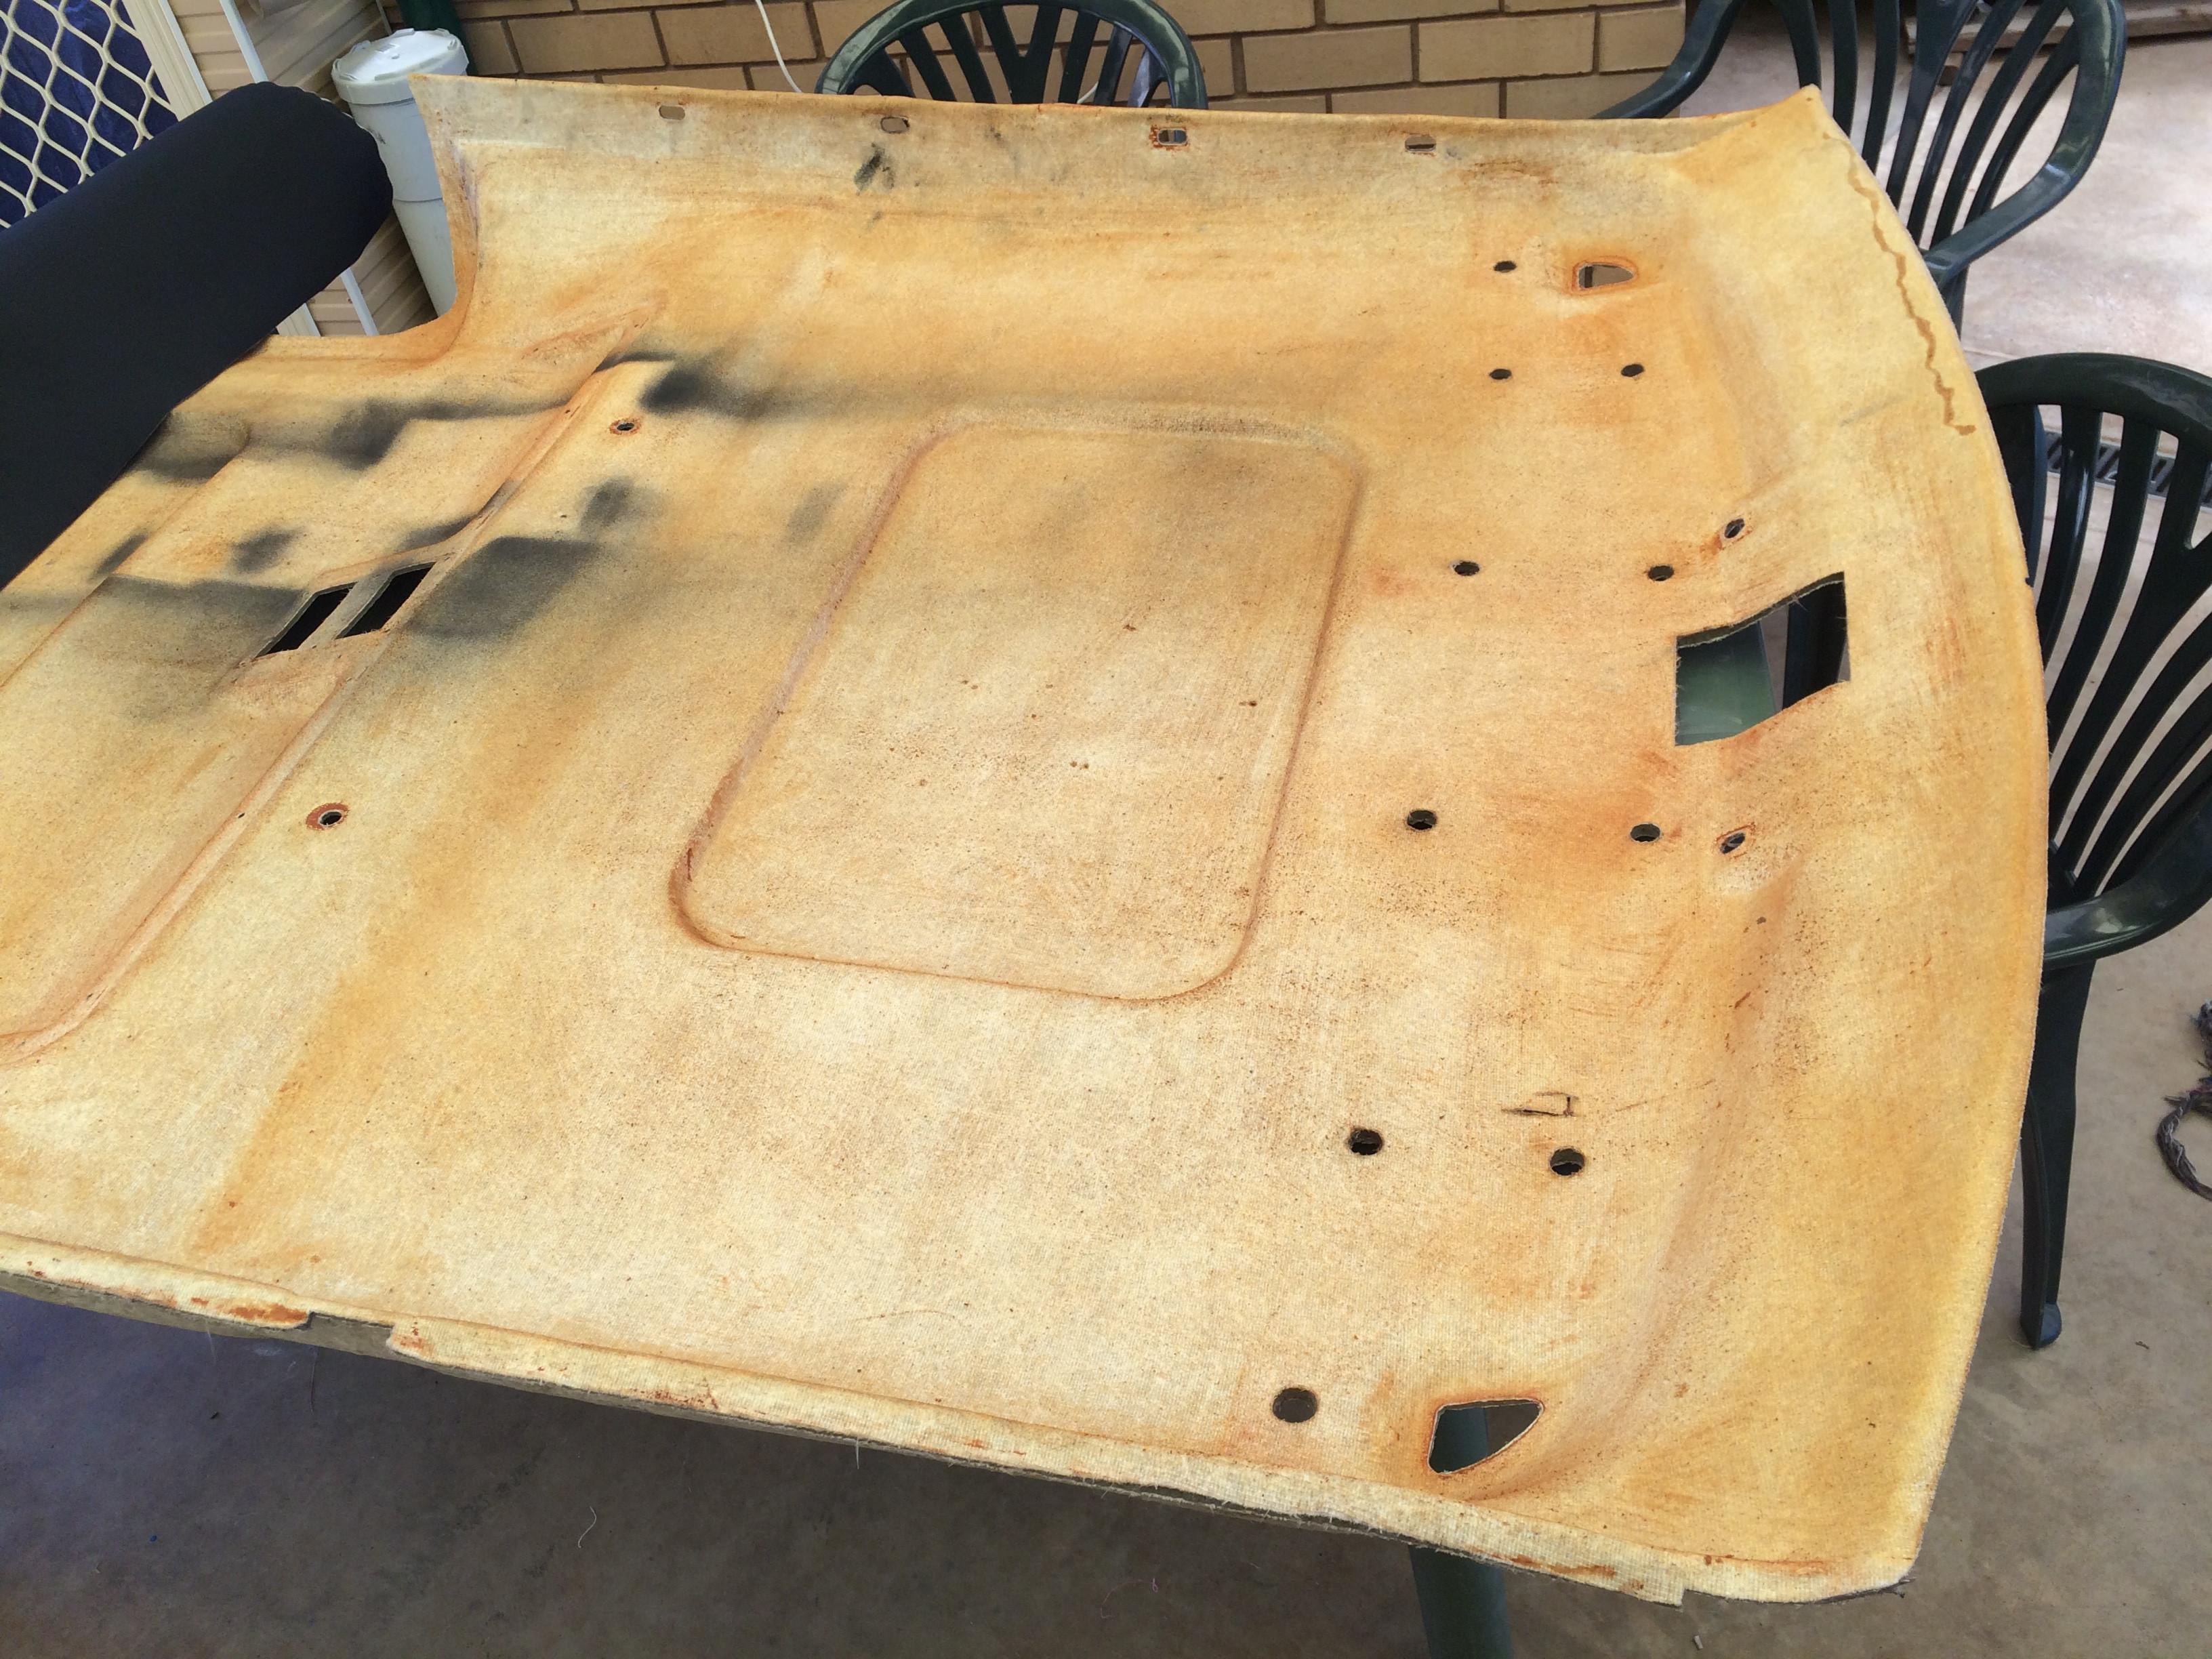
all the old foam scrubbed off and cleaned it up wire brush and hose worked great (allow to dry in sun) .... and oops got a bit of paint on it, but meh lol
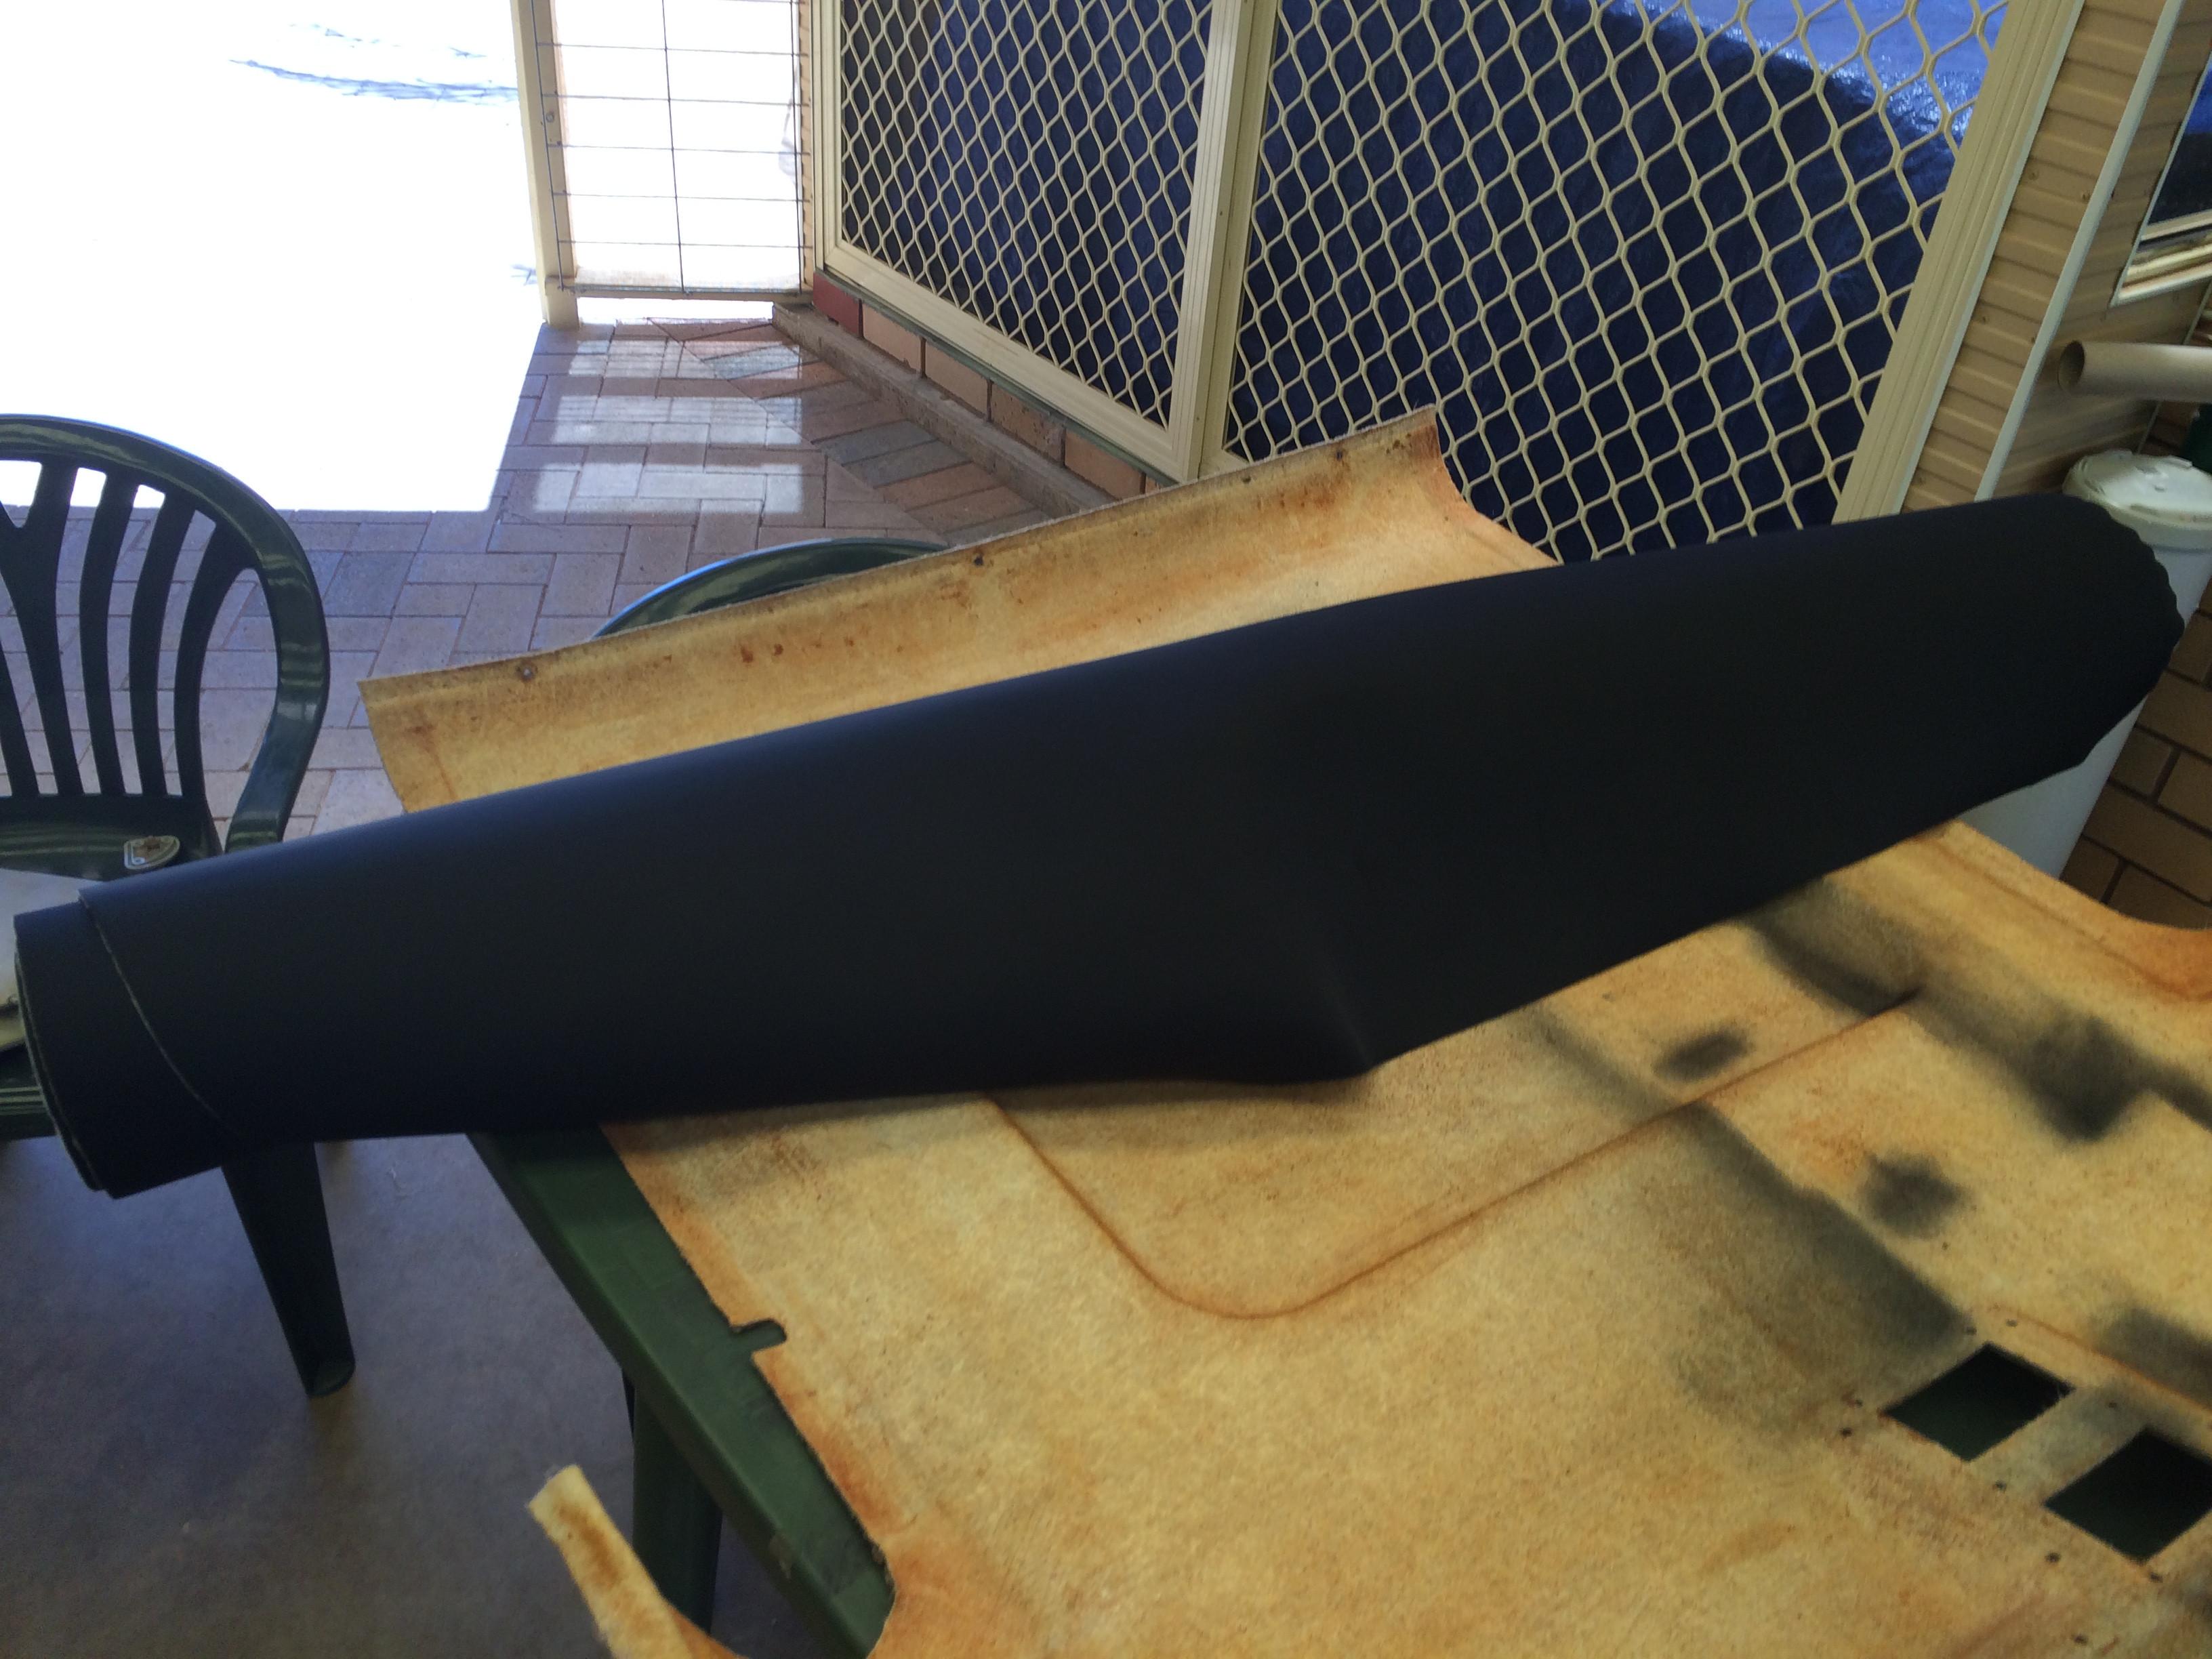
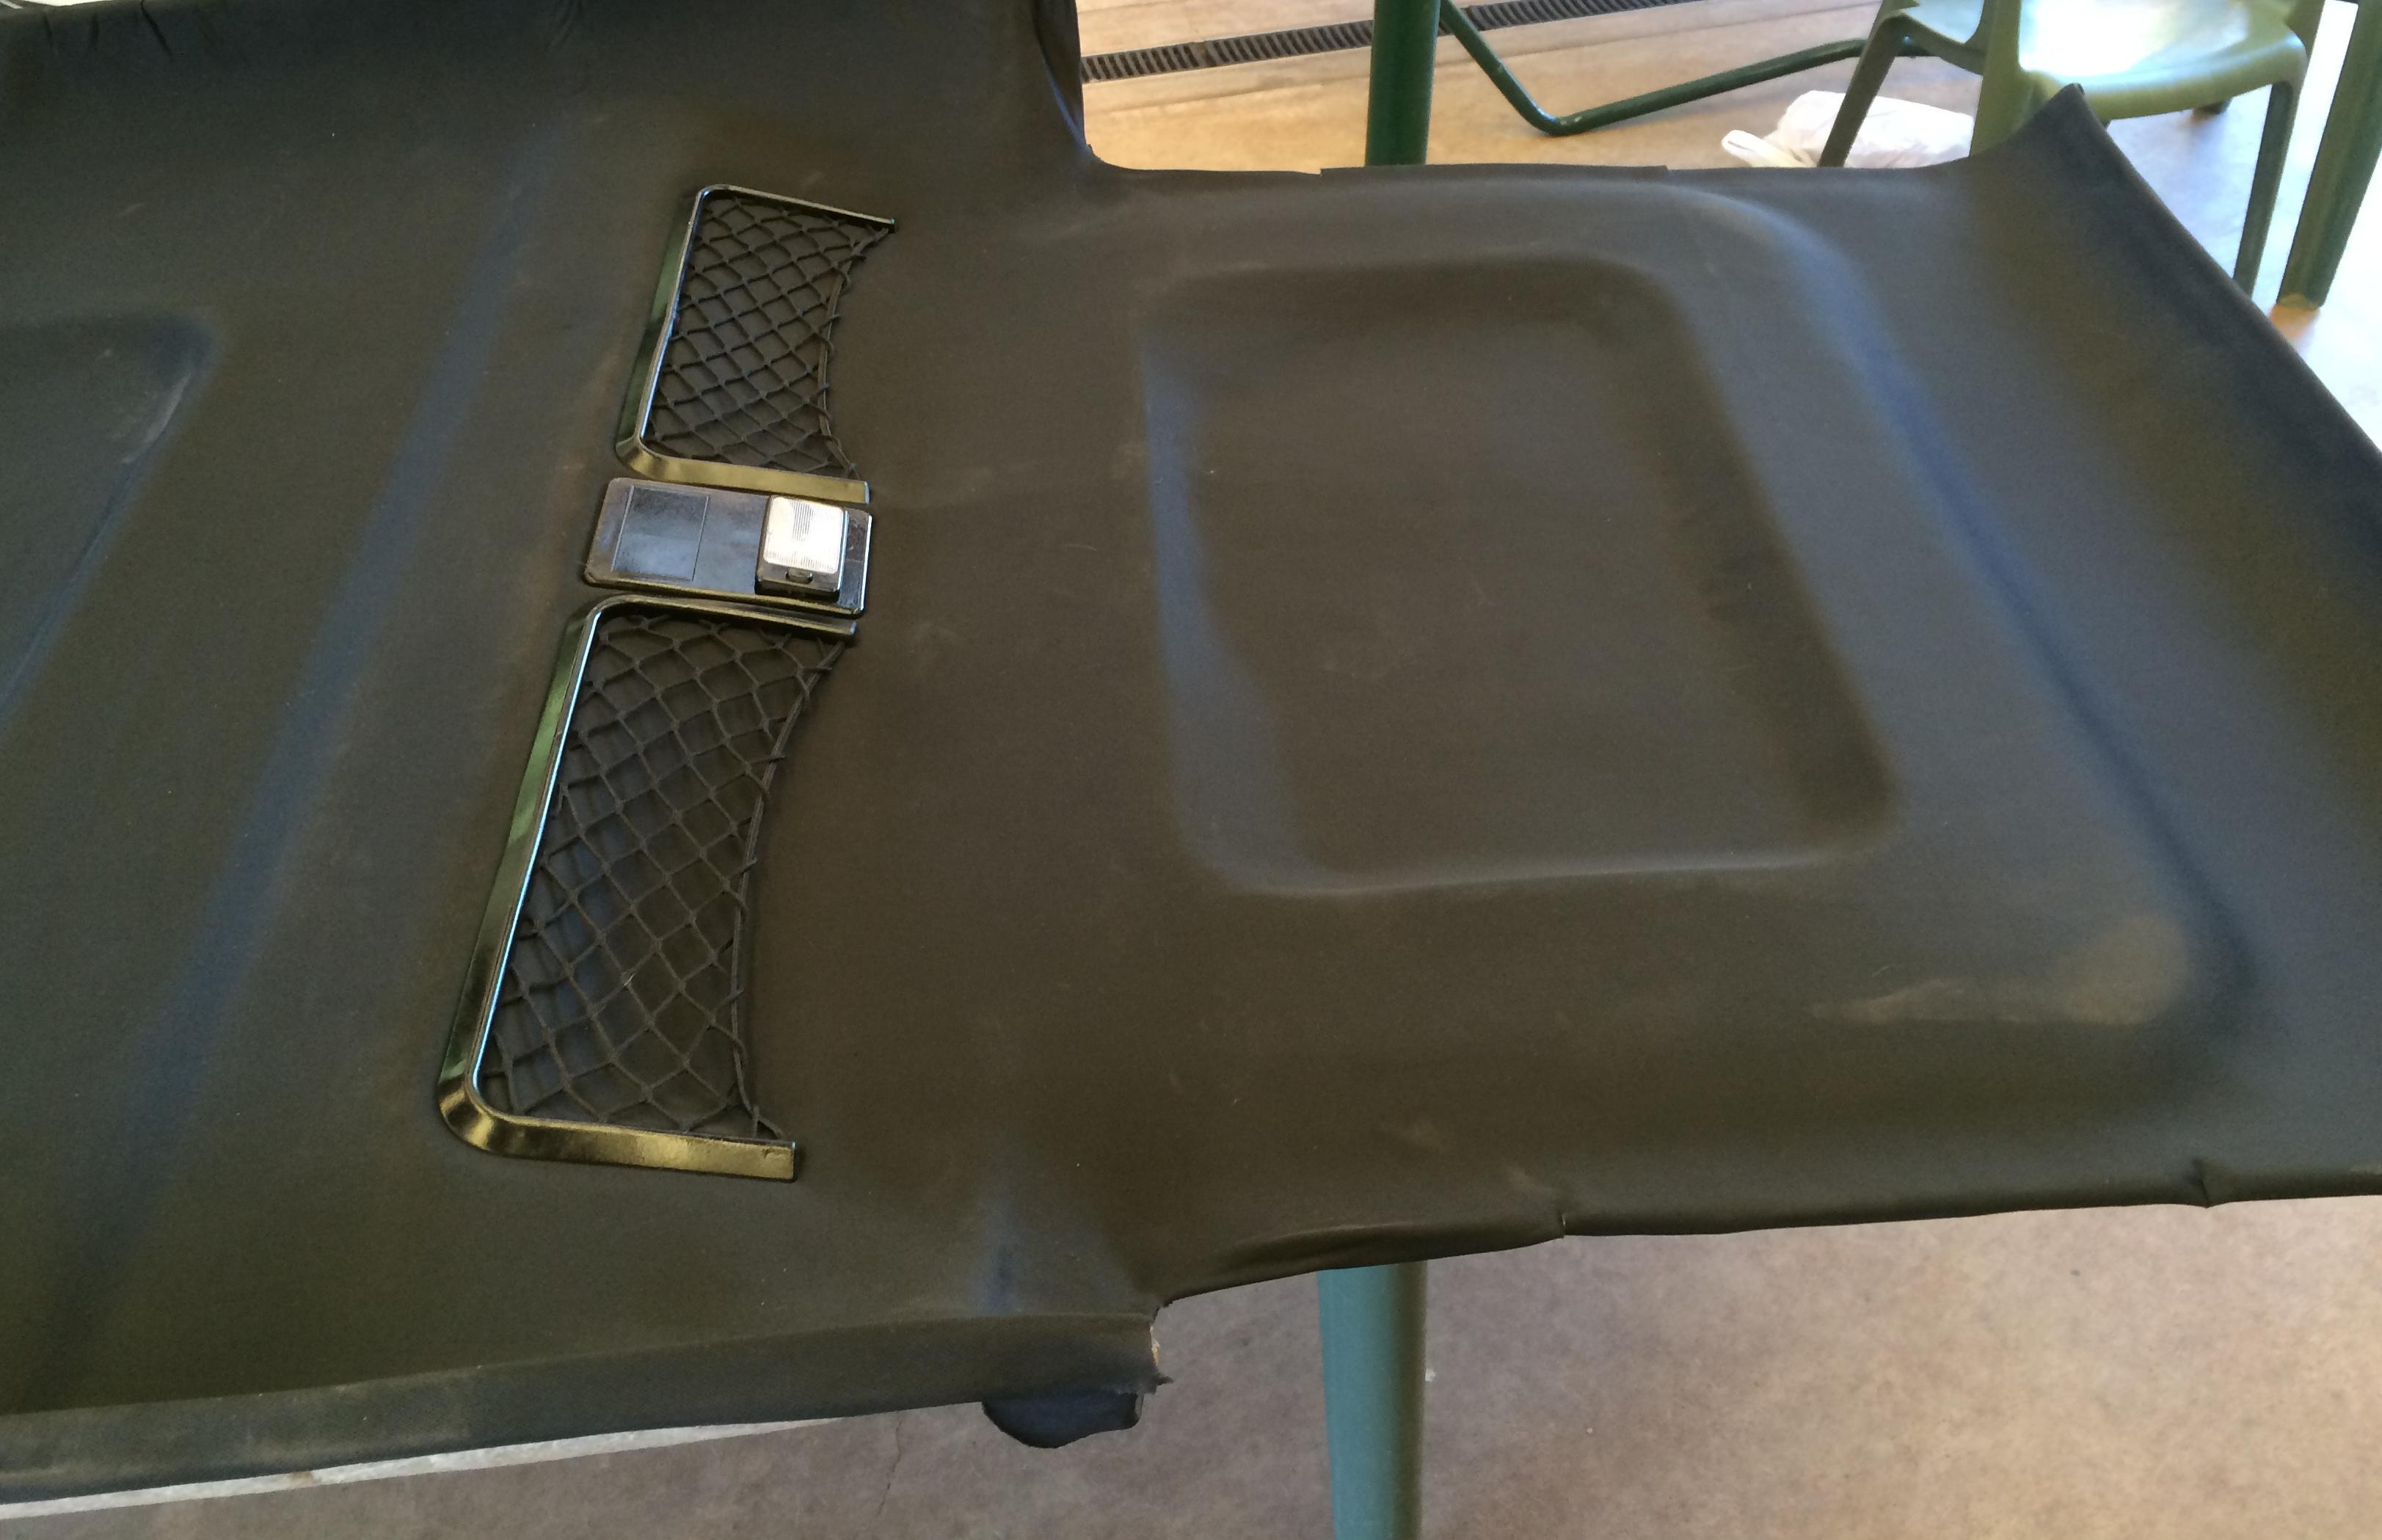
and the black foam backed fabric i used.
now sprayed down with Selleys Kwick Grip Adhiesive 350g from True Value Hardware for $18 needed two cans.
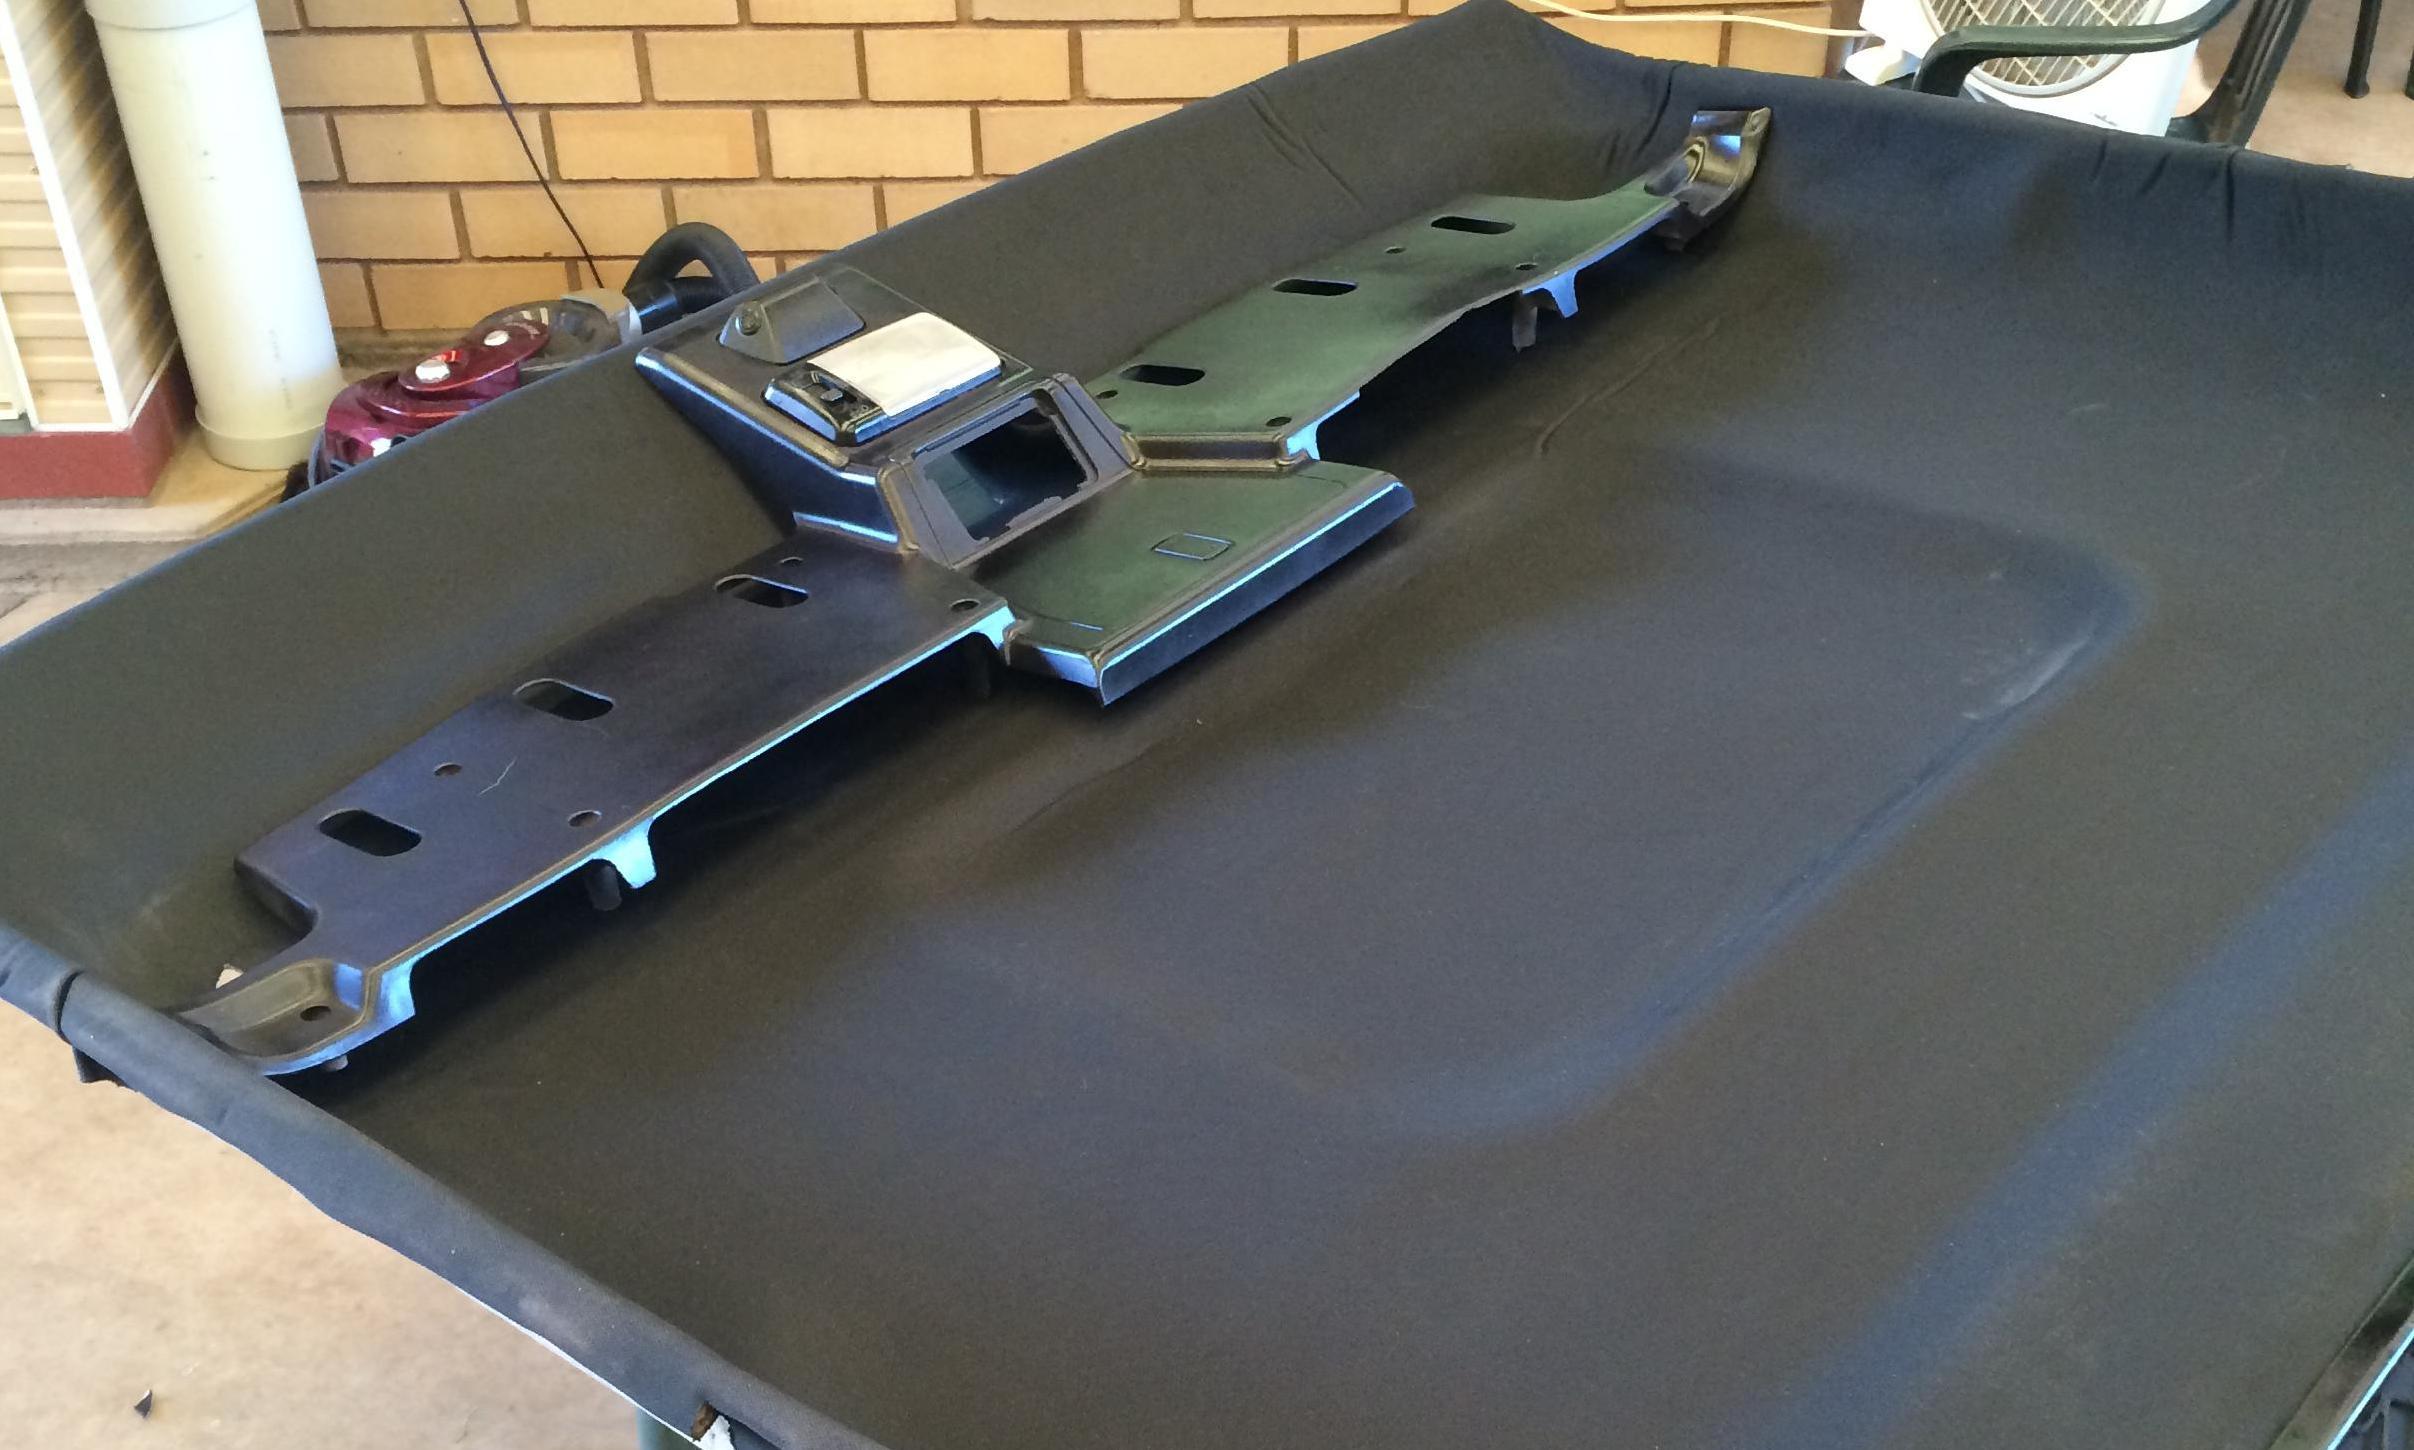
I sprayed down the plastics to match in with the black, i even did the A Pillars (spur of the moment thing, glad i did it too looks great!)
only thing i didnt do is spray the sunvisors, because the fabric (vinyl) type of the sunvisors being so soft it would probably be a bitch to do as it be sticky/tacky. so il have to get the correct type of paint but im tossing up the idea of recovering it, any ideas feel free to comment, havent quite decided so left them kinda looks weird at the moment...
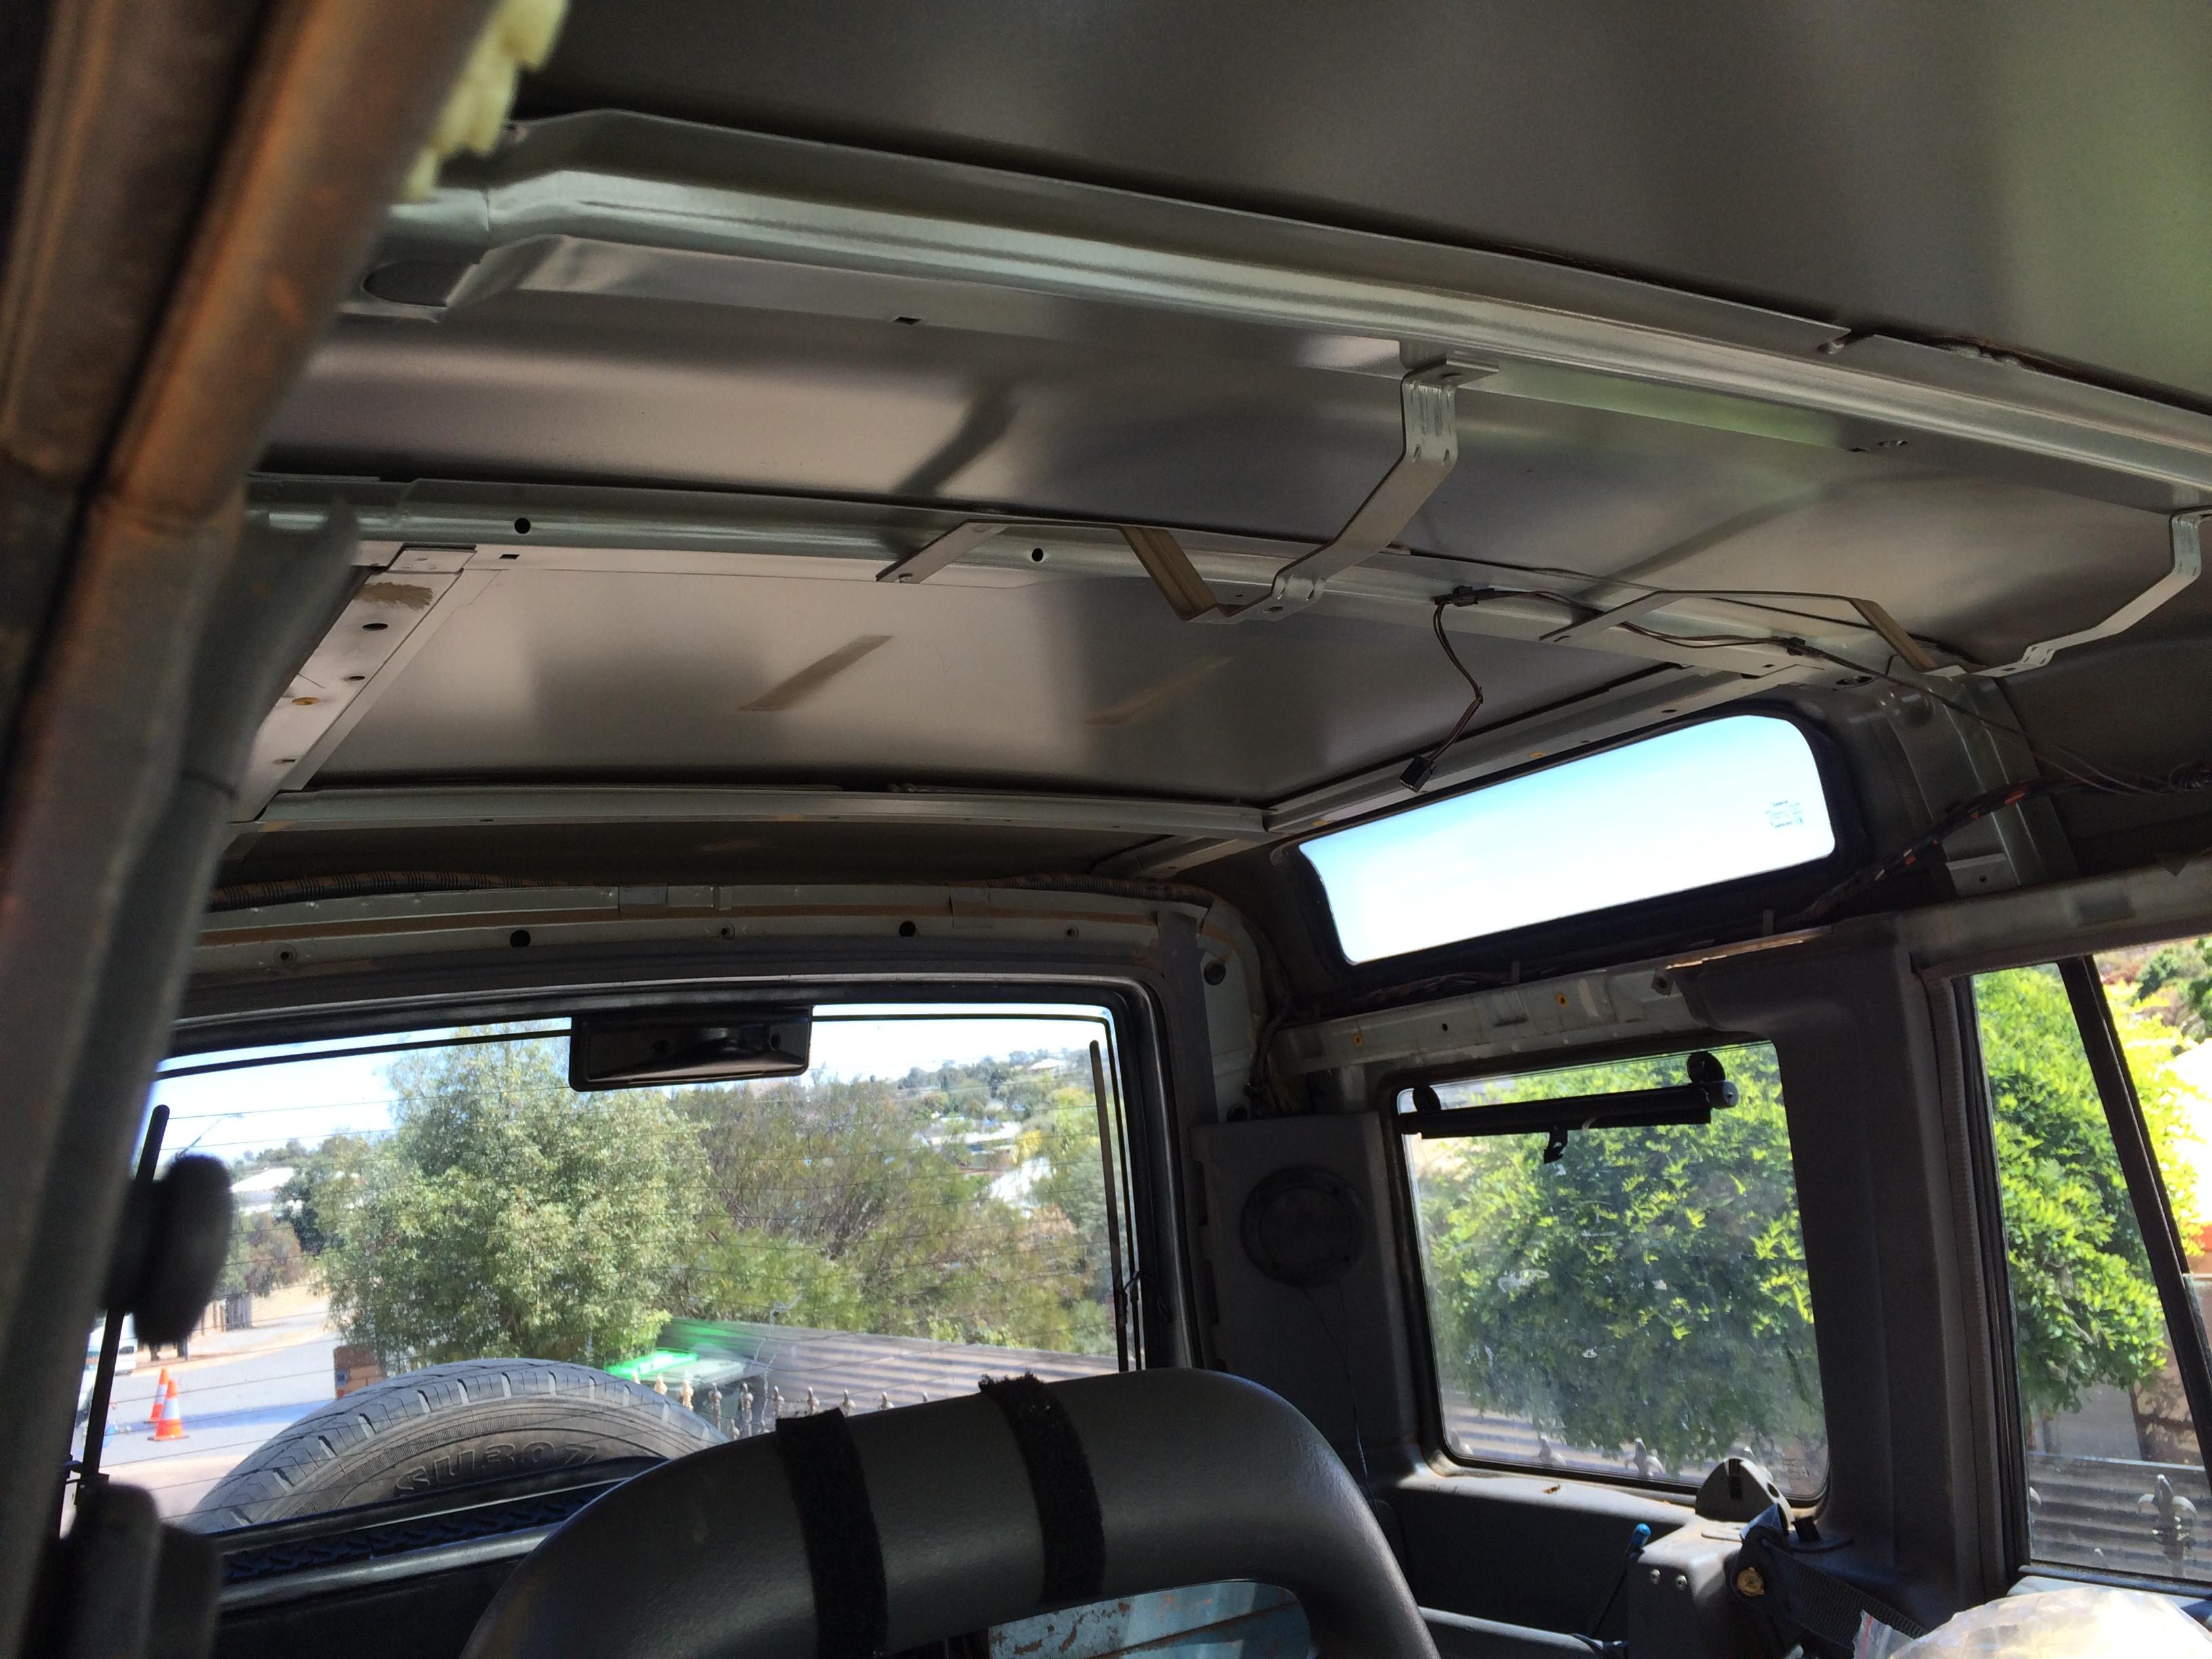
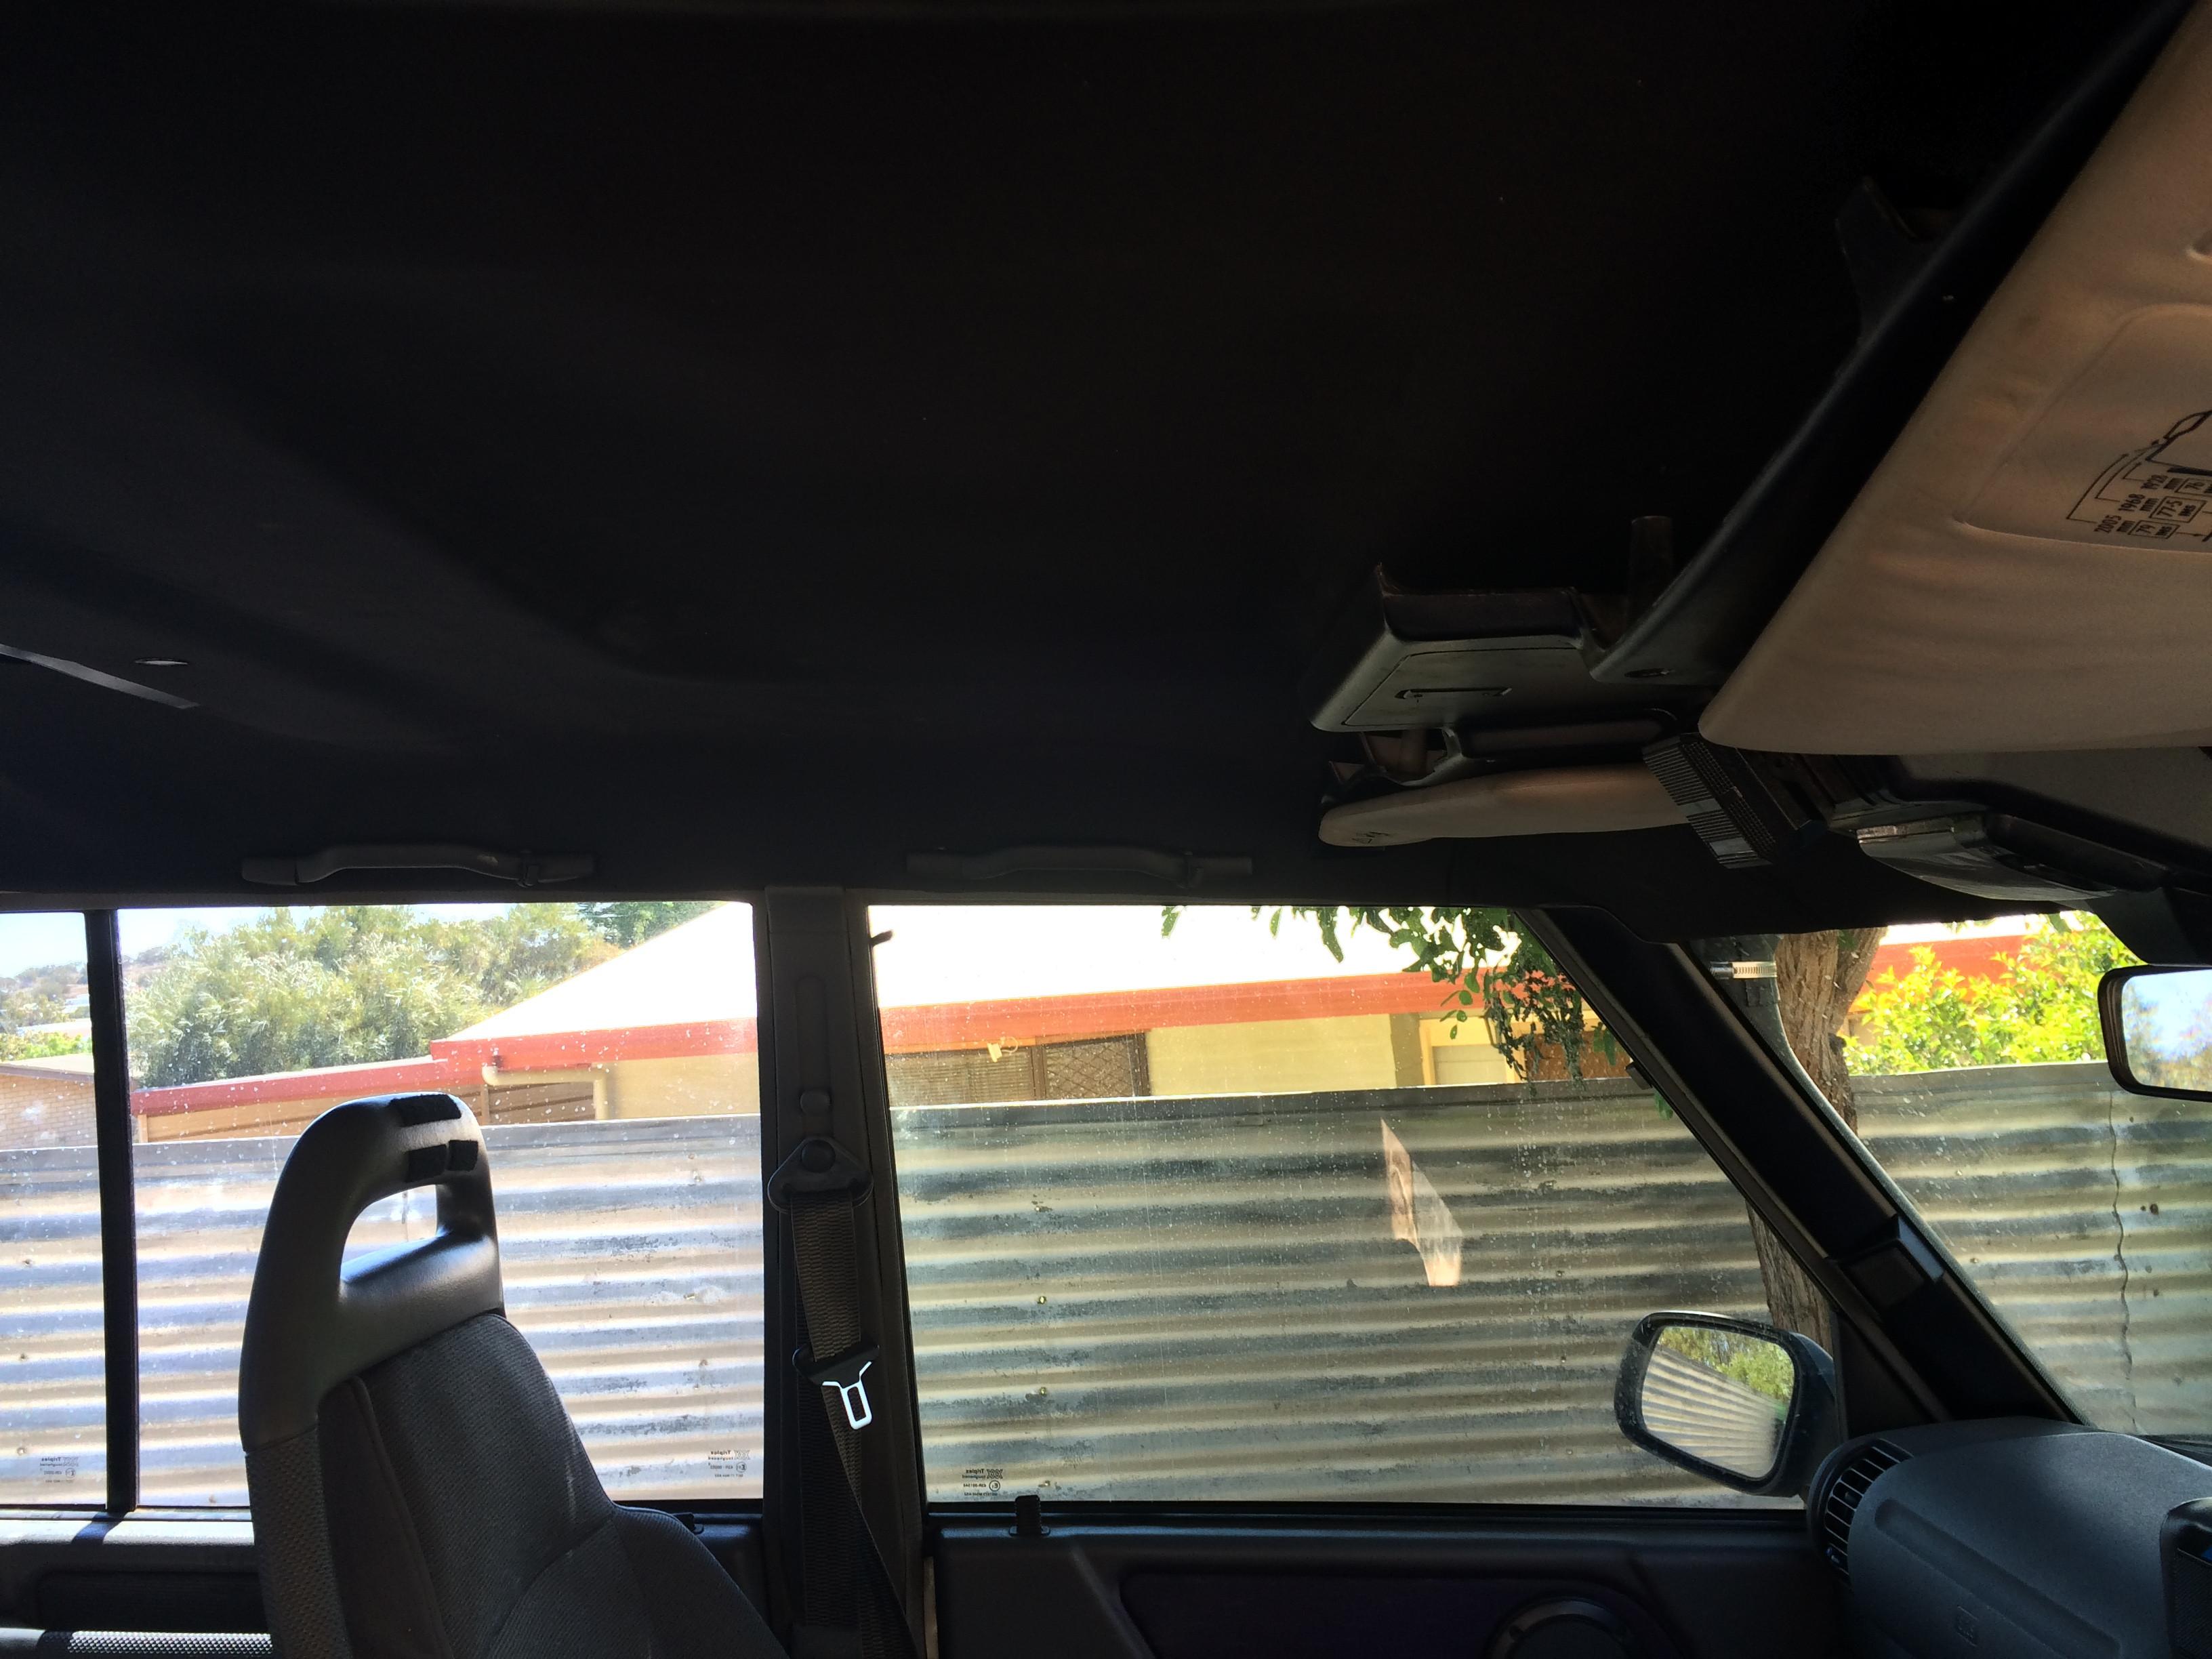
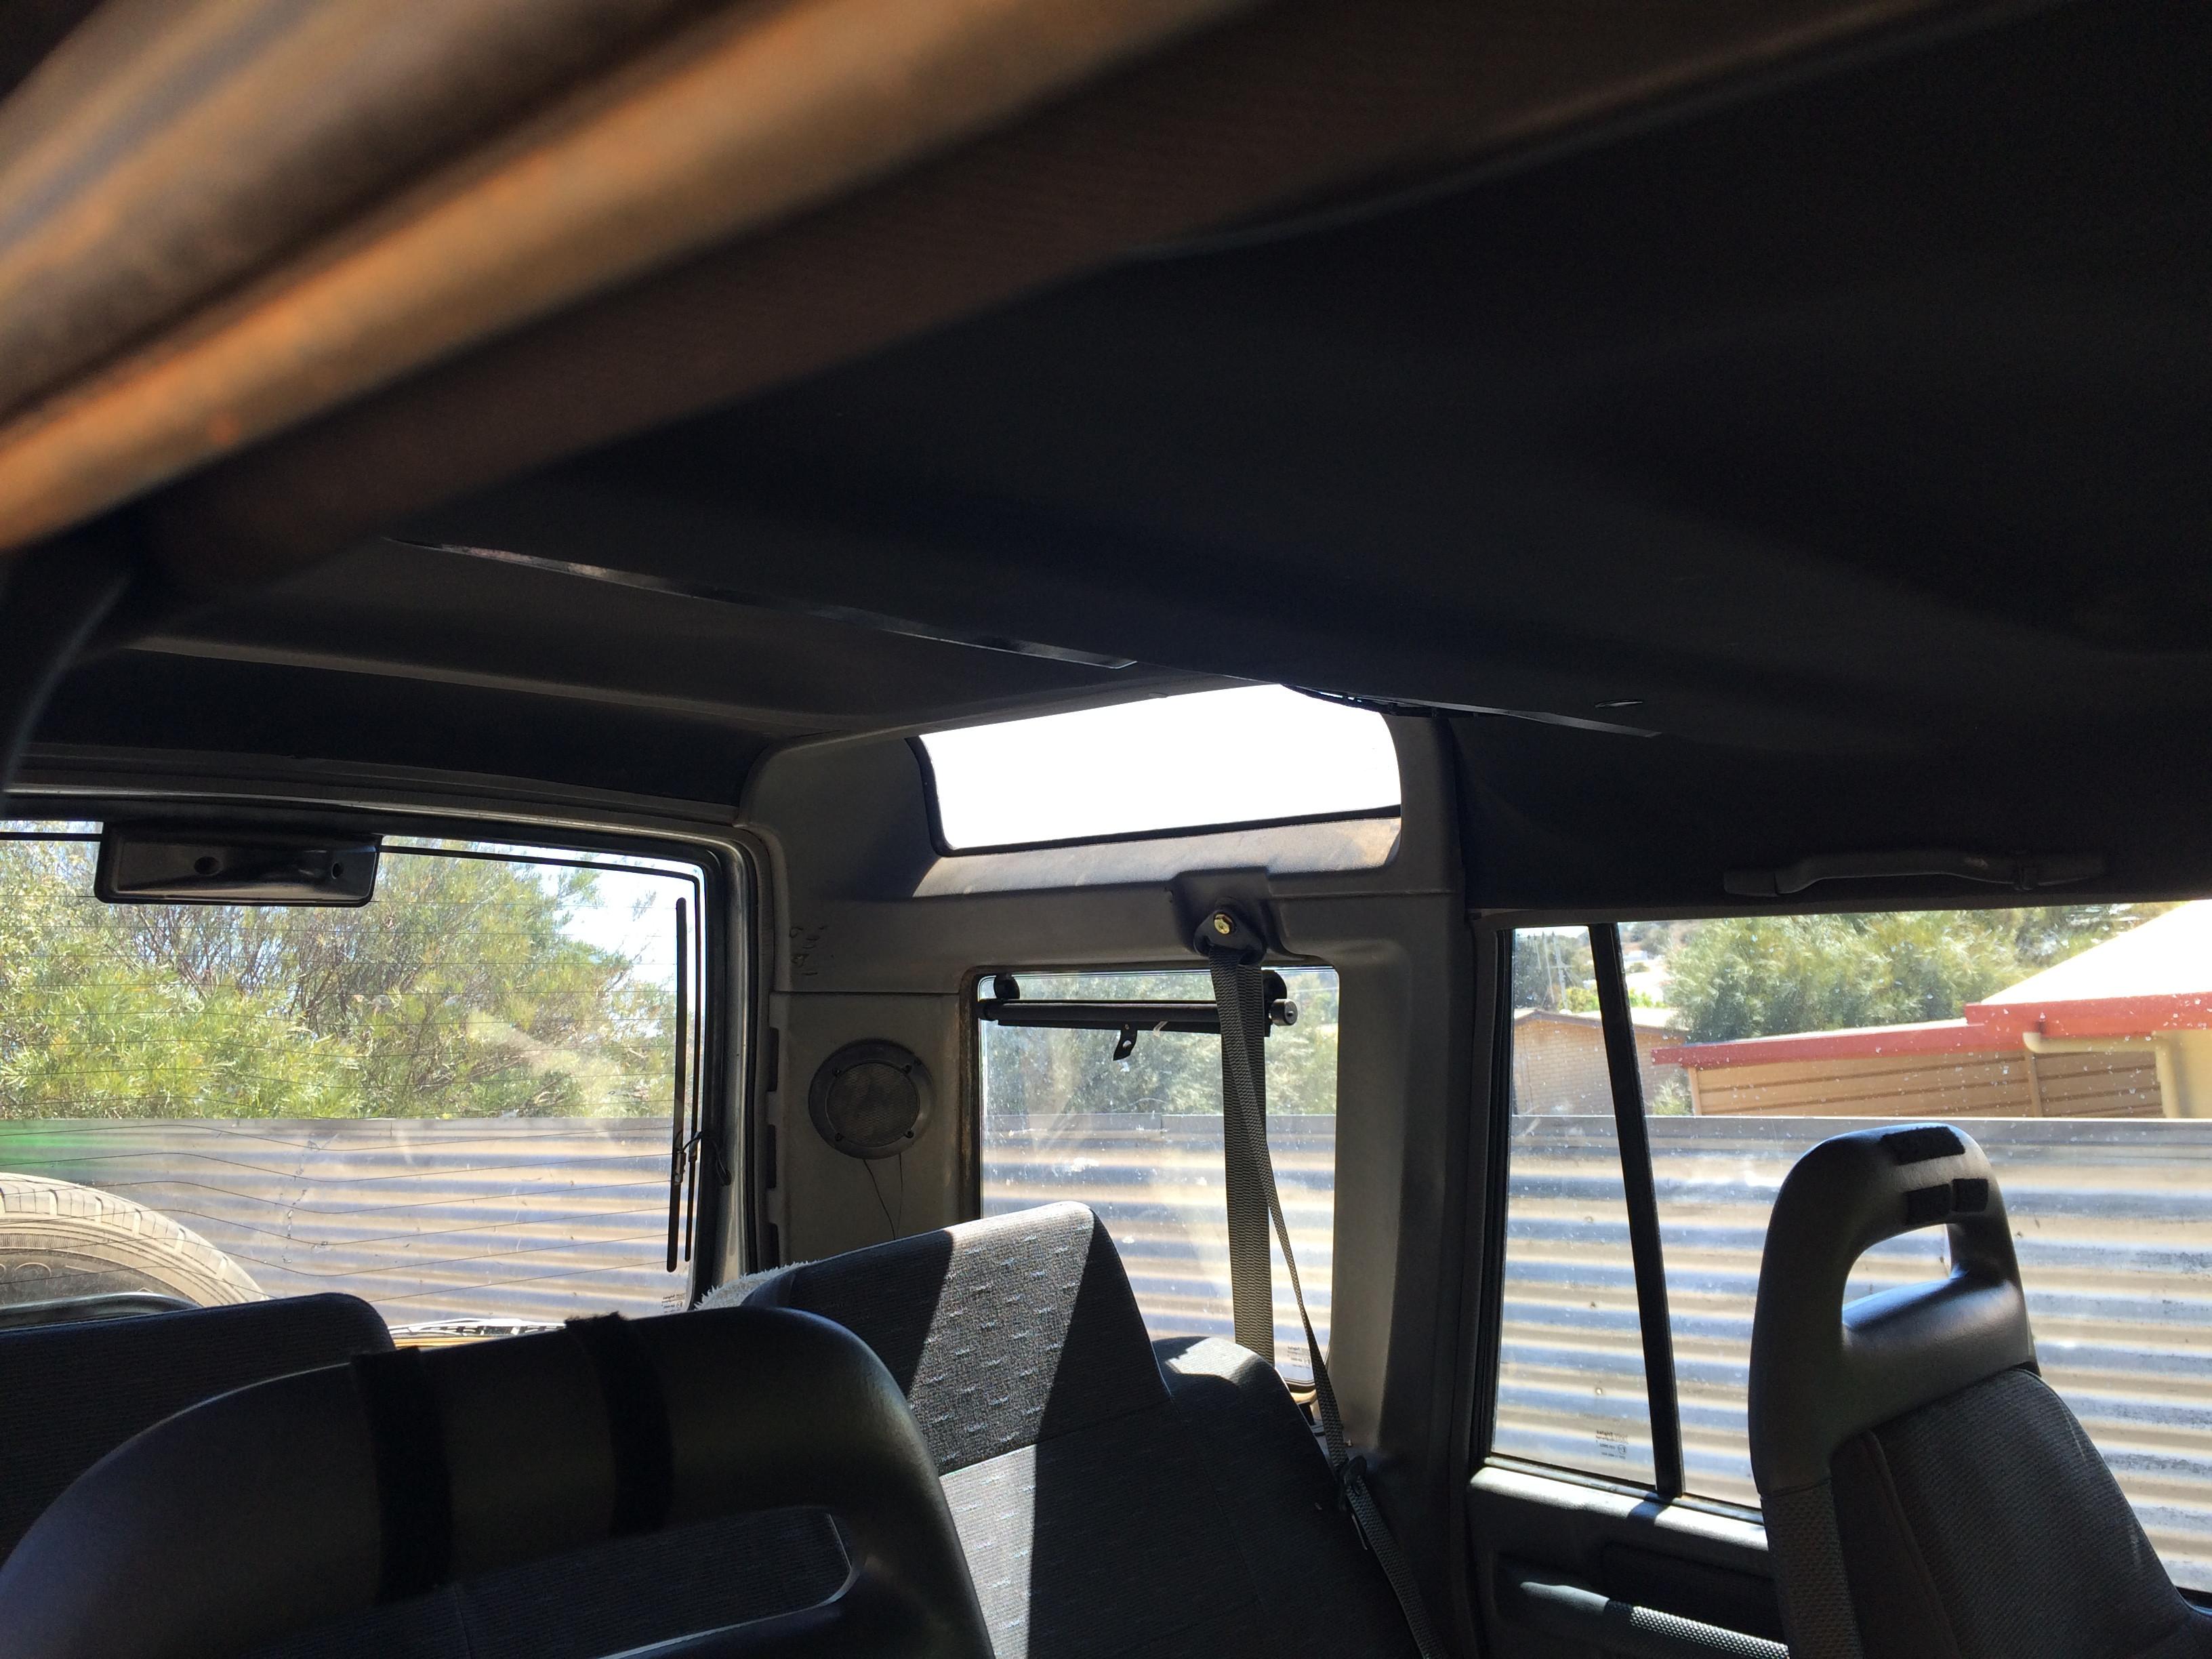
finished result, pictures dont do justice at all, but it looks and feels amazing now feels like iv given it a new life...
any advice i can give you is TAKE YOUR BLOODY TIME! dont rush it, take 3 days like i did... prep is the key, i did it slow taking it out was easy, gluing was easy, putting it back in.......will test your patience.. because the foam backing makes it thicker and harder to reinstall.. i did it all myself until it came to reinstall where i had to have help.
another peice of advice i can give you is whilst the lining is out, pay close attention to the screw holes for your roof console... if they are chewed out like most of mine where, that i didnt realise/notice until refit. made it hard, i however managed with using bigger screws but it was a bitch to do... so these things count. however, il probably never do this again. but that being said, its well worth all the effort. so i probably would do it again
as i am considering recovering all the doors and plastics to add some new life to the aging interior")
 Master
Good job, I did much the same, but primed the lining and painted with colour matched suede paint...looks good also and will never fall off ��
ForumSage
Nice job Silversurfer
Mark
Of all the things I've lost, I miss my mind the most
2015 TDV6 D4.... the latest project... Llams, Traxide, Icom 455, Tuffant Kimberleys and Mofos.... so far.
2012 SDV6 SE D4 with some stuff... gone...
2003 D2a TD5...gone...
2000 D2 V8...gone...
https://bymark.photography
Fossicker
I recently did my D1 but being a bit mean I used polar fleece from Textile Traders. At only $6.99 a metre its cheap! Also it stretches so fitting to the shape is easy, and it's light so the glue holds well. Now around a year in Perth heat without any problems. Colours are beige or a sort of grey, similar to the original lining.
 LordRover
Subscriber
LordRover
SubscriberAnd if you get cold you can snuggle up to your head liningOriginally Posted by angus1

.
MY08 TDV6 SE D3- permagrin ooh yeah
2004 Jayco Freedom tin tent
1998 Triumph Daytona T595
1974 VW Kombi bus
1958 Holden FC special sedan
LordRover
SubscriberHow about a pic Gary, i've got to do mine and a textured paint would be ideal.
MY08 TDV6 SE D3- permagrin ooh yeah
2004 Jayco Freedom tin tent
1998 Triumph Daytona T595
1974 VW Kombi bus
1958 Holden FC special sedan
Master
Hi, if you try this link hopefully it will take youto some pictures.Gary
LROCWA Forum
 Posting Permissions
| Search AULRO.com ONLY! |
Search All the Web! |
|---|
|
|
|
Bookmarks