
Originally Posted by
gusthedog

Also, was just reading urban panzer's very helpful website (
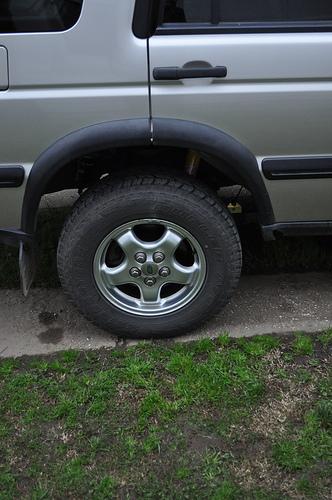
www.discovery2.co.uk / 2" Suspension lift) and he talks about needing longer brake lines for a 2 inch lift. Anyone else found this?
I also plan on testing the flex with a high lift jack so I can see if the brake lines are getting too much tension and see if the crossmember needs spacing while I'm at it.
Providing you install the brake line extension brackets, there is no need to replace the brake lines for a 2" lift.
Having said that, I have bought a set of extended brake lines which I will fit when my brakes need doing.
I understand they they improve brake response.
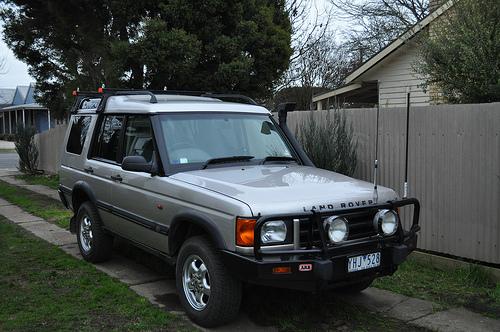
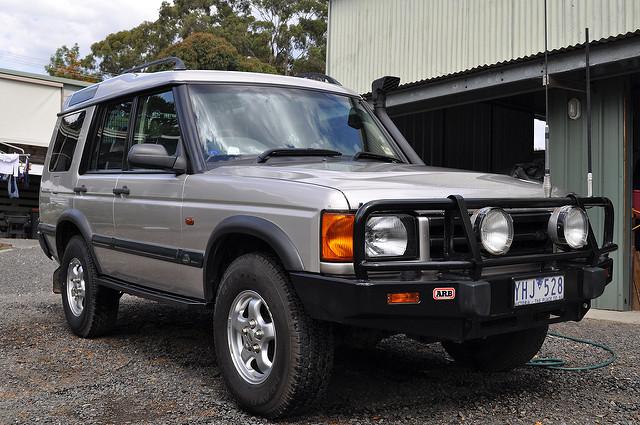
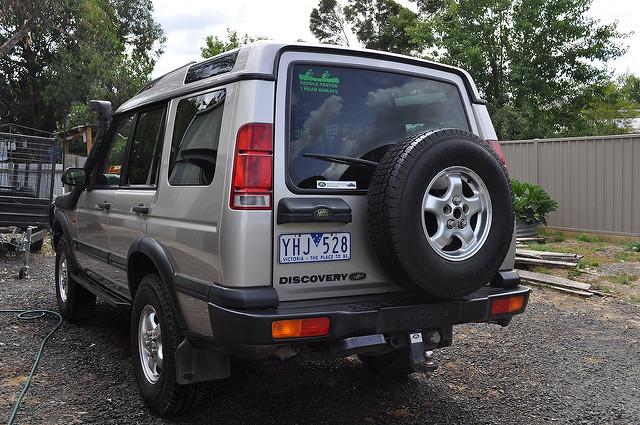
2002 D2 4.6L V8 Auto SLS+2" ACE CDL Truetrac(F) Nanocom(V8 only)


 Reply With Quote


")

Bookmarks