
Originally Posted by
RisingSun

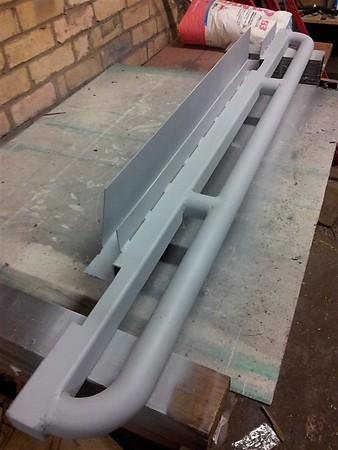
So I have finally got around to assembling and fitting my Side Steps / Rock Protection.
After a few little hiccups and some modification on the run, they stick out a bit more then I would have liked, but still very happy. Good Solid platform for the kids and wife to scramble in and out on, and perfect for reaching the roof.
Just doing some road testing to see if I need to do any more modification before I throw on some paint (Polymer Body Deadener, hopefully should be a bit more resistant to stone chips, scraps etc).


 Reply With Quote
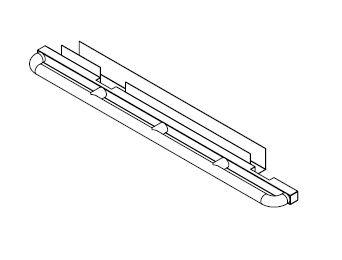

Bookmarks