Page 4 of 7 FirstFirst ... 23456 ... LastLast
Results 31 to 40 of 63

Thread: ICom IC-450N installation plan

  1. #31
    LRD414's Avatar
    LRD414 is offline Super Moderator Subscriber
    Join Date
    Oct 2014
    Location
    Brisbane
    Posts
    3,737
    Total Downloaded
    0
    Quote Originally Posted by l00kin4 View Post
    Nice Scott. Liking your idea here of using the cup holder I installed the RJ45 microphone socket as per below. I must confess the drilling, cutting and filing is not my finest work but happy with the position of the socket and the drip tray underneath stays in place. If I was doing it again (and I might just to make it a bit tidier - depends how much another cup holder will cost!) I'd probably try to mount the socket so it is positioned at a ~45 degree angle through the side of the cup holder - this would take more careful cutting and gluing probably.
    That's pretty good David. Positioned at 45 degrees will be tough to make neat I think but would be the best setup.

    Cup Holder Part Number: LR013415
    $75 delivered from lrdirect.com (shipping is a killer, part cost less than $40)
    There are some eBay options too.

    I'm considering a new cupholder because two of the metal clips have broken on mine and you apparently can't buy them individually.

    Cheers,
    Scott
    D4 TDV6 MY14 with Llams, Tuffant Wheels, Traxide DBS, APT sliders & protection plates, Prospeed Winch Mount w/ Carbon 12K, Mitch Hitch & Drifta Drawers
    Link to my D4 Build Thread
    D3 2005 V8 Petrol
    Ex '77 RRC 2 door. Long gone but not forgotten.

  2. #32
    Join Date
    Nov 2014
    Location
    WA
    Posts
    126
    Total Downloaded
    0
    G'day all,

    Here's my completed install. Really happy with it. Took inspiration from various people along the way so thought I'd share for anyones future reference.

    The main unit is mounted under the passenger seat as per my previous post HERE.

    The antenna mount was very easy to make and is ideally suited to the antenna I was recommended when purchasing given it's right angle attachment. Again, details of this model are in my previous post.

    For the handheld, the extension cable runs under the back of the centre console which for those planning to attempt has an obvious 'step up' on each side where its easy to feed through. I've mounted it on the inside of the centre console with double sided tape. The seat only just presses against it too, so that helps it from trying to fall off.

    I took other's recommendations and bought the Brodit centre console brackets from DSL Developments in the UK. Great fit and easy to put on and off as you require, no need to use the double sided tape if you just want to use when touring. I ended up buying one for each side, and we've mounted a Garmin swivel on the other side which after thinking about doing factory stereo integration is really all I need (and very cheap!). I like the Garmin platform for my waypoints and offroad mapping and having on this mount only when touring is the best of both worlds.
    Attached Images Attached Images

  3. #33
    Join Date
    Nov 2014
    Location
    WA
    Posts
    126
    Total Downloaded
    0
    Last pic.
    The reason I went with that spot for the extension cable is when you pick up the hand piece to talk you don't need to pull on the coil cable much to get the reach, unless its the passenger that wants to talk.

    Also, others have discussed the Brodit clip sitting in a spot where you rest your left knee. I'm 6 foot and my knee sits above and behind it, though for those with shorter legs it might be at the same height.
    Attached Images Attached Images

  4. #34
    Join Date
    Mar 2015
    Location
    Mona Vale, NSW
    Posts
    179
    Total Downloaded
    0
    Quote Originally Posted by strydes View Post

    I've just started my install. I also used the passenger side empty bracket though went for a more low-tech setup.
    I have mounted my Icom IC-450 in same position (see photo). Just had to 'enlarge' some of the cutouts on the Icom supplied mounting tray to allow a couple of M6x10 Button heads for a near perfect fit.

    Did you run the power and antenna cables thru the bottom of the centre console, or along the passenger door sill, I assume the former?

    Icom 450 under seat.jpg
    From 2nd row passengers footwell looking forward
    MY23 D300 SE Silicon Silver
    2014 MY15 D4 3.0 SDV6 HSE (Sold)
    Complete Campsites Exodus 14 Camper Trailer
    2015 Triumph Tiger XRT

  5. #35
    LRD414's Avatar
    LRD414 is offline Super Moderator Subscriber
    Join Date
    Oct 2014
    Location
    Brisbane
    Posts
    3,737
    Total Downloaded
    0
    Quote Originally Posted by laughto View Post
    Did you run the power and antenna cables thru the bottom of the centre console, or along the passenger door sill, I assume the former?
    I ran the antenna cable through the firewall grommet just above steering column, same one as used for Traxide rear power cable and TowPro cables.
    UHF power was spliced off the Traxide cable so that the UHF can be powered with vehicle off but if you're running power from cranking battery then the same firewall grommet would suit.

    Once inside the cabin behind the steering wheel it is relatively simple to pass cables across to passenger side behind the centre console because there is a large void back there.
    Then you can run along the bottom edge of the floor console until you're beside the passenger seat and then duck under to your head unit.

    Scott
    D4 TDV6 MY14 with Llams, Tuffant Wheels, Traxide DBS, APT sliders & protection plates, Prospeed Winch Mount w/ Carbon 12K, Mitch Hitch & Drifta Drawers
    Link to my D4 Build Thread
    D3 2005 V8 Petrol
    Ex '77 RRC 2 door. Long gone but not forgotten.

  6. #36
    Join Date
    Mar 2015
    Location
    Mona Vale, NSW
    Posts
    179
    Total Downloaded
    0
    Quote Originally Posted by LRD414 View Post
    I ran the antenna cable through the firewall grommet just above steering column, same one as used for Traxide rear power cable and TowPro cables.
    UHF power was spliced off the Traxide cable so that the UHF can be powered with vehicle off but if you're running power from cranking battery then the same firewall grommet would suit.

    Once inside the cabin behind the steering wheel it is relatively simple to pass cables across to passenger side behind the centre console because there is a large void back there.
    Then you can run along the bottom edge of the floor console until you're beside the passenger seat and then duck under to your head unit.

    Scott
    I am always very nervous about pulling things apart for fear of not being able to get them back together again, or worse still pulling too hard on something and breaking a connector which I invariably do. Getting access to the firewall from inside the vehicle is my next challenge i.e. what to remove from under the drivers side near steering column etc to expose the ingress point.

    BTW, there must also be an ingress point on the left hand side of the firewall as this is where the cabling for my Anderson plug is run. This is behind the battery box, but is not clearly visible.

    I'll try to get a bit braver and have a crack at this tomorrow
    MY23 D300 SE Silicon Silver
    2014 MY15 D4 3.0 SDV6 HSE (Sold)
    Complete Campsites Exodus 14 Camper Trailer
    2015 Triumph Tiger XRT

  7. #37
    LRD414's Avatar
    LRD414 is offline Super Moderator Subscriber
    Join Date
    Oct 2014
    Location
    Brisbane
    Posts
    3,737
    Total Downloaded
    0
    Quote Originally Posted by laughto View Post
    I am always very nervous about pulling things apart for fear of not being able to get them back together again, or worse still pulling too hard on something and breaking a connector which I invariably do. Getting access to the firewall from inside the vehicle is my next challenge i.e. what to remove from under the drivers side near steering column etc to expose the ingress point.

    BTW, there must also be an ingress point on the left hand side of the firewall as this is where the cabling for my Anderson plug is run. This is behind the battery box, but is not clearly visible.
    I know how you feel but it's not as hard as you think.
    The panel under steering column just pulls outwards when grabbed near the top.
    Only issue: the metal clips can easily spring off and get lost. Usually easy to find once you remove the smaller panel below that one, which you will need to do to pass cables across behind the console.

    The driver side grommet is easy to find and use. There's a couple of good photos in the D4 Electric Brake thread that I've copied here:
    http://www.aulro.com/afvb/d3-d4-rrs/...-brakes-4.html
    Looking from engine bay


    Looking up from driver footwell once panel is removed


    Partially shows steering column panel pulled open, one of two metal clips visible


    Cheers,
    Scott
    D4 TDV6 MY14 with Llams, Tuffant Wheels, Traxide DBS, APT sliders & protection plates, Prospeed Winch Mount w/ Carbon 12K, Mitch Hitch & Drifta Drawers
    Link to my D4 Build Thread
    D3 2005 V8 Petrol
    Ex '77 RRC 2 door. Long gone but not forgotten.

  8. #38
    Join Date
    Feb 2009
    Location
    Melbourne
    Posts
    1,201
    Total Downloaded
    0
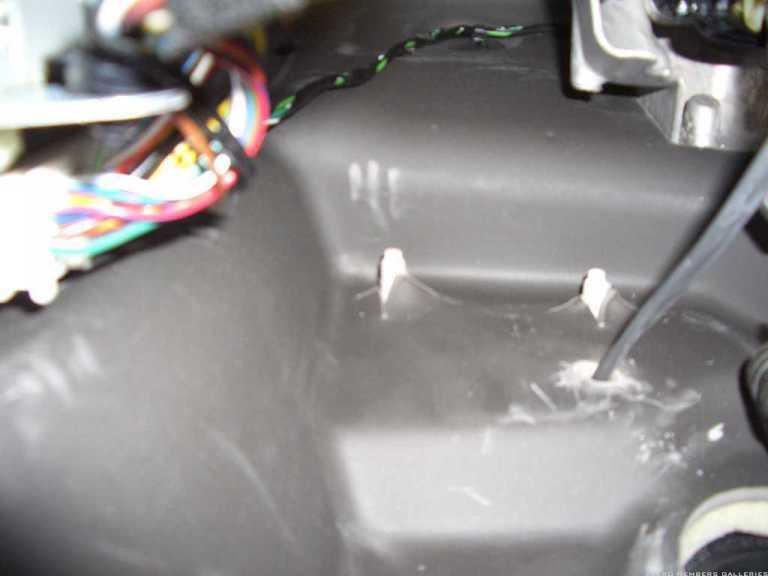
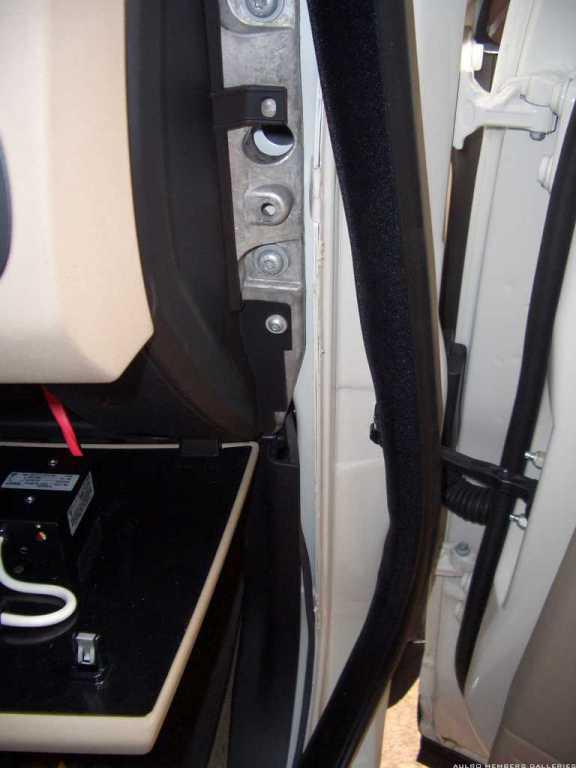
    Yeah where is that passenger side access?

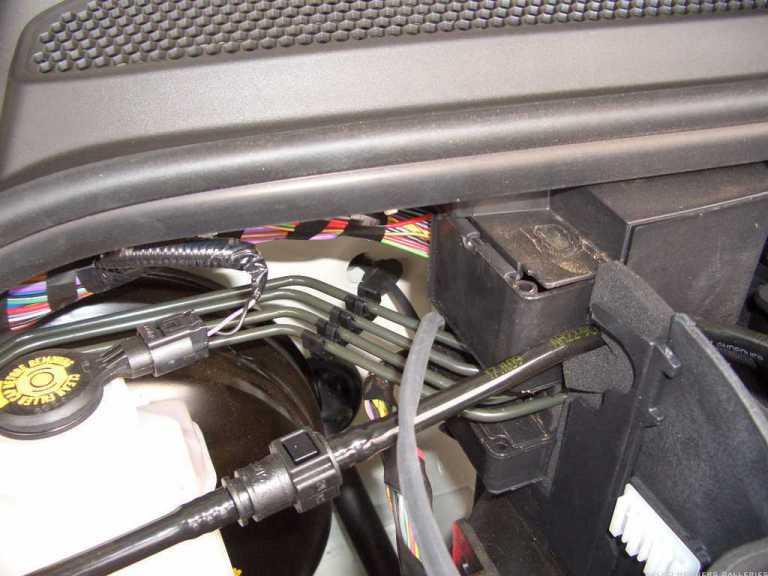
    I want to run permanent power from the second battery to a terminal block behind the glovebox (a la BMKal) for things like the UHF and dash cam, but I don't want to have to go right across the engine bay and back again - plus the driver side grommet is already getting crowded with brake controller and rear power from the second battery (perhaps I should just splice into that and be done with it?).
    Now 2016 D4 HSE 'Leo' and Steve the Triumph Speed Twin
    Then 2010 D4 3.0 HSE 'James'
    Then 2010 RRS TDV8 'Roger' w traxide DBS, UHF, Cooper Zeons, Superchips remap
    Then 2010 D4 TDV6 'Jumbo' w traxide DBS
    First love 2002 D2 TD5 'Disco Stu'

  9. #39
    Join Date
    Feb 2004
    Location
    Williams West Aust
    Posts
    20,998
    Total Downloaded
    0
    Strydes,or anybody else.
    Is the handpeice extension a generic cable or is it a special Icom product???
    Mine is on the short side too.
    Andrew
    DISCOVERY IS TO BE DISOWNED
    Midlife Crisis.Im going to get stuck into mine early and ENJOY it.
    Snow White MY14 TDV6 D4
    Alotta Fagina MY14 CAT 12M Motor Grader
    2003 Stacer 525 Sea Master Sport
    I made the 1 millionth AULRO post

  10. #40
    Join Date
    Jan 2015
    Location
    Sydney
    Posts
    899
    Total Downloaded
    0
    Quote Originally Posted by LandyAndy View Post
    Strydes,or anybody else.
    Is the handpeice extension a generic cable or is it a special Icom product???
    Mine is on the short side too.
    Andrew
    Hi Andrew,

    It is an Icom extension cable but not that special. You could use any Ethernet extension cable with a male RJ45 one end and female RJ45 on the other. Something like this:
    1 5M 5ft Ethernet LAN Male TO Female Network Cable RJ45 Extension Extender Cord | eBay

    Or a normal Male to Male RJ45 Ethernet cable with a coupler like this:
    1 PC Simple Useful RJ45 CAT 5 5E Ethernet LAN Cable Joiner Coupler Connector FT5 | eBay

    Just examples as not sure what length you need... Main issue is where you mount the RJ45 female or coupler- they are a bit chunky!

    Cheers,
    David
    Everything is easy when someone else is doing it
    MY14 SDV6 SE Corris Grey
    Compomotive 18s : D697s : Traxide DBS : LLAMS : ARB compressor : IC-455
    Rhino Platform : GOE compressor, Tx & front bash plates, deluxe sliders

Page 4 of 7 FirstFirst ... 23456 ... LastLast

Bookmarks

Bookmarks

Posting Permissions

  • You may not post new threads
  • You may not post replies
  • You may not post attachments
  • You may not edit your posts
  •  
Search AULRO.com ONLY!
Search All the Web!