


 Reply With Quote
Yes. They're a very soft fitting... but easy to use.

 Master
Thanks Tombie,Originally Posted by Tombie

I did try soft jaws but mine were a bit too soft (silicone/rubber type) so the fitting spun under tension. I then taped it but I guess not enough so it did still mark slightly through the tape. I just didn't realise how soft those fittings are. Lesson learned!
David
Everything is easy when someone else is doing it
MY14 SDV6 SE Corris Grey
Compomotive 18s : D697s : Traxide DBS : LLAMS : ARB compressor : IC-455
Rhino Platform : GOE compressor, Tx & front bash plates, deluxe sliders
Yes. They're a very soft fitting... but easy to use.
Master
Finally got around to finishing this job over the last few weekends. I had to wait a while until a reasonably priced OEM EAS air tank came up and I picked up a new one on ebay. Overkill but I ran Teflon hose all the way through.
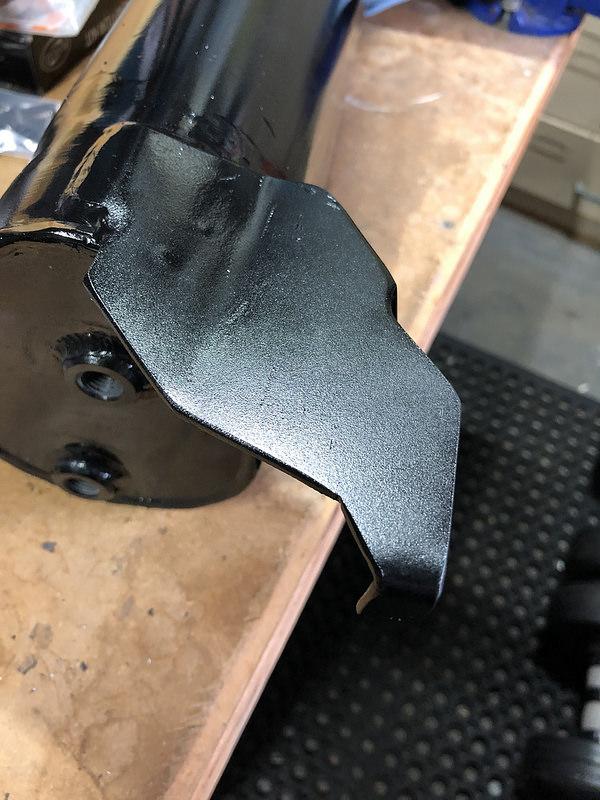
Following Wiggs approach linked above I had the front bracket modified to mirror image of its original position and then added the ports I needed - 2 at the front, 1 inlet and 1 low for a drain. Being a pressure vessel I didn't trust myself with the welding so had this done for me by an expert.
The original brass Voss fitting Pirtek tapped out to 1/4 BSP for me and I added the AN6 male I wanted to connect the hose for the rear outlet.
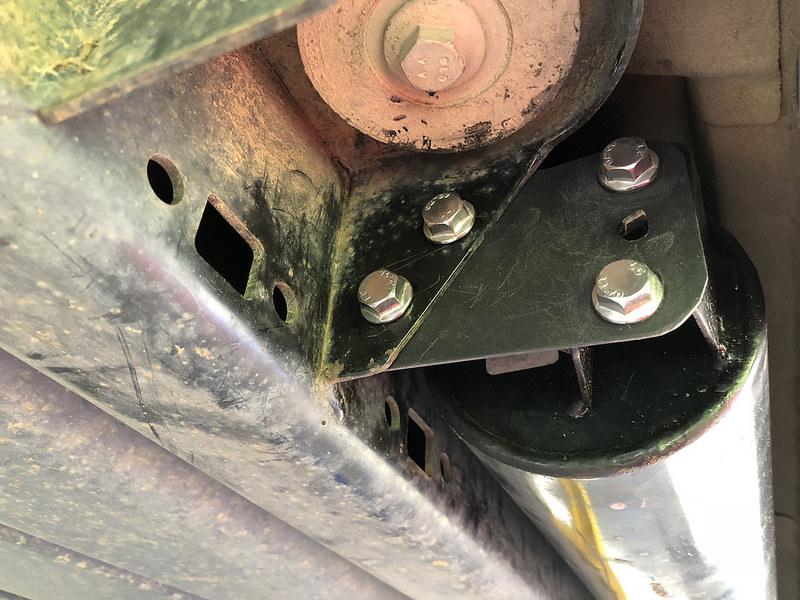
The rear bracket I made up myself. The mounting on a D4 is a bit easier than in Wiggs' case on the D3 as the D4 bracket on the chassis rail has a bit more 'meat' to it.
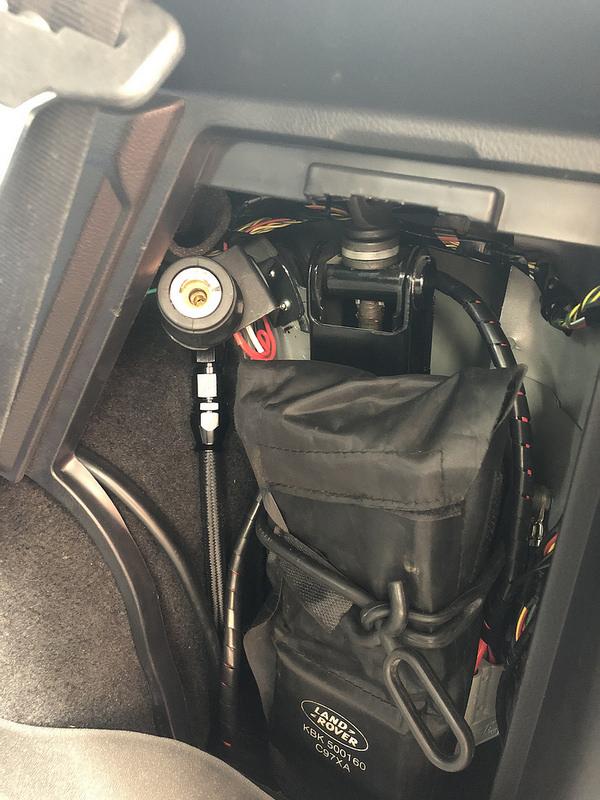
The air hose runs from a tee in the engine bay down the firewall to the front of the tank and from the rear of the tank pretty much along the top of the chassis rail and then across to a nice 25mm unoccupied hole I found in the bottom of the driver's side cubby in the cargo area. I used a couple of large mudguard washers with a sikaflex seal to put an AN6 bulkhead fitting in this hole.
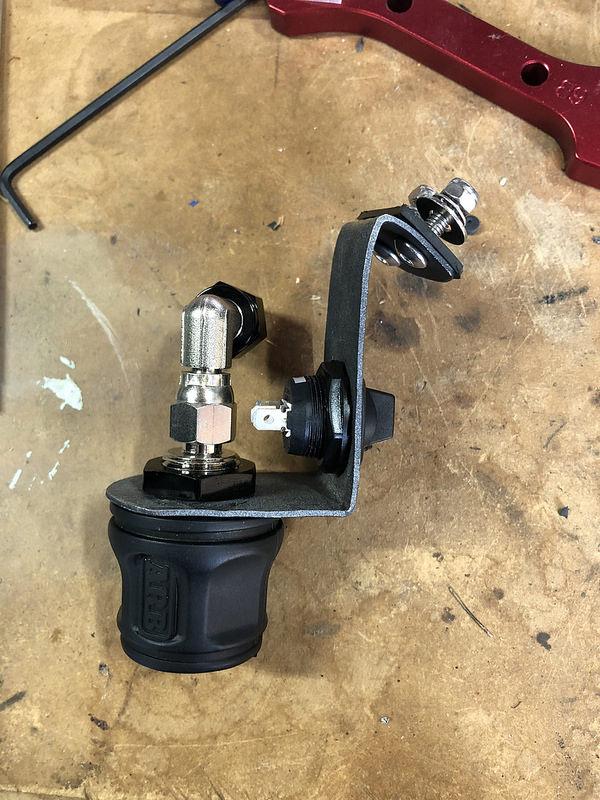
I added a bracket in the cubby with the ARB air outlet and a second switch. This is bolted through the pinchweld seam above the wheel arch. Accessing the hole (which is above the rear muffler) from under the car is a bit fiddly and getting the foam piece that the jack sits in in and out of the cubby is quite painful.
Not much to look at but makes accessing the air at the rear really easy. Even when touring, my fridge cage is in the spot and access to this cubby is still good. I haven't done a comparison of the inflation time yet pre and post tank installation but will report back on this later. Something I hadn't really thought of but a nice incidental benefit - this setup is crazily good for inflating footballs before training the kids!
There are obviously a lot more fiddly details I'm happy to share if anyone is interested.
David
Everything is easy when someone else is doing it
MY14 SDV6 SE Corris Grey
Compomotive 18s : D697s : Traxide DBS : LLAMS : ARB compressor : IC-455
Rhino Platform : GOE compressor, Tx & front bash plates, deluxe sliders
OldBushie
Excellent work David,, thanks for sharing.
Master
A small update. I decided to add a switch for the compressor in the light switch panel. I figured since I always have the engine running when the compressor is running, having the switch in the dash made sense.
I left the existing switch I installed under the bonnet as is and just added this new one. I think it is a reasonable match
IMG_0961.jpg
For reference the switch is this one: SPST Ultra Mini Rocker Switch | Jaycar Electronics
David
Everything is easy when someone else is doing it
MY14 SDV6 SE Corris Grey
Compomotive 18s : D697s : Traxide DBS : LLAMS : ARB compressor : IC-455
Rhino Platform : GOE compressor, Tx & front bash plates, deluxe sliders
 Posting Permissions
| Search AULRO.com ONLY! |
Search All the Web! |
|---|
|
|
|

Bookmarks