

 Reply With Quote
And a bonus - 2 x 10 litre oil drums hold them at the exact height needed")

 Master
I recently bought sliders from APT (with the steel under plate as Scott had requested of them).
I read up and noticed no-one seems to have done a write up on how to install them, so thought I would to save people some time and stress.
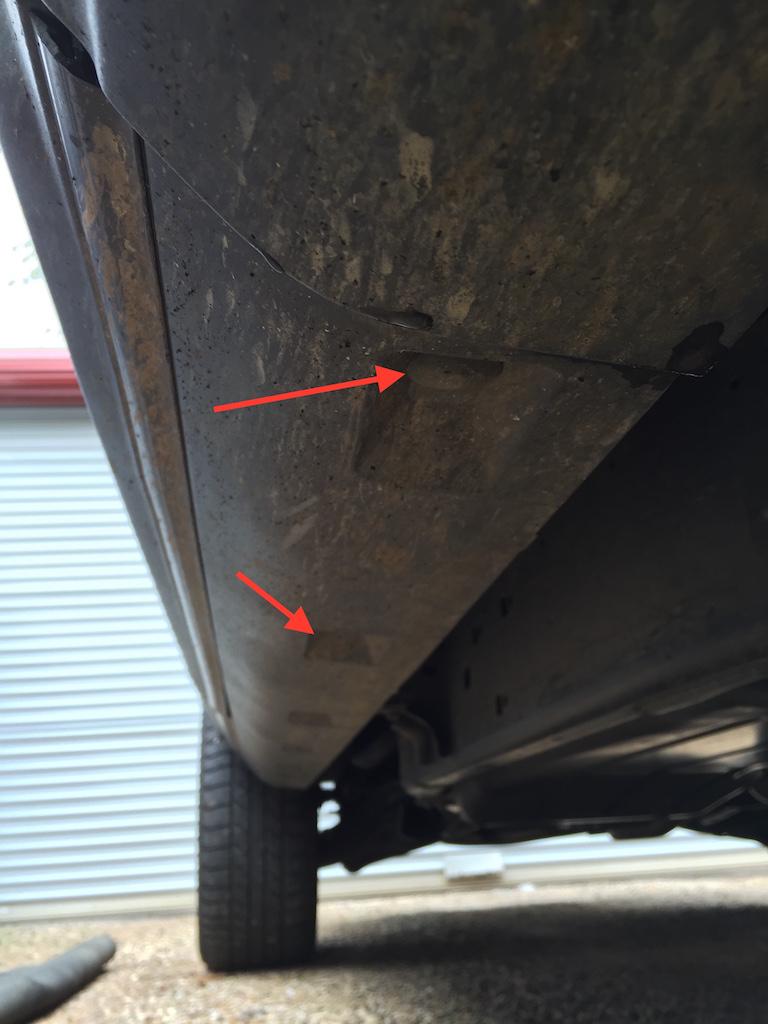
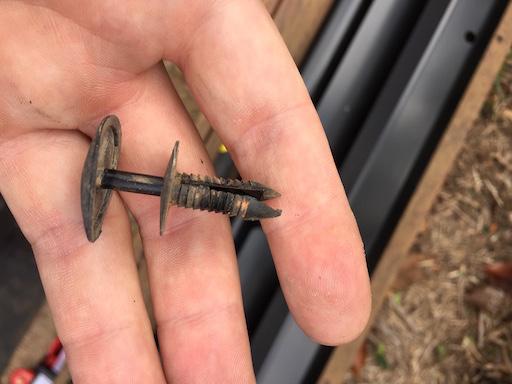
First thing you need to do it remove the 7 plugs holding the plastic guard on underneath. Unless your car is new wear safety glasses or you're going to cop an eyefull of your last trip!
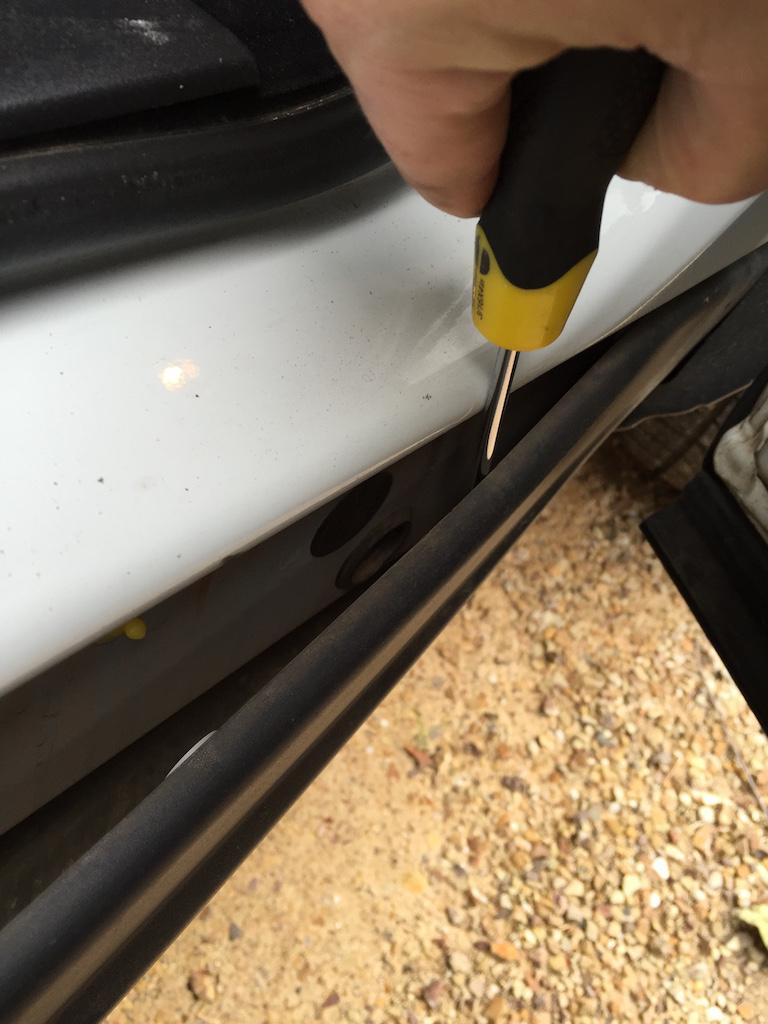
A screwdriver underneath will do the job, you'll find it easier if you take the center cap out first and the spacer will then just pull out.
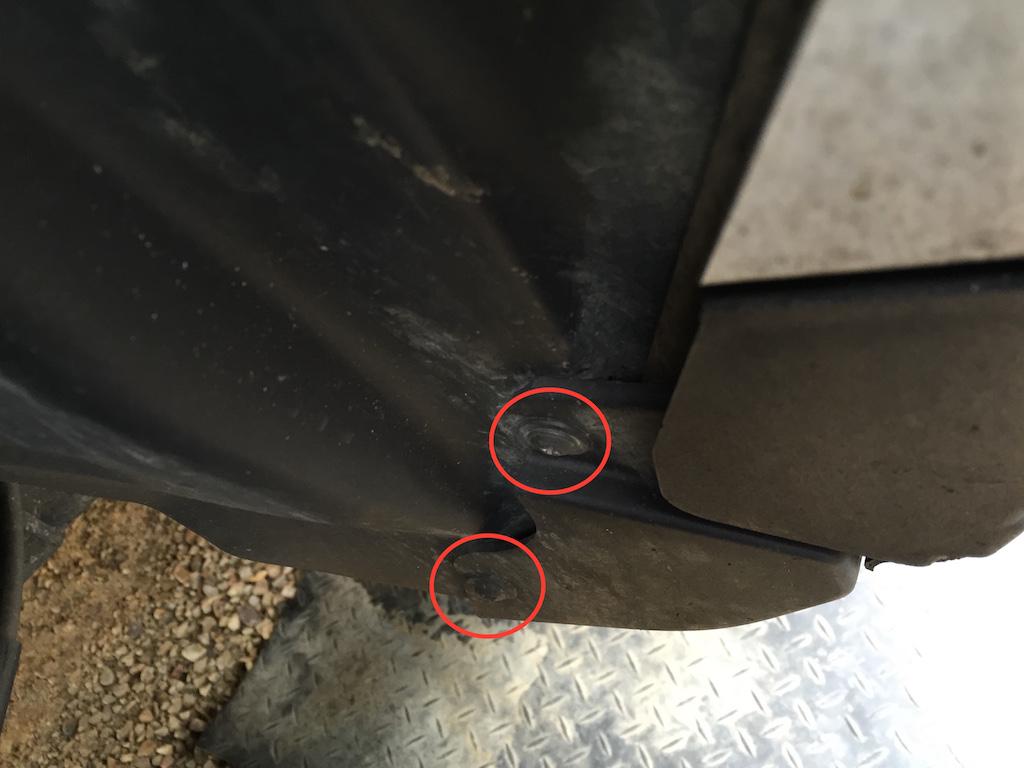
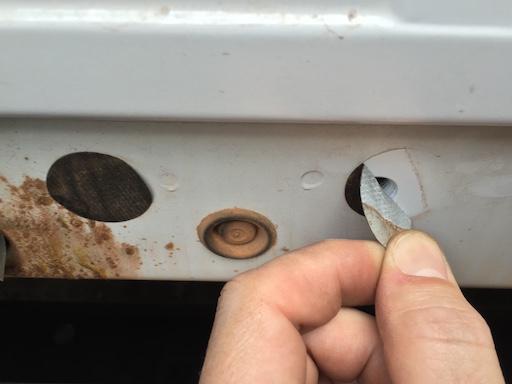
Next you'll find a phillips head screw right near the front arch, loosen it halfway so you can get some play in the front guard. Then remove the two phillips head screws inside the rear guard arch, circled here :
Now work the guard away from the car so it pops off it's lugs. Again the screwdriver might be needed here, otherwise some brute force. The rougher you are the cleaner it comes away.
Lay your slider next to the car so you can line up the holes (triangle tab to the rear), and remove the stick-on covers from the bolt holes you're going to use to mount onto the chassis.
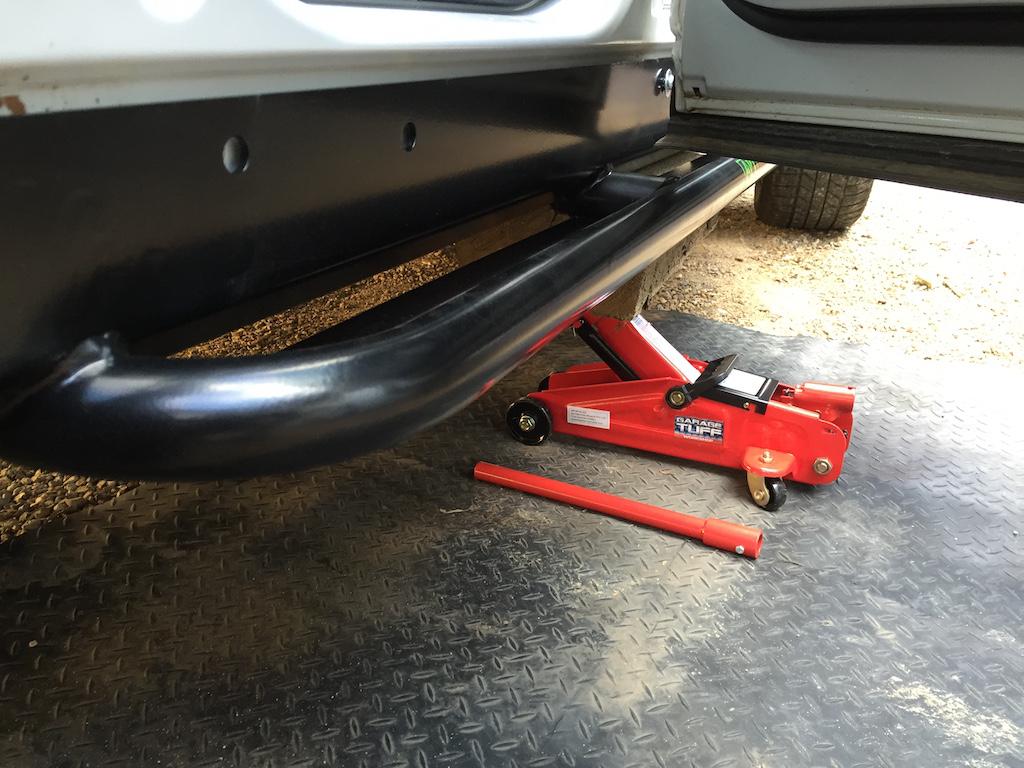
Now get your slider up and ready for mounting. Easier with two people, but as I was by myself I used a trolley jack to get it into place.
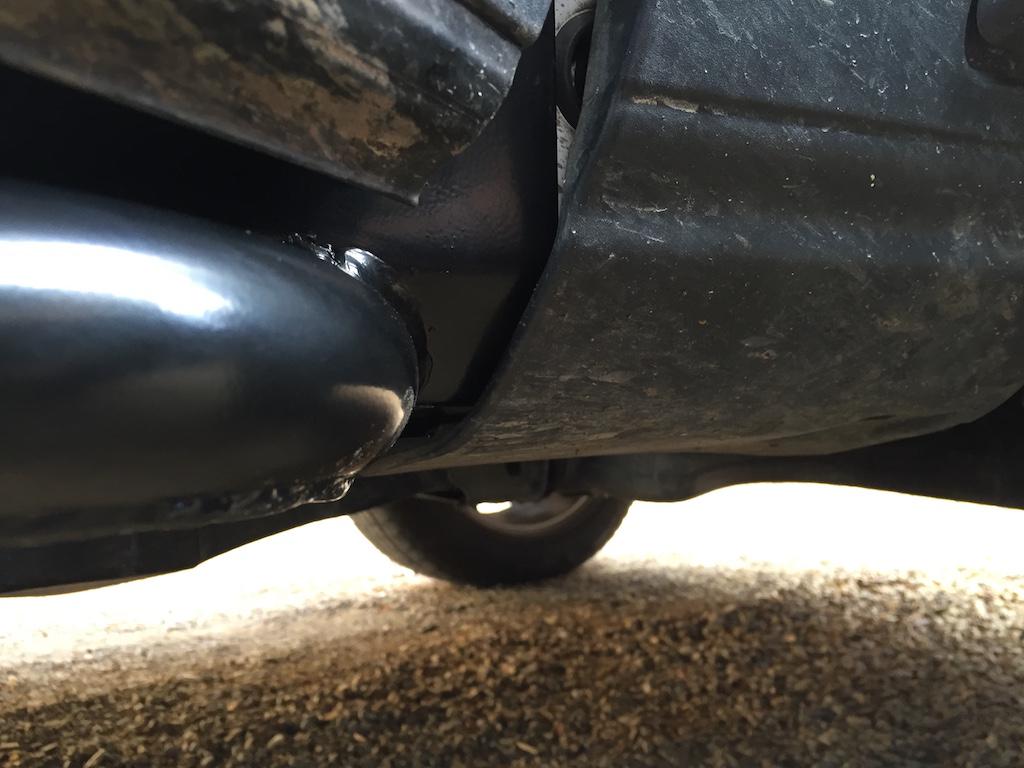
Make sure you tuck the front of the slider into the front arch plastic guard as shown (this is why we loosened that screw earlier, to give you some play)
Now get all your bolts and washers in. Always a good idea to hand tighten first to know everything lines up and theres no issues.
You'll find some left over yellow plastic lugs that are mounted to the body where the old plastic guard was. You can stuff around removing them all, or leave them on and as you tighten you'll find they shatter anyway (which is what happens if you try to delicately remove them one at a time anyway!).
Tighten all your bolts once fitment is snug, remember to also tighten that front arch guard phillips head. Rinse and repeat on the other side. Final result :
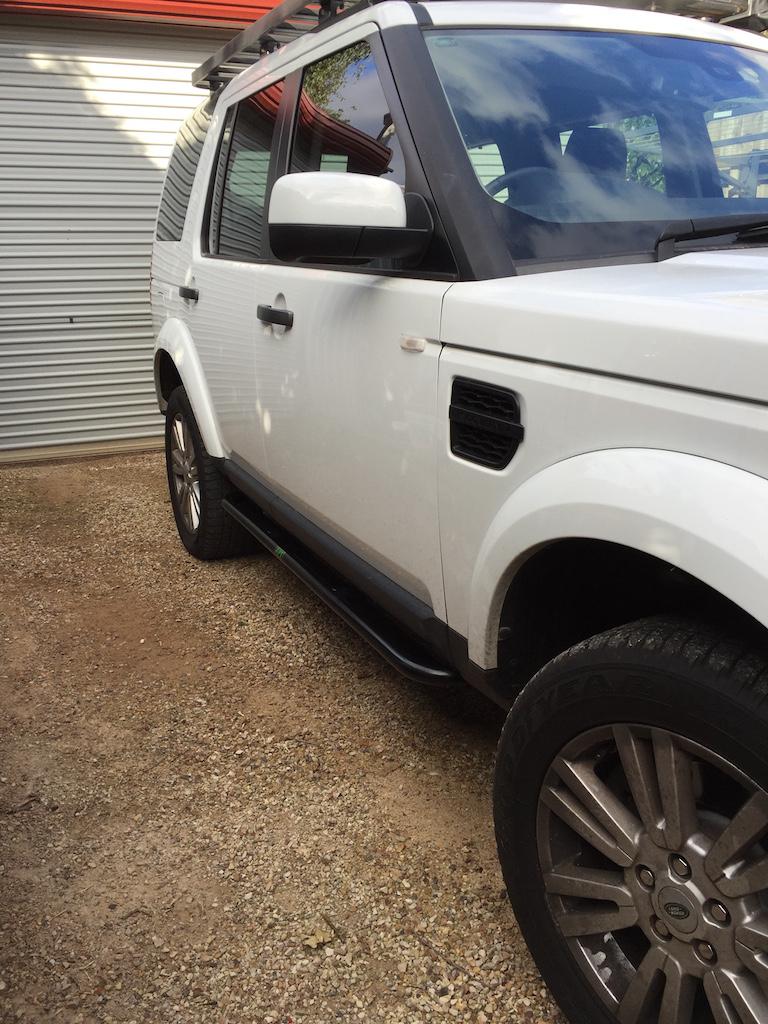
And a bonus - 2 x 10 litre oil drums hold them at the exact height needed
Nice write up.
With those little yellow poppers, I find a sharp tap in the centre with a hammer and punch makes them disappear pretty quickly. Not worth faffing around trying to extract them neatly when they're 2 dollars for ten on ebay.
Super Moderator
SubscriberGood write-up Ben. I may have a couple of milk crates that are the perfect height to assist fitting, in addition to the trolley jack.
With the yellow clips, I actually cut off the head with pliers and the round back part remained in place without getting wrecked. This keeps the hole they sit in sort of sealed by the remaining part of the clip.
Scott
D4 TDV6 MY14 with Llams, Tuffant Wheels, Traxide DBS, APT sliders & protection plates, Prospeed Winch Mount w/ Carbon 12K, Mitch Hitch & Drifta Drawers
Link to my D4 Build Thread
D3 2005 V8 Petrol
Ex '77 RRC 2 door. Long gone but not forgotten.
Master
Haha yeah I was originally going to stack bricks but then went the lazy option with the jack, the bonus is it lets you adjust to line up just right.Originally Posted by Tombie

Master
Thanks Scott, yeah that's a good option.
Fossicker
SupporterThanks for the excellent note on the install.
I finished my install yesterday, after lokking ever where for a note like yours.
Fully endorse the method
Master
Just in case it helps anyone, I had written up an illustrated guide in August 2014 this post here, but it is probably buried a bit deep in the thread. There are lots of pictures there.
Note: my instructions were for Mefit (aka Brad)'s sliders which DO need the guard trimmed.
Master
SupporterThis excellent post from the UK Disco3 forum about installing "prospeed" sliders was very helpful for me. It is detailed and has lots of pictures which I suspect are applicable to a lot of sliders available here.
DISCO3.CO.UK - View topic - Robbie's ProSpeed Tree & Rock Sliders Fitting Guide
Master
SubscriberGreat write up Tim, thanks for going the extra mile and documenting it.
Cheers
Mike
 Posting Permissions
| Search AULRO.com ONLY! |
Search All the Web! |
|---|
|
|
|
Bookmarks